
How to Use SHT31: Examples, Pinouts, and Specs
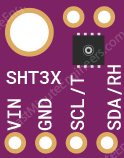
 Design with SHT31 in Cirkit Designer
Introduction
The SHT31, manufactured by Sensirion, is a digital humidity and temperature sensor designed for high-precision environmental monitoring. It combines a capacitive humidity sensor and a band-gap temperature sensor on a single chip, providing accurate and reliable measurements. The SHT31 communicates via the I2C interface, making it easy to integrate into a wide range of applications.
Explore Projects Built with SHT31
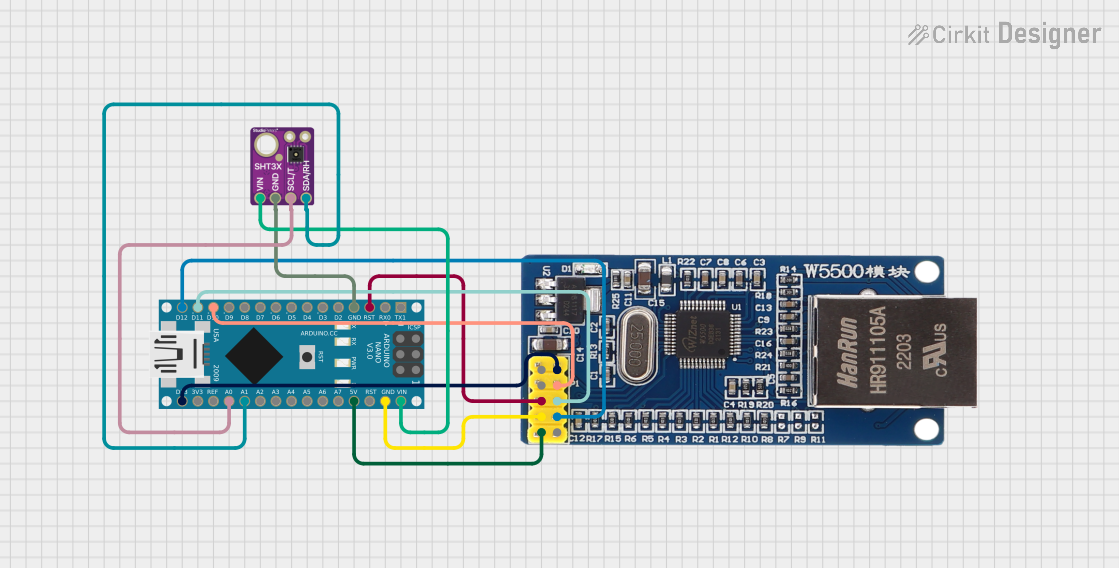 Open Project in Cirkit Designer
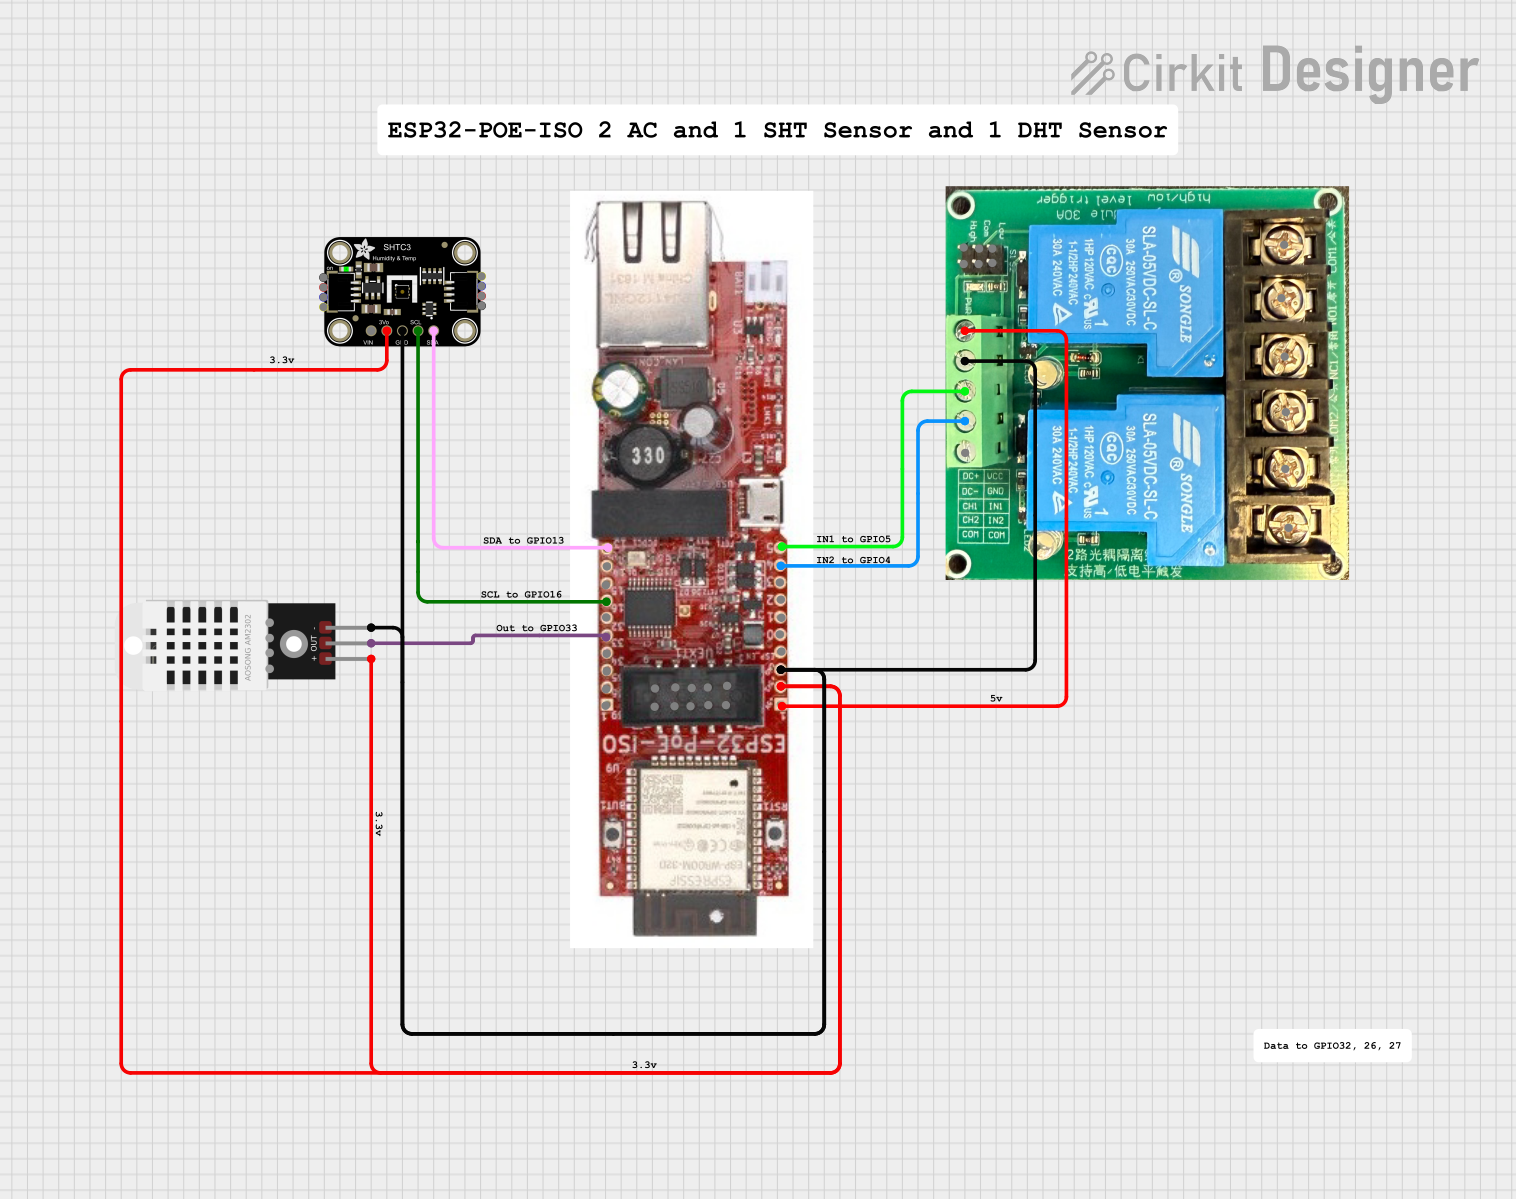 Open Project in Cirkit Designer
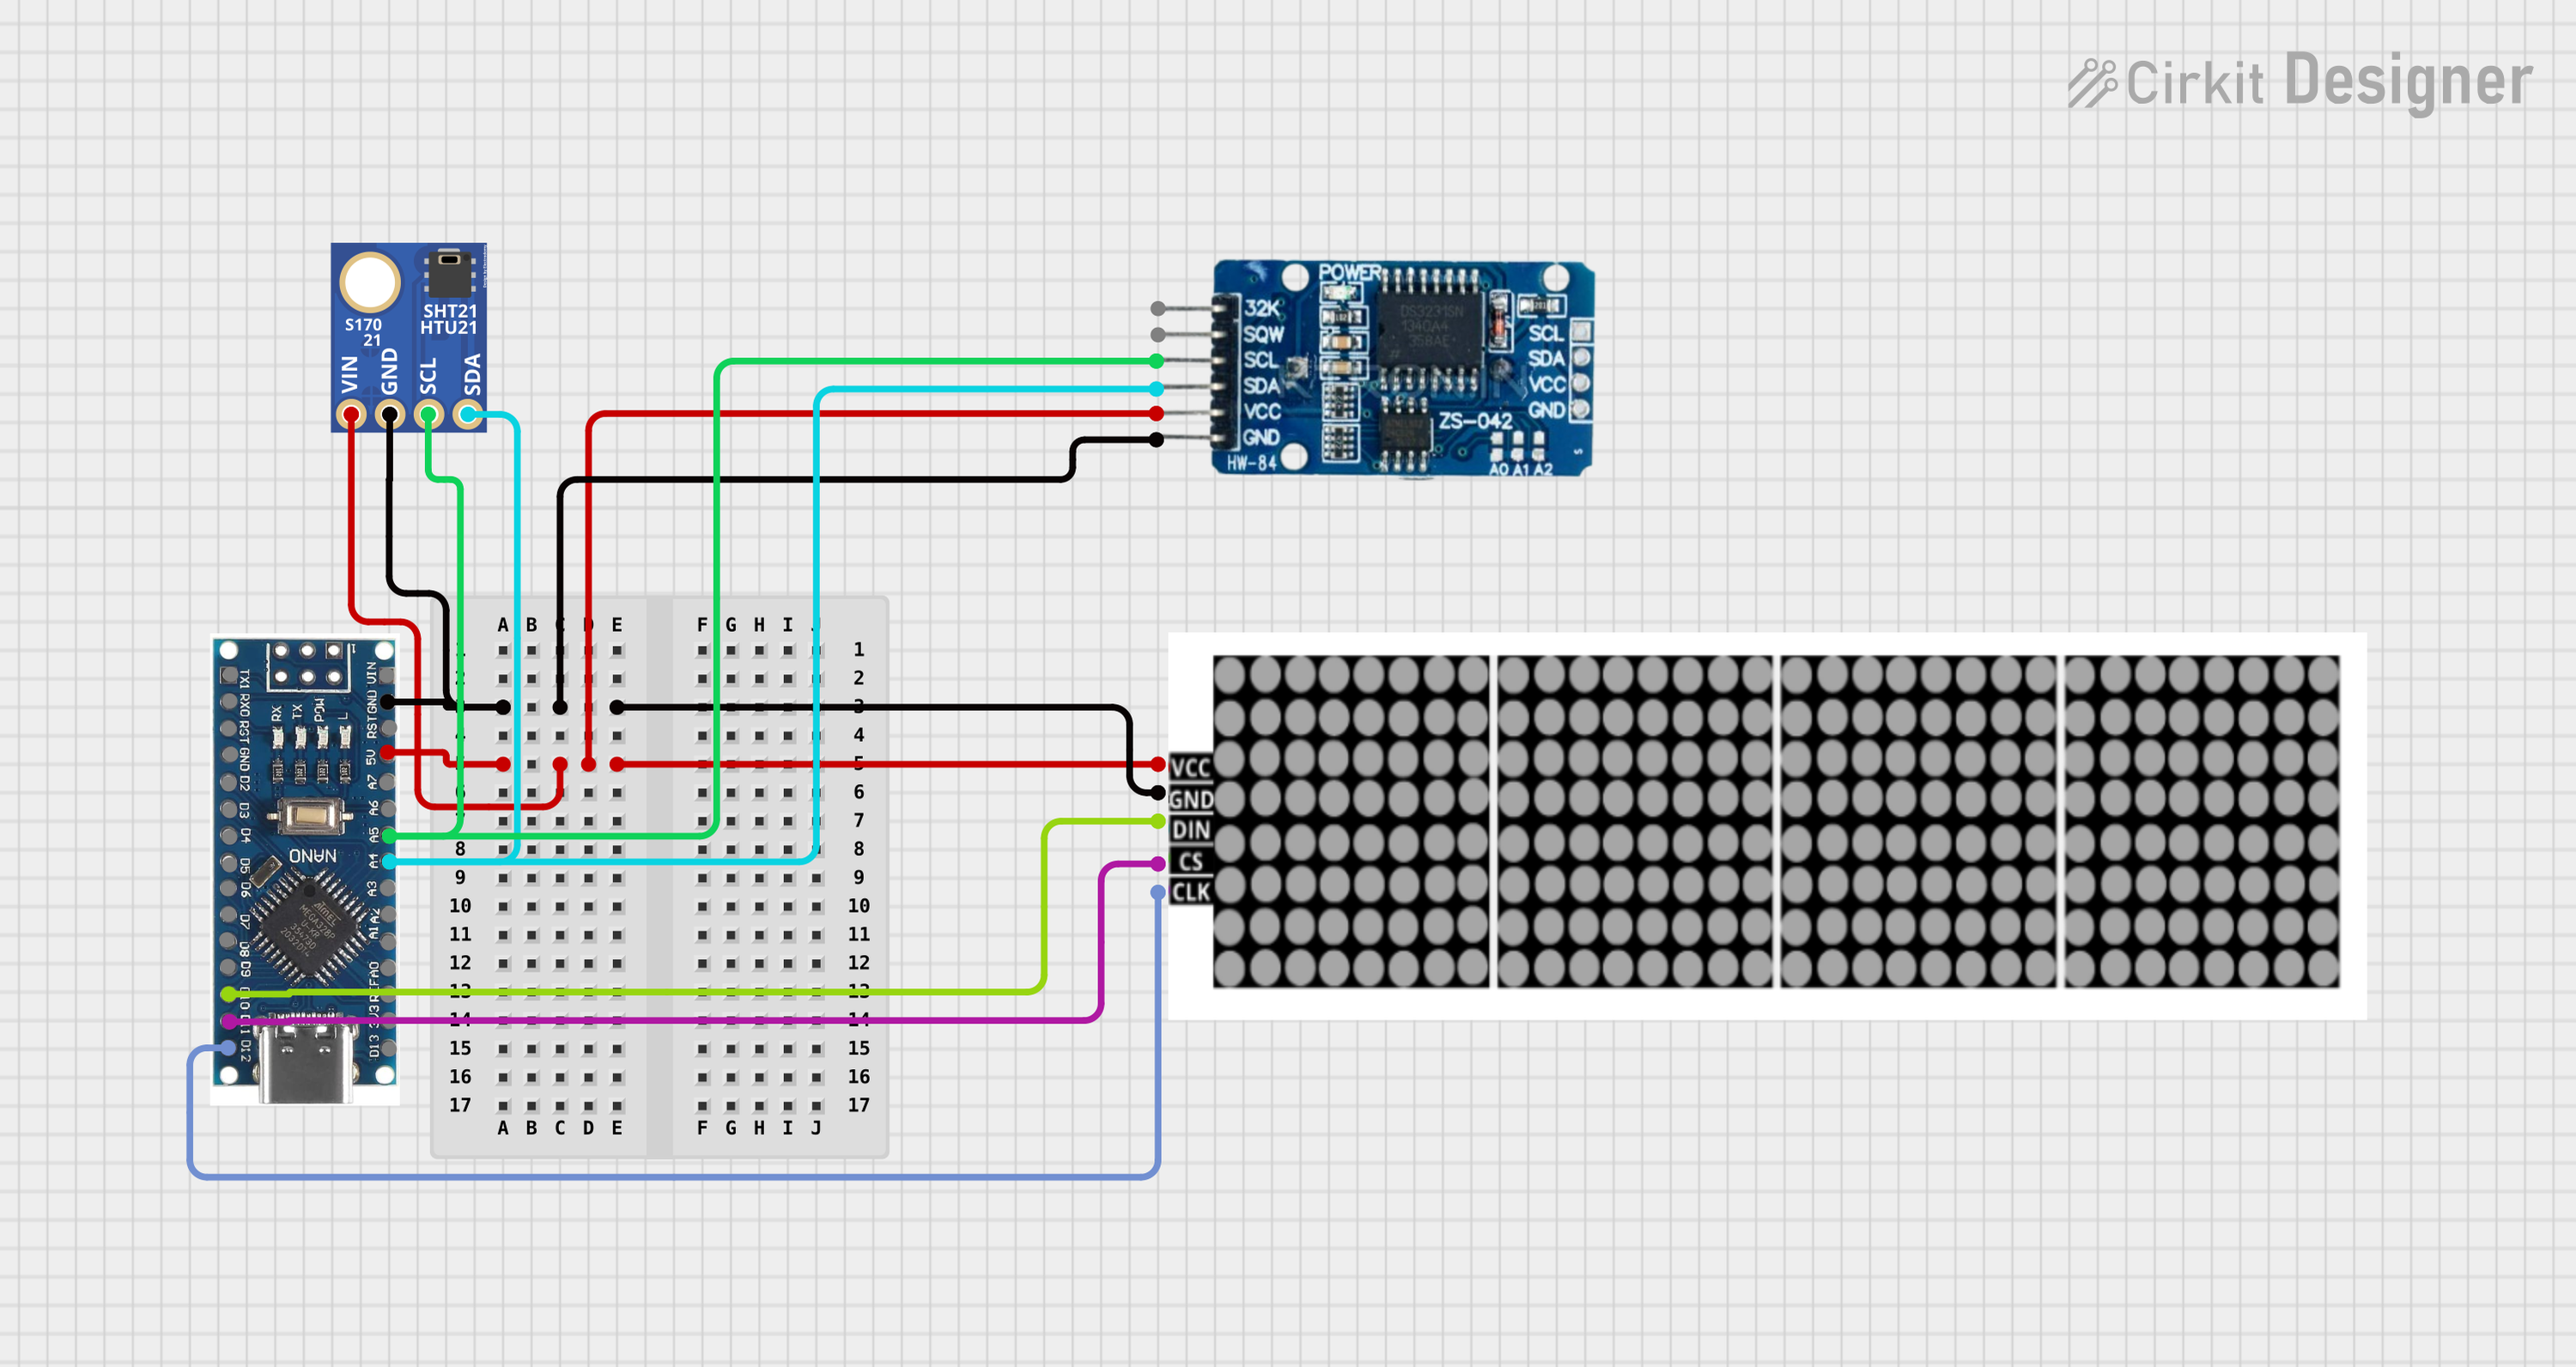 Open Project in Cirkit Designer
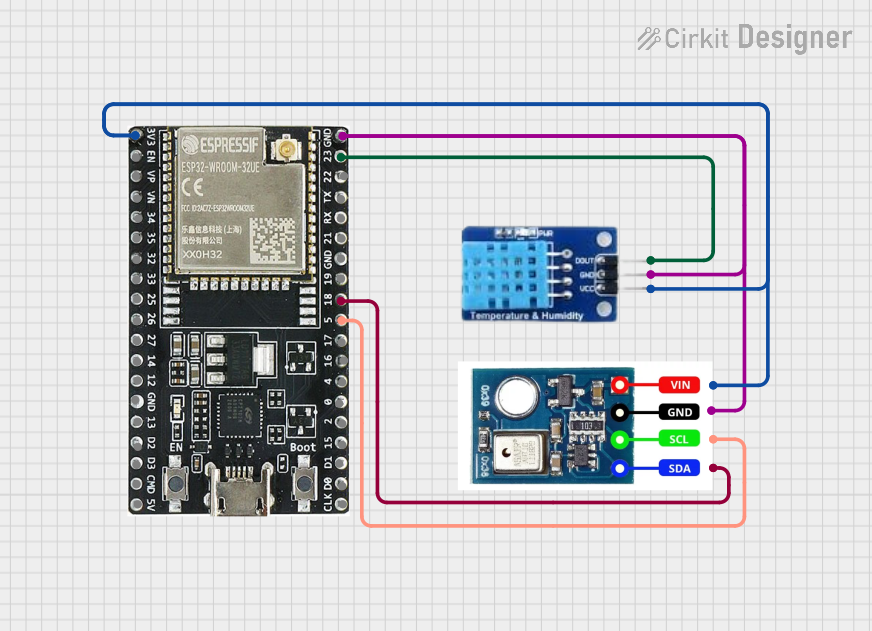 Open Project in Cirkit Designer
Explore Projects Built with SHT31
Open Project in Cirkit DesignerOpen Project in Cirkit DesignerOpen Project in Cirkit DesignerOpen Project in Cirkit DesignerCommon Applications
- Environmental monitoring systems
- HVAC (Heating, Ventilation, and Air Conditioning) systems
- Weather stations
- Industrial process control
- IoT (Internet of Things) devices
- Smart home automation
Technical Specifications
The SHT31 sensor offers excellent performance and reliability. Below are its key technical details:
| Parameter | Value |
|---|---|
| Supply Voltage (VDD) | 2.4V to 5.5V |
| Average Current Consumption | 2 µA (at 1 measurement per second) |
| Communication Interface | I2C |
| Humidity Measurement Range | 0% RH to 100% RH |
| Humidity Accuracy | ±2% RH (typical) |
| Temperature Measurement Range | -40°C to +125°C |
| Temperature Accuracy | ±0.3°C (typical) |
| Response Time (τ63%) | 8 seconds (typical) |
| Dimensions | 2.5 mm x 2.5 mm x 0.9 mm |
Pin Configuration and Descriptions
The SHT31 is typically available in a 4-pin package. Below is the pinout description:
| Pin | Name | Description |
|---|---|---|
| 1 | VDD | Power supply (2.4V to 5.5V) |
| 2 | GND | Ground |
| 3 | SDA | Serial Data Line for I2C communication |
| 4 | SCL | Serial Clock Line for I2C communication |
Usage Instructions
How to Use the SHT31 in a Circuit
- Power Supply: Connect the VDD pin to a 3.3V or 5V power source and the GND pin to ground.
- I2C Communication: Connect the SDA and SCL pins to the corresponding I2C pins on your microcontroller. Use pull-up resistors (typically 4.7 kΩ) on both SDA and SCL lines.
- Address Selection: The SHT31 has a default I2C address of
0x44. Some variants allow changing the address to0x45by pulling a specific pin high or low (refer to the datasheet for details). - Bypass Capacitor: Place a 100 nF capacitor close to the VDD and GND pins for noise filtering.
Important Considerations
- Avoid exposing the sensor to extreme conditions (e.g., high humidity or temperature) for prolonged periods.
- Ensure proper PCB layout to minimize noise on the I2C lines.
- Use a protective cover or filter to shield the sensor from dust and contaminants.
Example Code for Arduino UNO
Below is an example of how to interface the SHT31 with an Arduino UNO using the I2C protocol:
#include <Wire.h>
#include "Adafruit_SHT31.h" // Include the Adafruit SHT31 library

Adafruit_SHT31 sht31 = Adafruit_SHT31();

void setup() {
  Serial.begin(9600); // Initialize serial communication at 9600 baud
  if (!sht31.begin(0x44)) { // Initialize the sensor with I2C address 0x44
    Serial.println("SHT31 sensor not found. Check wiring!");
    while (1); // Halt execution if the sensor is not detected
  }
  Serial.println("SHT31 sensor initialized successfully.");
}

void loop() {
  float temperature = sht31.readTemperature(); // Read temperature in Celsius
  float humidity = sht31.readHumidity();       // Read relative humidity

  if (!isnan(temperature) && !isnan(humidity)) { // Check for valid readings
    Serial.print("Temperature: ");
    Serial.print(temperature);
    Serial.println(" °C");

    Serial.print("Humidity: ");
    Serial.print(humidity);
    Serial.println(" %RH");
  } else {
    Serial.println("Failed to read from SHT31 sensor!");
  }

  delay(2000); // Wait for 2 seconds before the next reading
}
Notes on the Code
- Install the Adafruit SHT31 library via the Arduino Library Manager before running the code.
- Ensure proper wiring between the Arduino UNO and the SHT31 sensor.
Troubleshooting and FAQs
Common Issues
Sensor Not Detected:
- Cause: Incorrect wiring or I2C address mismatch.
- Solution: Verify the connections and ensure the correct I2C address is used in the code.
Inaccurate Readings:
- Cause: Sensor exposed to contaminants or improper calibration.
- Solution: Clean the sensor gently and ensure it is not exposed to extreme conditions.
I2C Communication Errors:
- Cause: Missing pull-up resistors or noisy I2C lines.
- Solution: Add 4.7 kΩ pull-up resistors to the SDA and SCL lines and check for proper PCB layout.
FAQs
Q1: Can the SHT31 operate at 5V?
A1: Yes, the SHT31 supports a supply voltage range of 2.4V to 5.5V.
Q2: How do I protect the sensor from dust and water?
A2: Use a protective filter or housing designed for environmental sensors.
Q3: What is the maximum cable length for I2C communication?
A3: The maximum cable length depends on the pull-up resistor values and the I2C clock speed. For standard applications, keep the cable length under 1 meter to ensure reliable communication.
Q4: Can I use the SHT31 with a 3.3V microcontroller?
A4: Yes, the SHT31 is compatible with 3.3V systems. Ensure the I2C lines are properly connected.
This concludes the documentation for the SHT31 sensor. For further details, refer to the official Sensirion datasheet.