
How to Use Arducam OV9281 1MP Monochrome Global Shutter Camera Module with M12 Mount lens for Raspberry Pi 5/4/3B+/3: Examples, Pinouts, and Specs
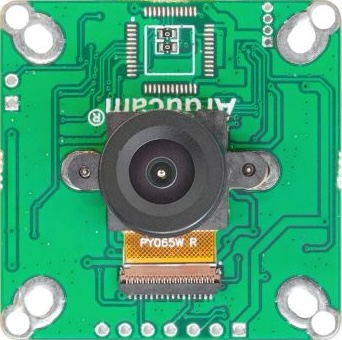
 Design with Arducam OV9281 1MP Monochrome Global Shutter Camera Module with M12 Mount lens for Raspberry Pi 5/4/3B+/3 in Cirkit Designer
Introduction
The Arducam OV9281 1MP Monochrome Global Shutter Camera Module (Manufacturer Part ID: B0165) is a high-performance imaging solution designed for use with Raspberry Pi models 5, 4, 3B+, and 3. It features a 1-megapixel monochrome sensor with global shutter technology, enabling it to capture fast-moving objects without motion artifacts. The module is equipped with an M12 mount lens, allowing users to customize the optical configuration for specific applications.
Explore Projects Built with Arducam OV9281 1MP Monochrome Global Shutter Camera Module with M12 Mount lens for Raspberry Pi 5/4/3B+/3
 Open Project in Cirkit Designer
 Open Project in Cirkit Designer
 Open Project in Cirkit Designer
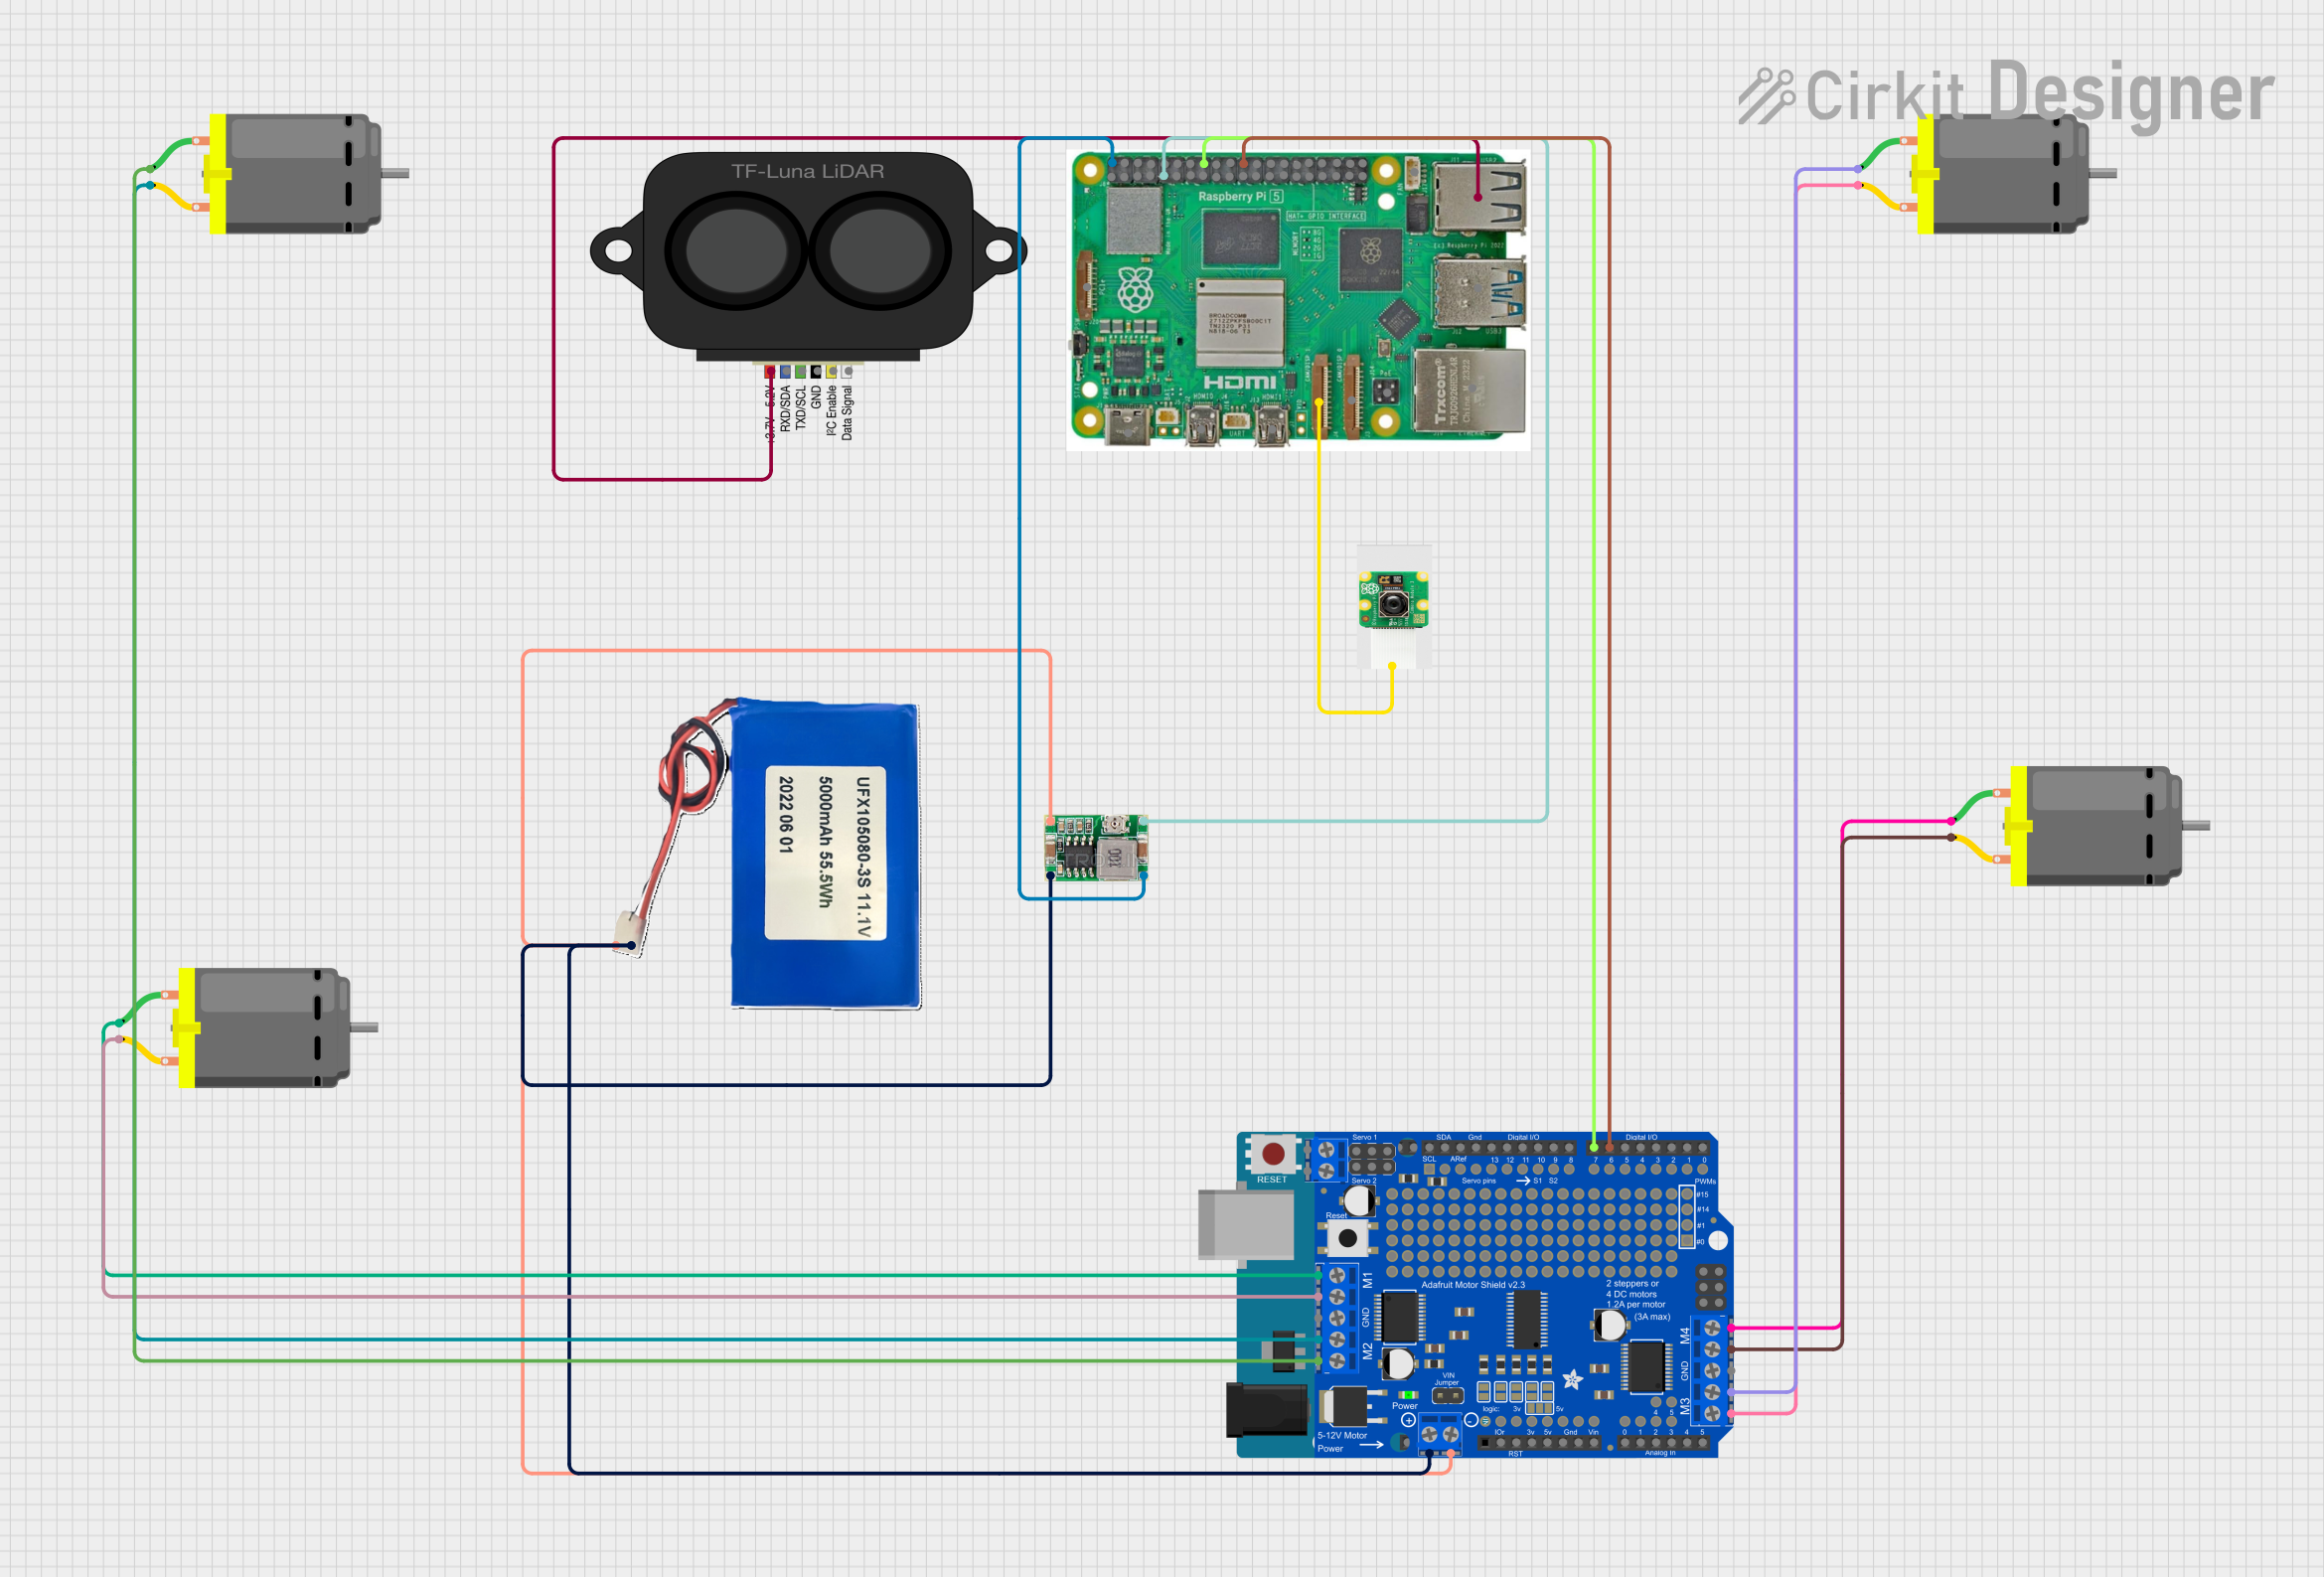 Open Project in Cirkit Designer
Explore Projects Built with Arducam OV9281 1MP Monochrome Global Shutter Camera Module with M12 Mount lens for Raspberry Pi 5/4/3B+/3
Open Project in Cirkit DesignerOpen Project in Cirkit DesignerOpen Project in Cirkit DesignerOpen Project in Cirkit DesignerCommon Applications and Use Cases
- Machine Vision: Ideal for industrial automation and robotics.
- High-Speed Imaging: Suitable for capturing fast-moving objects in scientific experiments.
- Object Tracking: Used in AI and computer vision projects.
- Barcode Scanning: Effective for reading barcodes in retail or logistics.
- Monochrome Photography: Captures high-quality black-and-white images.
Technical Specifications
The following table outlines the key technical details of the Arducam OV9281 camera module:
| Specification | Details |
|---|---|
| Sensor | OV9281 Monochrome CMOS Image Sensor |
| Resolution | 1 Megapixel (1280 x 800) |
| Shutter Type | Global Shutter |
| Pixel Size | 3.0 µm x 3.0 µm |
| Frame Rate | Up to 120 fps at full resolution |
| Lens Mount | M12 Mount |
| Interface | 2-lane MIPI CSI-2 |
| Power Supply | 3.3V (via Raspberry Pi CSI interface) |
| Operating Temperature | -30°C to 70°C |
| Dimensions | 38mm x 38mm |
Pin Configuration and Descriptions
The Arducam OV9281 connects to the Raspberry Pi via the CSI (Camera Serial Interface) port. Below is the pin configuration for the CSI interface:
| Pin Number | Signal Name | Description |
|---|---|---|
| 1 | GND | Ground |
| 2 | 3.3V | Power Supply |
| 3 | I2C_SCL | I2C Clock for camera configuration |
| 4 | I2C_SDA | I2C Data for camera configuration |
| 5 | MIPI_D0+ | MIPI Data Lane 0 Positive |
| 6 | MIPI_D0- | MIPI Data Lane 0 Negative |
| 7 | MIPI_CLK+ | MIPI Clock Lane Positive |
| 8 | MIPI_CLK- | MIPI Clock Lane Negative |
| 9 | MIPI_D1+ | MIPI Data Lane 1 Positive |
| 10 | MIPI_D1- | MIPI Data Lane 1 Negative |
Usage Instructions
How to Use the Component in a Circuit
Connect the Camera Module:
- Attach the OV9281 module to the Raspberry Pi's CSI port using a compatible ribbon cable.
- Ensure the connector is securely fastened to avoid signal loss.
Enable the Camera Interface:
- Boot up the Raspberry Pi and open the terminal.
- Run the following command to enable the camera interface:
sudo raspi-config - Navigate to
Interfacing Options > Cameraand enable it. Reboot the Raspberry Pi.
Install Required Software:
- Update the Raspberry Pi OS and install the necessary camera libraries:
sudo apt update
sudo apt upgrade
sudo apt install libcamera-apps
- Update the Raspberry Pi OS and install the necessary camera libraries:
Capture Images or Video:
- Use the
libcameratools to capture images or video. For example:libcamera-still -o image.jpglibcamera-vid -o video.h264 -t 10000 - Replace
image.jpgorvideo.h264with your desired file name.
- Use the
Important Considerations and Best Practices
- Lens Adjustment: The M12 mount lens can be adjusted for focus. Rotate the lens carefully to achieve the desired sharpness.
- Lighting Conditions: Ensure adequate lighting for optimal image quality, especially in low-light environments.
- Static Precautions: Handle the module with care to avoid damage from electrostatic discharge (ESD).
- Cable Management: Use a high-quality ribbon cable and avoid sharp bends to maintain signal integrity.
Example Code for Raspberry Pi
Below is an example Python script to capture an image using the Arducam OV9281 with the Raspberry Pi:
Import necessary libraries
from picamera2 import Picamera2 import time
Initialize the camera
picam2 = Picamera2()
Configure the camera for still image capture
picam2.configure(picam2.create_still_configuration())
Start the camera
picam2.start() time.sleep(2) # Allow the camera to warm up
Capture an image and save it as 'capture.jpg'
picam2.capture_file("capture.jpg") print("Image captured and saved as 'capture.jpg'")
Stop the camera
picam2.stop()
Troubleshooting and FAQs
Common Issues Users Might Face
Camera Not Detected:
- Cause: The camera interface is not enabled or the ribbon cable is not connected properly.
- Solution: Ensure the CSI ribbon cable is securely connected and enable the camera interface using
raspi-config.
Poor Image Quality:
- Cause: Incorrect lens focus or insufficient lighting.
- Solution: Adjust the M12 lens for proper focus and ensure adequate lighting.
Frame Drops or Low Frame Rate:
- Cause: Insufficient system resources or incorrect configuration.
- Solution: Close unnecessary applications and ensure the camera is configured for the desired resolution and frame rate.
Camera Overheating:
- Cause: Prolonged use in high-temperature environments.
- Solution: Operate the camera within the specified temperature range (-30°C to 70°C).
Solutions and Tips for Troubleshooting
- Check Connections: Verify that the ribbon cable is properly seated in the CSI connector.
- Update Software: Ensure the Raspberry Pi OS and camera libraries are up to date.
- Test with Another Raspberry Pi: If issues persist, test the camera module with a different Raspberry Pi to rule out hardware faults.
- Consult Documentation: Refer to the official Arducam documentation for additional support and advanced configurations.
By following this guide, users can effectively integrate and utilize the Arducam OV9281 1MP Monochrome Global Shutter Camera Module in their projects.