
How to Use HMI Haiwell B7H: Examples, Pinouts, and Specs
 Design with HMI Haiwell B7H in Cirkit Designer
Introduction
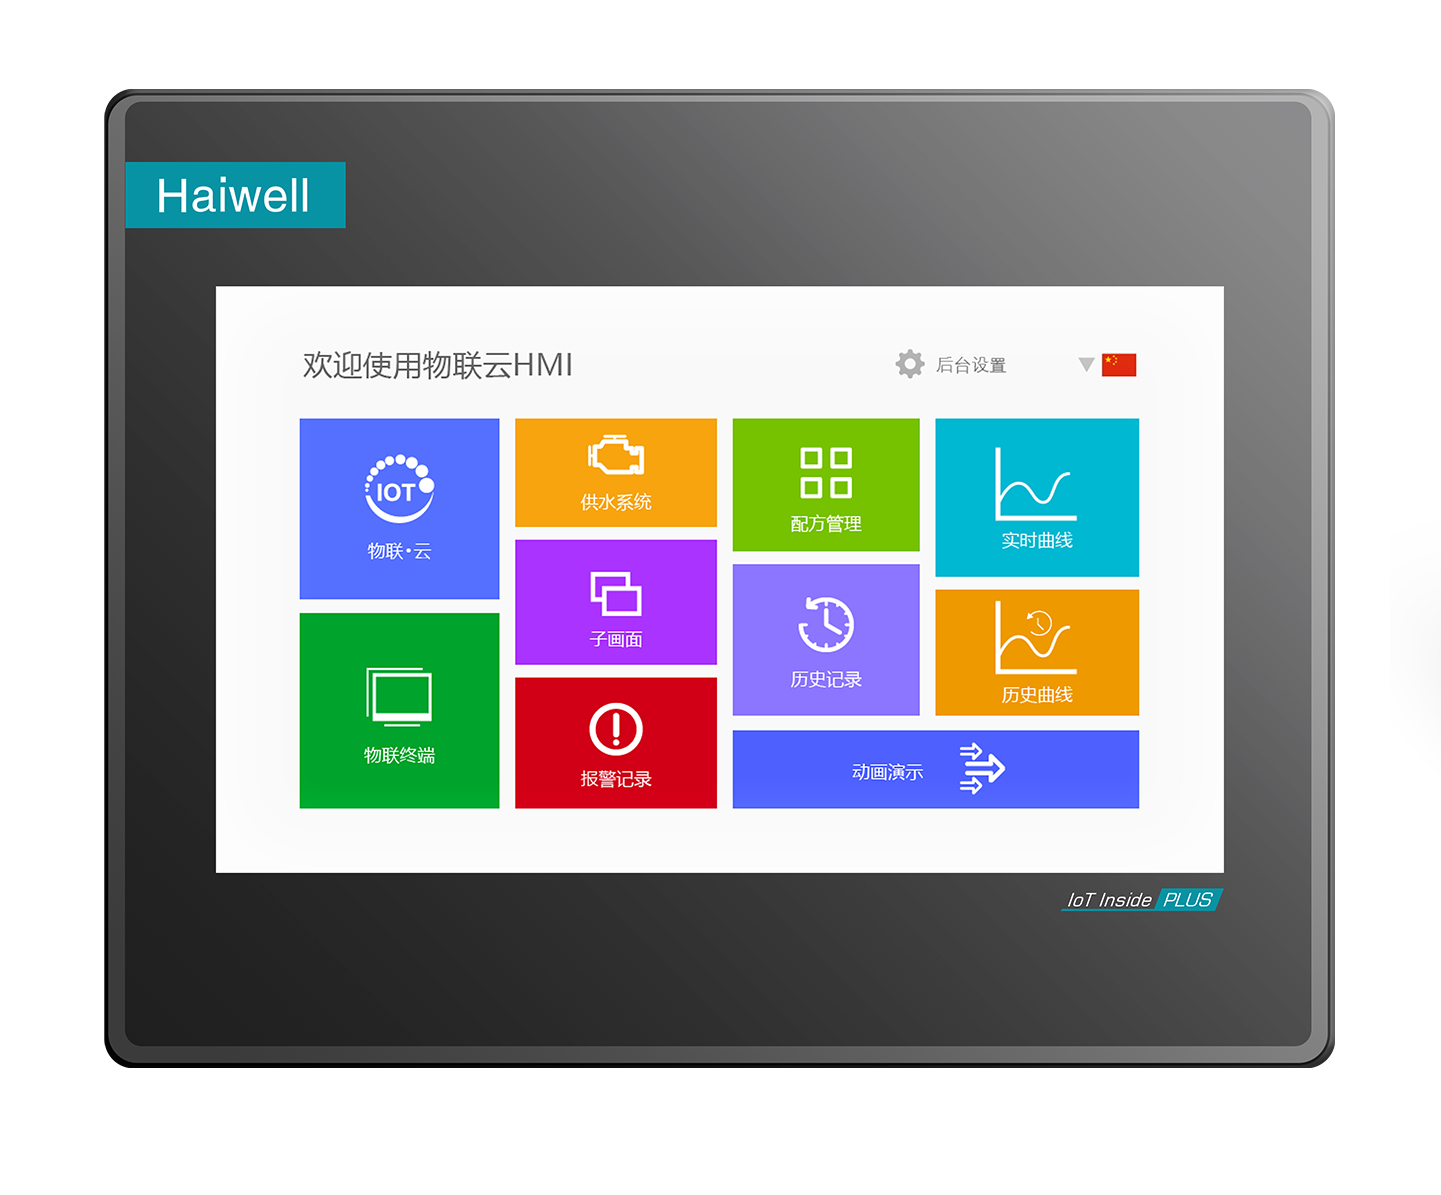
The HMI Haiwell B7H is a human-machine interface (HMI) designed for industrial automation applications. It features a high-resolution touchscreen display that allows users to interact with machinery and processes intuitively. The device supports customizable graphical interfaces, enabling operators to monitor and control industrial equipment efficiently. With its robust connectivity options, the Haiwell B7H is ideal for use in manufacturing, process control, and other automation environments.
Explore Projects Built with HMI Haiwell B7H
 Open Project in Cirkit Designer
 Open Project in Cirkit Designer
 Open Project in Cirkit Designer
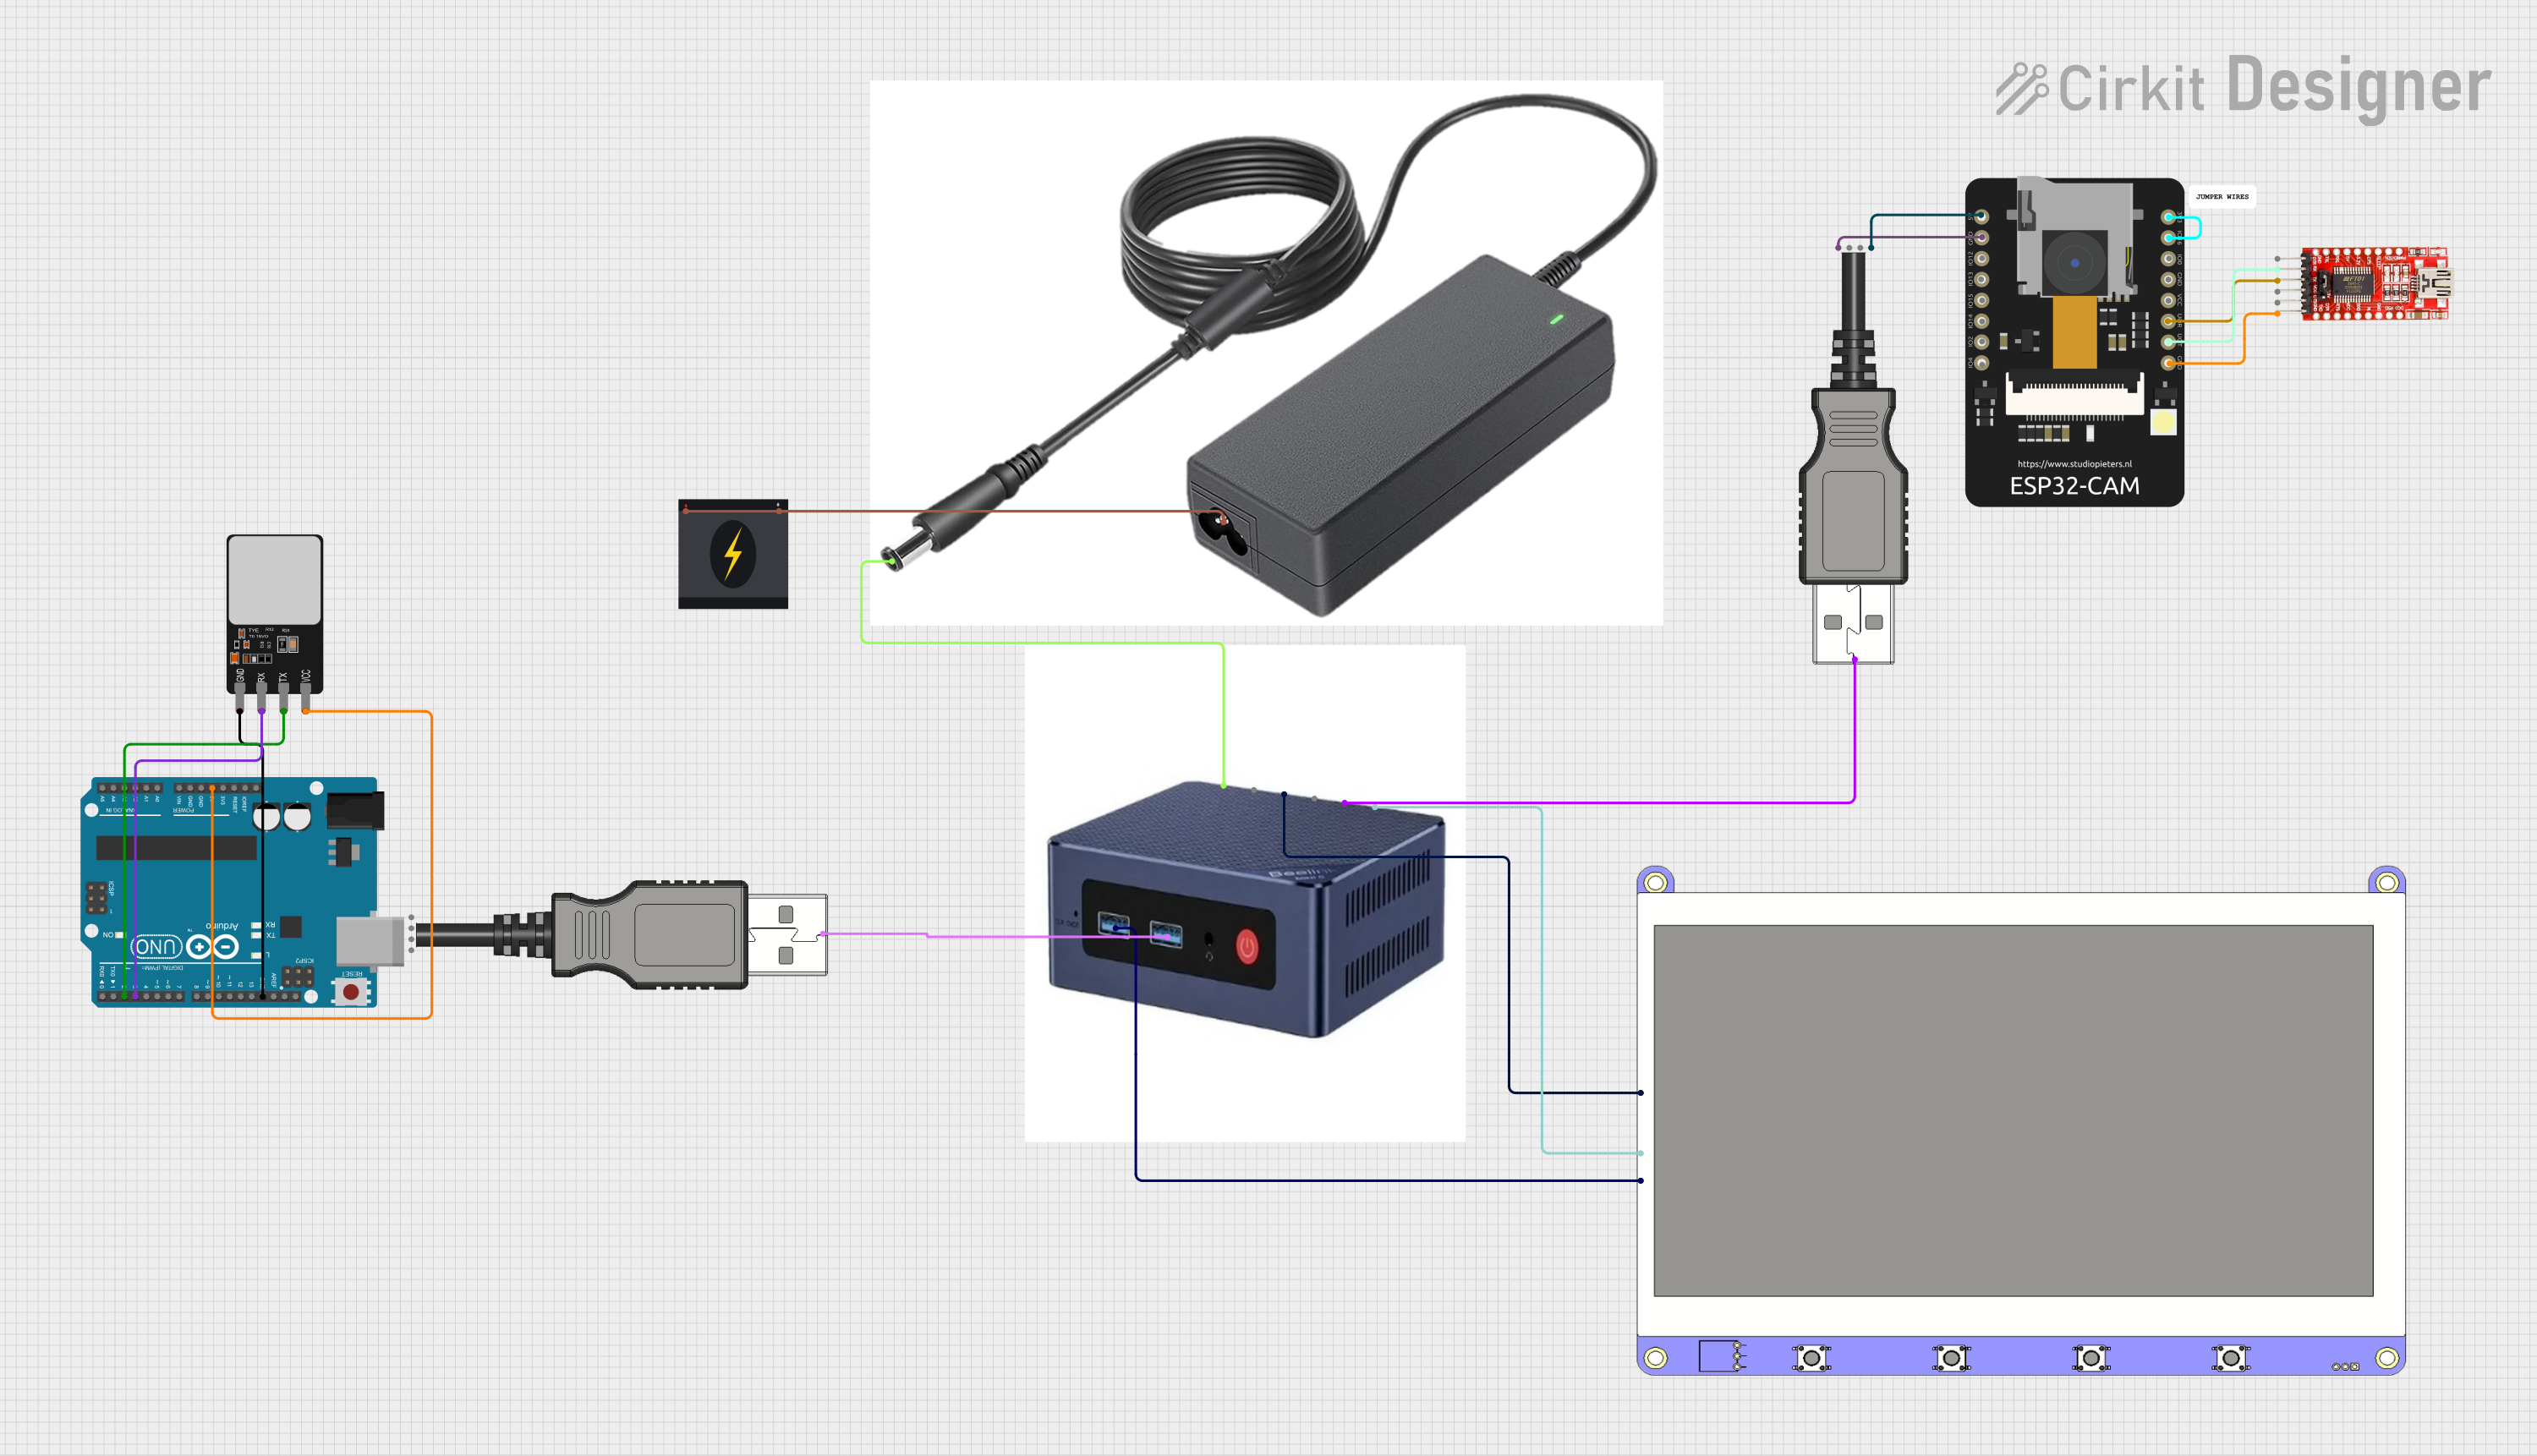 Open Project in Cirkit Designer
Explore Projects Built with HMI Haiwell B7H
Open Project in Cirkit DesignerOpen Project in Cirkit DesignerOpen Project in Cirkit DesignerOpen Project in Cirkit DesignerCommon Applications and Use Cases
- Monitoring and controlling industrial machinery
- Supervisory control and data acquisition (SCADA) systems
- Process automation in manufacturing plants
- Integration with PLCs (Programmable Logic Controllers) for real-time control
- Data visualization and logging in industrial environments
Technical Specifications
Key Technical Details
| Specification | Value |
|---|---|
| Display Type | TFT LCD Touchscreen |
| Screen Size | 7 inches |
| Resolution | 800 x 480 pixels |
| Input Voltage | 24V DC ±10% |
| Power Consumption | ≤ 10W |
| Communication Ports | RS232, RS485, Ethernet, USB Host |
| Storage | 128MB Flash Memory |
| Operating Temperature Range | -10°C to 60°C |
| Humidity Range | 10% to 90% RH (non-condensing) |
| Dimensions | 200mm x 146mm x 36mm |
| Mounting | Panel Mount |
Pin Configuration and Descriptions
The HMI Haiwell B7H features multiple communication ports for connectivity. Below is a description of the key ports and their pin configurations:
RS232 Port
| Pin Number | Signal Name | Description |
|---|---|---|
| 1 | TXD | Transmit Data |
| 2 | RXD | Receive Data |
| 3 | GND | Ground |
RS485 Port
| Pin Number | Signal Name | Description |
|---|---|---|
| 1 | A | Data Line A |
| 2 | B | Data Line B |
| 3 | GND | Ground |
Ethernet Port (RJ45)
| Pin Number | Signal Name | Description |
|---|---|---|
| 1 | TX+ | Transmit Data Positive |
| 2 | TX- | Transmit Data Negative |
| 3 | RX+ | Receive Data Positive |
| 4 | RX- | Receive Data Negative |
USB Host Port
| Pin Number | Signal Name | Description |
|---|---|---|
| 1 | VCC | Power Supply (5V) |
| 2 | D- | Data Negative |
| 3 | D+ | Data Positive |
| 4 | GND | Ground |
Usage Instructions
How to Use the HMI Haiwell B7H in a Circuit
- Power Supply: Connect a 24V DC power supply to the power input terminals of the HMI. Ensure the voltage is within the specified range (24V ±10%).
- Communication Setup:
- Use the RS232 or RS485 port to connect the HMI to a PLC or other control device.
- For Ethernet communication, connect the HMI to a network switch or directly to a PLC with an Ethernet cable.
- Software Configuration:
- Install the Haiwell programming software on your PC.
- Use the USB Host port to upload your custom graphical interface and control logic to the HMI.
- Mounting: Secure the HMI to a panel using the provided mounting brackets. Ensure proper ventilation around the device.
- Testing: Power on the HMI and verify that the graphical interface is displayed correctly. Test communication with connected devices.
Important Considerations and Best Practices
- Power Supply: Use a regulated 24V DC power supply to avoid damage to the device.
- Grounding: Ensure proper grounding to minimize electrical noise and interference.
- Environmental Conditions: Operate the HMI within the specified temperature and humidity ranges.
- Firmware Updates: Regularly check for firmware updates from Haiwell to ensure optimal performance and compatibility.
- Backup Configurations: Always back up your HMI configurations and graphical interfaces to avoid data loss.
Example: Connecting to an Arduino UNO
The HMI Haiwell B7H can be connected to an Arduino UNO via the RS232 port. Below is an example Arduino sketch for basic communication:
#include <SoftwareSerial.h>

// Define RX and TX pins for SoftwareSerial
SoftwareSerial HMI(10, 11); // RX = Pin 10, TX = Pin 11

void setup() {
  // Initialize serial communication with the HMI
  HMI.begin(9600); // Set baud rate to 9600
  Serial.begin(9600); // For debugging via Serial Monitor

  // Send an initial message to the HMI
  HMI.println("Hello, HMI Haiwell B7H!");
  Serial.println("Message sent to HMI.");
}

void loop() {
  // Check if data is available from the HMI
  if (HMI.available()) {
    String data = HMI.readString(); // Read data from HMI
    Serial.println("Received from HMI: " + data);
  }

  // Send data to the HMI periodically
  delay(1000);
  HMI.println("Arduino says hello!");
}
Troubleshooting and FAQs
Common Issues and Solutions
HMI Does Not Power On:
- Cause: Incorrect or insufficient power supply.
- Solution: Verify that the power supply is 24V DC and properly connected.
No Communication with PLC:
- Cause: Incorrect communication settings or wiring.
- Solution: Check the baud rate, parity, and other communication parameters. Ensure the wiring matches the pin configuration.
Touchscreen Not Responding:
- Cause: Calibration issue or hardware fault.
- Solution: Recalibrate the touchscreen using the Haiwell software. If the issue persists, contact technical support.
Graphical Interface Not Displayed:
- Cause: Configuration file not uploaded or corrupted.
- Solution: Re-upload the configuration file using the USB Host port.
FAQs
Q: Can the HMI Haiwell B7H be used outdoors?
A: The device is not designed for outdoor use. It should be installed in a controlled indoor environment.Q: What software is compatible with the HMI Haiwell B7H?
A: The Haiwell programming software is specifically designed for this HMI. It can be downloaded from the Haiwell website.Q: How do I reset the HMI to factory settings?
A: Refer to the user manual for detailed instructions on performing a factory reset. Typically, this involves accessing the system settings menu.Q: Can I connect multiple devices to the HMI simultaneously?
A: Yes, the HMI supports multiple communication ports (RS232, RS485, Ethernet) for connecting to various devices. Ensure proper configuration for each connection.