
How to Use PH Meter: Examples, Pinouts, and Specs

 Design with PH Meter in Cirkit Designer
Introduction
A pH meter is an electronic device used to measure the acidity or alkalinity of a solution, providing a digital readout of the pH level. It is widely used in various fields such as chemistry, biology, agriculture, water treatment, and food processing. The device typically consists of a pH probe and a digital interface to display the measured pH value. The pH scale ranges from 0 to 14, where values below 7 indicate acidity, values above 7 indicate alkalinity, and a value of 7 represents neutrality.
Explore Projects Built with PH Meter
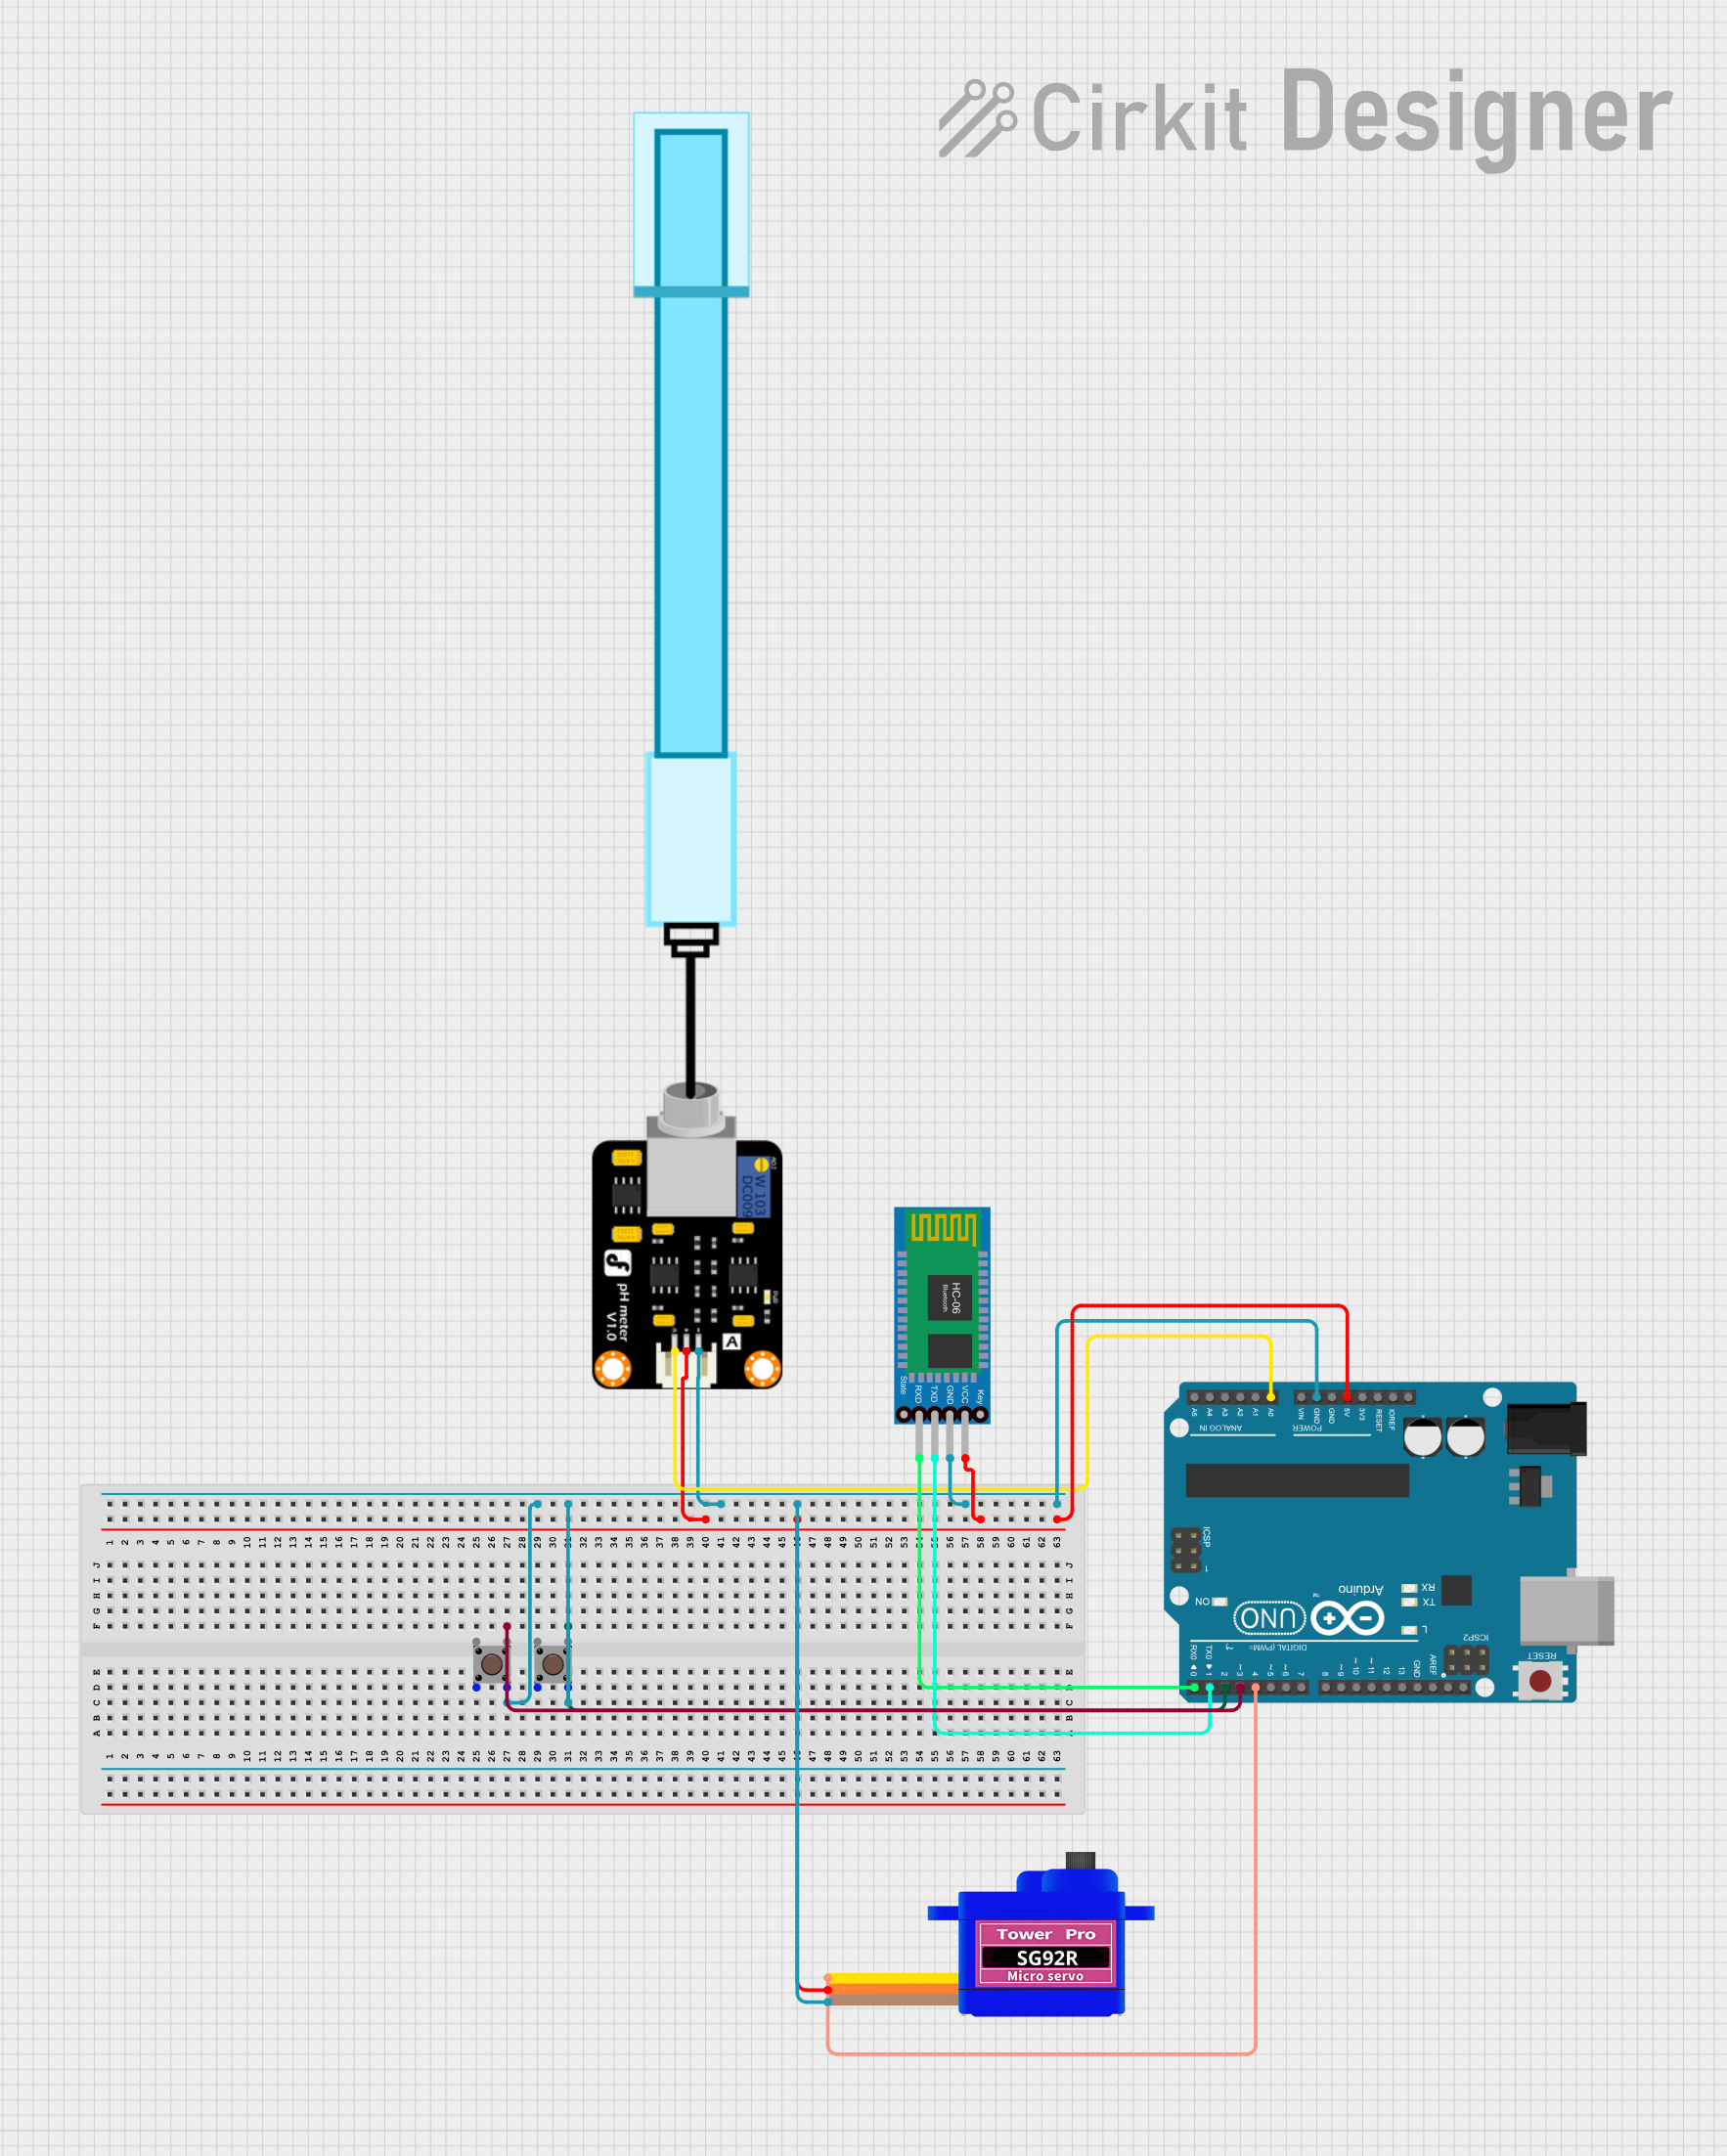 Open Project in Cirkit Designer
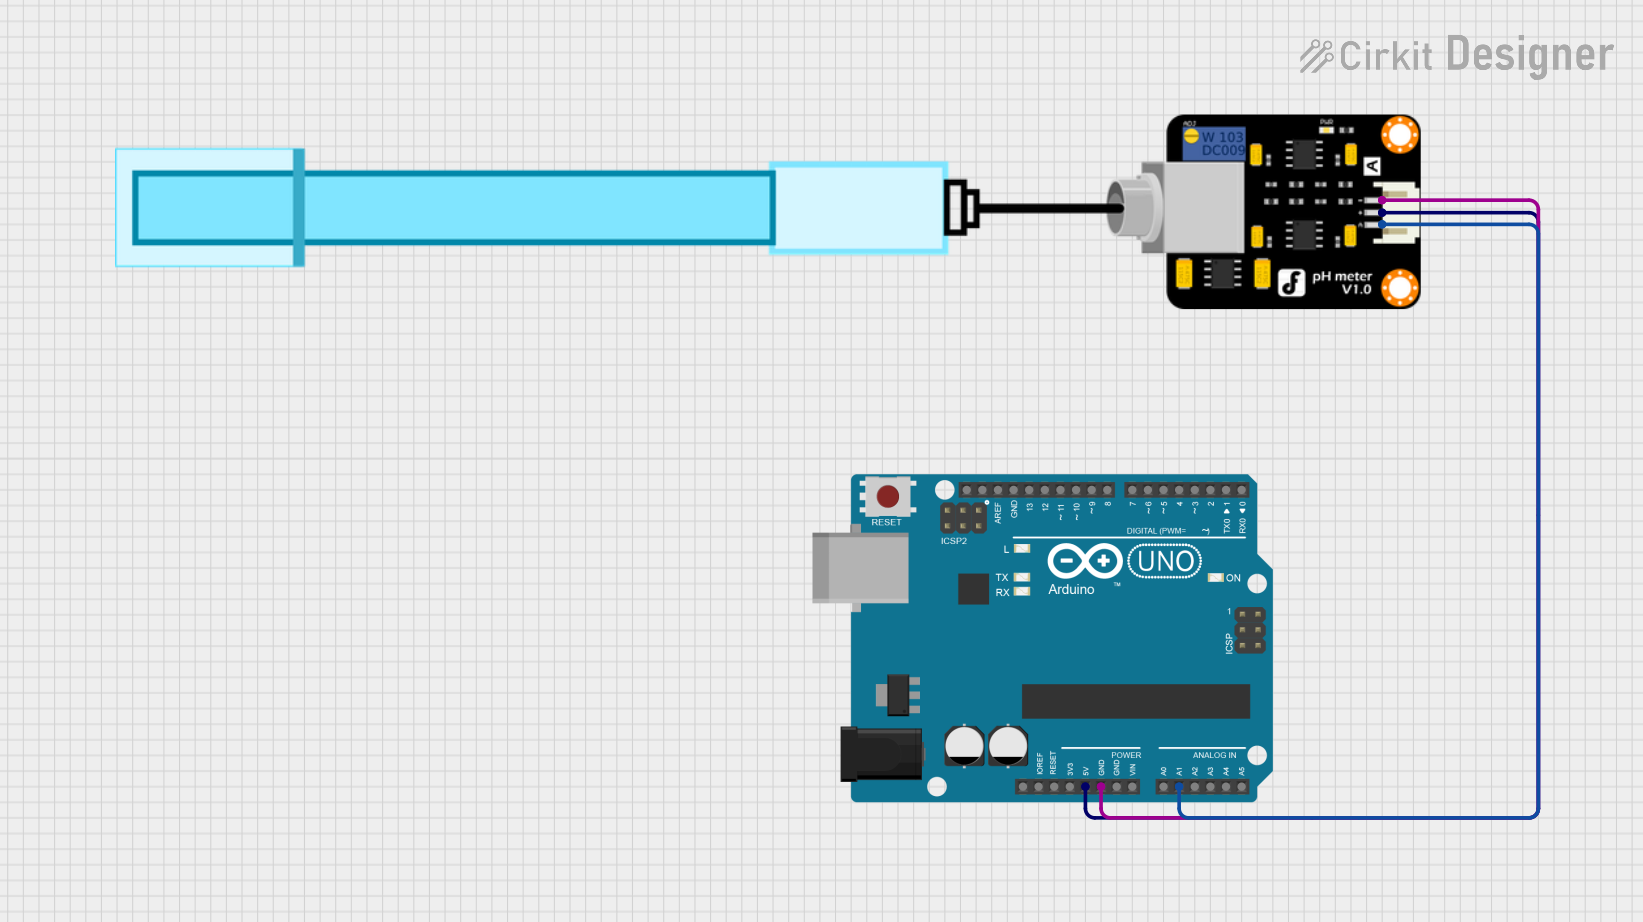 Open Project in Cirkit Designer
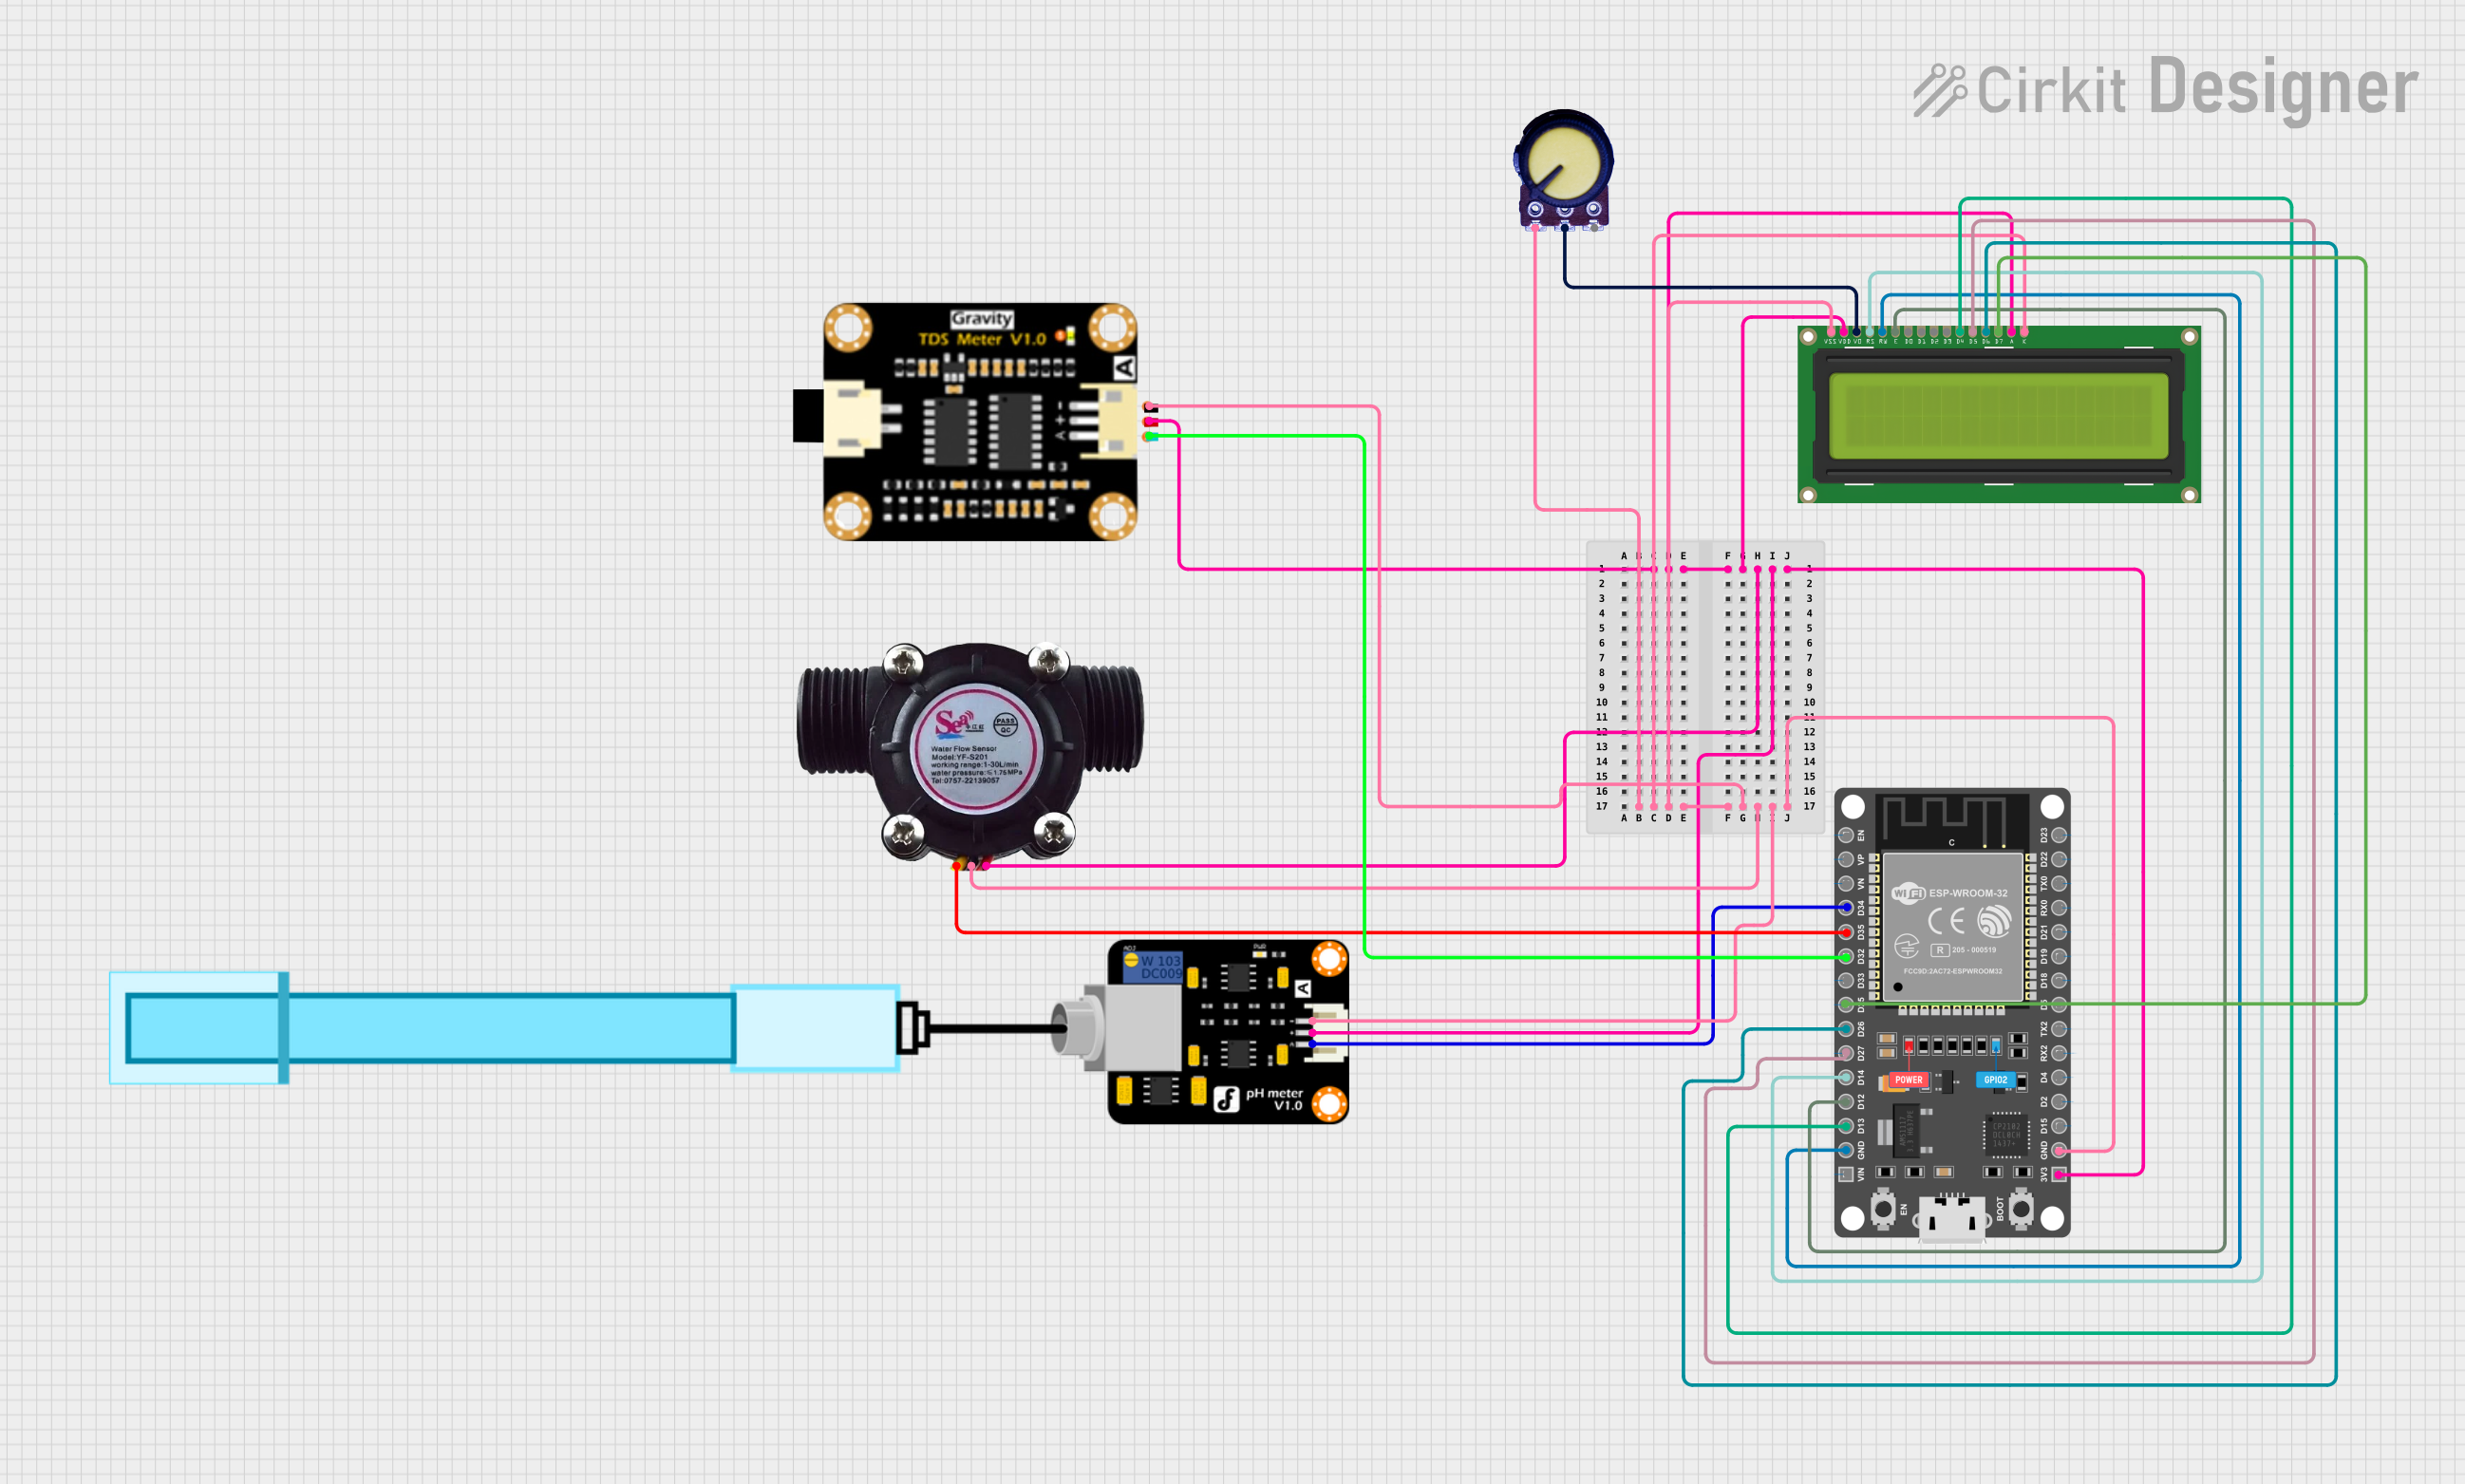 Open Project in Cirkit Designer
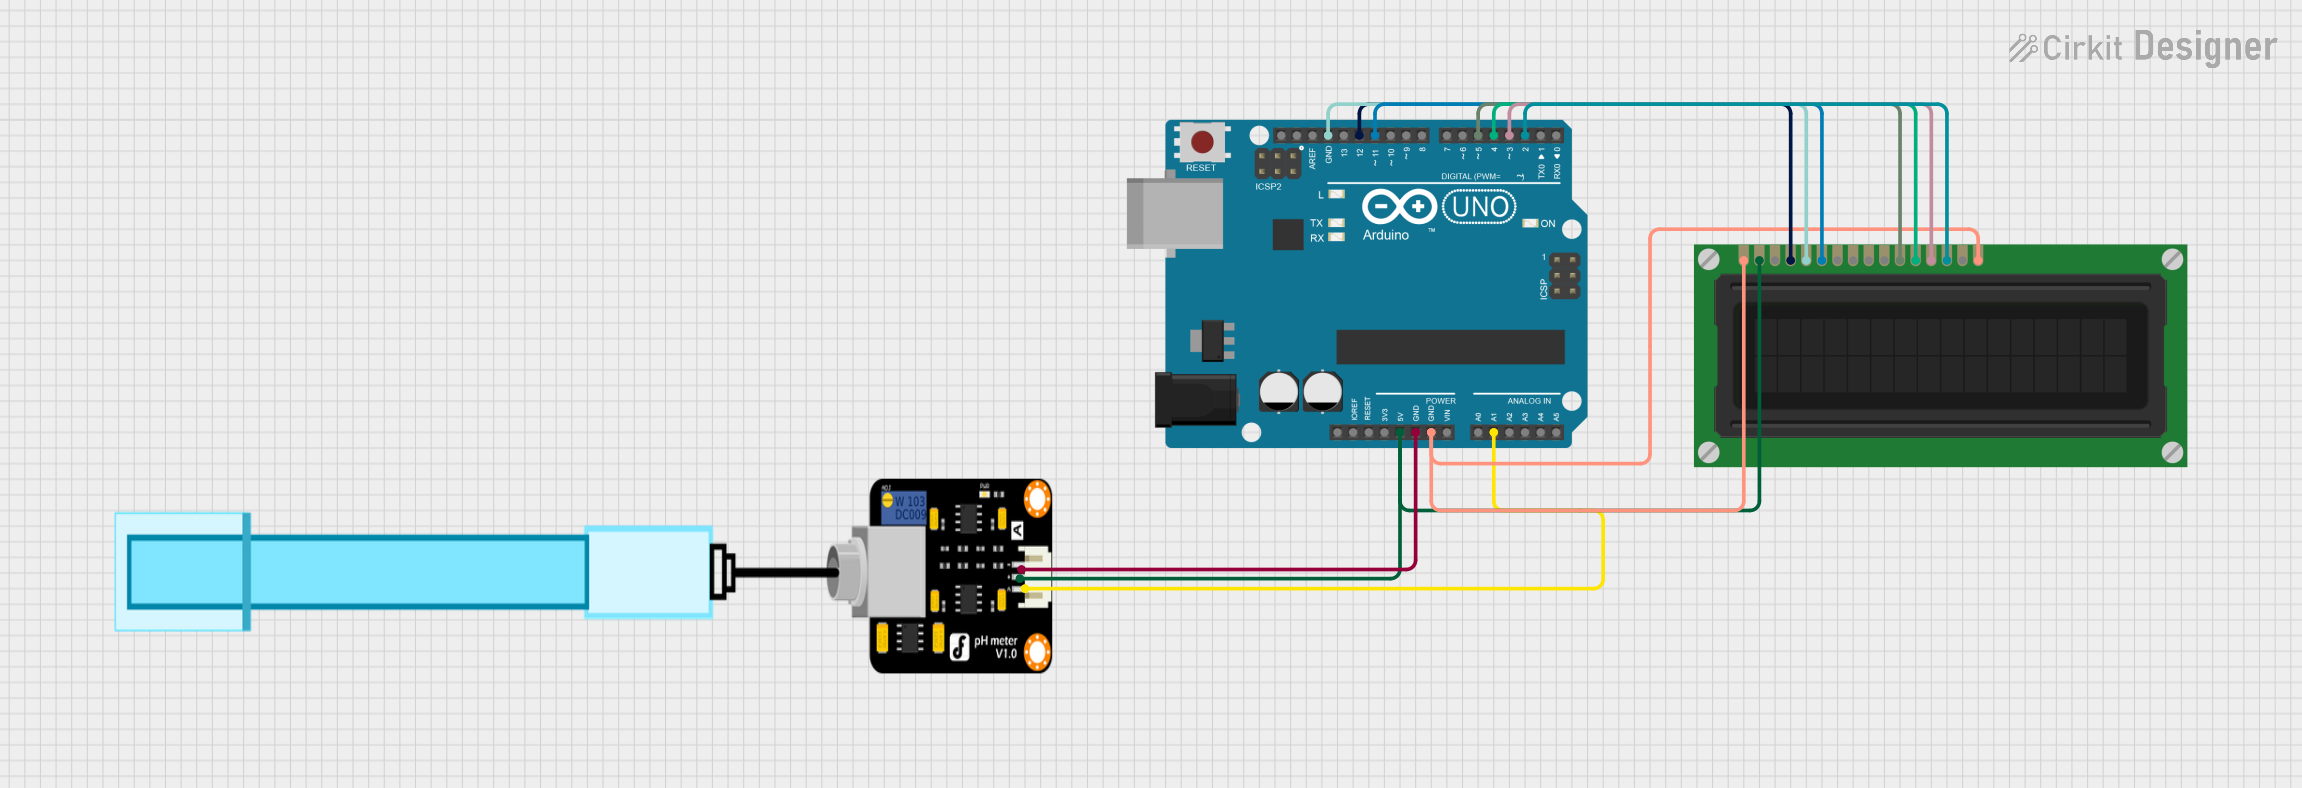 Open Project in Cirkit Designer
Explore Projects Built with PH Meter
Open Project in Cirkit DesignerOpen Project in Cirkit DesignerOpen Project in Cirkit DesignerOpen Project in Cirkit DesignerCommon Applications and Use Cases
- Monitoring water quality in aquariums, pools, and wastewater treatment plants.
- Soil pH testing for agriculture and gardening.
- Quality control in food and beverage production.
- Laboratory experiments in chemistry and biology.
- Industrial processes requiring precise pH control.
Technical Specifications
Below are the general technical specifications for a typical pH meter:
| Parameter | Specification |
|---|---|
| Measurement Range | 0 to 14 pH |
| Accuracy | ±0.1 pH |
| Resolution | 0.01 pH |
| Operating Voltage | 3.3V to 5V DC |
| Operating Temperature | 0°C to 50°C |
| Probe Type | Glass electrode with BNC connector |
| Output Signal | Analog voltage (0-5V) |
Pin Configuration and Descriptions
The pH meter module typically has the following pin configuration:
| Pin Name | Description |
|---|---|
| VCC | Power supply input (3.3V to 5V DC) |
| GND | Ground connection |
| AO | Analog output signal proportional to pH value |
| DO (optional) | Digital output for threshold-based pH detection |
Usage Instructions
How to Use the PH Meter in a Circuit
Connect the Module:
- Connect the
VCCpin to a 3.3V or 5V power source. - Connect the
GNDpin to the ground of your circuit. - Connect the
AOpin to an analog input pin of your microcontroller (e.g., Arduino UNO).
- Connect the
Calibrate the pH Meter:
- Use standard buffer solutions (e.g., pH 4.0, pH 7.0, and pH 10.0) to calibrate the pH meter.
- Adjust the potentiometer on the module to fine-tune the output for accurate readings.
Measure pH:
- Immerse the pH probe in the solution to be tested.
- Read the analog voltage output from the
AOpin and convert it to a pH value using the appropriate formula or calibration data.
Important Considerations and Best Practices
- Always rinse the pH probe with distilled water before and after use to prevent contamination.
- Store the pH probe in a storage solution when not in use to maintain its accuracy and longevity.
- Avoid exposing the probe to extreme temperatures or harsh chemicals.
- Periodically recalibrate the pH meter to ensure consistent accuracy.
Example Code for Arduino UNO
Below is an example of how to interface a pH meter with an Arduino UNO:
// Define the analog pin connected to the pH meter's AO pin
const int pH_Pin = A0;

// Variable to store the analog reading
int analogValue = 0;

// Function to convert analog reading to pH value
float calculatePH(int analogValue) {
  // Convert the analog value (0-1023) to voltage (0-5V)
  float voltage = analogValue * (5.0 / 1023.0);

  // Convert voltage to pH value using calibration data
  // Example: Assuming 0V = pH 0 and 5V = pH 14
  float pH = voltage * 14.0 / 5.0;

  return pH;
}

void setup() {
  // Initialize serial communication for debugging
  Serial.begin(9600);
}

void loop() {
  // Read the analog value from the pH meter
  analogValue = analogRead(pH_Pin);

  // Calculate the pH value
  float pH = calculatePH(analogValue);

  // Print the pH value to the Serial Monitor
  Serial.print("pH Value: ");
  Serial.println(pH);

  // Wait for 1 second before the next reading
  delay(1000);
}
Troubleshooting and FAQs
Common Issues and Solutions
Inaccurate Readings:
- Cause: The pH meter is not calibrated.
- Solution: Calibrate the pH meter using standard buffer solutions.
No Output or Fluctuating Values:
- Cause: Loose or incorrect connections.
- Solution: Check all connections and ensure the probe is securely attached.
Probe Not Responding:
- Cause: The probe is dry or damaged.
- Solution: Soak the probe in a storage solution for a few hours. Replace the probe if it is damaged.
Output Stuck at a Fixed Value:
- Cause: Faulty module or probe.
- Solution: Test the module with a different probe or replace the module.
FAQs
Q1: How often should I calibrate my pH meter?
A1: It is recommended to calibrate the pH meter before each use for critical applications or at least once a week for general use.
Q2: Can I use tap water to rinse the probe?
A2: It is better to use distilled water to avoid contamination and mineral deposits on the probe.
Q3: What is the lifespan of a pH probe?
A3: A typical pH probe lasts 1-2 years with proper care and maintenance.
Q4: Can I use the pH meter for high-temperature solutions?
A4: Most pH meters are designed for temperatures up to 50°C. Check the specifications of your probe before use.