How to Use 12v Solar Charger: Examples, Pinouts, and Specs
12V Solar Charger Documentation
1. Introduction
The 12V Solar Charger is an electronic device designed to convert solar energy into electrical energy, typically used to charge 12V batteries or directly power 12V devices. It is an essential component in renewable energy systems, enabling efficient energy storage and usage. The charger regulates the voltage and current from solar panels to ensure safe and optimal charging of batteries, preventing overcharging or damage.
Common Applications:
- Charging 12V lead-acid, lithium-ion, or LiFePO4 batteries.
- Powering 12V DC devices such as lights, fans, or small appliances.
- Off-grid solar systems for homes, RVs, boats, and camping setups.
- Backup power systems and emergency energy solutions.
2. Technical Specifications
The following table outlines the key technical details of the 12V Solar Charger:
| Parameter | Value |
|---|---|
| Input Voltage Range | 15V - 24V (from solar panel) |
| Output Voltage | 12V (regulated) |
| Maximum Output Current | 10A |
| Efficiency | Up to 95% |
| Battery Compatibility | Lead-acid, Li-ion, LiFePO4 |
| Operating Temperature | -20°C to 60°C |
| Protection Features | Overcharge, Overcurrent, Reverse Polarity |
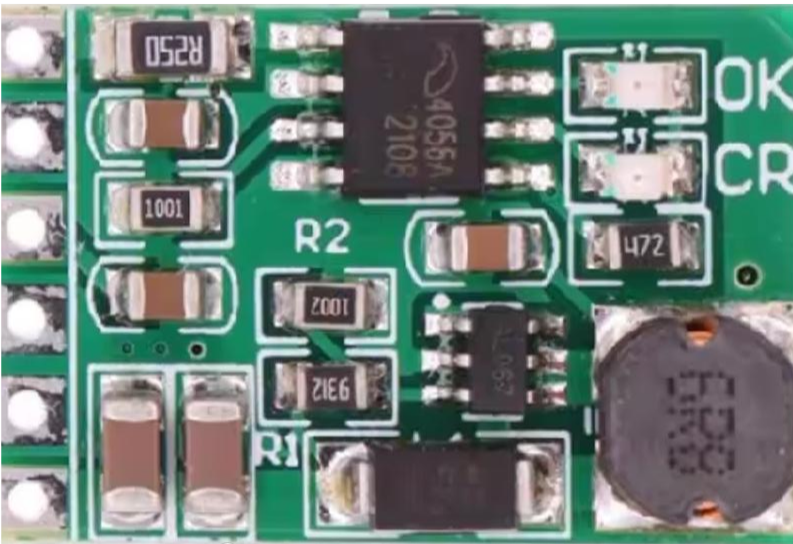
Pin Configuration and Descriptions
| Pin/Terminal | Label | Description |
|---|---|---|
| 1 | Solar Input (+) | Positive terminal for connecting the solar panel. |
| 2 | Solar Input (-) | Negative terminal for connecting the solar panel. |
| 3 | Battery (+) | Positive terminal for connecting the battery. |
| 4 | Battery (-) | Negative terminal for connecting the battery. |
| 5 | Load (+) | Positive terminal for connecting a 12V load (optional). |
| 6 | Load (-) | Negative terminal for connecting a 12V load (optional). |
| 7 | LED Indicators | Status LEDs for charging, battery full, and fault conditions (varies by model). |
3. Usage Instructions
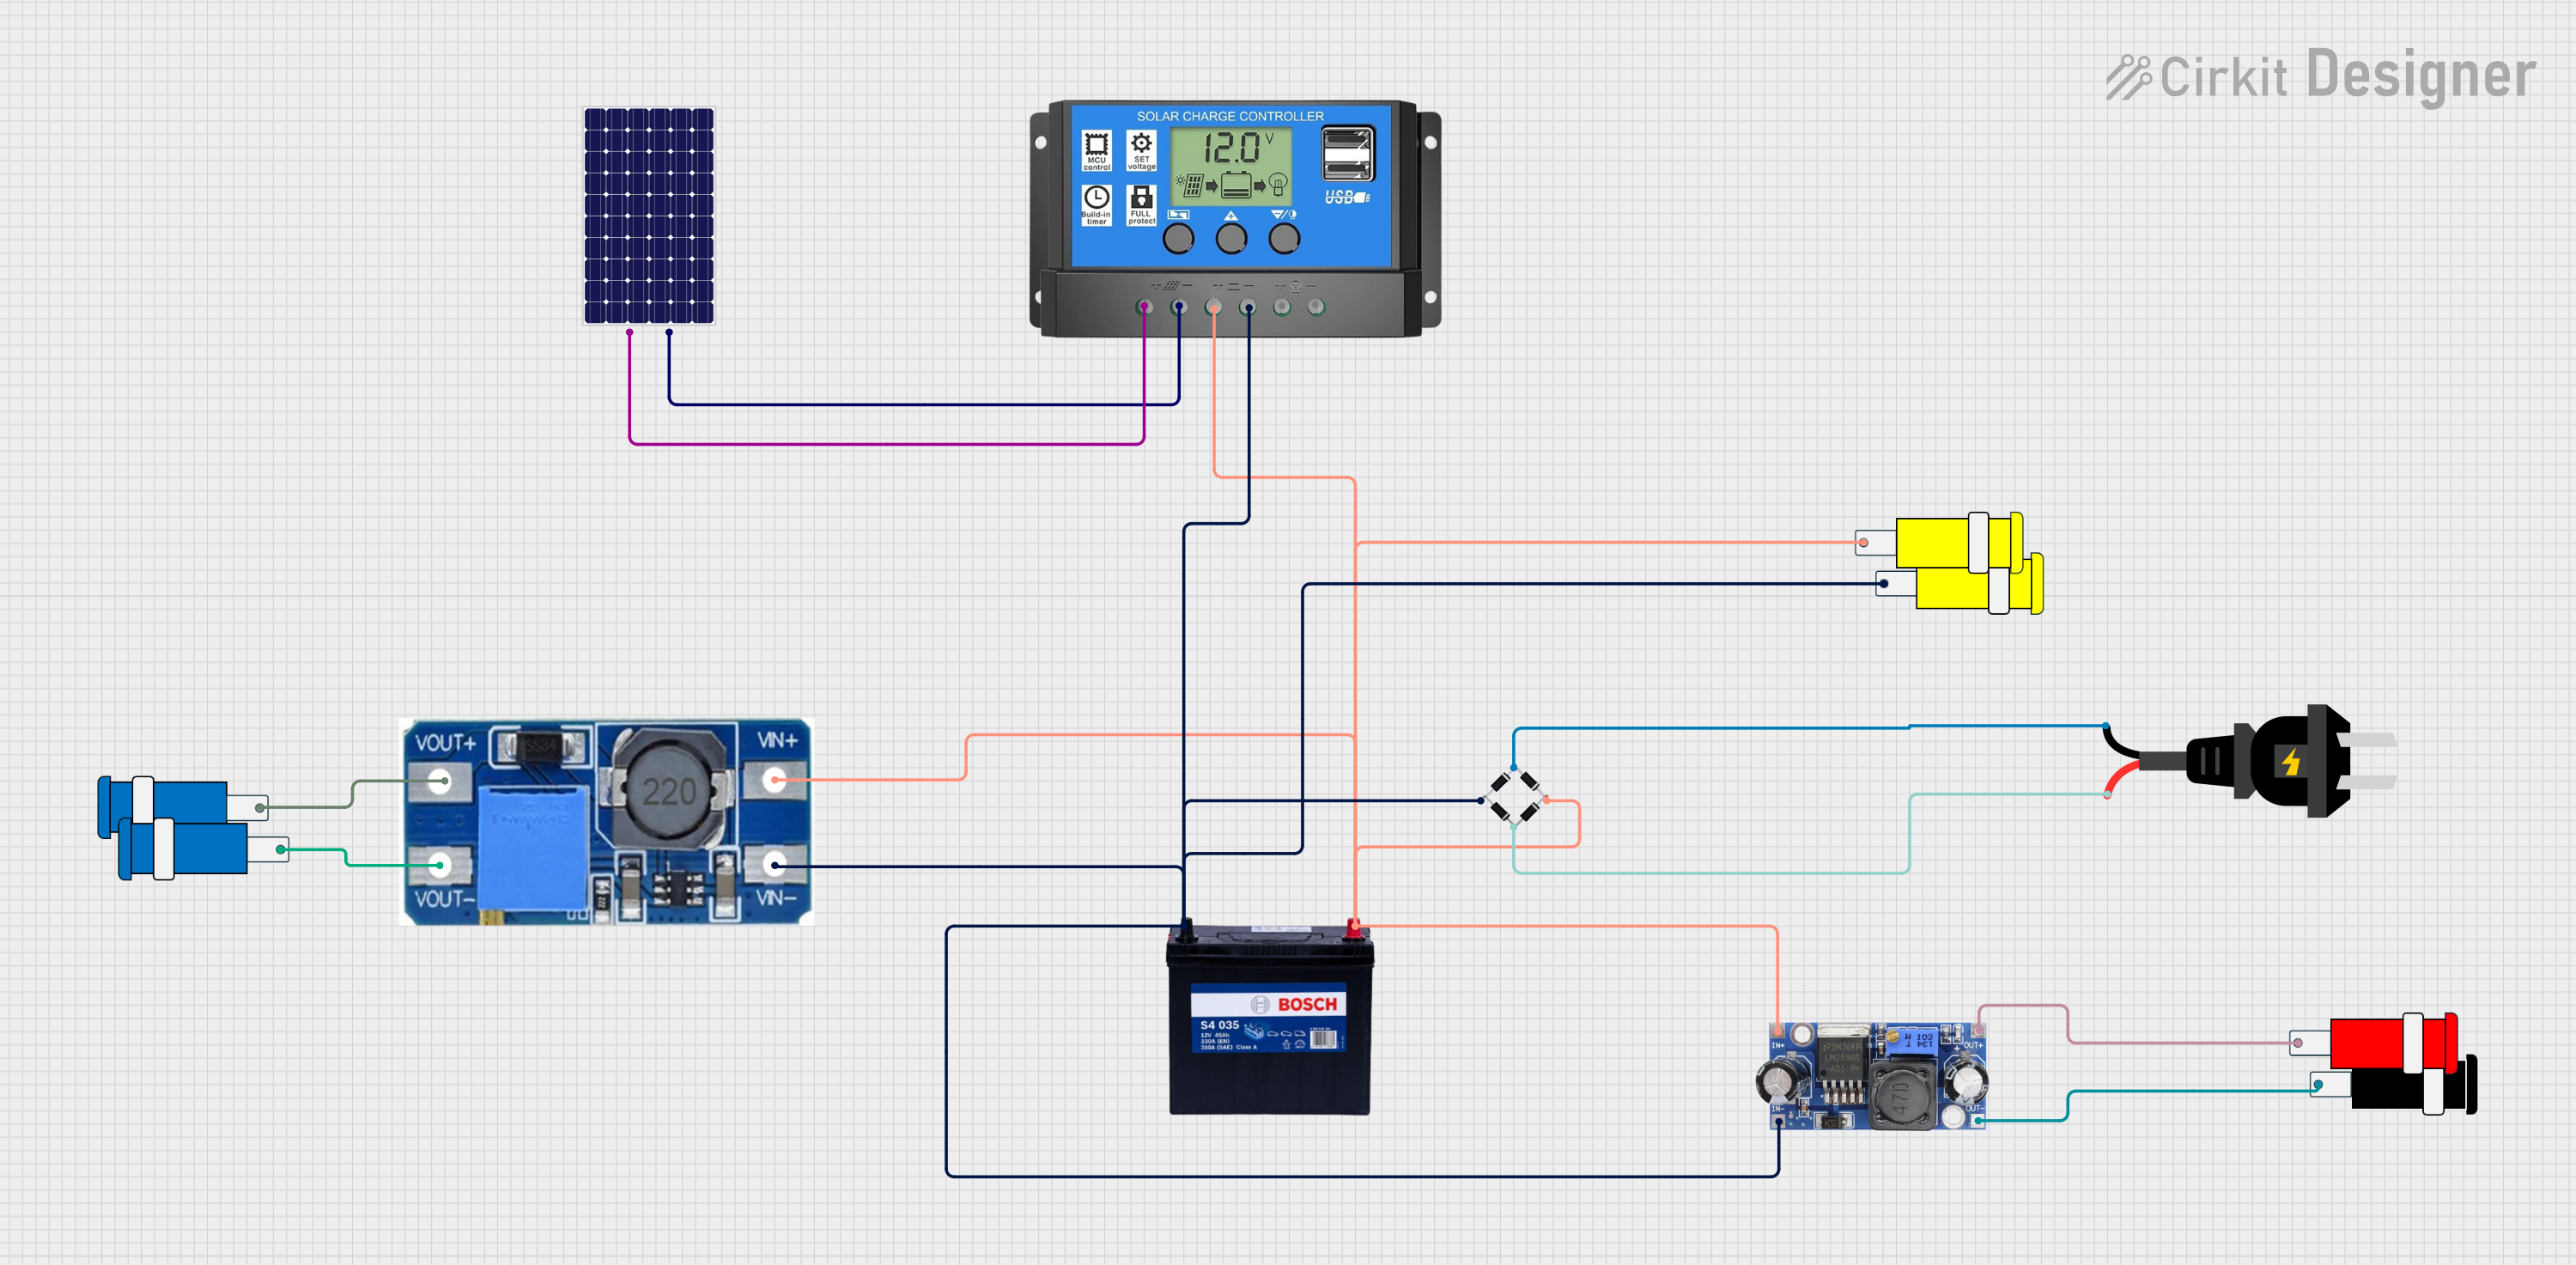
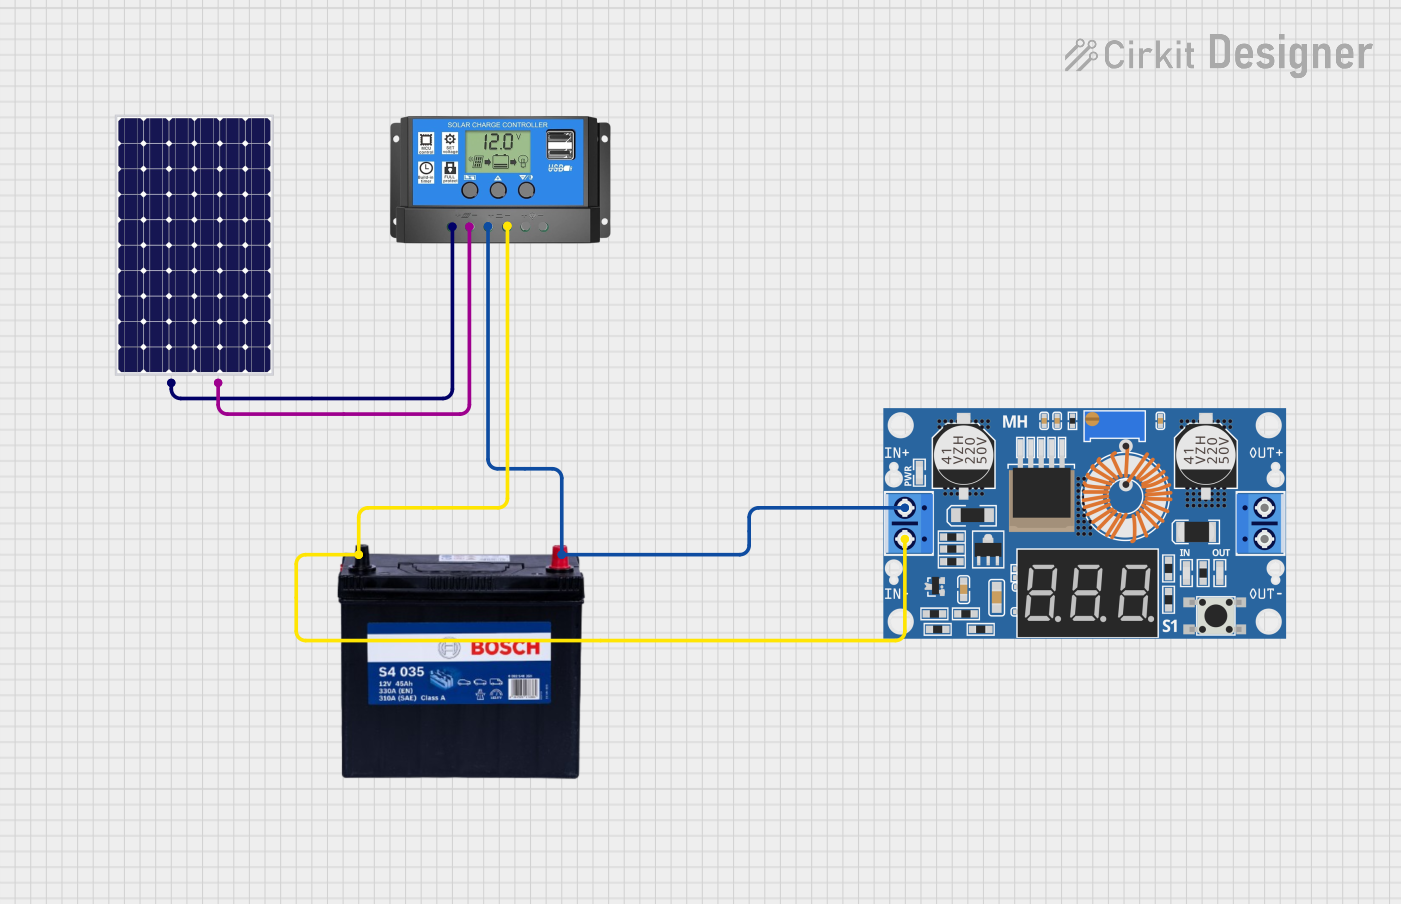
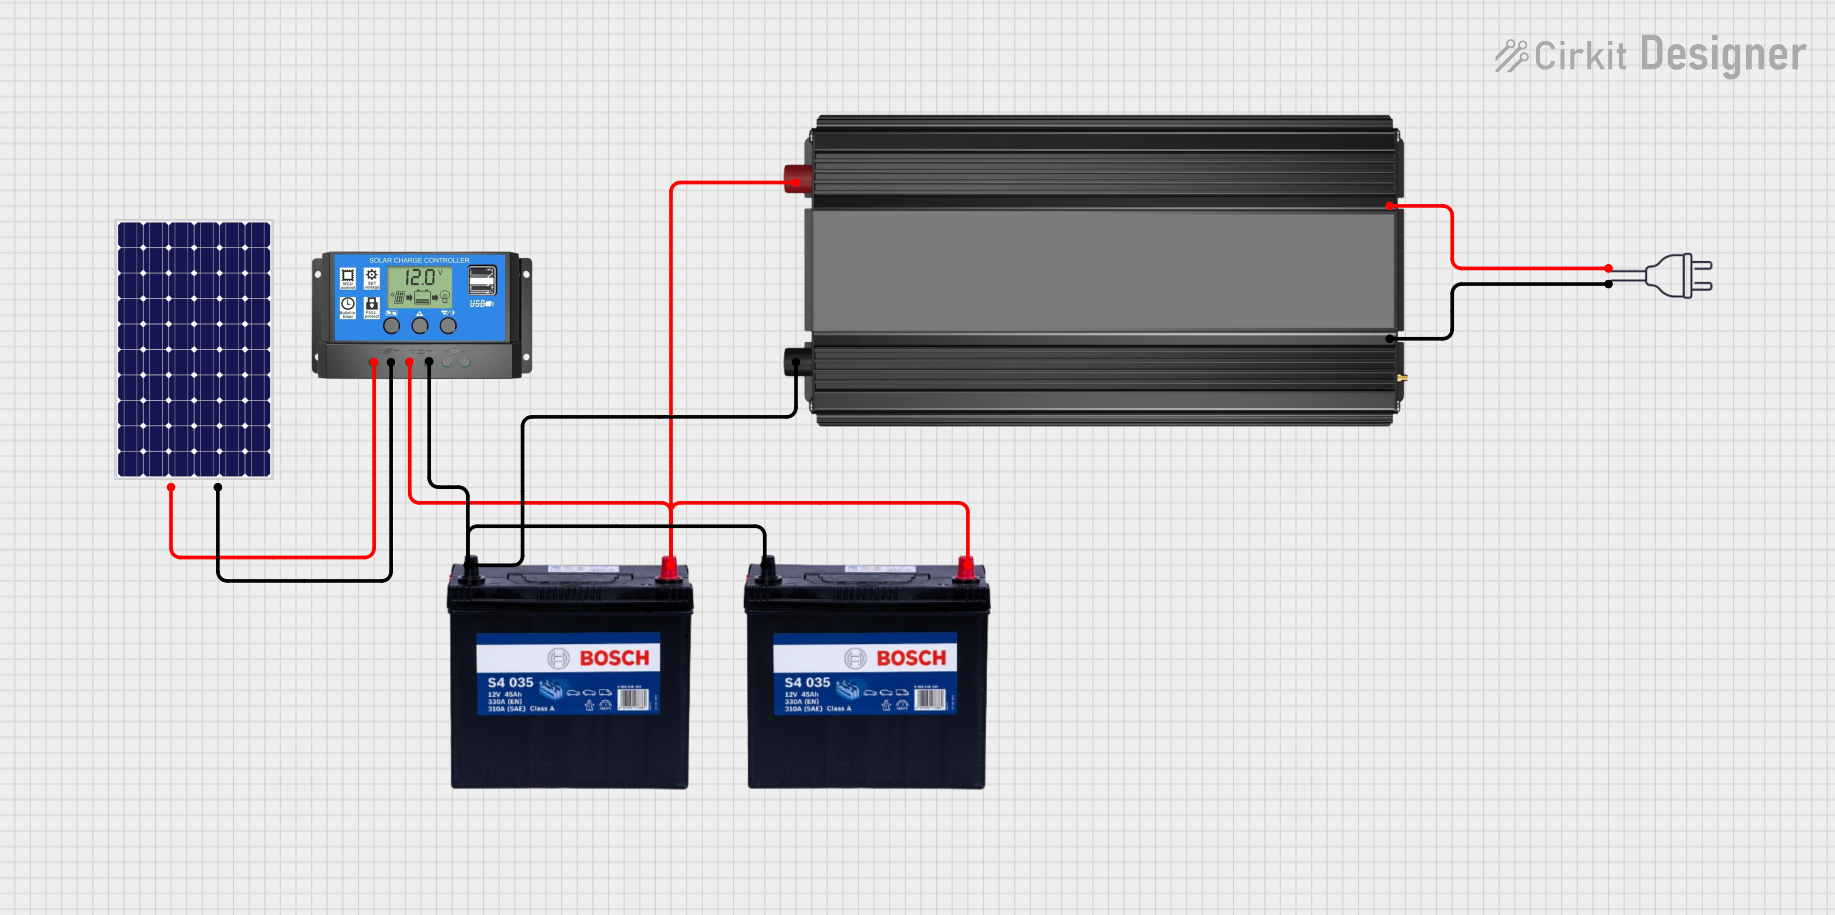
Connecting the 12V Solar Charger
Connect the Solar Panel:
- Attach the positive wire of the solar panel to the
Solar Input (+)terminal. - Attach the negative wire of the solar panel to the
Solar Input (-)terminal. - Ensure the solar panel's voltage is within the charger's input range (15V - 24V).
- Attach the positive wire of the solar panel to the
Connect the Battery:
- Attach the positive terminal of the battery to the
Battery (+)terminal. - Attach the negative terminal of the battery to the
Battery (-)terminal. - Ensure the battery is compatible with the charger (e.g., 12V lead-acid or lithium-ion).
- Attach the positive terminal of the battery to the
Optional: Connect a Load:
- If you wish to power a 12V device directly, connect the device's positive wire to the
Load (+)terminal and the negative wire to theLoad (-)terminal.
- If you wish to power a 12V device directly, connect the device's positive wire to the
Power On:
- Place the solar panel in direct sunlight to begin charging. The LED indicators will show the charging status.
Important Considerations:
- Polarity: Always double-check the polarity of connections to avoid damage.
- Battery Type: Configure the charger (if applicable) for the specific battery type being used.
- Shading: Ensure the solar panel is not shaded, as this will reduce charging efficiency.
- Ventilation: Place the charger in a well-ventilated area to prevent overheating.
4. Example Arduino Integration
The 12V Solar Charger can be monitored using an Arduino UNO to track battery voltage and charging status. Below is an example code to read the battery voltage using an analog input pin.
Circuit Setup:
- Connect the
Battery (+)terminal to the Arduino's analog input pin (e.g., A0) through a voltage divider (to scale 12V down to 5V). - Connect the
Battery (-)terminal to the Arduino's GND.
Code Example:
// 12V Solar Charger Monitoring with Arduino
// Reads battery voltage and displays it on the Serial Monitor

const int batteryPin = A0; // Analog pin connected to the voltage divider
const float voltageDividerRatio = 5.0 / 12.0; // Adjust based on your resistor values
const float referenceVoltage = 5.0; // Arduino's reference voltage (5V)

void setup() {
  Serial.begin(9600); // Initialize serial communication at 9600 baud
}

void loop() {
  int analogValue = analogRead(batteryPin); // Read the analog input
  float batteryVoltage = (analogValue * referenceVoltage / 1023.0) / voltageDividerRatio;

  // Print the battery voltage to the Serial Monitor
  Serial.print("Battery Voltage: ");
  Serial.print(batteryVoltage);
  Serial.println(" V");

  delay(1000); // Wait for 1 second before the next reading
}
Notes:
- Use appropriate resistor values for the voltage divider to ensure the Arduino pin receives a safe voltage (below 5V).
- The
voltageDividerRatioshould be calculated based on the resistor values used.
5. Troubleshooting and FAQs
Common Issues and Solutions
| Issue | Possible Cause | Solution |
|---|---|---|
| No charging occurs | Solar panel not connected or insufficient sunlight | Check solar panel connections and ensure it is in direct sunlight. |
| Battery not charging fully | Incorrect battery type or settings | Verify battery compatibility and configure the charger for the correct type. |
| Overheating of the charger | Poor ventilation or excessive current draw | Place the charger in a well-ventilated area and reduce the load. |
| LED indicators not working | Faulty connections or damaged LEDs | Check all connections and replace damaged LEDs if necessary. |
Frequently Asked Questions (FAQs)
Can I use this charger with a 24V battery?
- No, this charger is specifically designed for 12V batteries. Using it with a 24V battery may cause damage.
What happens if the solar panel voltage drops below 15V?
- The charger may stop charging the battery if the input voltage is too low. Ensure the solar panel receives adequate sunlight.
Can I connect multiple batteries to this charger?
- It is recommended to charge one battery at a time unless the batteries are connected in parallel and have the same specifications.
How do I know if the battery is fully charged?
- Most chargers have an LED indicator that lights up when the battery is fully charged. Refer to the charger's manual for details.
This documentation provides a comprehensive guide to using the 12V Solar Charger effectively. For further assistance, consult the manufacturer's manual or contact technical support.
Explore Projects Built with 12v Solar Charger

Explore Projects Built with 12v Solar Charger