How to Use 5 Volt Powerbank: Examples, Pinouts, and Specs
Introduction
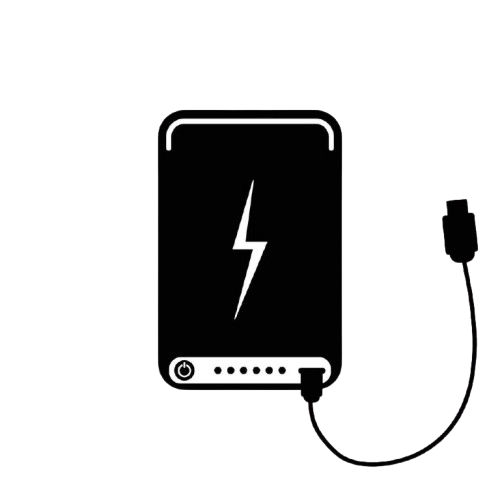
The 5 Volt Powerbank is a portable battery pack designed to provide a stable 5-volt output for charging or powering electronic devices. It is commonly used with smartphones, tablets, USB-powered gadgets, and small electronic projects. Its compact design and rechargeable nature make it an essential tool for on-the-go power needs. Additionally, it can serve as a reliable power source for prototyping and powering low-power microcontroller-based circuits.
Explore Projects Built with 5 Volt Powerbank


Explore Projects Built with 5 Volt Powerbank
Common Applications and Use Cases
- Charging smartphones, tablets, and other USB-powered devices.
- Powering small electronic projects, such as Arduino or Raspberry Pi boards.
- Emergency backup power for portable devices.
- Portable power for USB-powered LED lights or fans.
- Field testing and prototyping of low-power circuits.
Technical Specifications
The following table outlines the key technical details of a typical 5 Volt Powerbank:
| Parameter | Specification |
|---|---|
| Output Voltage | 5V DC |
| Output Current | Typically 1A to 2.4A (varies by model) |
| Input Voltage | 5V DC (via micro-USB, USB-C, or Lightning) |
| Battery Capacity | 2,000mAh to 20,000mAh (varies by model) |
| Charging Time | 2 to 10 hours (depending on capacity) |
| Output Ports | 1 to 3 USB-A or USB-C ports |
| Protection Features | Overcharge, overcurrent, short-circuit |
| Dimensions | Varies (e.g., 90mm x 60mm x 20mm) |
| Weight | Varies (e.g., 150g to 400g) |
Pin Configuration and Descriptions
The 5 Volt Powerbank typically has the following ports and indicators:
| Port/Indicator | Description |
|---|---|
| USB-A Output Port | Provides 5V DC output for charging or powering devices. |
| USB-C Output Port (optional) | Provides 5V DC output; may support higher current for fast charging. |
| Micro-USB Input Port | Used to charge the powerbank's internal battery. |
| USB-C Input Port (optional) | Alternative input for charging the powerbank. |
| LED Indicators | Displays battery charge level (e.g., 4 LEDs for 25%, 50%, 75%, 100%). |
| Power Button | Turns the powerbank on/off or activates the charge level indicator. |
Usage Instructions
How to Use the 5 Volt Powerbank in a Circuit
Charging the Powerbank:
- Connect the input port (micro-USB or USB-C) to a 5V USB power source using a compatible cable.
- Ensure the power source provides sufficient current (e.g., 1A or higher) for efficient charging.
- Monitor the LED indicators to check the charging progress.
Powering a Device:
- Connect the USB-A or USB-C output port to the device using a suitable cable.
- Ensure the device's power requirements do not exceed the powerbank's output current rating.
- Press the power button (if required) to start the power output.
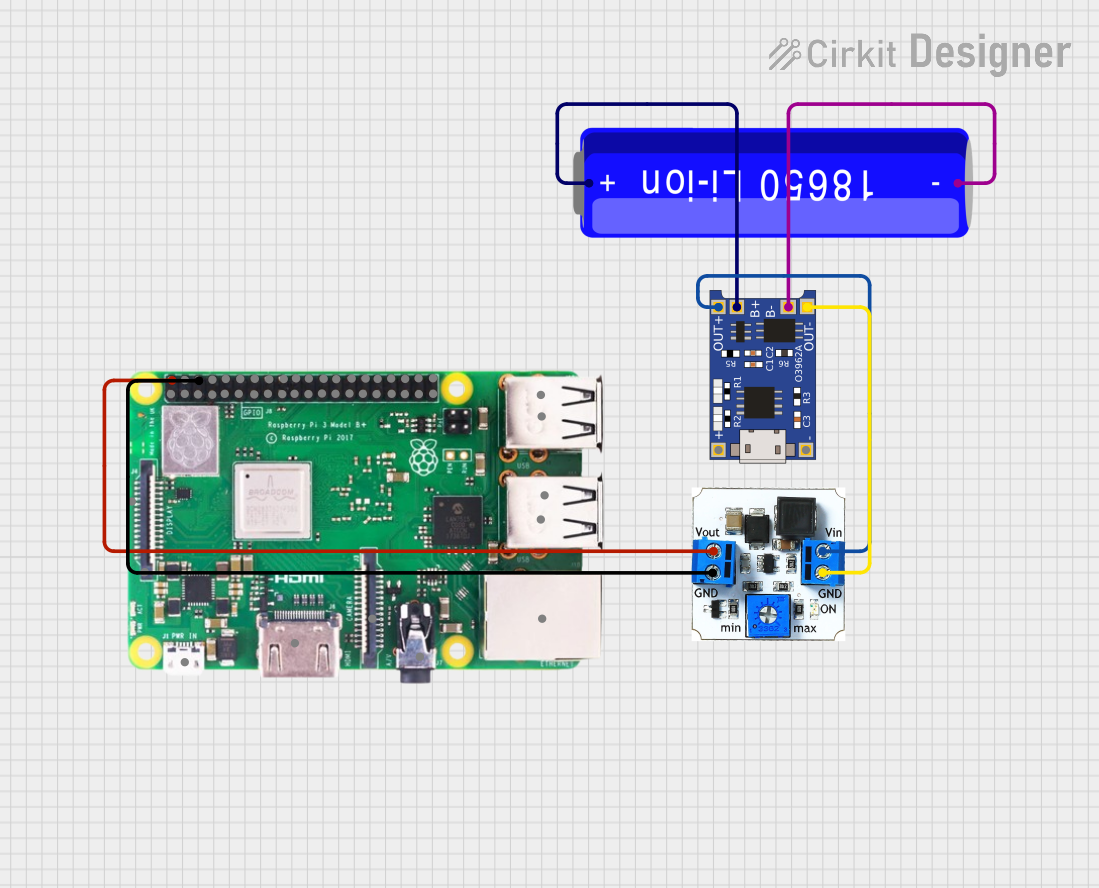
Using with Microcontrollers (e.g., Arduino UNO):
- Connect the Arduino UNO's USB port to the powerbank's USB-A output using a USB cable.
- Ensure the powerbank is fully charged to avoid interruptions during operation.
- Example Arduino code to blink an LED while powered by the powerbank:
// Simple LED Blink Example
// This code blinks an LED connected to pin 13 of the Arduino UNO.
// Ensure the Arduino is powered by the 5V powerbank.

void setup() {
  pinMode(13, OUTPUT); // Set pin 13 as an output pin
}

void loop() {
  digitalWrite(13, HIGH); // Turn the LED on
  delay(1000);            // Wait for 1 second
  digitalWrite(13, LOW);  // Turn the LED off
  delay(1000);            // Wait for 1 second
}
Important Considerations and Best Practices
- Battery Capacity: Choose a powerbank with sufficient capacity for your application. For example, a 10,000mAh powerbank can charge a typical smartphone 2-3 times.
- Output Current: Ensure the powerbank's output current matches the requirements of your device. High-current devices may require a powerbank with 2A or higher output.
- Avoid Overloading: Do not connect devices that exceed the powerbank's maximum output current.
- Storage: Store the powerbank in a cool, dry place to prolong battery life.
- Safety: Use only high-quality cables and avoid exposing the powerbank to extreme temperatures or moisture.
Troubleshooting and FAQs
Common Issues and Solutions
| Issue | Possible Cause | Solution |
|---|---|---|
| Powerbank does not charge devices. | Powerbank is discharged. | Recharge the powerbank using a compatible charger. |
| Faulty USB cable. | Replace the USB cable with a working one. | |
| Device exceeds powerbank's output current. | Use a device with lower power requirements or a higher-capacity powerbank. | |
| Powerbank does not charge itself. | Faulty input cable or charger. | Replace the input cable or use a different charger. |
| Input port is damaged. | Inspect the port and consider professional repair if necessary. | |
| LED indicators do not light up. | Powerbank is completely discharged. | Charge the powerbank for several hours and check again. |
| Internal battery failure. | Contact the manufacturer for support or replacement. |
FAQs
Can I use the powerbank while it is charging?
- Some powerbanks support pass-through charging, but it is not recommended as it may reduce battery lifespan.
How do I know when the powerbank is fully charged?
- The LED indicators will typically stop blinking and remain solid when the powerbank is fully charged.
Can I use the powerbank to power an Arduino project continuously?
- Yes, as long as the powerbank has sufficient charge and the project does not exceed the powerbank's output current.
What happens if I connect a device that requires more current than the powerbank can provide?
- The powerbank may shut down to protect itself, or the device may not function properly. Always check the power requirements of your device.
By following this documentation, you can effectively use a 5 Volt Powerbank for a variety of applications while ensuring safety and optimal performance.