
How to Use Jumper: Examples, Pinouts, and Specs
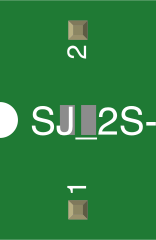
 Design with Jumper in Cirkit Designer
Introduction
A jumper is a short length of wire or a small connector used to establish an electrical connection between two points in a circuit. Jumpers are commonly used in prototyping, breadboarding, and configuring hardware settings. They are essential for creating temporary or semi-permanent connections without the need for soldering.
Explore Projects Built with Jumper
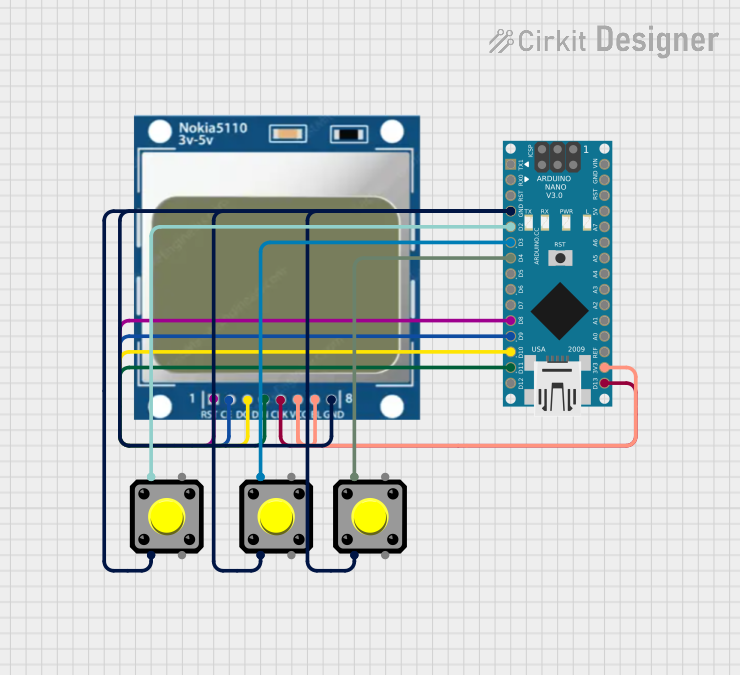 Open Project in Cirkit Designer
 Open Project in Cirkit Designer
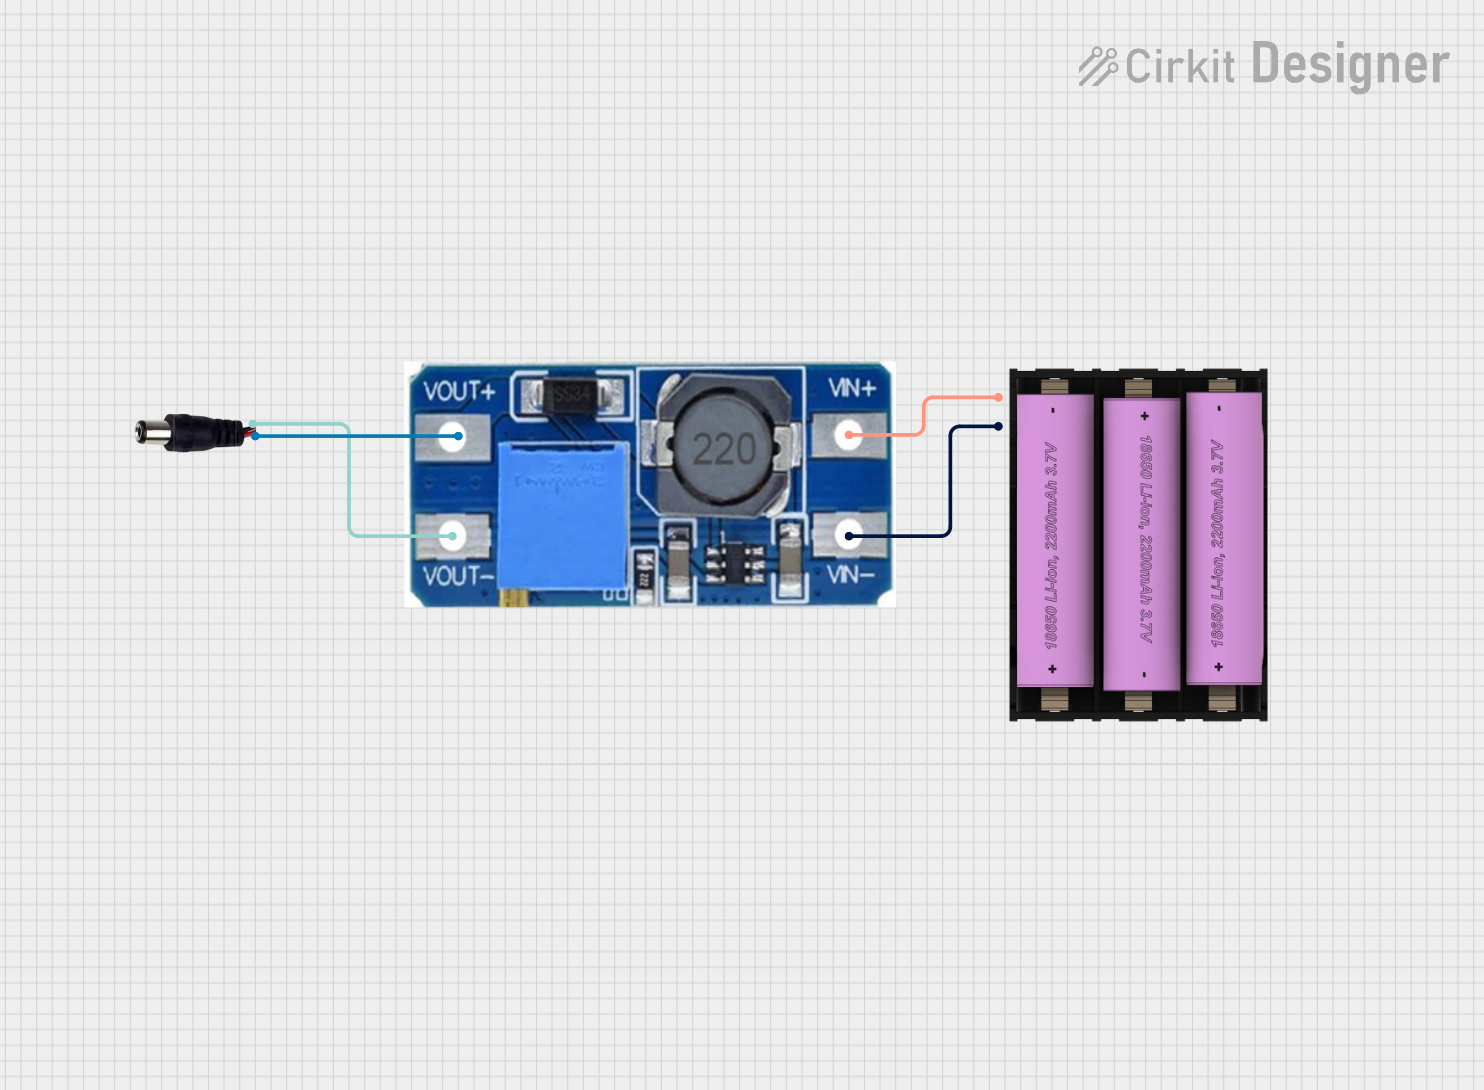 Open Project in Cirkit Designer
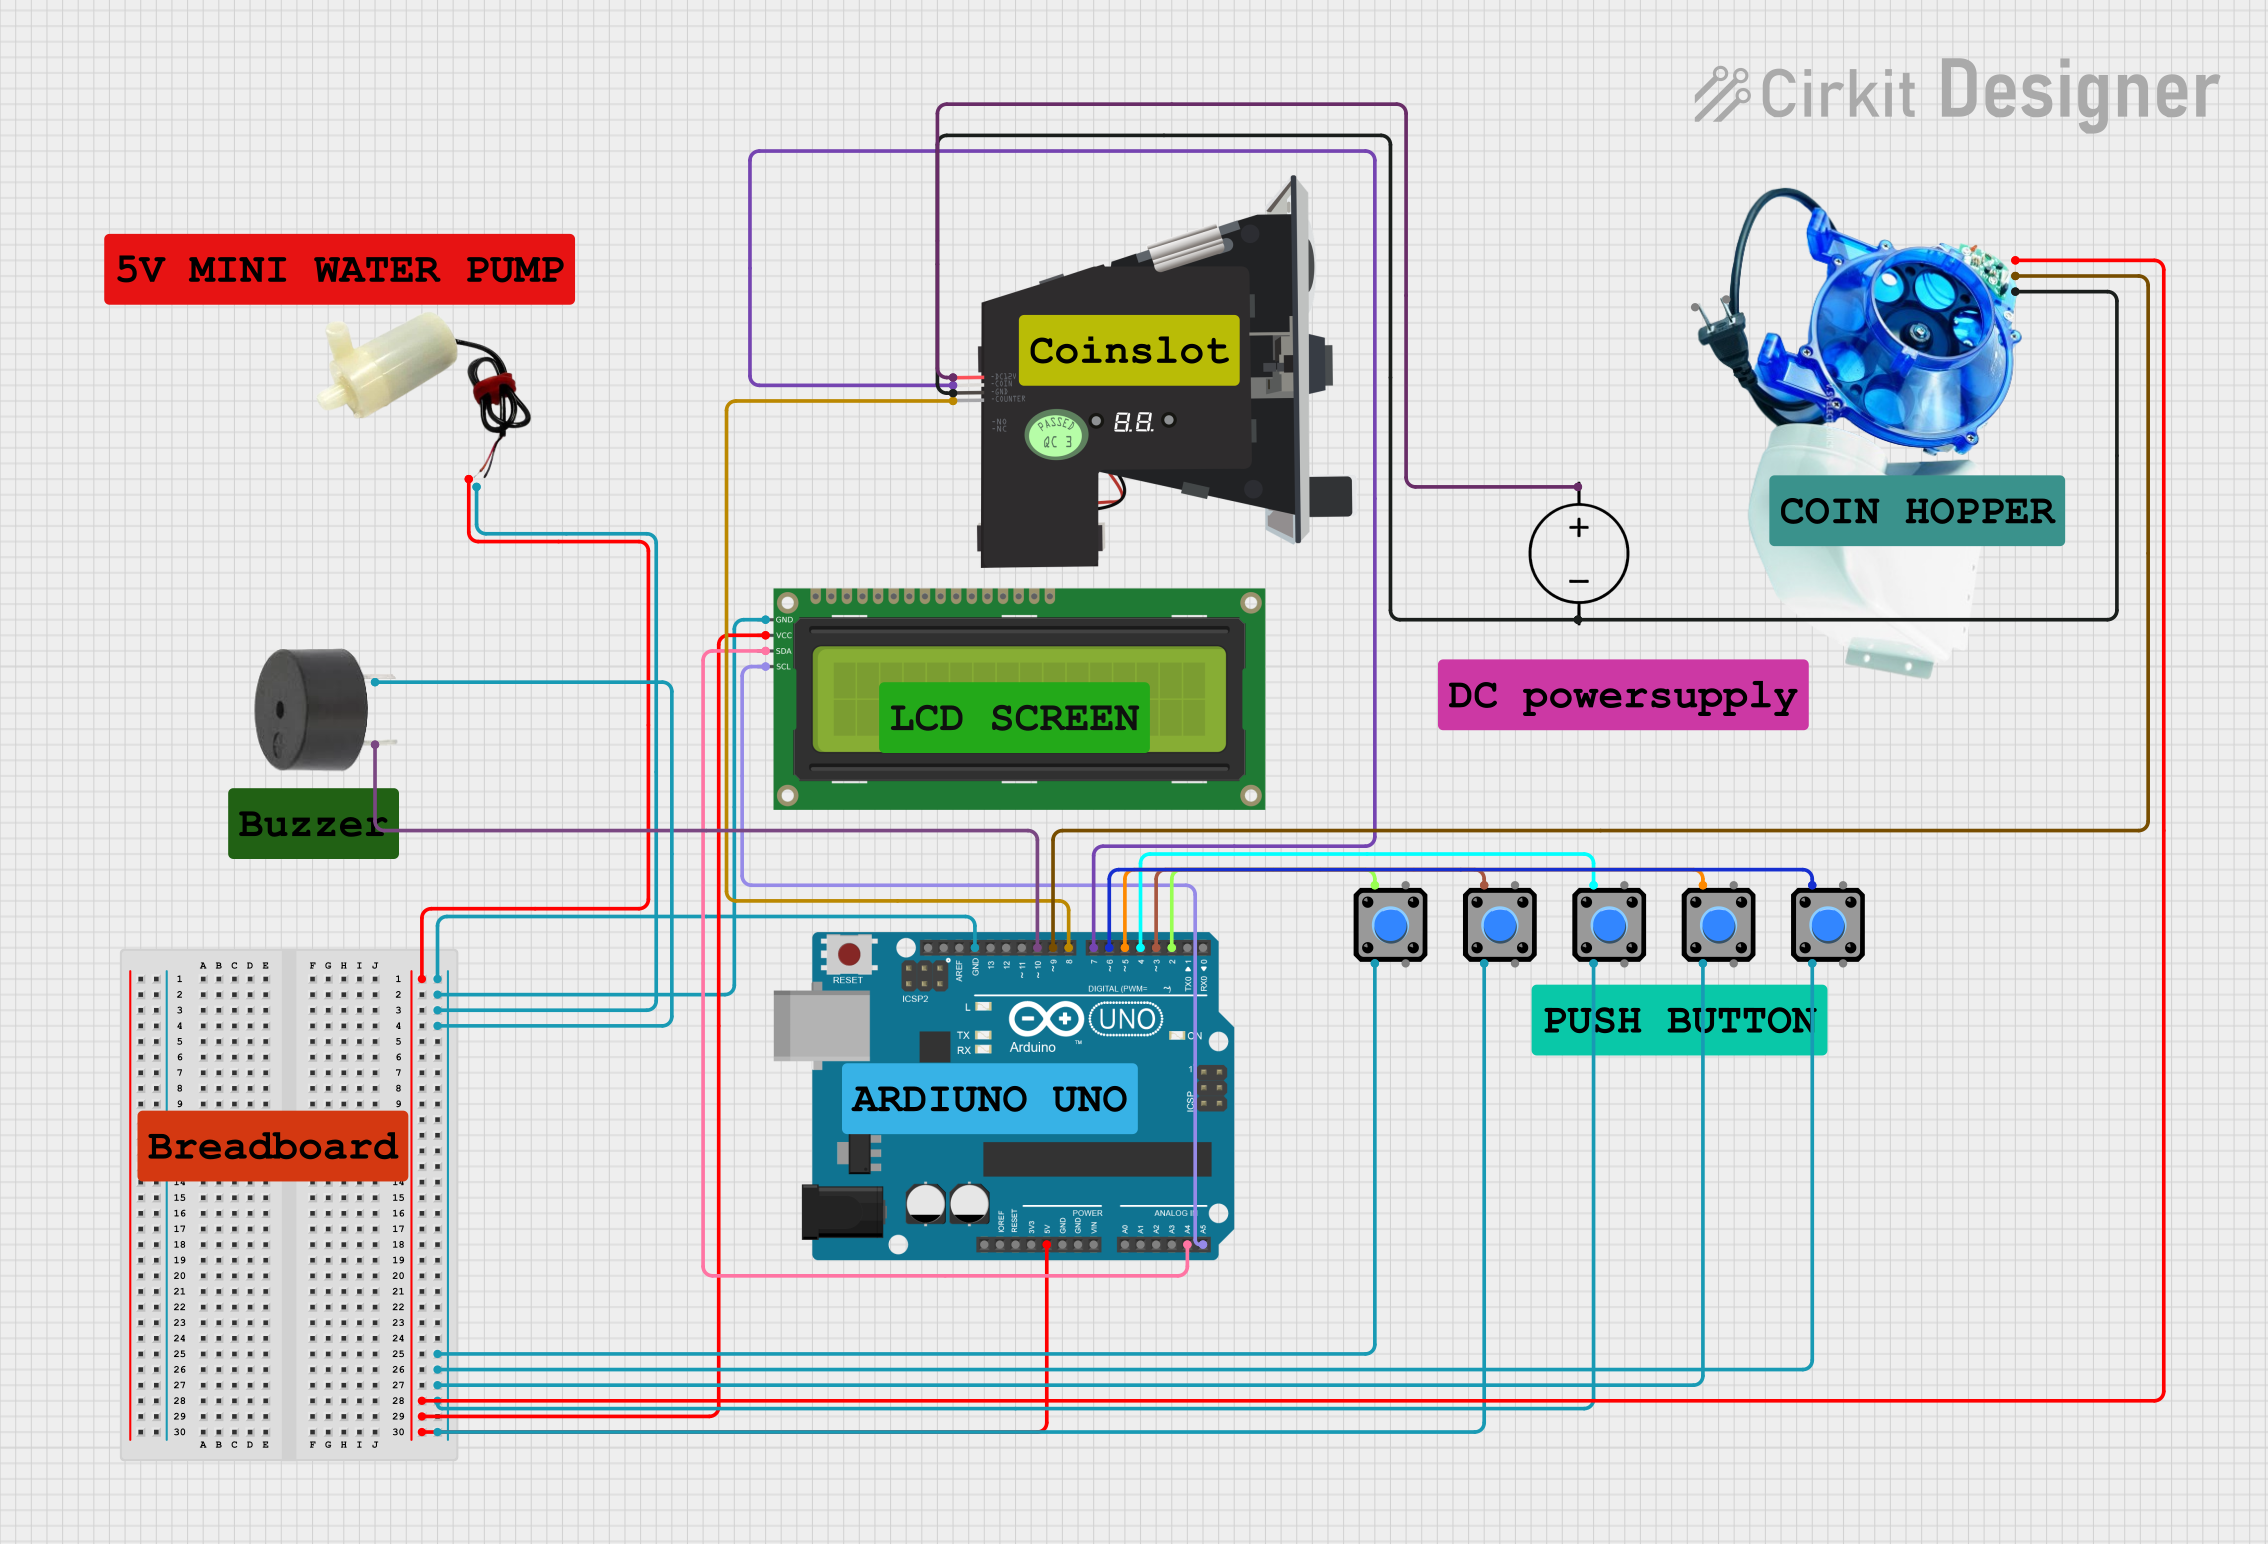 Open Project in Cirkit Designer
Explore Projects Built with Jumper
Open Project in Cirkit DesignerOpen Project in Cirkit DesignerOpen Project in Cirkit DesignerOpen Project in Cirkit DesignerCommon Applications and Use Cases
- Prototyping and Breadboarding: Connecting components on a breadboard for testing and experimentation.
- Hardware Configuration: Setting options on devices like motherboards or hard drives.
- Circuit Debugging: Bypassing sections of a circuit for troubleshooting.
- Educational Projects: Teaching basic electronics and circuit design.
Technical Specifications
Jumpers come in various forms, such as pre-cut wires with pin connectors, solderless connectors, or simple bare wires. Below are the general specifications for common jumper wires:
General Specifications
| Parameter | Details |
|---|---|
| Wire Type | Solid core or stranded wire |
| Connector Type | Male-to-Male, Male-to-Female, Female-to-Female |
| Wire Gauge | Typically 22 AWG (American Wire Gauge) |
| Length | Common lengths: 10 cm, 20 cm, 30 cm, or custom |
| Insulation Material | PVC or silicone |
| Voltage Rating | Up to 300V (varies by manufacturer) |
| Current Rating | Typically 1A to 3A |
| Temperature Range | -40°C to 80°C (varies by insulation material) |
Pin Configuration and Descriptions
Jumpers do not have a fixed pin configuration, but their connectors can be categorized as follows:
| Connector Type | Description |
|---|---|
| Male Pin | A solid metal pin that fits into female headers or breadboard holes. |
| Female Socket | A hollow connector that accepts male pins. |
| Bare Wire | Exposed wire ends for direct soldering or connection to screw terminals. |
Usage Instructions
How to Use a Jumper in a Circuit
- Identify Connection Points: Determine the two points in the circuit that need to be connected.
- Select the Appropriate Jumper:
- Use Male-to-Male jumpers for breadboards.
- Use Male-to-Female or Female-to-Female jumpers for connecting to headers or pins.
- Insert the Jumper:
- For breadboards, insert the male pins into the desired holes.
- For headers, connect the female socket to the corresponding male pin.
- Verify the Connection: Ensure the jumper is securely connected and there is no loose contact.
Important Considerations and Best Practices
- Avoid Overloading: Ensure the jumper wire's current rating is not exceeded to prevent overheating.
- Use Proper Lengths: Avoid excessively long jumpers to minimize resistance and potential signal interference.
- Organize Wires: Use color-coded jumpers (e.g., red for power, black for ground) to keep circuits organized.
- Check Insulation: Ensure the insulation is intact to prevent short circuits.
Example: Using Jumpers with an Arduino UNO
Jumpers are commonly used to connect sensors, modules, or other components to an Arduino UNO. Below is an example of connecting an LED to an Arduino using jumpers:
Circuit Setup
- Connect the long leg (anode) of the LED to a 220-ohm resistor.
- Use a Male-to-Male jumper to connect the resistor to pin 13 on the Arduino.
- Use another jumper to connect the short leg (cathode) of the LED to GND on the Arduino.
Arduino Code
// Simple LED Blink Example
// This code blinks an LED connected to pin 13 of the Arduino UNO.

void setup() {
  pinMode(13, OUTPUT); // Set pin 13 as an output pin
}

void loop() {
  digitalWrite(13, HIGH); // Turn the LED on
  delay(1000);            // Wait for 1 second
  digitalWrite(13, LOW);  // Turn the LED off
  delay(1000);            // Wait for 1 second
}
Troubleshooting and FAQs
Common Issues
Loose Connections:
- Problem: The jumper wire is not securely connected, causing intermittent behavior.
- Solution: Ensure the jumper is firmly inserted into the breadboard or header.
Incorrect Connections:
- Problem: The jumper is connected to the wrong pins, leading to circuit malfunction.
- Solution: Double-check the circuit diagram and verify all connections.
Damaged Insulation:
- Problem: Exposed wires may cause short circuits.
- Solution: Replace damaged jumpers immediately.
Overheating:
- Problem: The jumper wire becomes hot during operation.
- Solution: Ensure the current does not exceed the jumper's rating.
FAQs
Q1: Can I use jumpers for high-power circuits?
A1: Jumpers are typically designed for low-power applications. For high-power circuits, use wires with higher current ratings.
Q2: How do I choose between Male-to-Male, Male-to-Female, and Female-to-Female jumpers?
A2: The choice depends on the type of connectors in your circuit. For breadboards, use Male-to-Male jumpers. For connecting to headers or pins, use Male-to-Female or Female-to-Female jumpers.
Q3: Can I cut and strip jumper wires to a custom length?
A3: Yes, you can cut and strip jumper wires, but ensure the exposed ends are properly insulated to avoid short circuits.
Q4: Are jumpers reusable?
A4: Yes, jumpers are reusable as long as they are not damaged or worn out.