How to Use Pushbutton: Examples, Pinouts, and Specs

Introduction
A pushbutton, also known as a push switch or momentary button, is a simple yet essential component in many electronic circuits. It operates as a momentary switch that, when pressed, creates an electrical connection and, when released, breaks the connection. Pushbuttons are widely used for user input, allowing users to interact with electronic devices by sending signals to perform various tasks such as turning on a light, starting a process, or inputting commands.
Explore Projects Built with Pushbutton


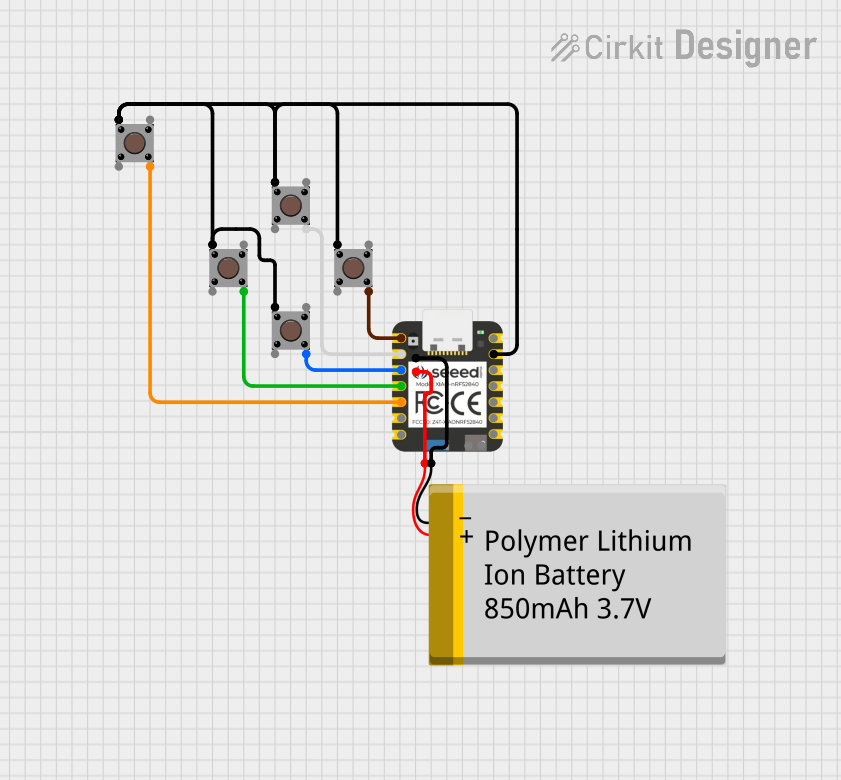
Explore Projects Built with Pushbutton
Common Applications and Use Cases
- User interfaces (e.g., keyboards, control panels)
- Start/stop functions in machinery
- Interactive projects (e.g., games, educational tools)
- Prototyping and hobbyist projects, often with microcontrollers like Arduino
Technical Specifications
Key Technical Details
- Voltage Rating: Typically 3.3V to 5V for logic-level applications
- Current Rating: Varies, often around 10mA to 50mA
- Contact Resistance: Usually less than 10Ω when closed
- Mechanical Life: Often rated for hundreds of thousands to millions of cycles
Pin Configuration and Descriptions
| Pin Number | Description |
|---|---|
| 1 | Common terminal (C) |
| 2 | Normally open (NO) |
Note: Some pushbuttons may have more than two pins for additional functionality or stability when mounted on a board.
Usage Instructions
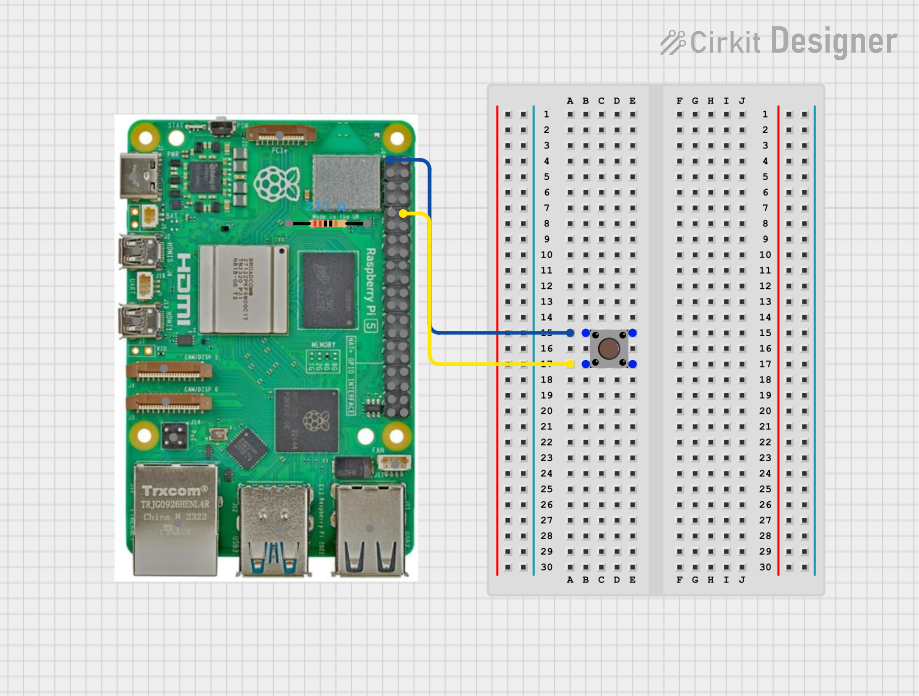
How to Use the Pushbutton in a Circuit
- Identify the Pins: Determine which pins are the common terminal and the normally open terminal.
- Connect to Power: Connect the common terminal to one of the power supply rails (e.g., 5V or 3.3V).
- Add a Pull-down Resistor: Connect a resistor (typically 10kΩ) from the NO terminal to the ground to ensure a clear LOW signal when the button is not pressed.
- Signal Line: Connect the NO terminal to the input pin of your microcontroller or circuit that will receive the button press signal.
Important Considerations and Best Practices
- Debounce the Signal: Mechanical switches like pushbuttons can produce noisy signals due to contact bounce. Implement hardware or software debouncing to ensure a clean signal.
- Use a Current Limiting Resistor: If the pushbutton will control a load directly, use a current limiting resistor to prevent damage to the button contacts.
- Check Voltage and Current Ratings: Ensure the pushbutton's ratings are suitable for your application to avoid damage.
Example Code for Arduino UNO
// Define the pin connected to the pushbutton
const int buttonPin = 2;

// Variable to store the state of the button
int buttonState = 0;

void setup() {
  // Initialize the button pin as an input
  pinMode(buttonPin, INPUT);
}

void loop() {
  // Read the state of the pushbutton
  buttonState = digitalRead(buttonPin);

  // Check if the button is pressed (assuming the other end of the button is connected to ground)
  if (buttonState == HIGH) {
    // The button is pressed
    // Perform an action here
  } else {
    // The button is not pressed
  }
}
Note: The above code assumes the use of a pull-down resistor. If using a pull-up resistor, the logic will be inverted.
Troubleshooting and FAQs
Common Issues Users Might Face
- Button Presses Not Detected: Ensure the button is properly connected and the pull-down resistor is in place.
- Noisy Signal: Implement debouncing in your code to filter out false triggers due to contact bounce.
- Button Stuck: Check for physical obstructions or wear and tear that may cause the button to stick.
Solutions and Tips for Troubleshooting
- Test Continuity: Use a multimeter to check for continuity across the button terminals when pressed.
- Check Connections: Ensure all connections are secure and free from corrosion or damage.
- Replace the Button: If the button is worn out or damaged, it may need to be replaced.
FAQs
Q: Can I use a pushbutton without a resistor?
- A: It's not recommended as it may cause undefined states or damage to your input pin due to floating voltages.
Q: How do I know if my button is normally open or normally closed?
- A: You can test it with a multimeter in continuity mode. A normally open button will only show continuity when pressed.
Q: What is debouncing and why is it important?
- A: Debouncing is the process of filtering out the rapid on-off signals caused by the mechanical action of the button. It's important for ensuring a single, clean signal is registered for each button press.