
How to Use Adafruit E-Ink Bonnet for Raspberry Pi: Examples, Pinouts, and Specs
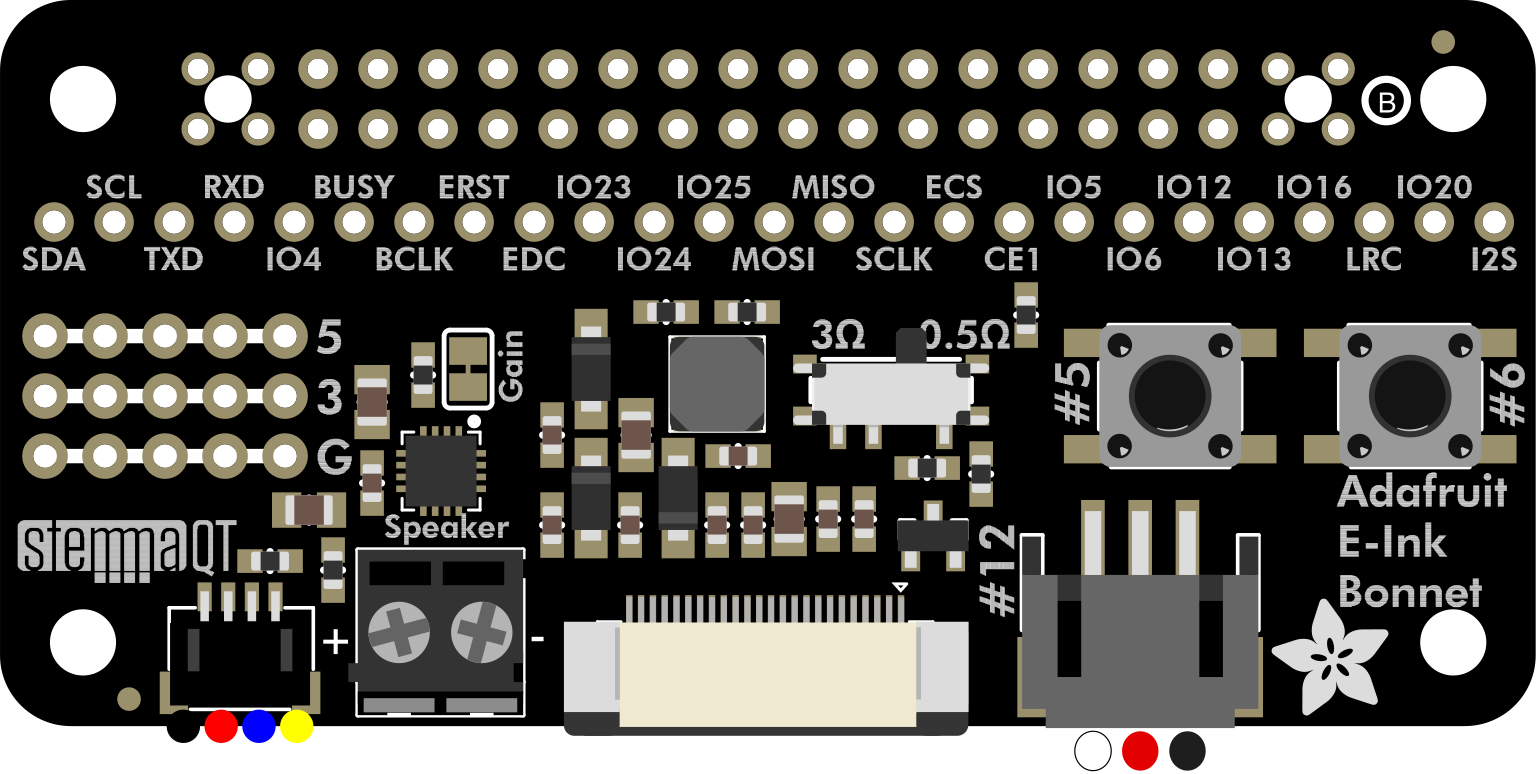
 Design with Adafruit E-Ink Bonnet for Raspberry Pi in Cirkit Designer
Introduction
The Adafruit E-Ink Bonnet for Raspberry Pi (Manufacturer Part ID: 6418) is a display add-on that leverages E-Ink technology to provide a low-power, high-contrast screen. This component is ideal for applications requiring static images or text, such as dashboards, e-readers, or low-power IoT displays. Its ability to retain an image without power makes it an excellent choice for energy-efficient projects.
Explore Projects Built with Adafruit E-Ink Bonnet for Raspberry Pi
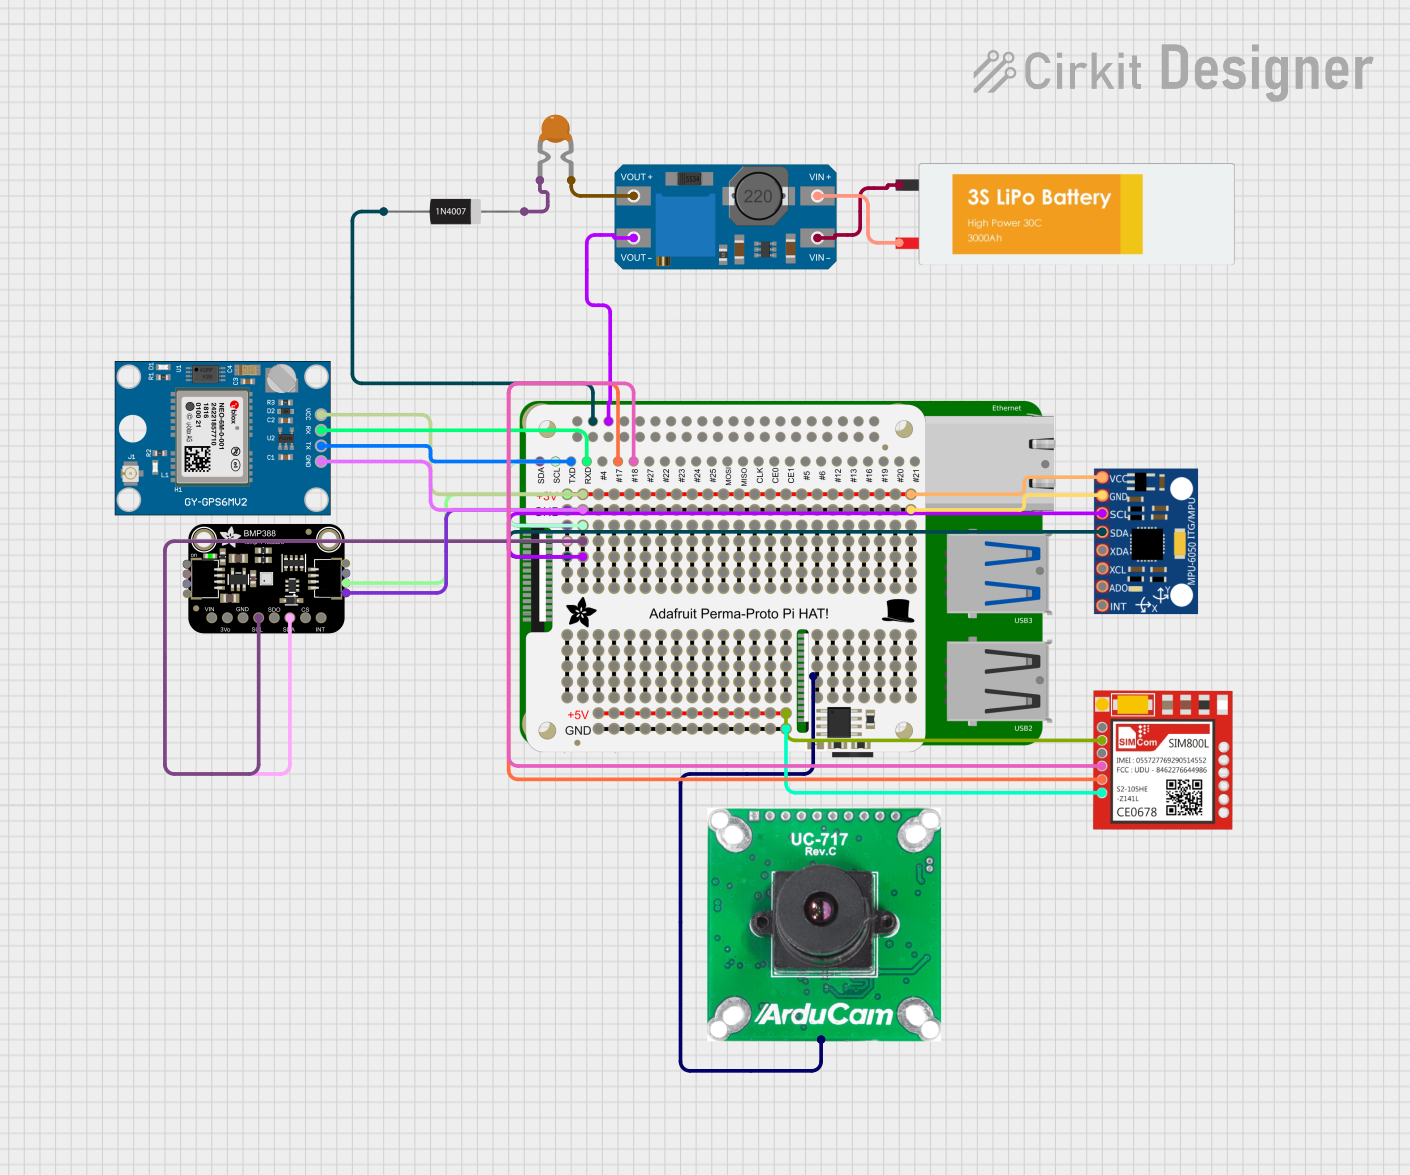 Open Project in Cirkit Designer
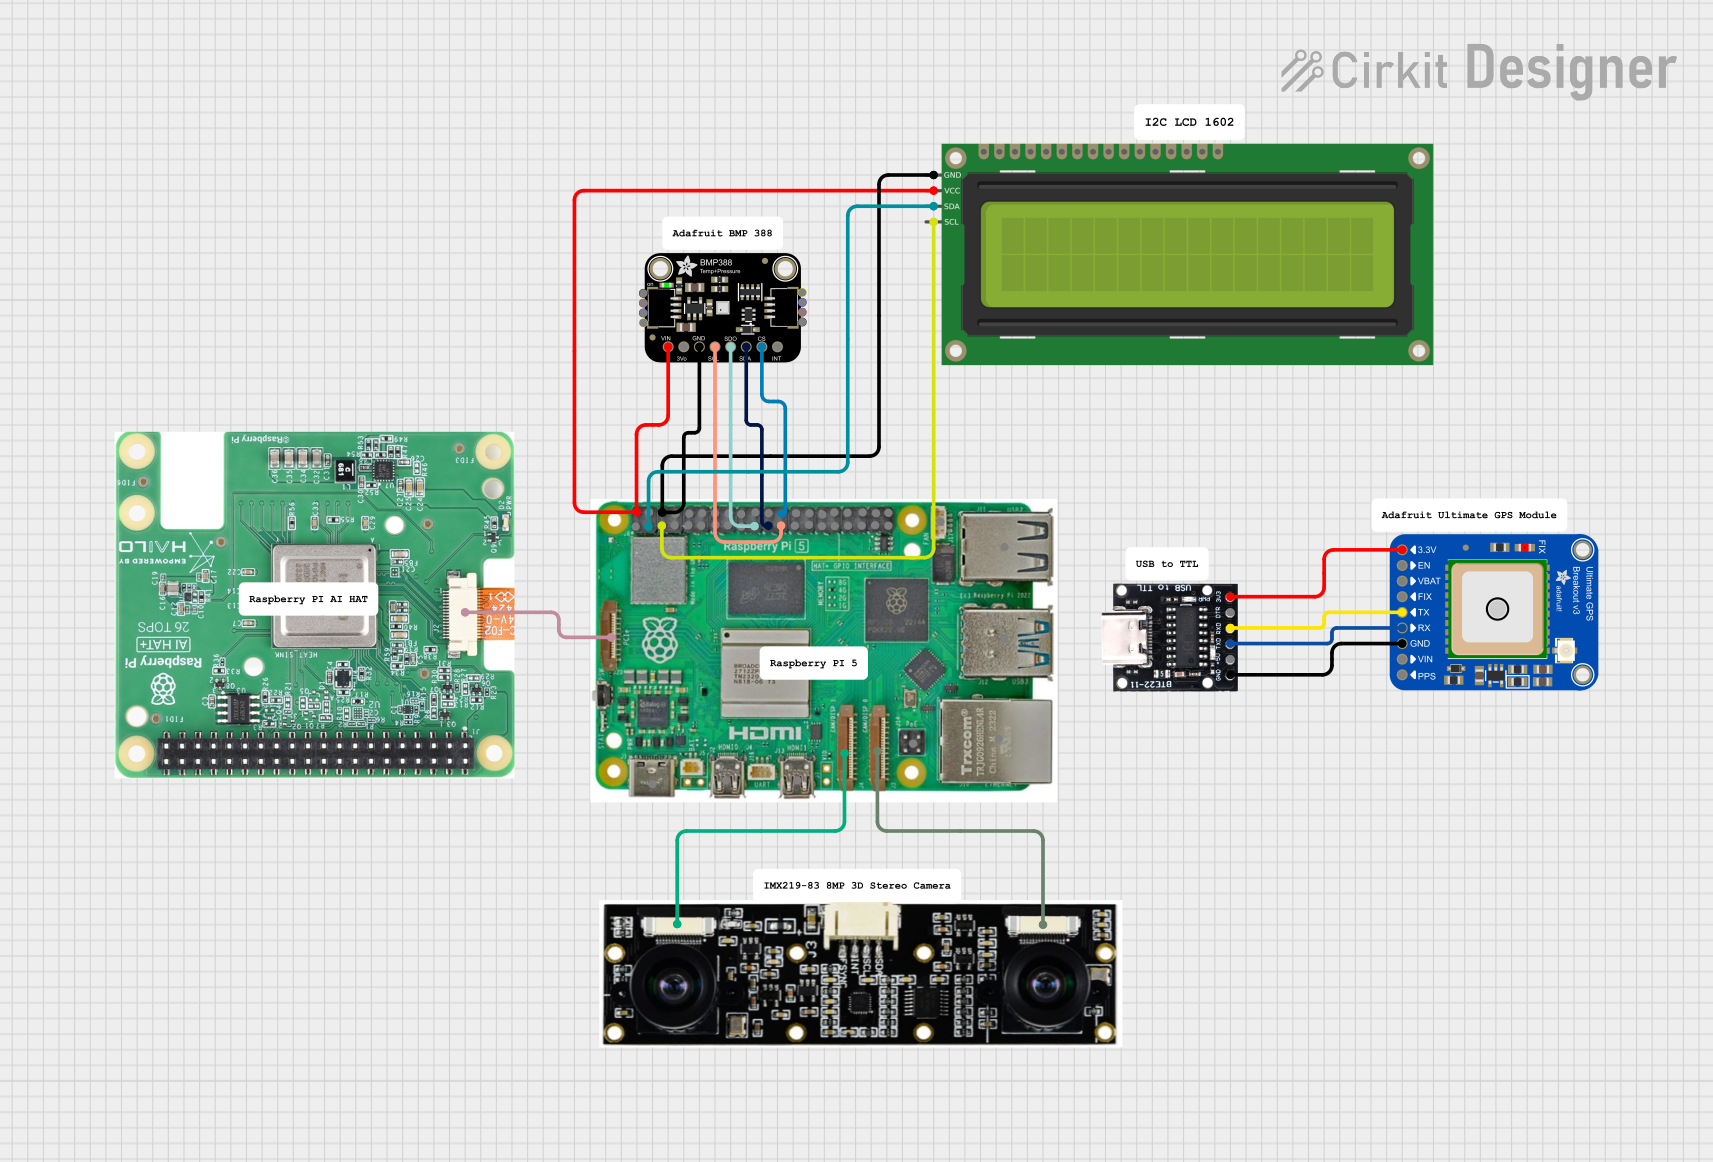 Open Project in Cirkit Designer
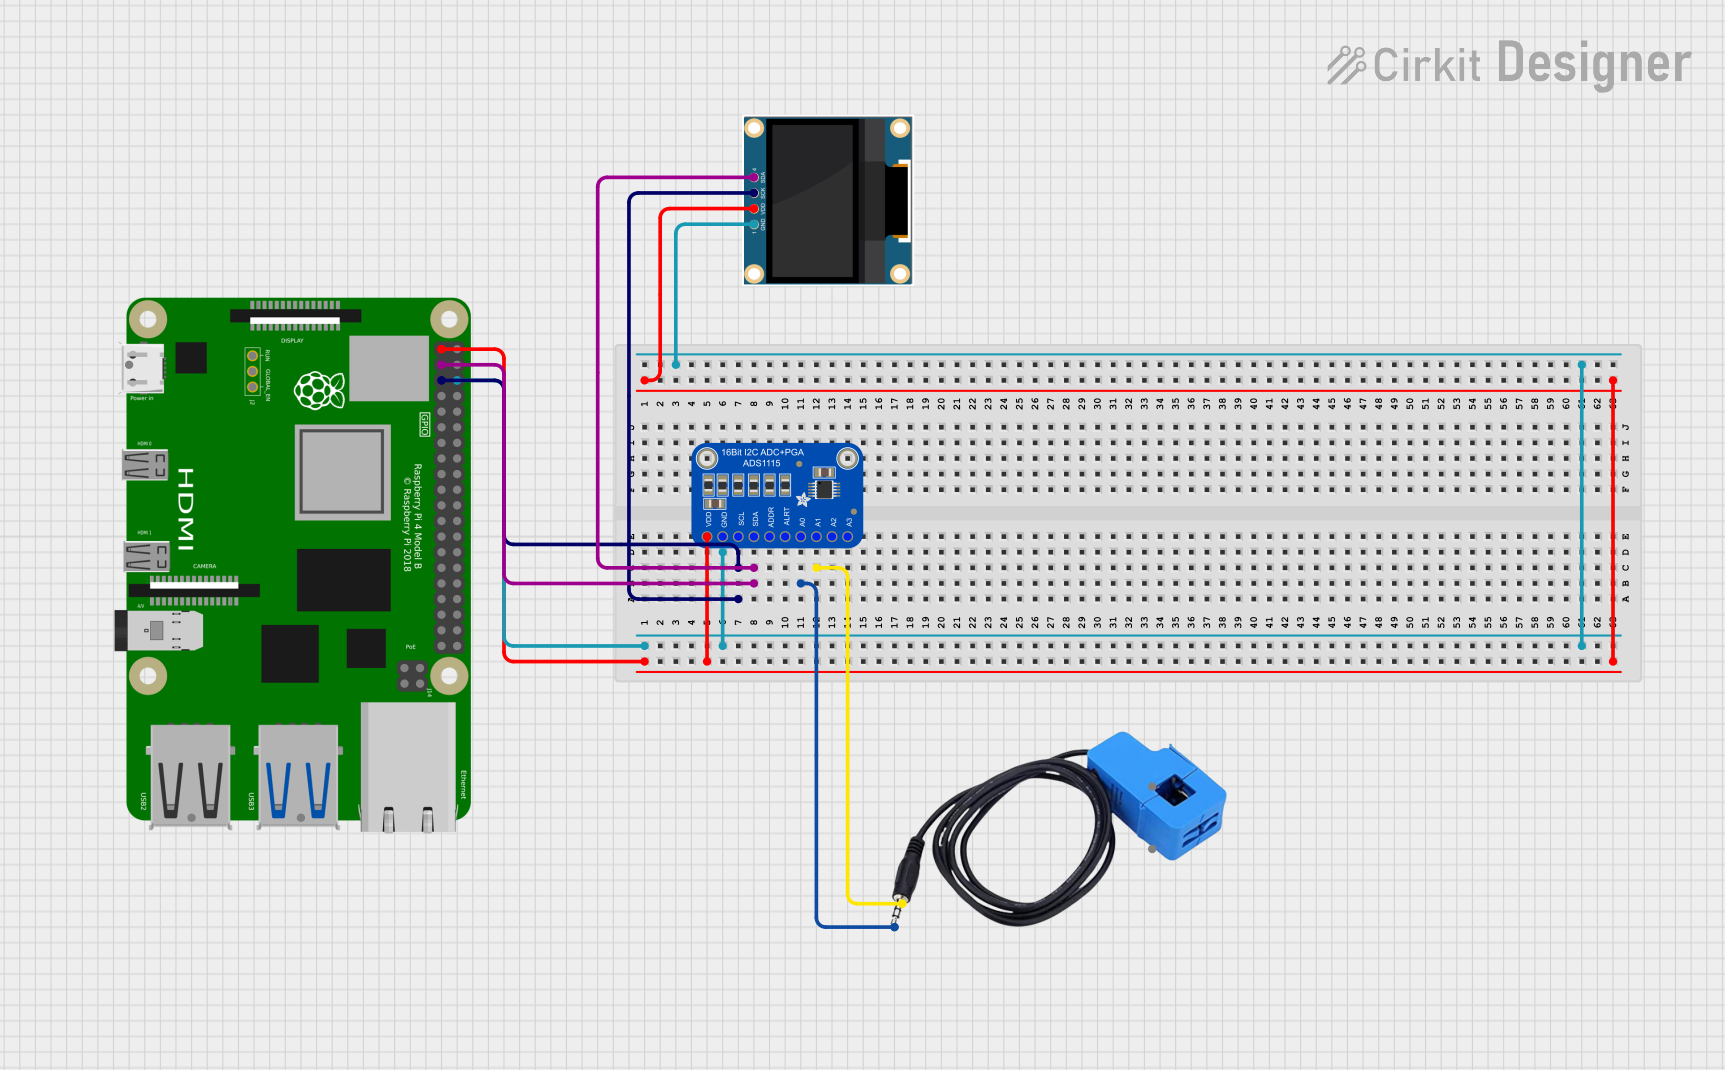 Open Project in Cirkit Designer
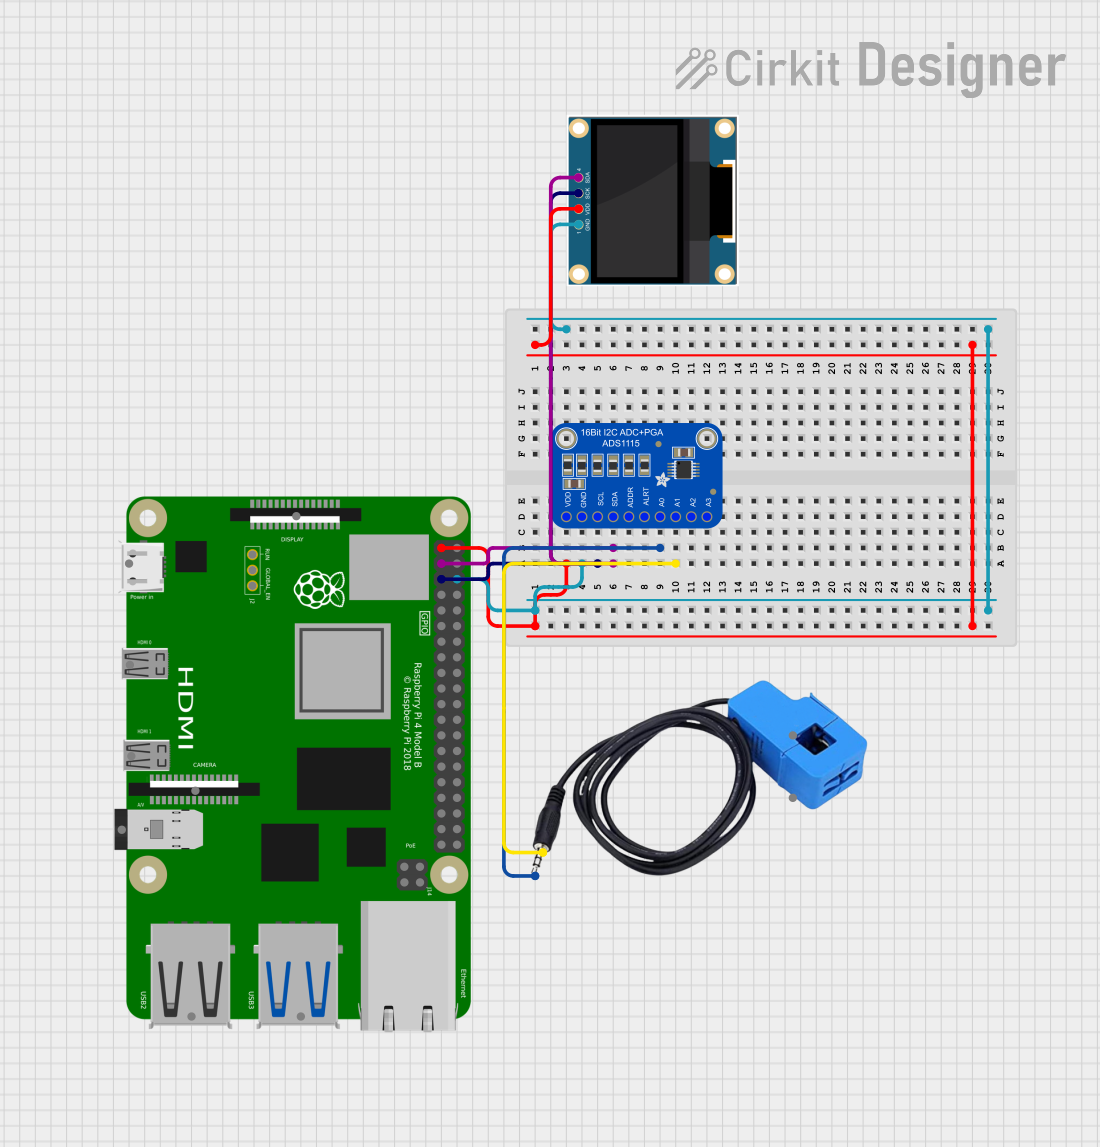 Open Project in Cirkit Designer
Explore Projects Built with Adafruit E-Ink Bonnet for Raspberry Pi
Open Project in Cirkit DesignerOpen Project in Cirkit DesignerOpen Project in Cirkit DesignerOpen Project in Cirkit DesignerCommon Applications
- IoT dashboards and status displays
- E-readers and digital signage
- Low-power data visualization
- Home automation interfaces
- Static image or text displays for battery-powered devices
Technical Specifications
The Adafruit E-Ink Bonnet is designed to work seamlessly with Raspberry Pi boards, offering a plug-and-play experience. Below are the key technical details:
General Specifications
| Parameter | Value |
|---|---|
| Manufacturer | Adafruit |
| Part ID | 6418 |
| Display Type | E-Ink (Electronic Paper Display) |
| Screen Size | 2.13 inches (diagonal) |
| Resolution | 250 x 122 pixels |
| Color Modes | Black, White, and Red |
| Interface | SPI |
| Power Consumption | Ultra-low (only during updates) |
| Operating Voltage | 3.3V (logic level) |
| Dimensions | 65mm x 30mm x 8mm |
Pin Configuration
The E-Ink Bonnet connects to the Raspberry Pi via the GPIO header. Below is the pin configuration:
| Pin Name | Raspberry Pi GPIO Pin | Description |
|---|---|---|
| 3V3 | Pin 1 | Power supply (3.3V) |
| GND | Pin 6 | Ground |
| SCK | Pin 23 (GPIO 11) | SPI Clock |
| MOSI | Pin 19 (GPIO 10) | SPI Master Out, Slave In |
| MISO | Pin 21 (GPIO 9) | SPI Master In, Slave Out (optional) |
| CS | Pin 24 (GPIO 8) | Chip Select |
| DC | Pin 22 (GPIO 25) | Data/Command Control |
| RST | Pin 18 (GPIO 24) | Reset |
| BUSY | Pin 16 (GPIO 23) | Busy Signal |
Usage Instructions
Connecting the E-Ink Bonnet to Raspberry Pi
- Attach the Bonnet: Align the E-Ink Bonnet with the GPIO header on your Raspberry Pi and press it down gently to ensure a secure connection.
- Install Required Libraries:
- Ensure your Raspberry Pi is running the latest version of Raspberry Pi OS.
- Install the Adafruit Python libraries for E-Ink displays:
sudo pip3 install adafruit-circuitpython-epd
- Enable SPI Interface:
- Open the Raspberry Pi configuration tool:
sudo raspi-config - Navigate to
Interfacing Options>SPIand enable it. - Reboot your Raspberry Pi to apply the changes.
- Open the Raspberry Pi configuration tool:
Example Code
Below is an example Python script to display text on the E-Ink Bonnet:
import time
import board
import digitalio
from adafruit_epd.epd import Adafruit_EPD
from adafruit_epd.ssd1680 import Adafruit_SSD1680
Initialize SPI and E-Ink display pins
spi = board.SPI() cs_pin = digitalio.DigitalInOut(board.D8) # Chip Select dc_pin = digitalio.DigitalInOut(board.D25) # Data/Command rst_pin = digitalio.DigitalInOut(board.D24) # Reset busy_pin = digitalio.DigitalInOut(board.D23) # Busy
Initialize the E-Ink display
display = Adafruit_SSD1680( 250, 122, spi, cs_pin, dc_pin, rst_pin, busy_pin )
Clear the display
display.fill(Adafruit_EPD.WHITE) display.display()
Display a message
display.text("Hello, E-Ink!", 10, 10, Adafruit_EPD.BLACK) display.display()
Wait before exiting
time.sleep(10)
Best Practices
- Avoid Frequent Updates: E-Ink displays are not designed for rapid refresh rates. Limit updates to once every few seconds to preserve the display's lifespan.
- Handle with Care: The E-Ink screen is fragile. Avoid applying pressure or bending the display.
- Power Management: Disconnect the Bonnet when not in use to conserve power.
Troubleshooting and FAQs
Common Issues
Display Not Updating:
- Ensure the SPI interface is enabled in the Raspberry Pi configuration.
- Verify all connections between the Bonnet and Raspberry Pi are secure.
- Check the power supply to ensure the Raspberry Pi is delivering sufficient voltage.
Partial or Corrupted Images:
- Ensure the Python libraries are up to date:
sudo pip3 install --upgrade adafruit-circuitpython-epd - Verify that the
busy_pinis correctly connected and functioning.
- Ensure the Python libraries are up to date:
Screen Remains Blank:
- Confirm that the
rst_pinis properly connected and the reset sequence is being executed in the code. - Check for any physical damage to the E-Ink screen.
- Confirm that the
FAQs
Q: Can I use this Bonnet with other single-board computers?
A: The Bonnet is designed for Raspberry Pi, but it may work with other boards that support SPI communication. However, additional configuration may be required.
Q: How long does the display retain an image without power?
A: The E-Ink display can retain an image for months without power, making it ideal for low-power applications.
Q: Can I display images on the E-Ink Bonnet?
A: Yes, you can display monochrome or tri-color (black, white, red) images. Use the Adafruit Python libraries to load and display image files.
Q: What is the refresh time for the display?
A: The refresh time is approximately 2-3 seconds, depending on the content being updated.
By following this documentation, you can effectively integrate the Adafruit E-Ink Bonnet into your Raspberry Pi projects and take advantage of its low-power, high-contrast display capabilities.