
How to Use Solenoid: Examples, Pinouts, and Specs
 Design with Solenoid in Cirkit Designer
Introduction
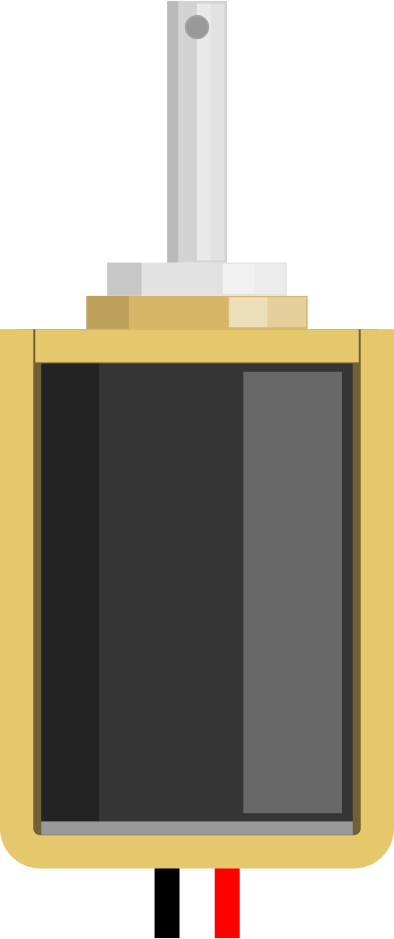
A solenoid is an electromechanical device that converts electrical energy into linear motion. It consists of a coil of wire that generates a magnetic field when an electric current passes through it, which can move a plunger or armature. Solenoids are widely used in applications requiring controlled linear motion, such as in door locks, valves, relays, and automotive systems.
Explore Projects Built with Solenoid
 Open Project in Cirkit Designer
 Open Project in Cirkit Designer
 Open Project in Cirkit Designer
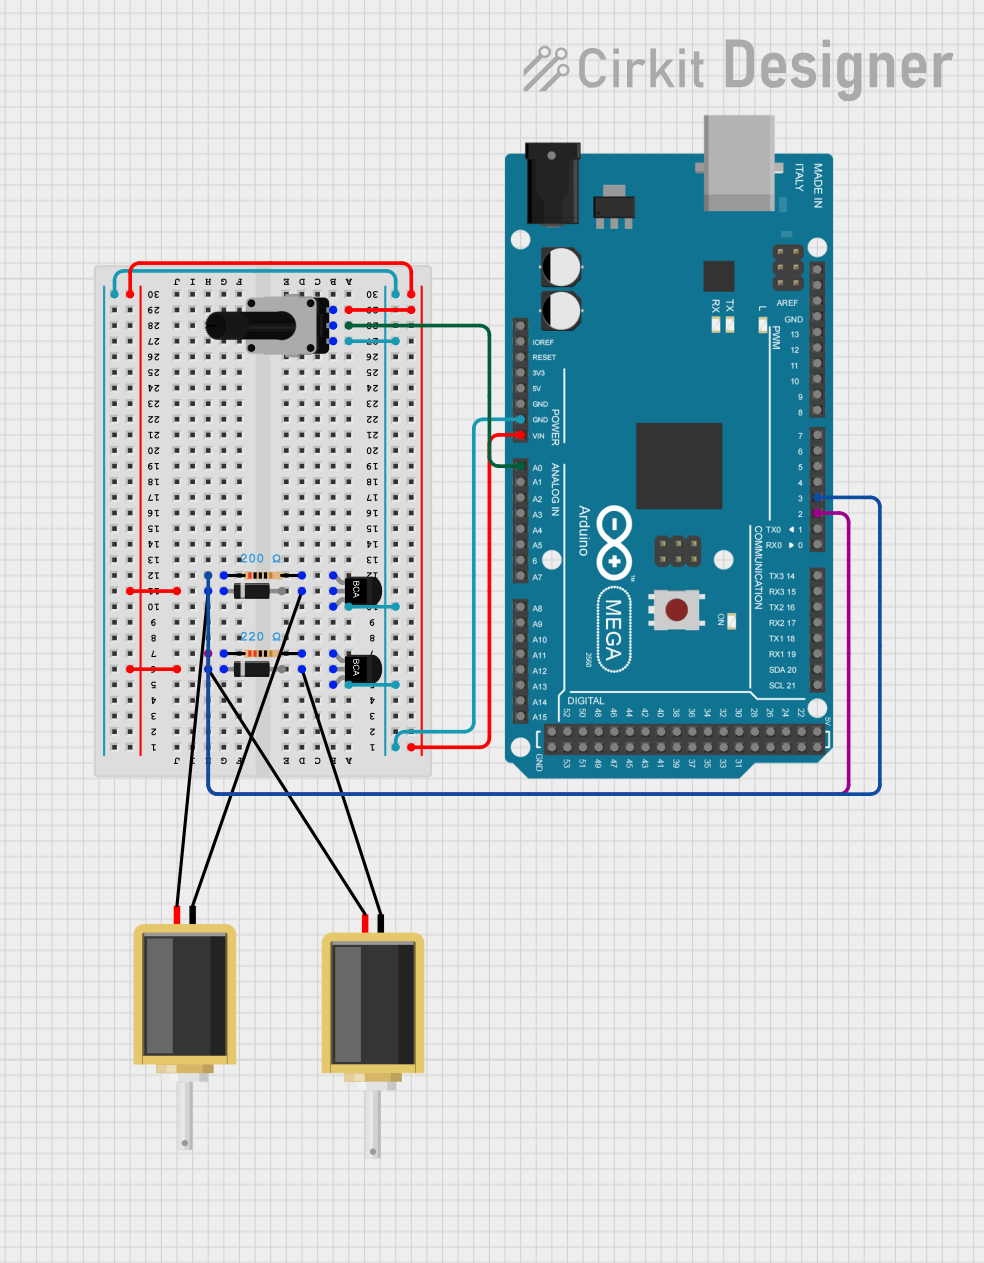 Open Project in Cirkit Designer
Explore Projects Built with Solenoid
Open Project in Cirkit DesignerOpen Project in Cirkit DesignerOpen Project in Cirkit DesignerOpen Project in Cirkit DesignerCommon Applications
- Door Locks: Used in electronic locking mechanisms for secure access control.
- Valves: Controls the flow of liquids or gases in industrial and household systems.
- Relays: Acts as an electromagnetic switch in electrical circuits.
- Automotive Systems: Used in fuel injectors, starter motors, and transmission systems.
Technical Specifications
Key Technical Details
| Parameter | Value/Range |
|---|---|
| Operating Voltage | Typically 5V, 12V, or 24V DC |
| Current Consumption | 0.2A to 2A (depending on the model) |
| Coil Resistance | 10Ω to 50Ω |
| Stroke Length | 2mm to 30mm |
| Force | 0.5N to 50N |
| Duty Cycle | 10% to 100% (varies by model) |
| Operating Temperature | -20°C to 60°C |
Pin Configuration and Descriptions
| Pin Name | Description |
|---|---|
| Positive | Connects to the positive terminal of the power supply. |
| Negative | Connects to the negative terminal (ground). |
Note: Some solenoids may have additional terminals for feedback or control, depending on the model.
Usage Instructions
How to Use a Solenoid in a Circuit
- Power Supply: Ensure the solenoid is powered by a voltage source that matches its rated operating voltage (e.g., 12V DC).
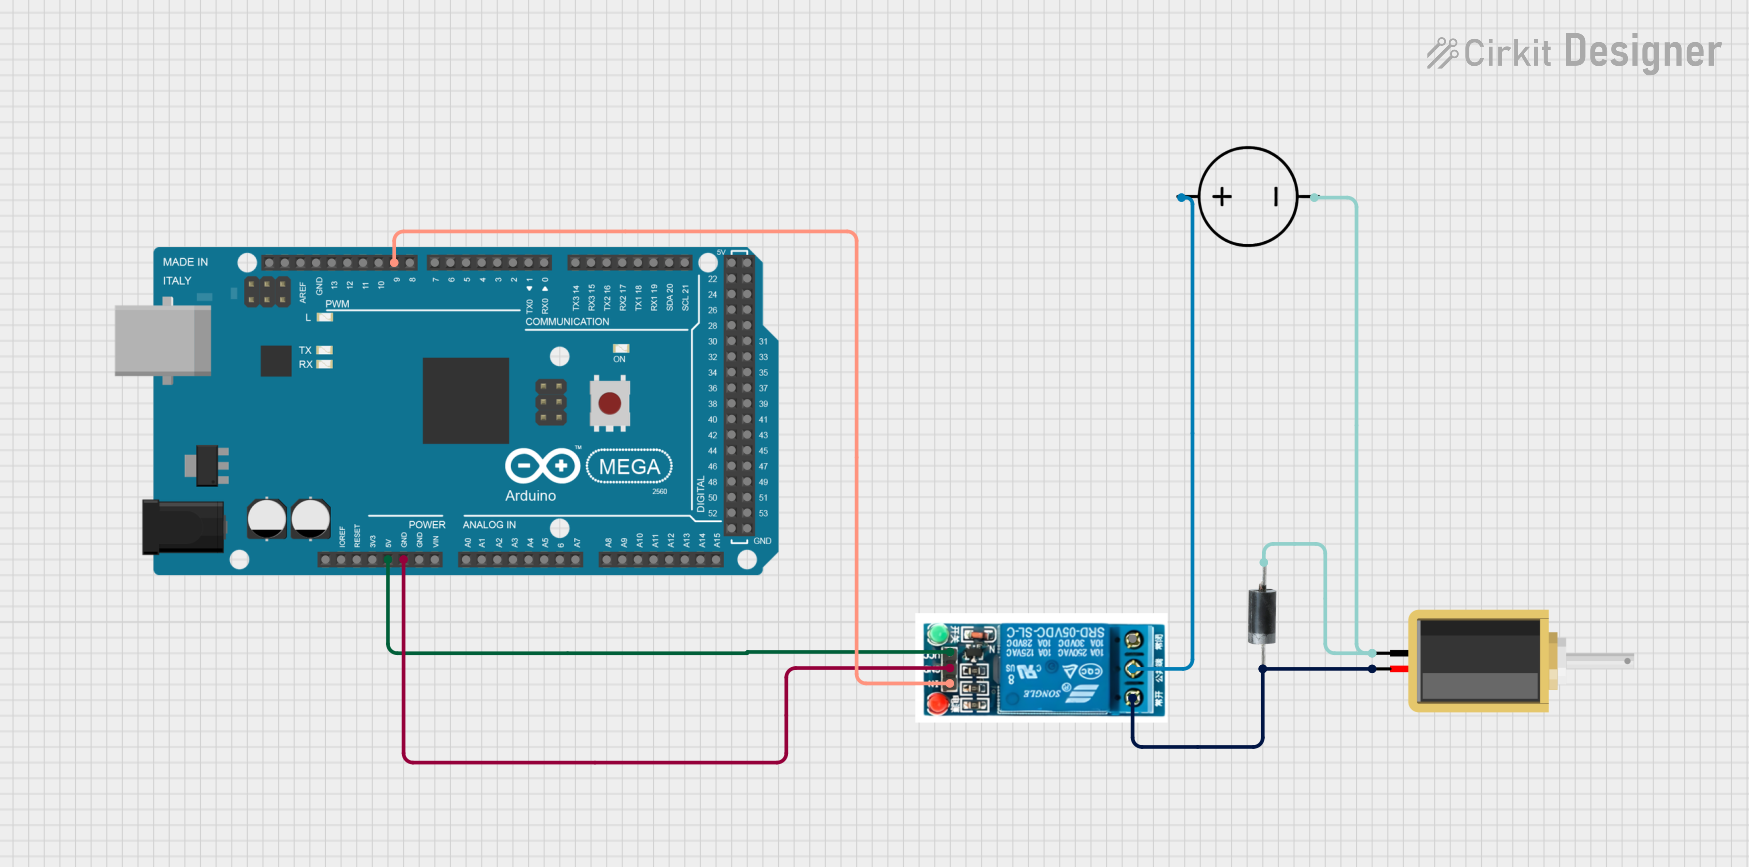
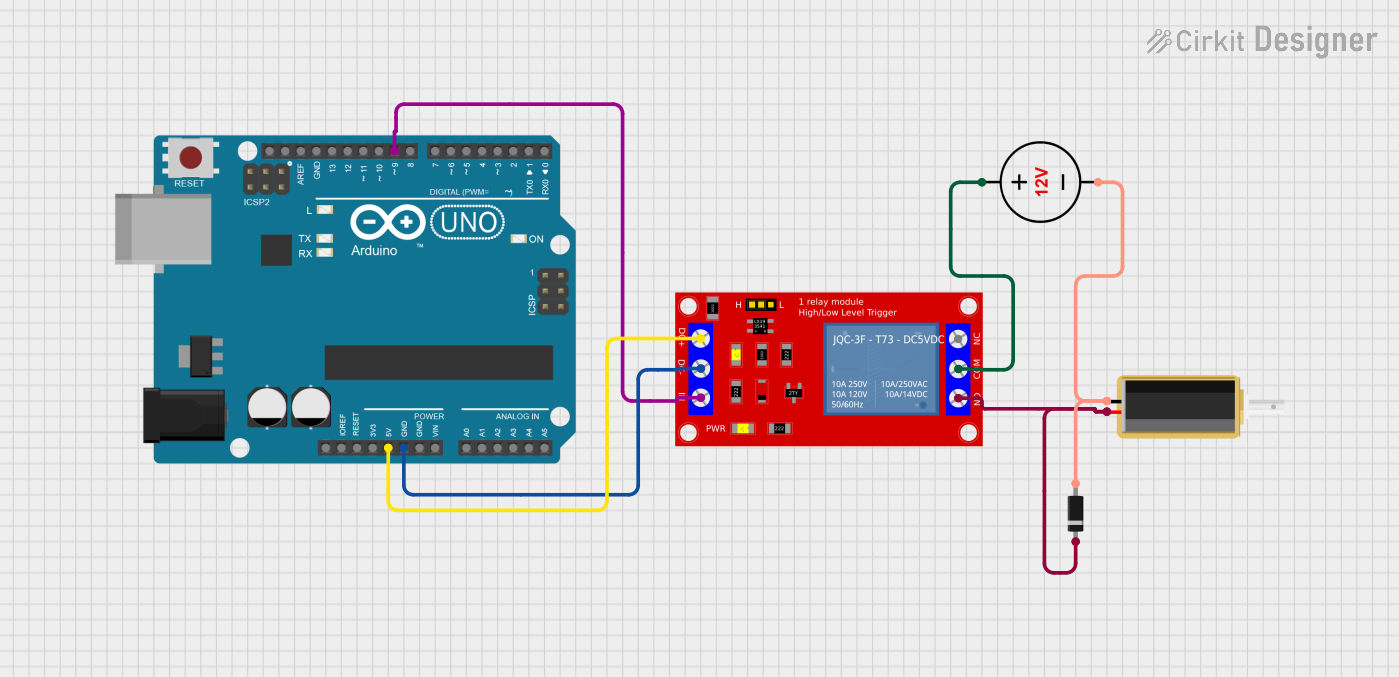
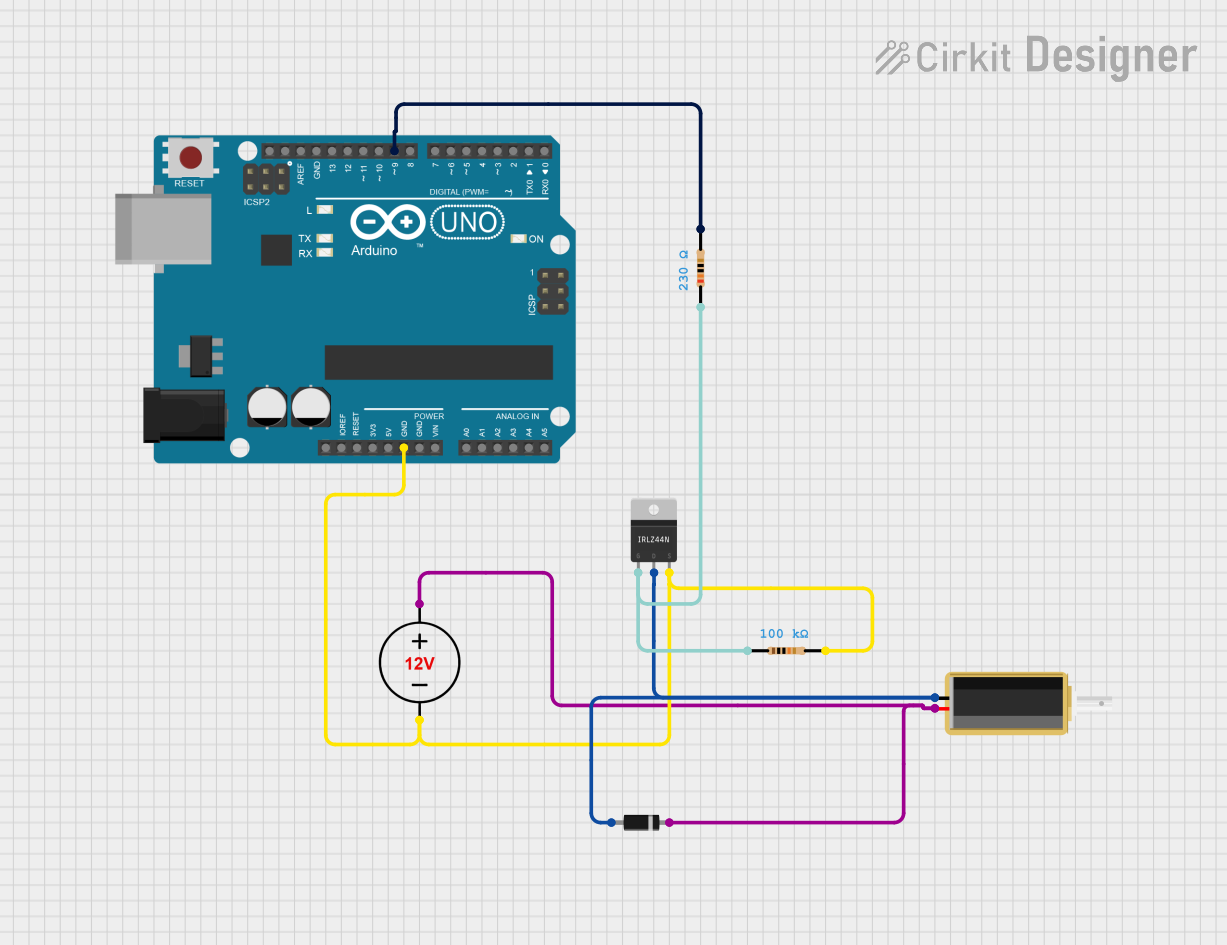
- Control Circuit: Use a transistor or MOSFET to control the solenoid, as it typically requires more current than a microcontroller can supply directly.
- Diode Protection: Always connect a flyback diode across the solenoid terminals to protect the circuit from voltage spikes caused by the collapsing magnetic field when the solenoid is turned off.
- Connections:
- Connect the positive terminal of the solenoid to the power supply through the control circuit.
- Connect the negative terminal to the ground.
Example Circuit with Arduino UNO
Below is an example of how to control a solenoid using an Arduino UNO and an NPN transistor (e.g., 2N2222):
/*
  Example: Controlling a Solenoid with Arduino UNO
  This code demonstrates how to turn a solenoid on and off using a digital pin.
  Ensure a flyback diode is connected across the solenoid terminals to prevent
  voltage spikes from damaging the circuit.
*/

const int solenoidPin = 9; // Pin connected to the transistor base (via a resistor)

void setup() {
  pinMode(solenoidPin, OUTPUT); // Set the solenoid pin as an output
}

void loop() {
  digitalWrite(solenoidPin, HIGH); // Activate the solenoid
  delay(1000);                     // Keep it on for 1 second
  digitalWrite(solenoidPin, LOW);  // Deactivate the solenoid
  delay(1000);                     // Wait for 1 second
}
Important Considerations
- Power Supply: Ensure the power supply can provide sufficient current for the solenoid.
- Heat Management: Avoid exceeding the solenoid's duty cycle to prevent overheating.
- Mounting: Secure the solenoid properly to avoid mechanical instability during operation.
Troubleshooting and FAQs
Common Issues and Solutions
| Issue | Possible Cause | Solution |
|---|---|---|
| Solenoid does not activate | Insufficient power supply | Check the voltage and current ratings. |
| Faulty connections | Verify all wiring and connections. | |
| Solenoid overheats | Exceeding duty cycle | Reduce the activation time or duty cycle. |
| Incorrect voltage | Use the correct operating voltage. | |
| Circuit damage when solenoid turns off | Missing flyback diode | Add a flyback diode across the solenoid. |
FAQs
Can I connect a solenoid directly to an Arduino?
- No, solenoids typically require more current than an Arduino pin can supply. Use a transistor or MOSFET to control the solenoid.
What is a flyback diode, and why is it necessary?
- A flyback diode is a diode connected across the solenoid terminals to prevent voltage spikes caused by the collapsing magnetic field when the solenoid is turned off. It protects the circuit components from damage.
How do I choose the right solenoid for my application?
- Consider the required stroke length, force, operating voltage, and duty cycle for your specific use case.
Can I use a solenoid with an AC power supply?
- Some solenoids are designed for AC operation, but most common solenoids are DC-powered. Check the specifications of your solenoid before use.
By following this documentation, you can effectively integrate a solenoid into your projects while ensuring safe and reliable operation.