
How to Use TA-J5019: Examples, Pinouts, and Specs
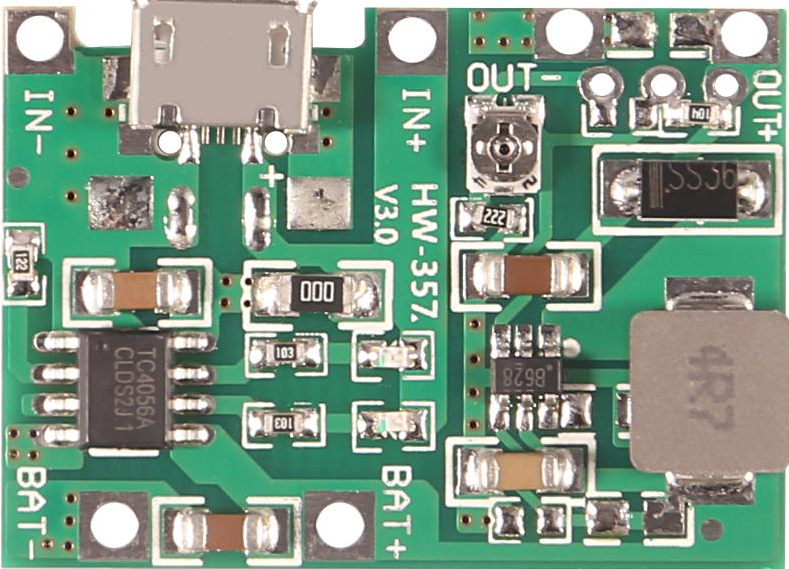
 Design with TA-J5019 in Cirkit Designer
Introduction
The TA-J5019 is an audio transformer manufactured by 18650, designed for use in audio circuits to match impedance, isolate different stages of audio equipment, and ensure optimal signal transfer with minimal distortion. This component is widely used in audio amplifiers, mixers, and other sound-processing devices where signal integrity and noise reduction are critical.
Explore Projects Built with TA-J5019
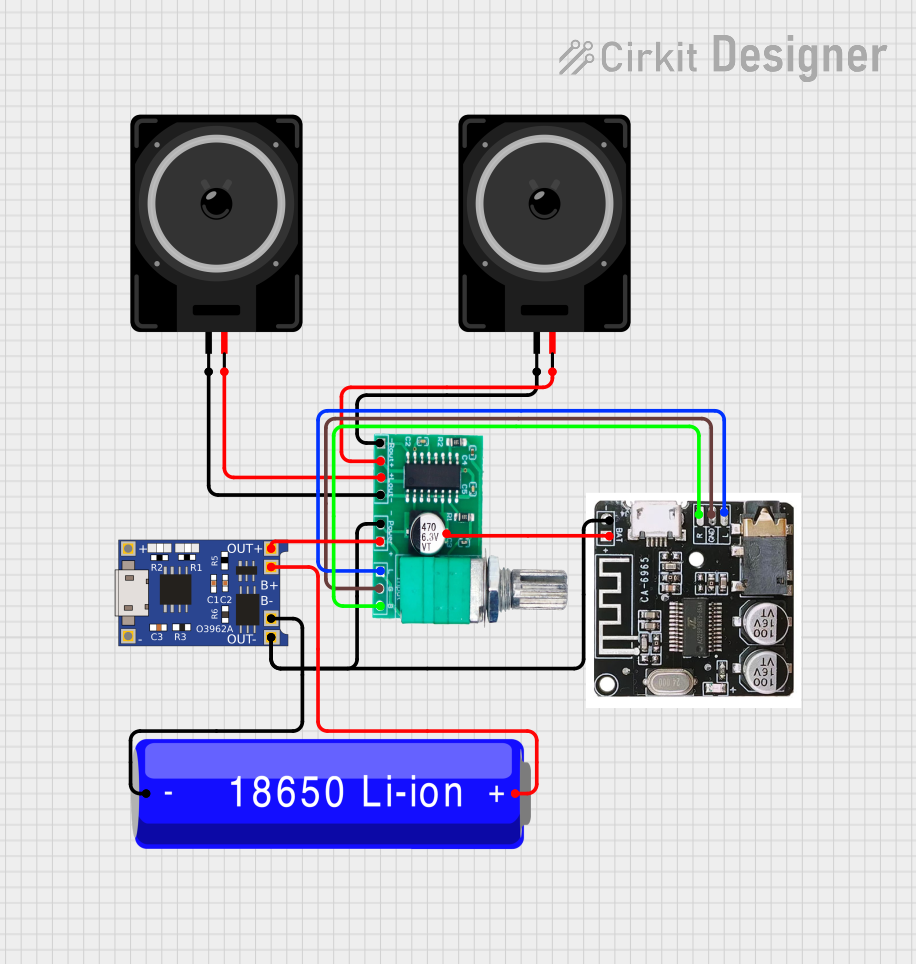
 Open Project in Cirkit Designer
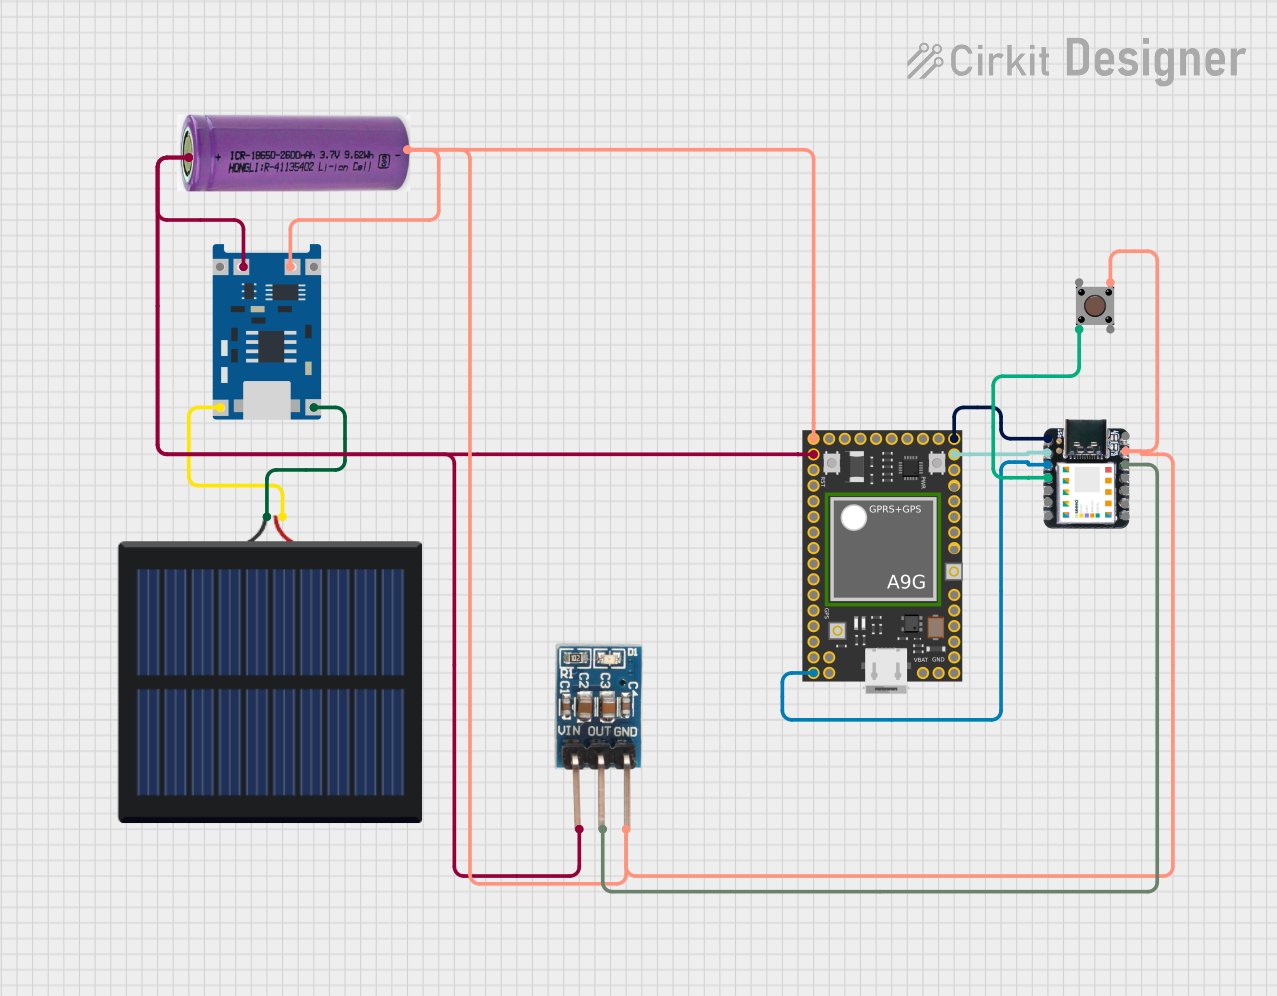
 Open Project in Cirkit Designer
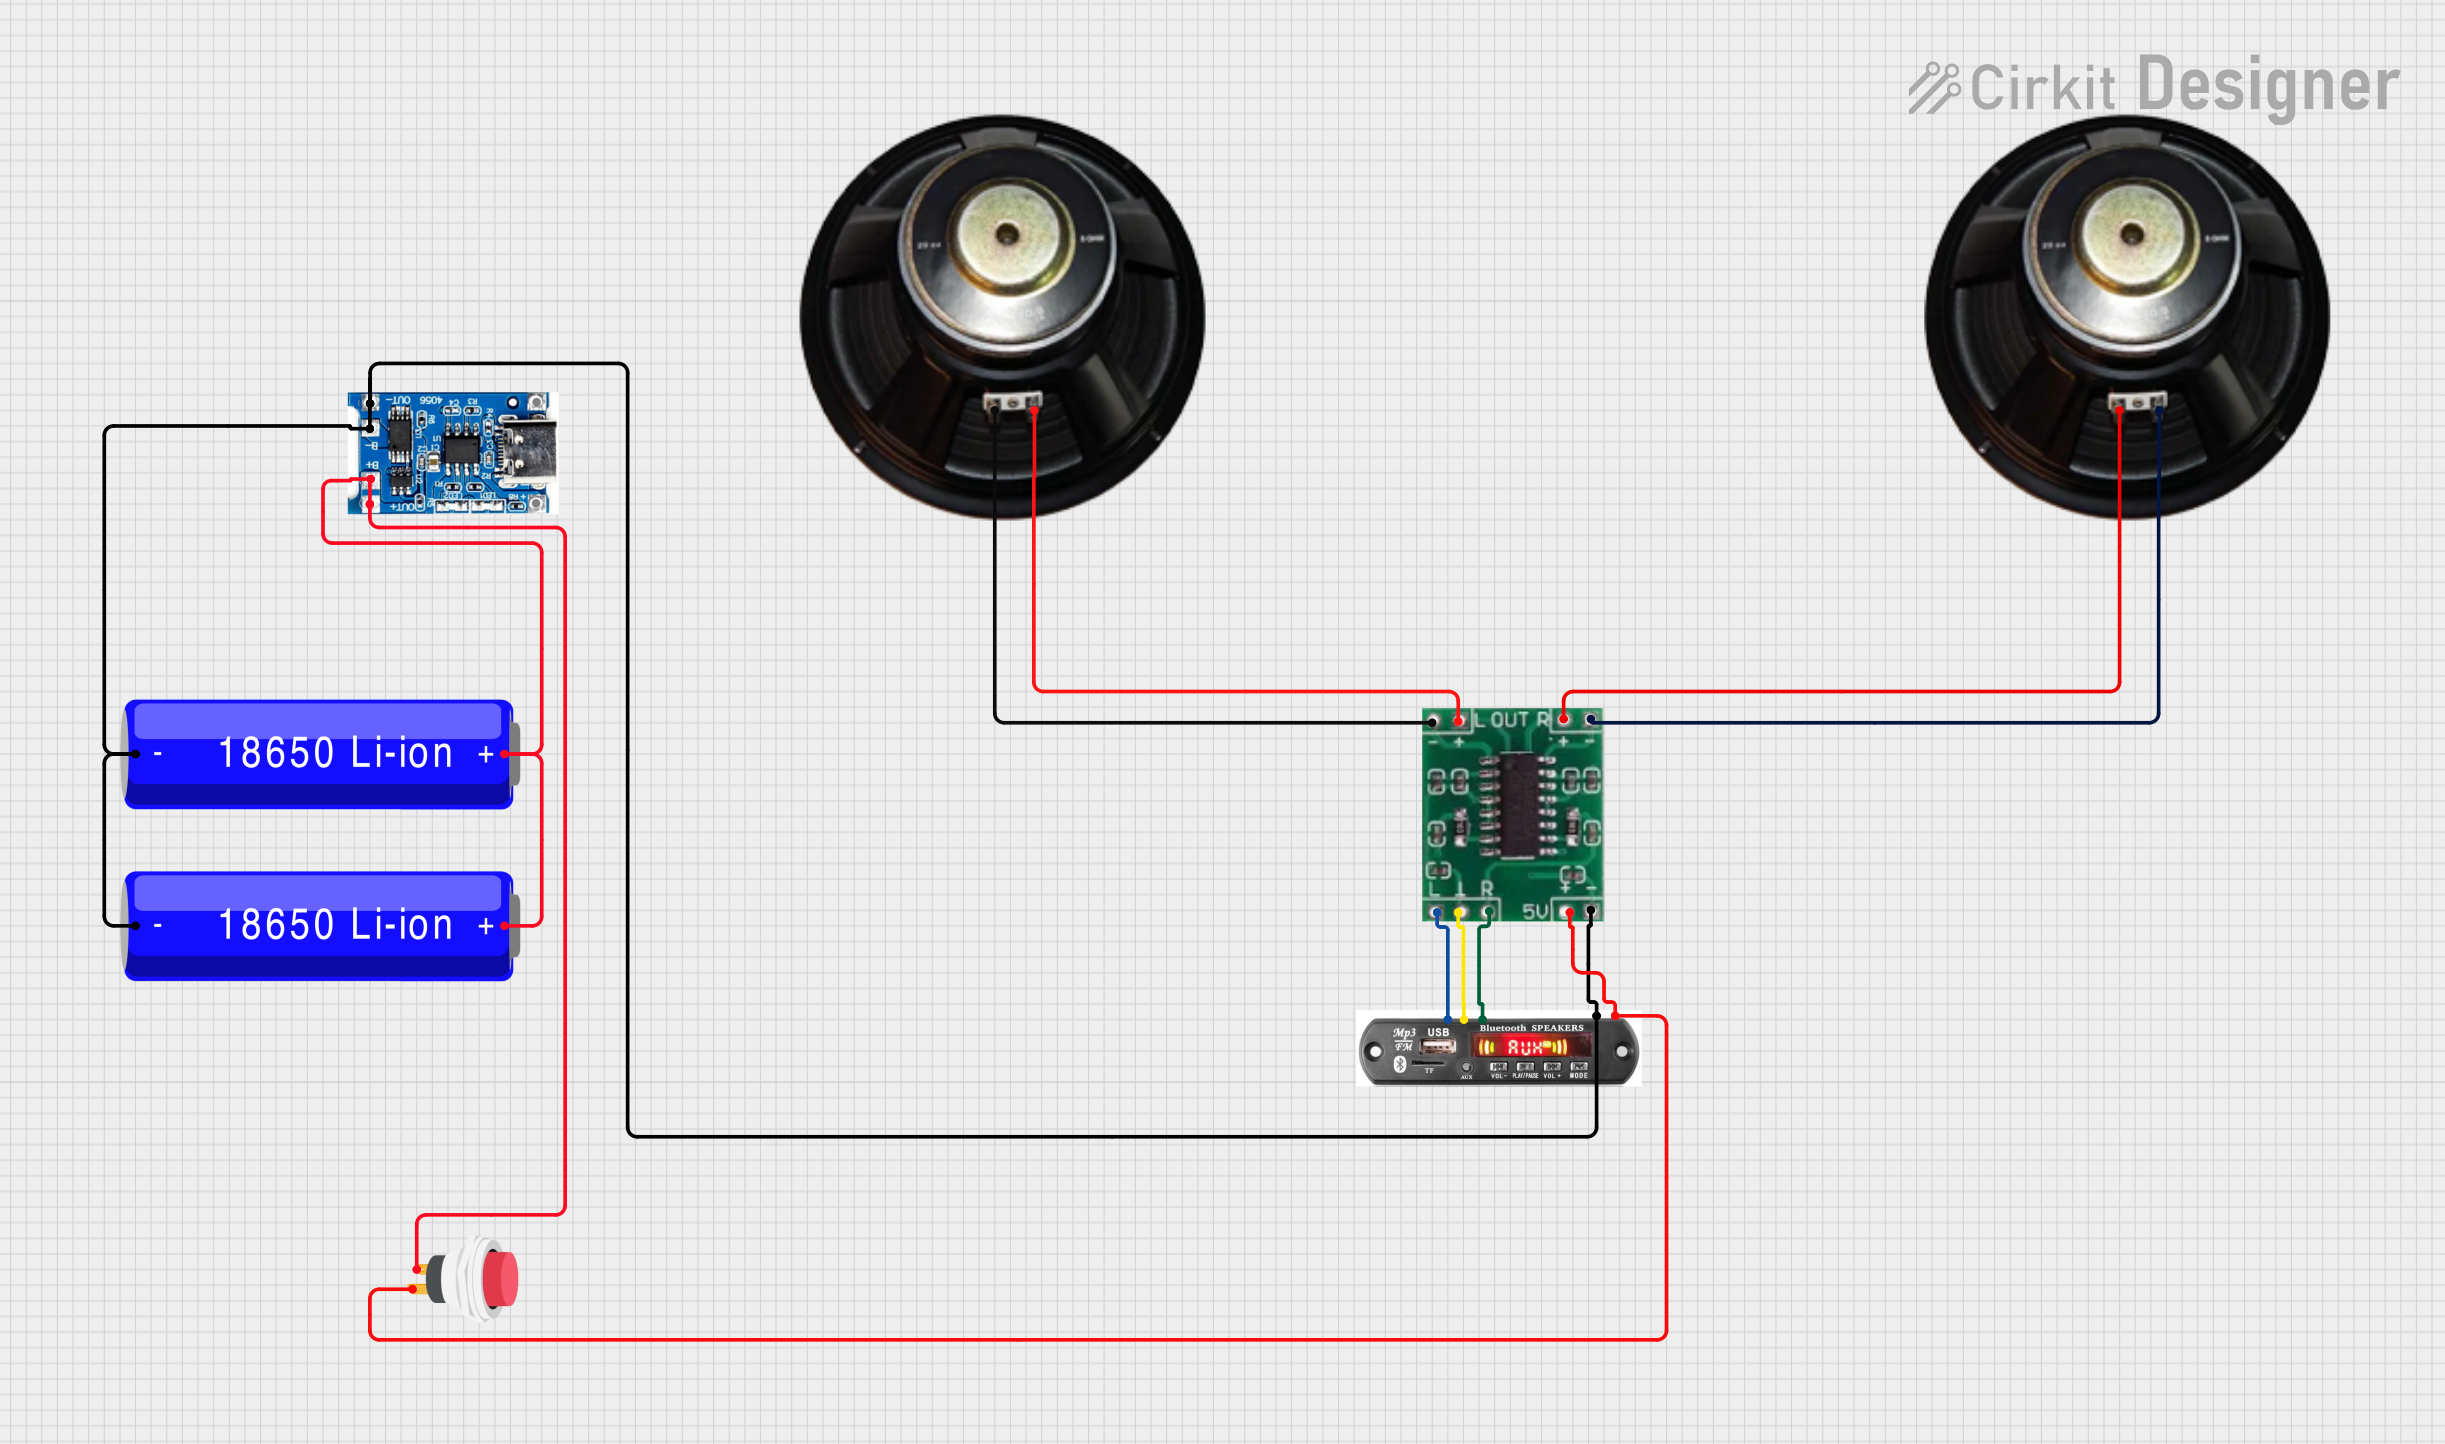
 Open Project in Cirkit Designer
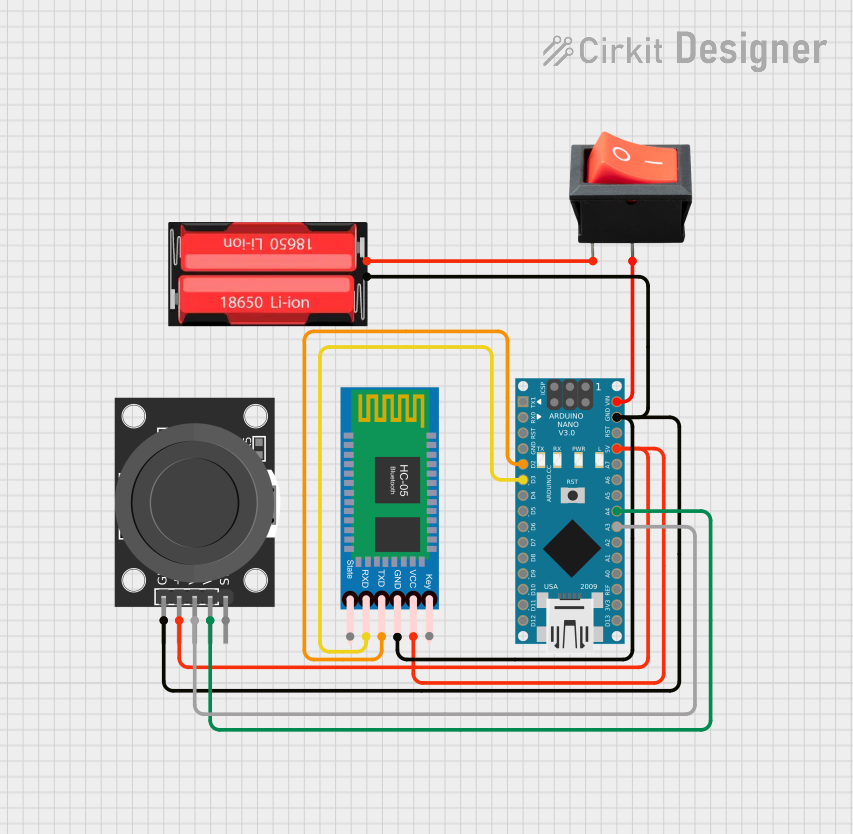
 Open Project in Cirkit Designer
Explore Projects Built with TA-J5019

 Open Project in Cirkit Designer
 Open Project in Cirkit Designer
 Open Project in Cirkit Designer
 Open Project in Cirkit Designer
Common Applications and Use Cases
- Impedance matching between audio devices
- Signal isolation to prevent ground loops
- Noise reduction in audio circuits
- Use in audio amplifiers, mixers, and preamplifiers
- Balancing and unbalancing audio signals
Technical Specifications
The TA-J5019 is a compact and efficient audio transformer with the following key specifications:
| Parameter | Value |
|---|---|
| Manufacturer | 18650 |
| Primary Impedance | 600 Ω |
| Secondary Impedance | 600 Ω |
| Frequency Response | 20 Hz to 20 kHz |
| Maximum Signal Level | +10 dBu |
| Turns Ratio | 1:1 |
| Isolation Voltage | 500 V |
| Core Material | High-permeability ferrite |
| Operating Temperature | -20°C to +70°C |
| Dimensions | 20 mm x 15 mm x 10 mm |
Pin Configuration and Descriptions
The TA-J5019 has a simple pinout for easy integration into audio circuits. The pin configuration is as follows:
| Pin Number | Name | Description |
|---|---|---|
| 1 | Primary (+) | Positive terminal of the primary winding |
| 2 | Primary (-) | Negative terminal of the primary winding |
| 3 | Secondary (+) | Positive terminal of the secondary winding |
| 4 | Secondary (-) | Negative terminal of the secondary winding |
Usage Instructions
How to Use the TA-J5019 in a Circuit
- Impedance Matching: Connect the primary winding (pins 1 and 2) to the output of the audio source and the secondary winding (pins 3 and 4) to the input of the next stage. Ensure that the impedances of the connected devices match the transformer's rated impedance (600 Ω).
- Signal Isolation: Use the TA-J5019 to isolate different stages of an audio circuit. This helps prevent ground loops and reduces noise.
- Balancing/Unbalancing Signals: The transformer can convert an unbalanced signal to a balanced one or vice versa. Connect the unbalanced signal to one side of the transformer and the balanced signal to the other.
Important Considerations and Best Practices
- Avoid Overloading: Do not exceed the maximum signal level of +10 dBu to prevent distortion or damage to the transformer.
- Proper Grounding: Ensure proper grounding in your circuit to minimize noise and interference.
- Frequency Response: Use the TA-J5019 within its specified frequency range (20 Hz to 20 kHz) for optimal performance.
- Mounting: Secure the transformer in place to avoid mechanical vibrations that could affect audio quality.
Example: Connecting the TA-J5019 to an Arduino UNO
While the TA-J5019 is not directly compatible with digital signals, it can be used in conjunction with an analog audio circuit connected to an Arduino UNO. Below is an example of how to use the TA-J5019 for audio signal isolation in a project:
/*
  Example: Using the TA-J5019 for Audio Signal Isolation with Arduino UNO
  This example demonstrates how to use the TA-J5019 to isolate an audio signal
  before feeding it into an analog input pin on the Arduino UNO.

  Note: The TA-J5019 is used to isolate the audio signal. Ensure the signal
  level is within the Arduino's ADC input range (0-5V).
*/

const int audioInputPin = A0; // Analog pin to read the audio signal
int audioSignal = 0;         // Variable to store the audio signal value

void setup() {
  Serial.begin(9600); // Initialize serial communication for debugging
}

void loop() {
  // Read the audio signal from the TA-J5019's secondary winding
  audioSignal = analogRead(audioInputPin);

  // Print the audio signal value to the Serial Monitor
  Serial.println(audioSignal);

  delay(10); // Small delay to stabilize readings
}
Troubleshooting and FAQs
Common Issues and Solutions
No Signal Output
- Cause: Incorrect wiring of the primary or secondary windings.
- Solution: Double-check the pin connections and ensure proper polarity.
Distorted Audio
- Cause: Signal level exceeds the transformer's maximum rating.
- Solution: Reduce the input signal level to stay within the +10 dBu limit.
Excessive Noise
- Cause: Poor grounding or interference from nearby components.
- Solution: Ensure proper grounding and keep the transformer away from high-frequency or high-power components.
Limited Frequency Response
- Cause: Operating outside the specified frequency range.
- Solution: Use the transformer only within the 20 Hz to 20 kHz range.
FAQs
Q1: Can the TA-J5019 be used for power transfer?
A1: No, the TA-J5019 is designed specifically for audio signal transfer and is not suitable for power applications.
Q2: Can I use the TA-J5019 with a microphone?
A2: Yes, the TA-J5019 can be used to match the impedance of a microphone to an amplifier or mixer input.
Q3: Is the TA-J5019 suitable for digital audio signals?
A3: No, the TA-J5019 is designed for analog audio signals. For digital audio, use a transformer designed for digital signal transmission.
Q4: How do I mount the TA-J5019 in my circuit?
A4: The TA-J5019 can be mounted on a PCB or secured using adhesive or screws, depending on your circuit design. Ensure it is stable to avoid mechanical vibrations.