How to Use OpenSegment: Examples, Pinouts, and Specs
Introduction
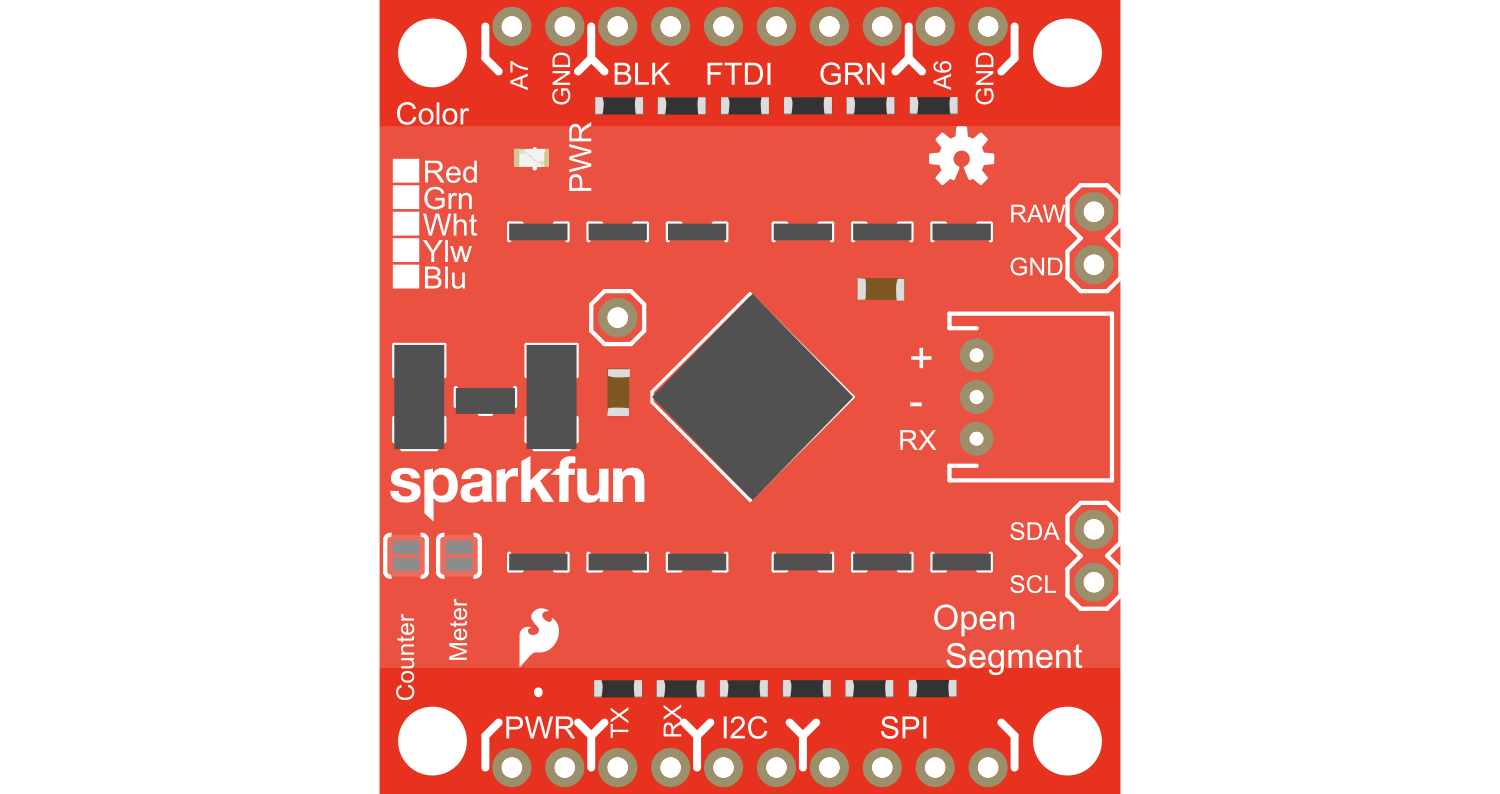
The OpenSegment is a versatile and easy-to-use display module that integrates four 7-segment LED displays, allowing users to present numerical and certain character information in a highly visible format. This module is commonly used in digital clocks, counters, timers, and other projects where numerical data needs to be displayed. It communicates via a serial interface, making it compatible with microcontrollers like the Arduino UNO.
Explore Projects Built with OpenSegment
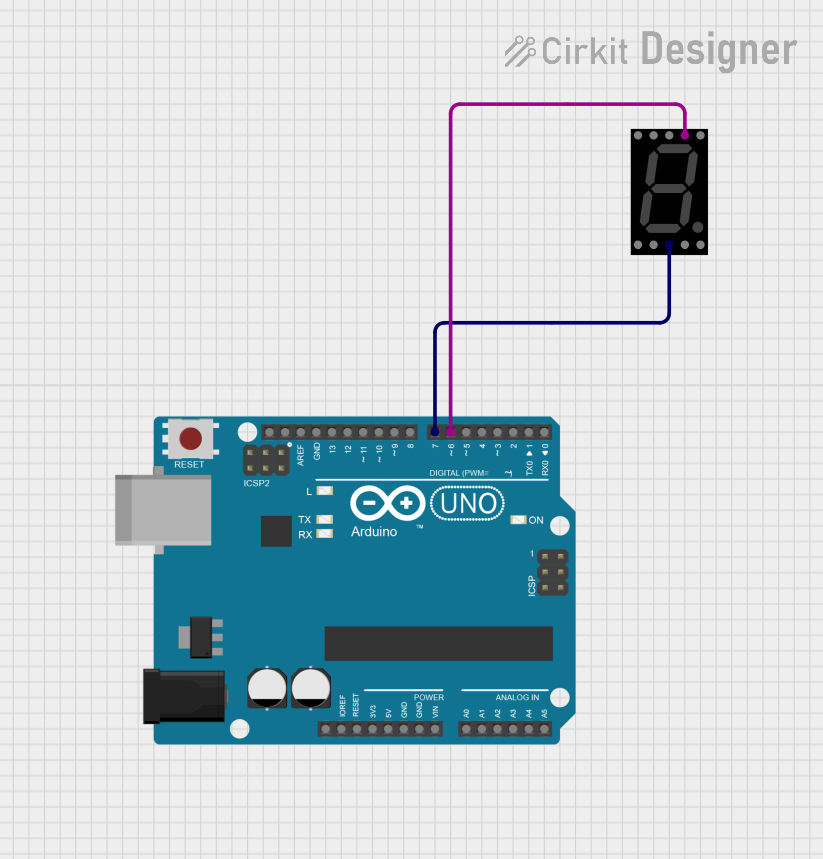
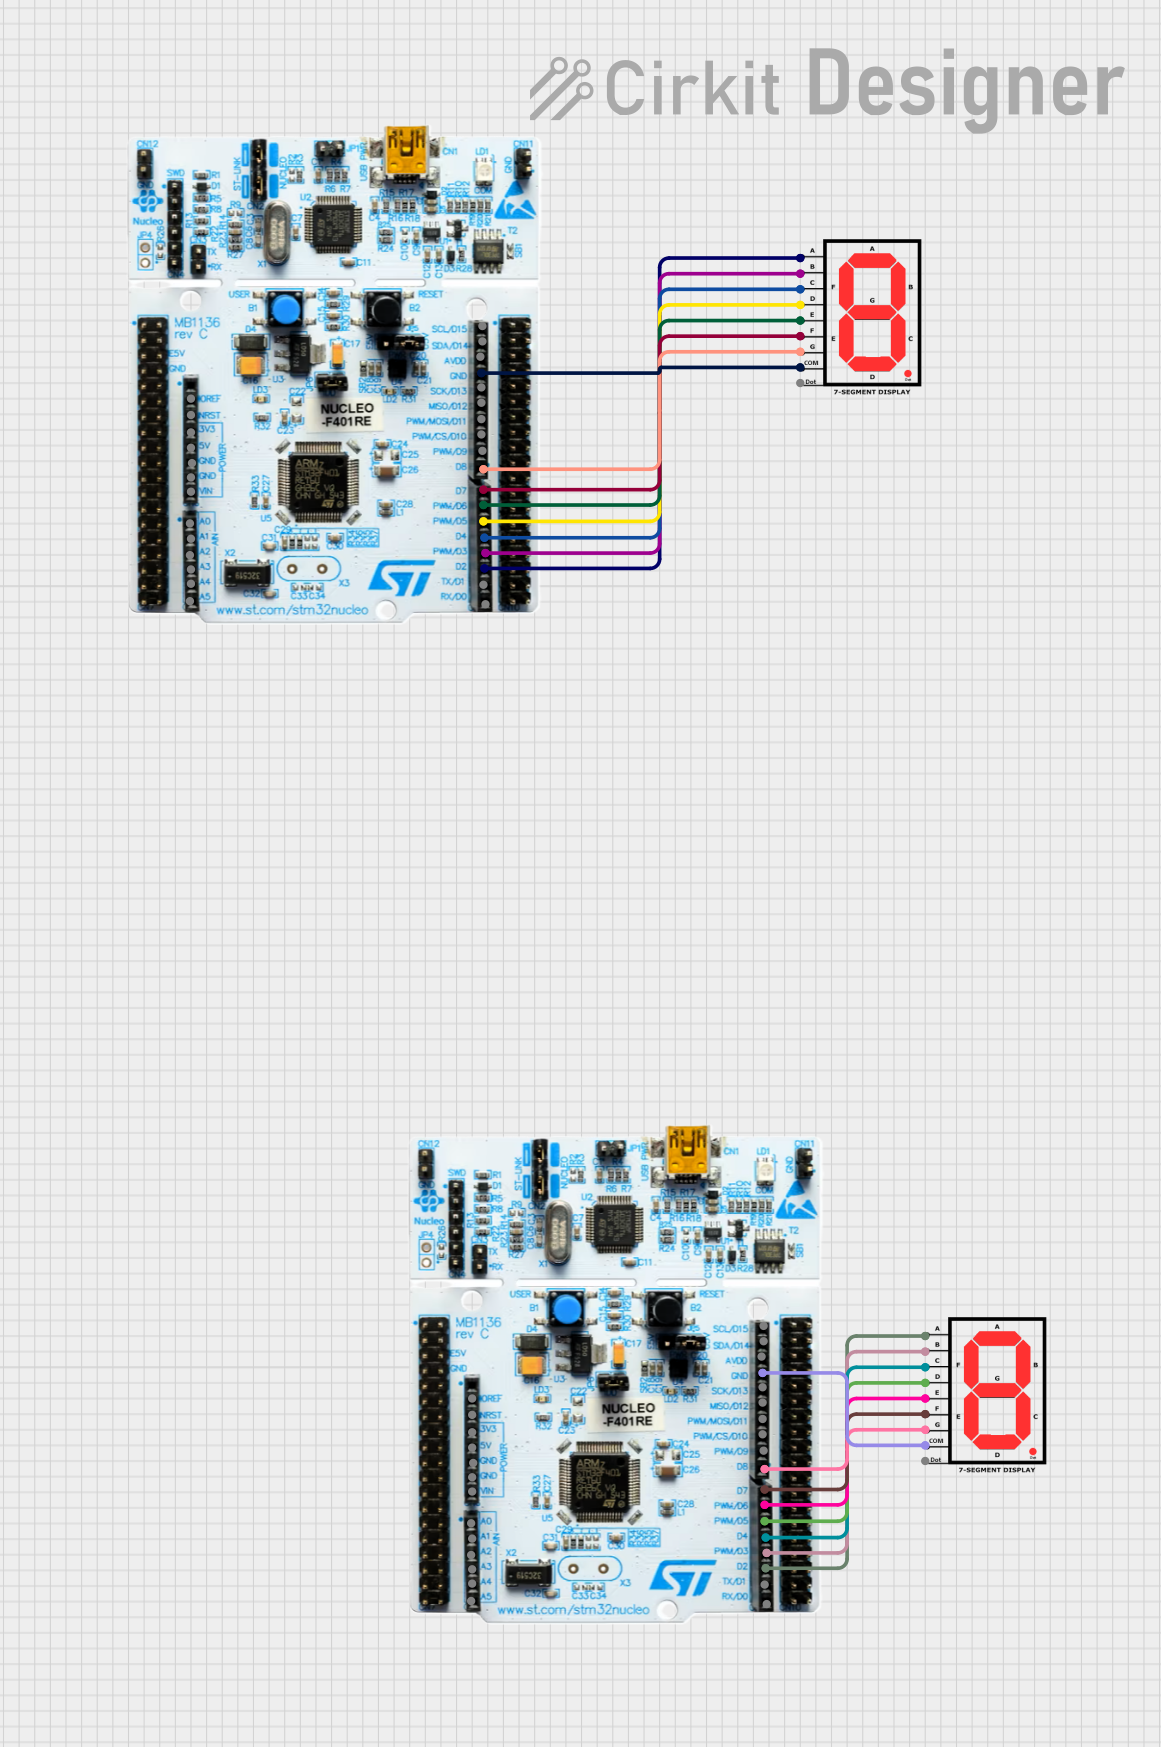
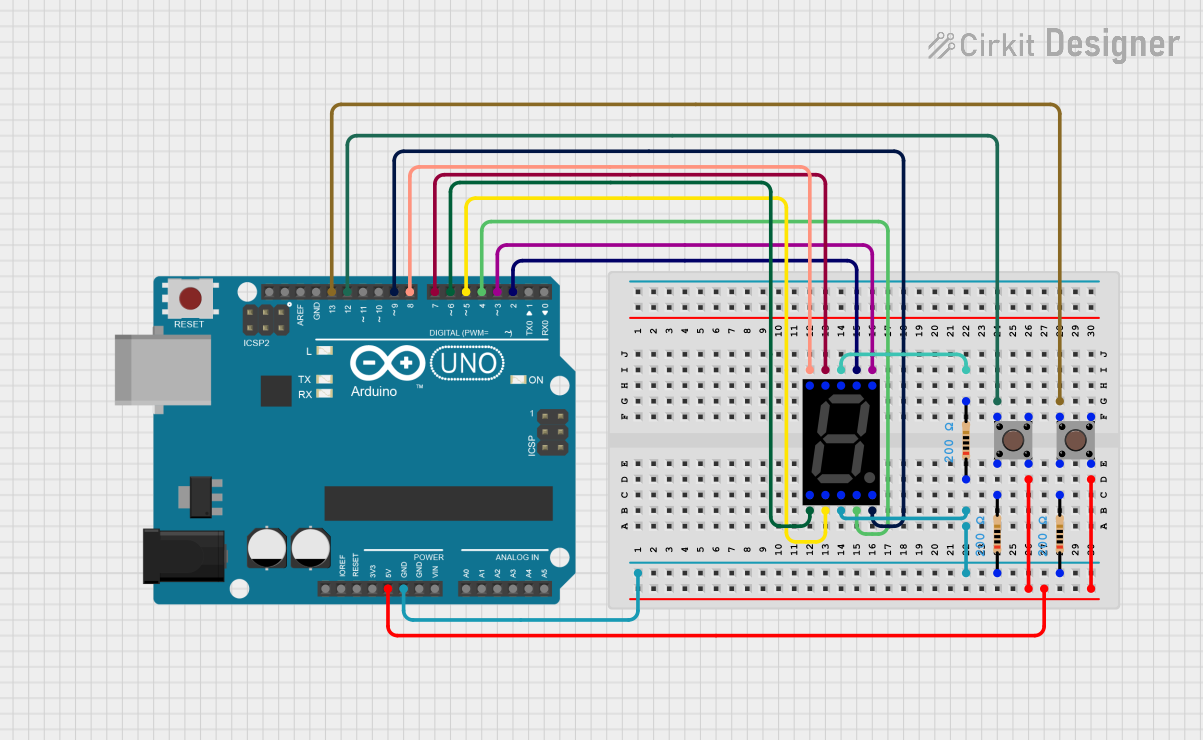

Explore Projects Built with OpenSegment
Technical Specifications
Key Technical Details
- Operating Voltage: 3.3V to 5.5V
- Maximum Current: 80mA (typical usage)
- Display Color: Red (commonly available)
- Communication: Serial (TTL compatible)
- Baud Rate: Configurable (default 9600 bps)
- Character Set: 0-9, A-F, and special characters
- Brightness Control: Software adjustable
Pin Configuration and Descriptions
| Pin Number | Name | Description |
|---|---|---|
| 1 | VCC | Power supply (3.3V to 5.5V) |
| 2 | GND | Ground connection |
| 3 | RX | Serial receive pin |
| 4 | TX | Serial transmit pin (not used in one-way communication) |
| 5 | RST | Reset pin (active low) |
Usage Instructions
Connecting to an Arduino UNO
- Connect the VCC pin of the OpenSegment to the 5V output on the Arduino.
- Connect the GND pin to one of the GND pins on the Arduino.
- Connect the RX pin of the OpenSegment to a digital pin on the Arduino (e.g., pin 2) set for serial communication.
Programming the Arduino
To communicate with the OpenSegment, you can use the Arduino's SoftwareSerial library to create a serial connection on any digital pins. Below is a simple example code that demonstrates how to send data to the OpenSegment display.
#include <SoftwareSerial.h>

// RX, TX
SoftwareSerial openSegmentSerial(2, 3); // RX on digital pin 2, TX on digital pin 3 (not used)

void setup() {
  // Start serial communication with OpenSegment at default baud rate
  openSegmentSerial.begin(9600);
}

void loop() {
  // Send a number to the display
  openSegmentSerial.print("1234");
  delay(1000); // Wait for a second

  // Send a hexadecimal number to the display
  openSegmentSerial.print("A1b2");
  delay(1000); // Wait for a second

  // Clear the display
  openSegmentSerial.write(0x76); // Send the clear display command
  delay(1000); // Wait for a second
}
Important Considerations and Best Practices
- Always ensure that the power supply voltage and current ratings are within the specifications of the OpenSegment to prevent damage.
- When sending serial data, ensure that the baud rate of the Arduino matches the configured baud rate of the OpenSegment.
- Avoid blocking or long-delay functions in your code to maintain responsive display updates.
Troubleshooting and FAQs
Common Issues
- Display not lighting up: Check the power connections and ensure that the OpenSegment is receiving the correct voltage.
- Garbled or incorrect characters: Verify that the baud rate of the Arduino matches the OpenSegment's baud rate. Also, check the serial connections.
- Display flickers or is dim: Ensure that the current draw is within the module's limits and adjust the brightness settings if necessary.
Solutions and Tips for Troubleshooting
- If the display is not responding, try resetting the OpenSegment using the RST pin.
- For dim displays, send a command to increase brightness or check if the power supply can deliver sufficient current.
- Always use a common ground between the OpenSegment and the Arduino to ensure reliable communication.
FAQs
Q: Can I display letters on the OpenSegment? A: Yes, the OpenSegment can display numbers, hexadecimal characters (A-F), and some special characters.
Q: How do I change the baud rate of the OpenSegment? A: The baud rate can be changed using a specific command sequence, which is detailed in the OpenSegment's datasheet.
Q: Can I control multiple OpenSegments with one Arduino?
A: Yes, you can control multiple displays by connecting their RX pins to different digital pins on the Arduino and creating multiple SoftwareSerial instances.
For further assistance or more advanced usage scenarios, please refer to the OpenSegment's datasheet or contact technical support.