How to Use Metal Detector: Examples, Pinouts, and Specs
Introduction
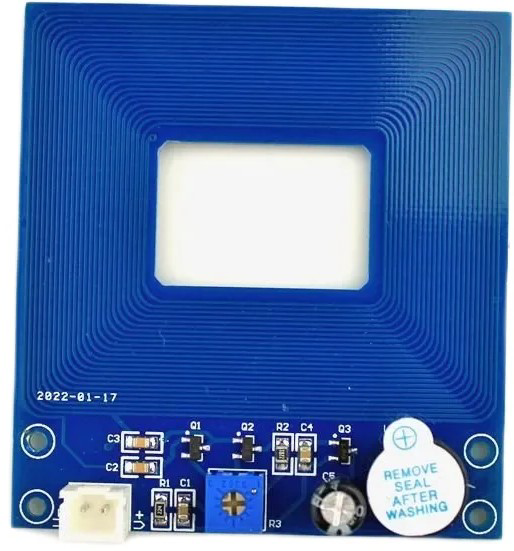
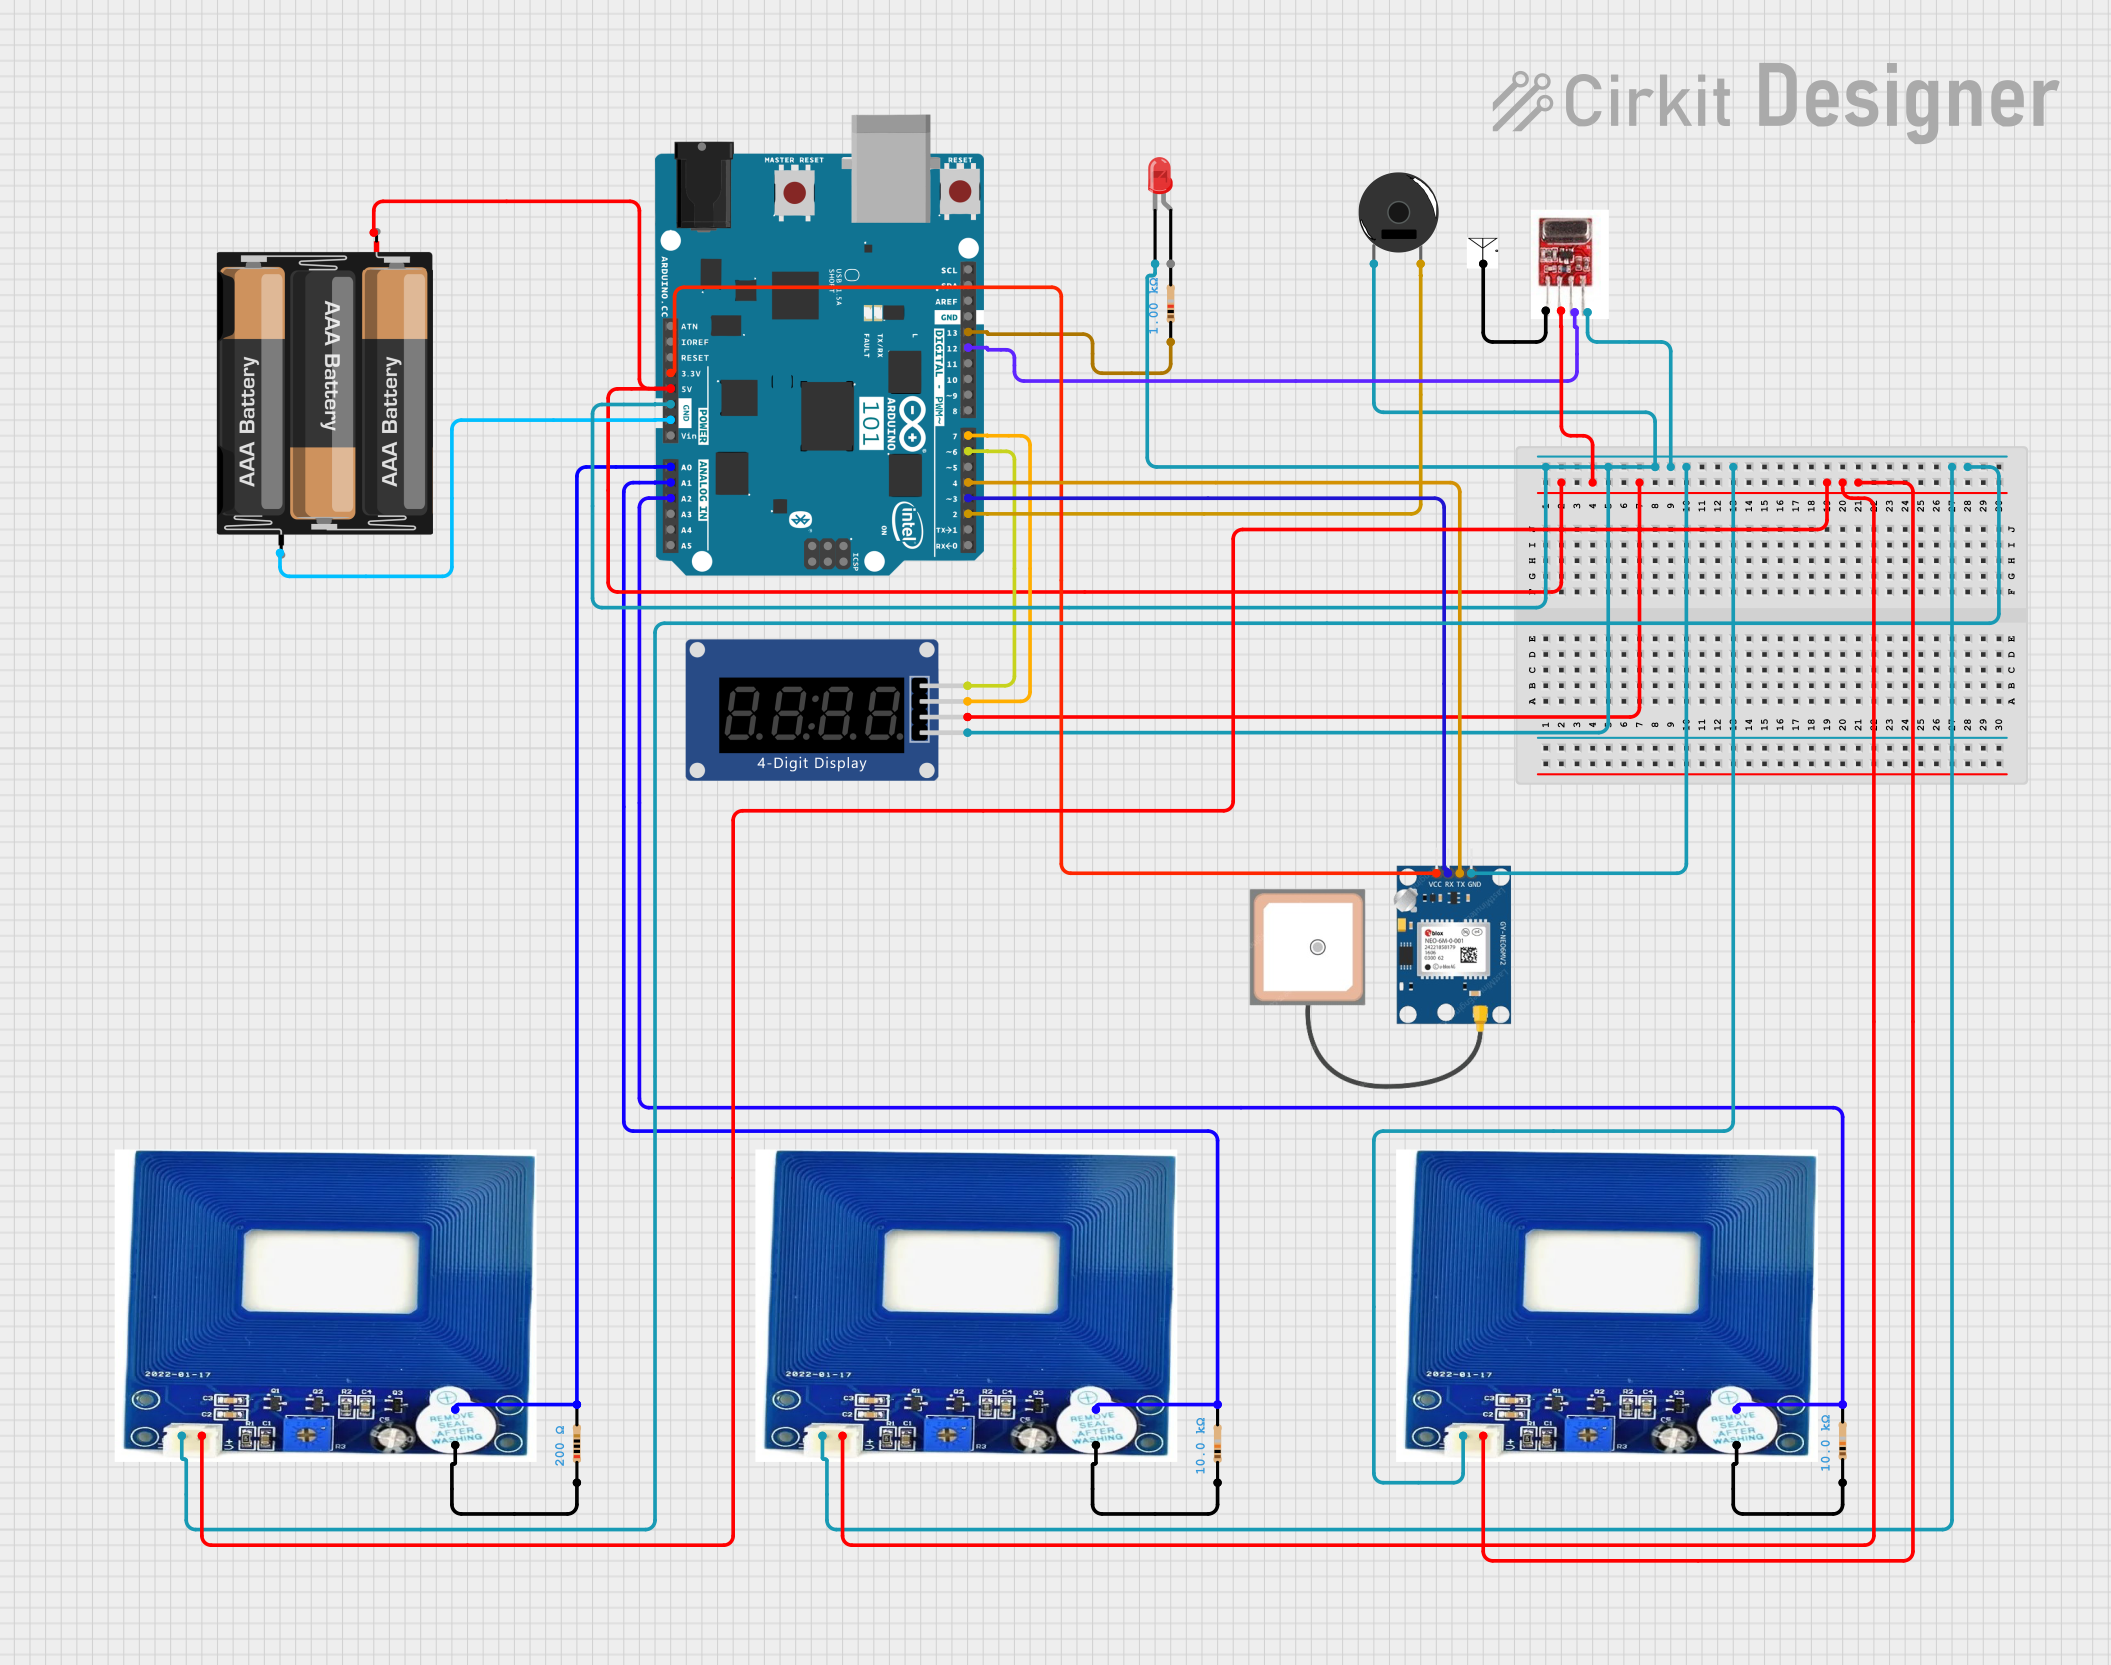
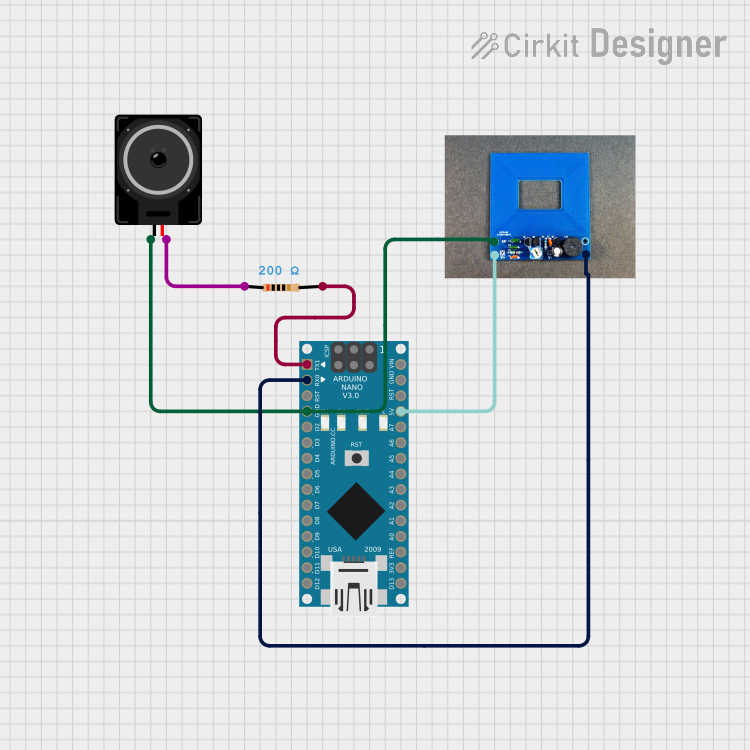
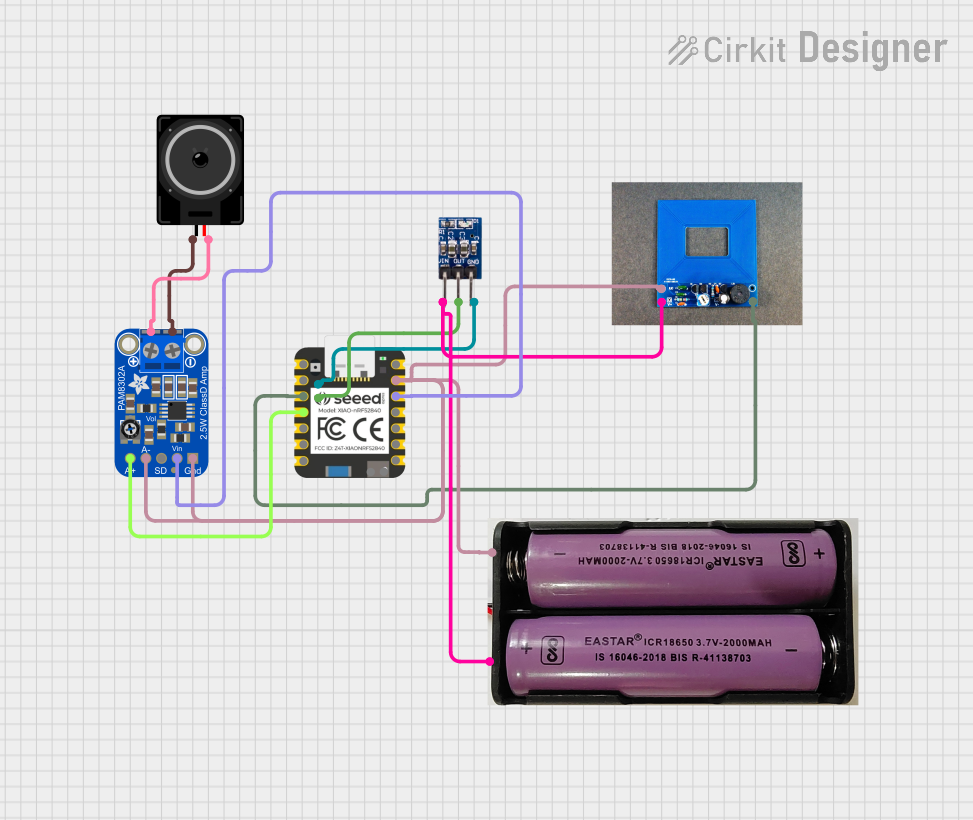
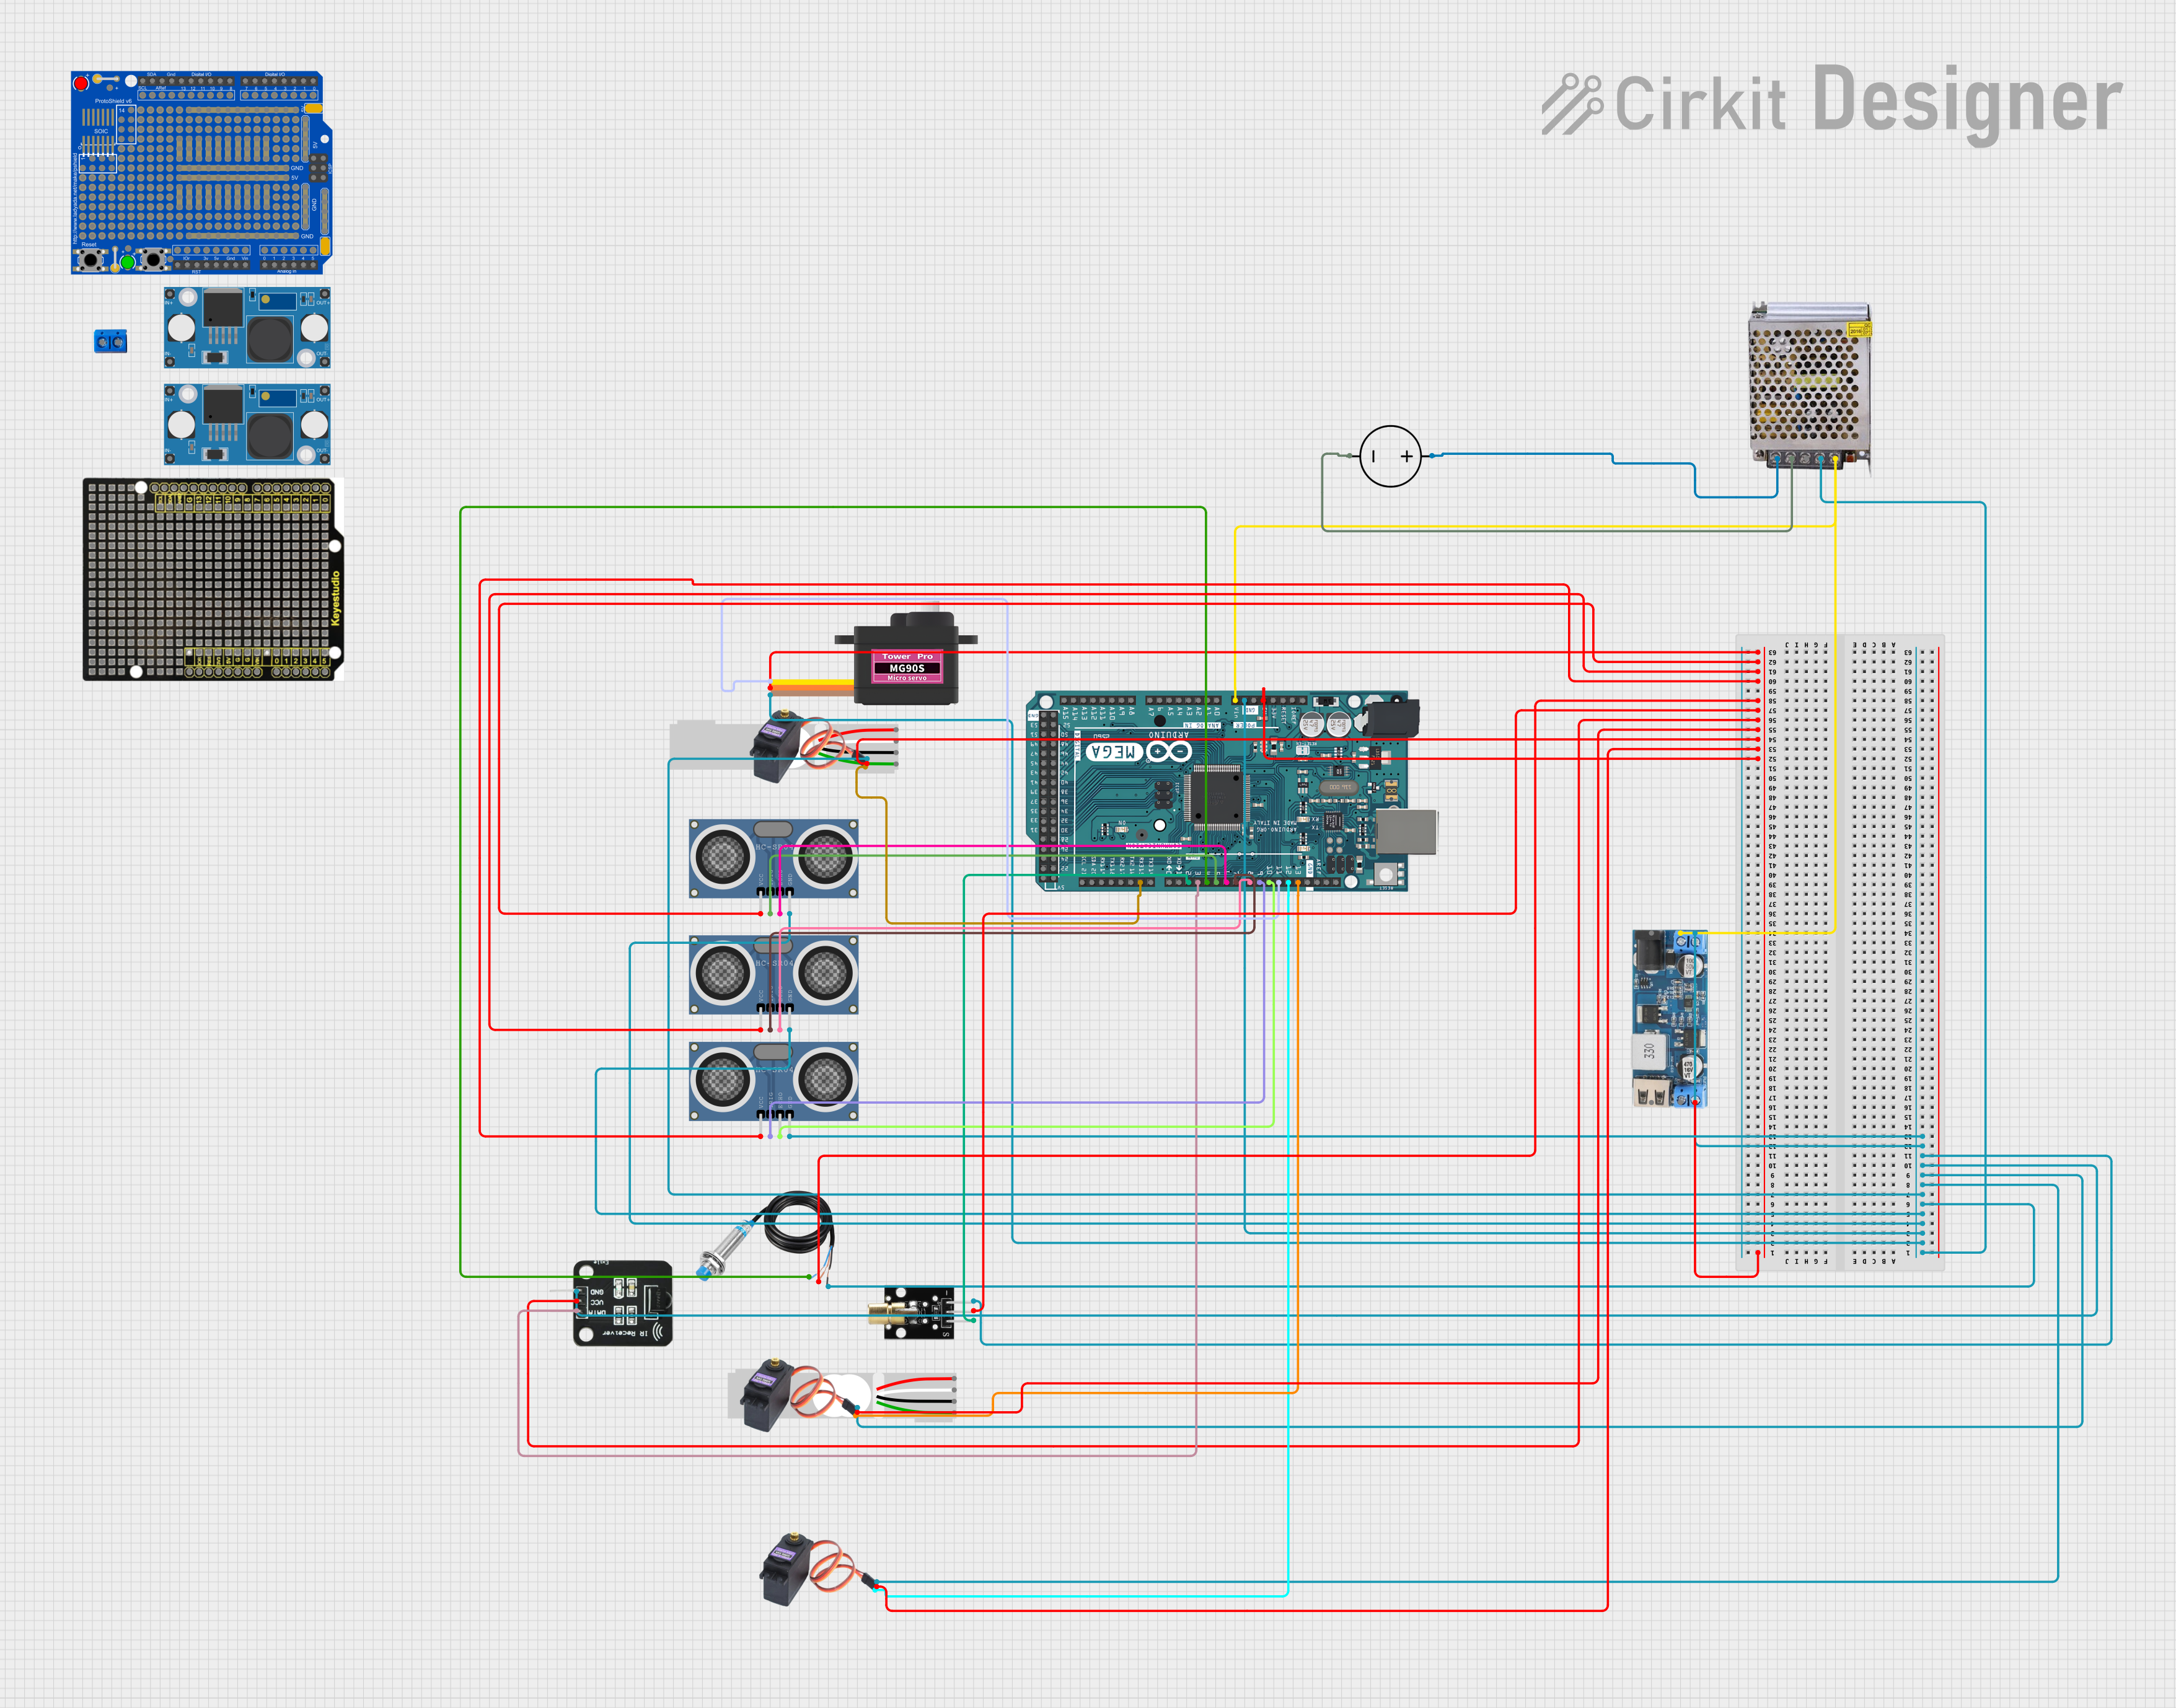
The A88 Metal Detector is an electronic device designed to detect the presence of metal objects within a specific area. It operates by generating an electromagnetic field and sensing disturbances caused by metallic materials. This component is widely used in various applications such as security screening, archaeological exploration, treasure hunting, and industrial metal detection.
Explore Projects Built with Metal Detector
Explore Projects Built with Metal Detector
Common Applications and Use Cases
- Security checkpoints and body scanners
- Construction sites for locating buried utilities
- Archaeological digs for finding historical artifacts
- Hobbyist treasure hunting
- Conveyor belts in manufacturing for quality control
Technical Specifications
Key Technical Details
- Operating Frequency: Typically in the range of kHz to MHz
- Sensitivity: Adjustable, depending on the size and conductivity of the metal object
- Detection Range: Varies with object size and material, often up to several inches from the coil
- Power Supply: Battery-operated or external power source (specific voltage and current ratings will be provided by the manufacturer)
- Operating Temperature: -10°C to 50°C (14°F to 122°F)
Pin Configuration and Descriptions
| Pin Number | Description | Notes |
|---|---|---|
| 1 | Power Supply (+) | Connect to positive power source |
| 2 | Power Supply (-) | Connect to ground |
| 3 | Signal Output | Outputs signal when metal is detected |
| 4 | Sensitivity Control (optional) | Adjusts the sensitivity of detection |
| 5 | Ground Balance (optional) | Used to ignore the effect of ground minerals |
Note: The actual pin configuration may vary depending on the specific model and manufacturer. Always refer to the manufacturer's datasheet for accurate information.
Usage Instructions
How to Use the Component in a Circuit
- Power Connection: Connect the power supply pins to a suitable battery or power source, ensuring that the voltage and current ratings match the specifications.
- Signal Output: Connect the signal output pin to an input pin on a microcontroller or to an audio/visual indicator to receive alerts when metal is detected.
- Sensitivity Adjustment: If available, adjust the sensitivity control to calibrate the metal detector for different types of metal or operational environments.
- Ground Balance: Use the ground balance feature to reduce false positives from mineralized soils, if applicable.
Important Considerations and Best Practices
- Always calibrate the metal detector before use to ensure accurate detection.
- Avoid using the metal detector near large metal structures or electrical interference sources.
- Regularly check and replace the power source to maintain optimal performance.
- Use proper shielding and grounding techniques to minimize noise and false signals.
Troubleshooting and FAQs
Common Issues Users Might Face
- False Positives: Adjust the sensitivity and ground balance settings. Ensure the device is not near other metal objects or sources of electrical noise.
- No Detection: Check the power supply and connections. Replace the battery if necessary. Increase the sensitivity setting.
- Inconsistent Operation: Ensure the device is not being used in extreme temperatures or conditions outside the specified operating range.
Solutions and Tips for Troubleshooting
- Verify that all connections are secure and free of corrosion.
- Test the metal detector with known metal objects to confirm functionality.
- If the device is battery-powered, ensure the battery is charged and properly installed.
FAQs
Q: Can the A88 Metal Detector differentiate between different types of metals? A: The A88 may have varying responses to different metals based on conductivity, but it does not typically differentiate types of metals without additional circuitry or processing.
Q: Is the A88 Metal Detector waterproof? A: Unless specified by the manufacturer, the A88 is not assumed to be waterproof. Care should be taken to avoid exposure to water or moisture.
Q: How can I extend the battery life of my metal detector? A: To extend battery life, turn off the device when not in use, and consider using a power-saving mode if available.
Note: For specific troubleshooting related to the A88 model, please refer to the manufacturer's technical support resources.
Example Arduino UNO Connection and Code
// Example code for interfacing A88 Metal Detector with Arduino UNO

const int metalDetectorPin = 2; // Connect to the Signal Output pin of A88
const int ledPin = 13;          // LED connected to pin 13 (built-in LED on UNO)

void setup() {
  pinMode(metalDetectorPin, INPUT);
  pinMode(ledPin, OUTPUT);
  Serial.begin(9600);
}

void loop() {
  int metalDetected = digitalRead(metalDetectorPin);
  if (metalDetected == HIGH) {
    digitalWrite(ledPin, HIGH); // Turn on LED when metal is detected
    Serial.println("Metal detected!");
  } else {
    digitalWrite(ledPin, LOW);  // Turn off LED when no metal is detected
  }
  delay(100); // Simple debounce delay
}
Note: The provided code is a basic example to demonstrate how the A88 Metal Detector can be interfaced with an Arduino UNO. The actual implementation may require additional features or complexity depending on the application.