How to Use DDS668 Energy Meter: Examples, Pinouts, and Specs
Introduction
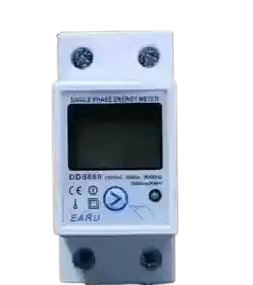
The DDS668 Energy Meter, manufactured by UART, is a digital device designed to measure electrical energy consumption in kilowatt-hours (kWh). It provides accurate and real-time monitoring of energy usage, making it an essential tool for both residential and industrial applications. With its compact design and user-friendly interface, the DDS668 is ideal for tracking energy efficiency, managing power consumption, and reducing electricity costs.
Explore Projects Built with DDS668 Energy Meter

Explore Projects Built with DDS668 Energy Meter
Common Applications and Use Cases
- Residential energy monitoring for households
- Industrial energy management in factories and warehouses
- Commercial applications in offices and retail spaces
- Renewable energy systems to track solar or wind power generation
- Energy audits and efficiency improvement projects
Technical Specifications
The DDS668 Energy Meter is designed to meet the needs of a wide range of applications. Below are its key technical details:
General Specifications
| Parameter | Value |
|---|---|
| Manufacturer | UART |
| Part ID | DDS668 |
| Measurement Range | 0.01 kWh to 99999.99 kWh |
| Voltage Rating | 230V AC ±10% |
| Current Rating | 5A (Direct Connection) |
| Maximum Current | 100A (with CT) |
| Frequency | 50/60 Hz |
| Accuracy Class | Class 1.0 |
| Display Type | LCD with backlight |
| Operating Temperature | -25°C to +55°C |
| Storage Temperature | -40°C to +70°C |
| Dimensions | 100mm x 36mm x 65mm |
| Mounting Type | DIN Rail |
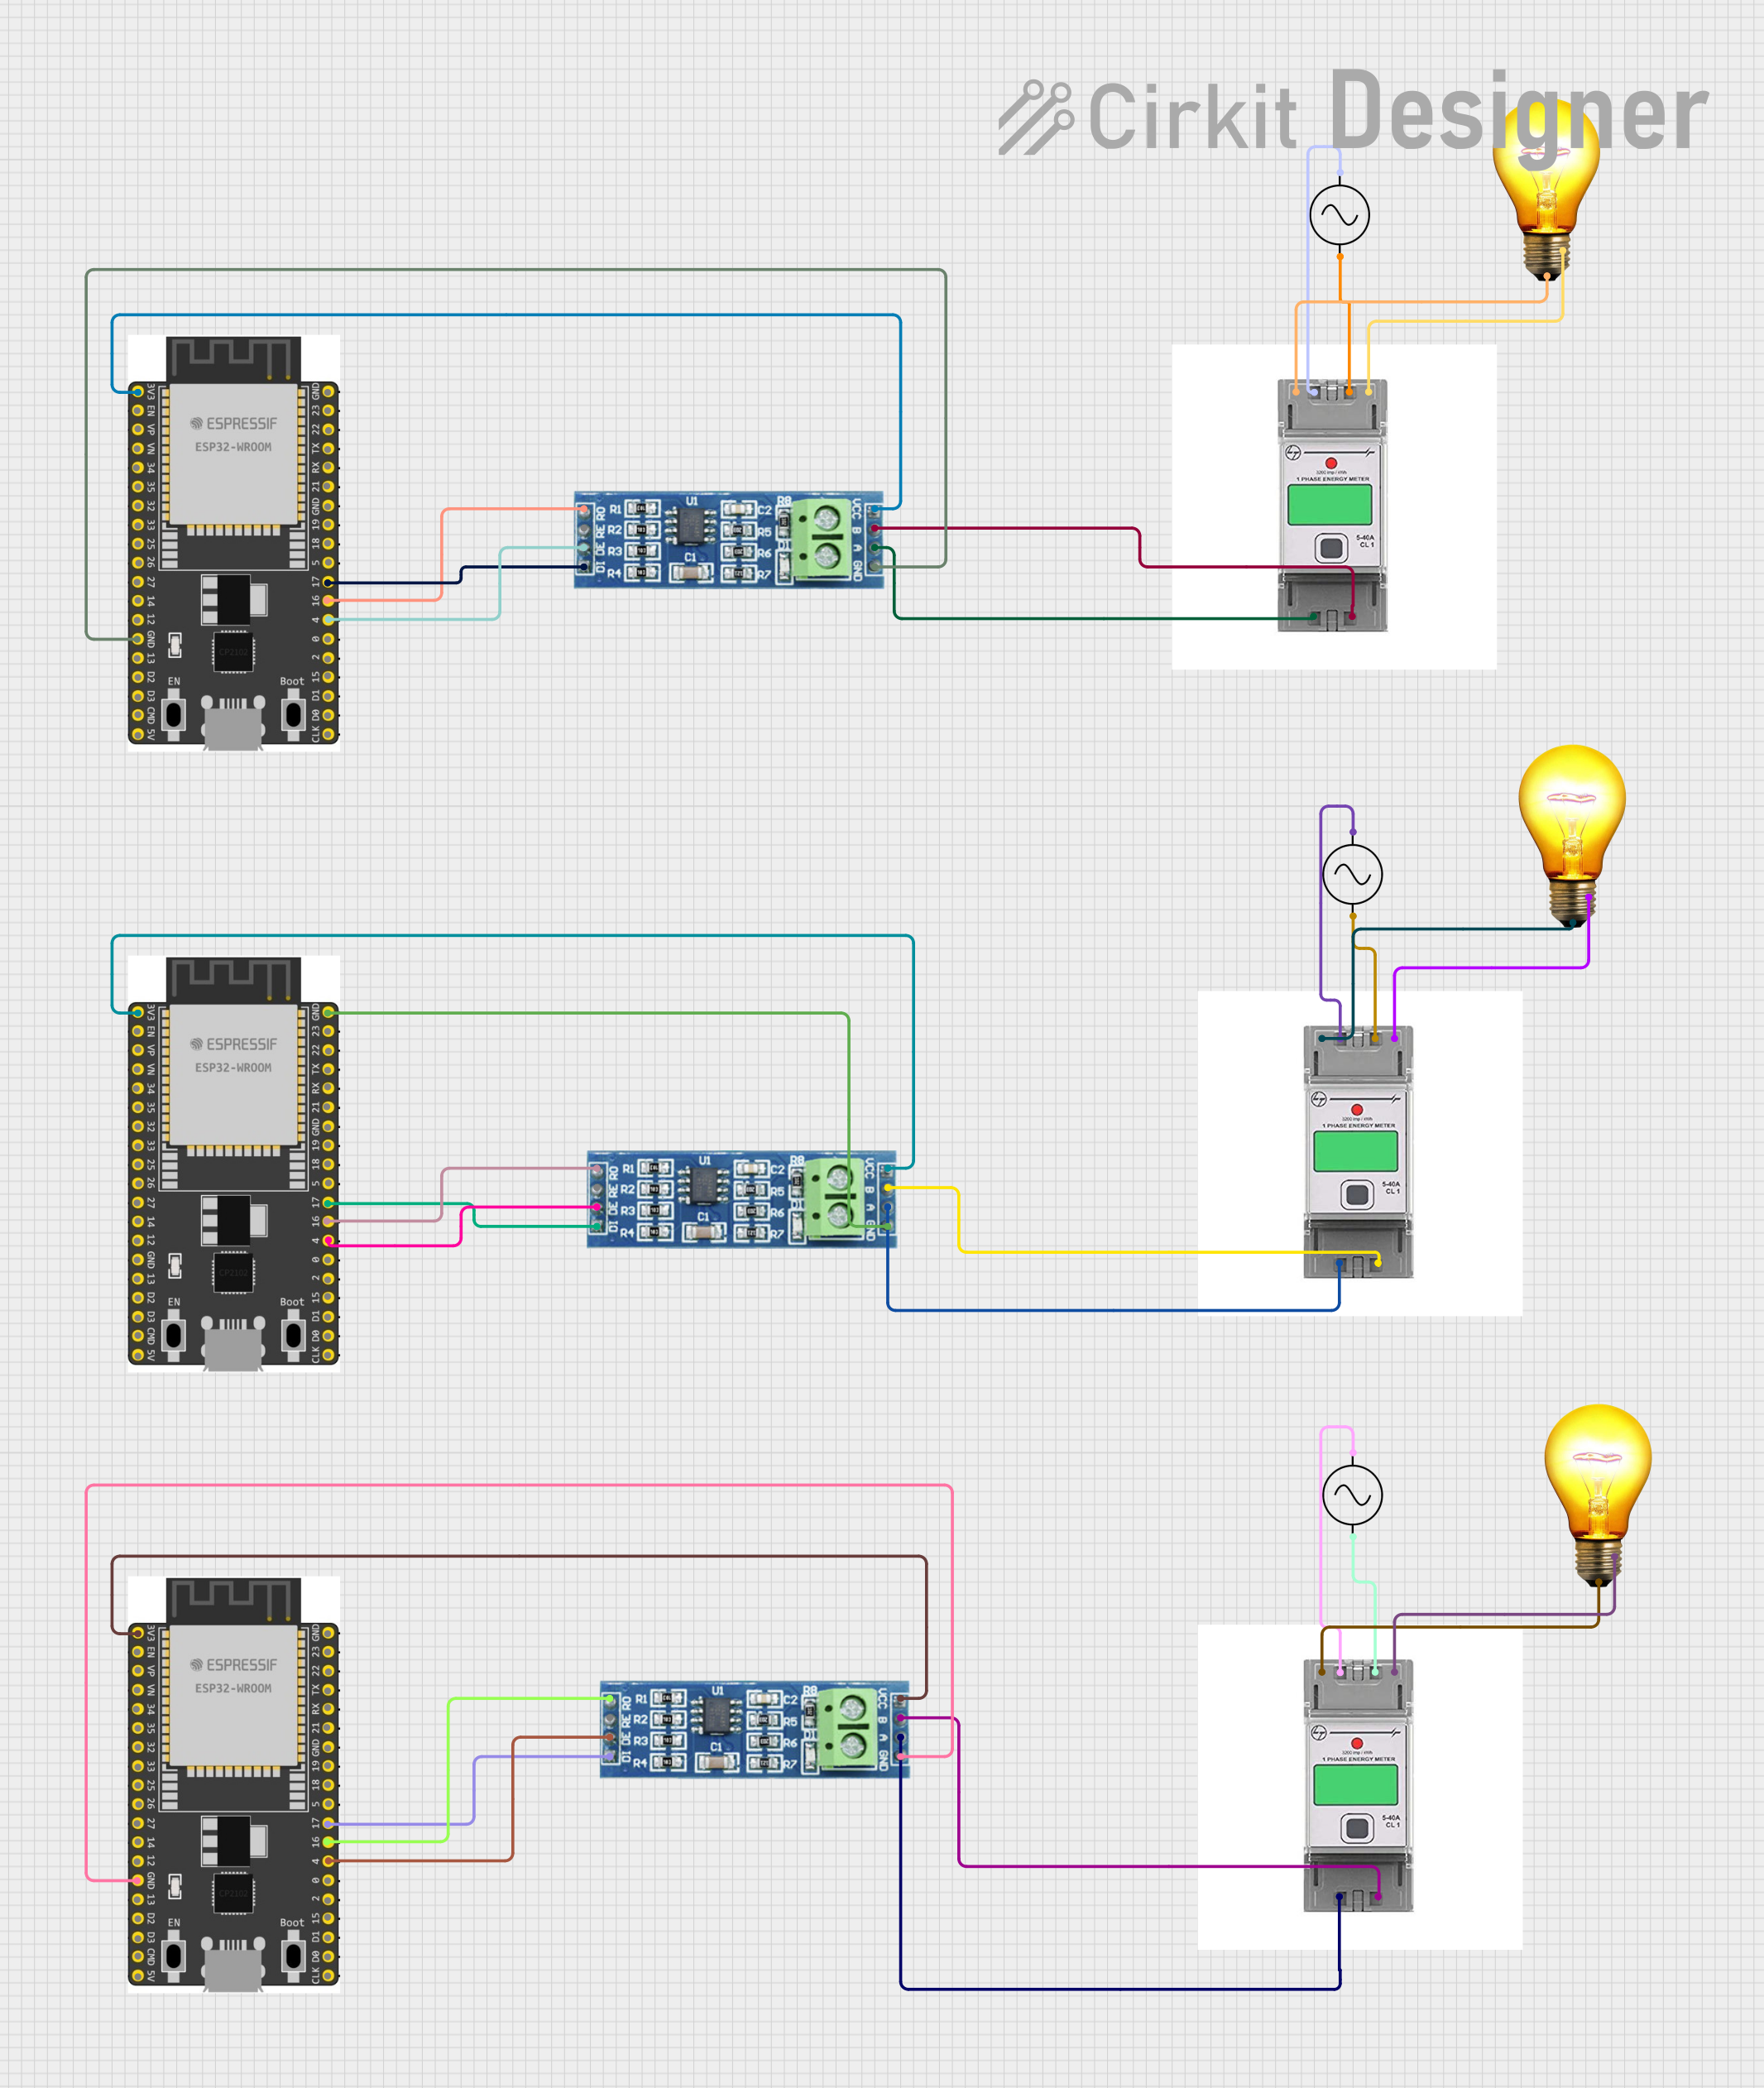
Pin Configuration and Descriptions
The DDS668 Energy Meter has a simple terminal block for wiring. Below is the pin configuration:
| Terminal No. | Description | Connection Type |
|---|---|---|
| 1 | Line Input (L) | Connect to live wire |
| 2 | Neutral Input (N) | Connect to neutral wire |
| 3 | Line Output (L) | Connect to load live wire |
| 4 | Neutral Output (N) | Connect to load neutral wire |
Usage Instructions
How to Use the DDS668 Energy Meter in a Circuit
- Safety First: Ensure the power supply is turned off before wiring the energy meter.
- Wiring:
- Connect the live wire from the power source to Terminal 1 (Line Input).
- Connect the neutral wire from the power source to Terminal 2 (Neutral Input).
- Connect the live wire of the load to Terminal 3 (Line Output).
- Connect the neutral wire of the load to Terminal 4 (Neutral Output).
- Mounting: Secure the DDS668 Energy Meter onto a DIN rail in your distribution box.
- Power On: Turn on the power supply and verify that the LCD display is operational.
- Monitoring: The meter will display real-time energy consumption in kWh. Use the buttons (if available) to navigate through additional parameters like voltage, current, and power.
Important Considerations and Best Practices
- Ensure the meter's voltage and current ratings match your application.
- For loads exceeding 5A, use an external current transformer (CT) to prevent damage.
- Avoid exposing the meter to extreme temperatures or humidity.
- Regularly inspect the wiring connections to ensure safety and accuracy.
- If used in a three-phase system, ensure proper phase balancing and use a compatible three-phase meter.
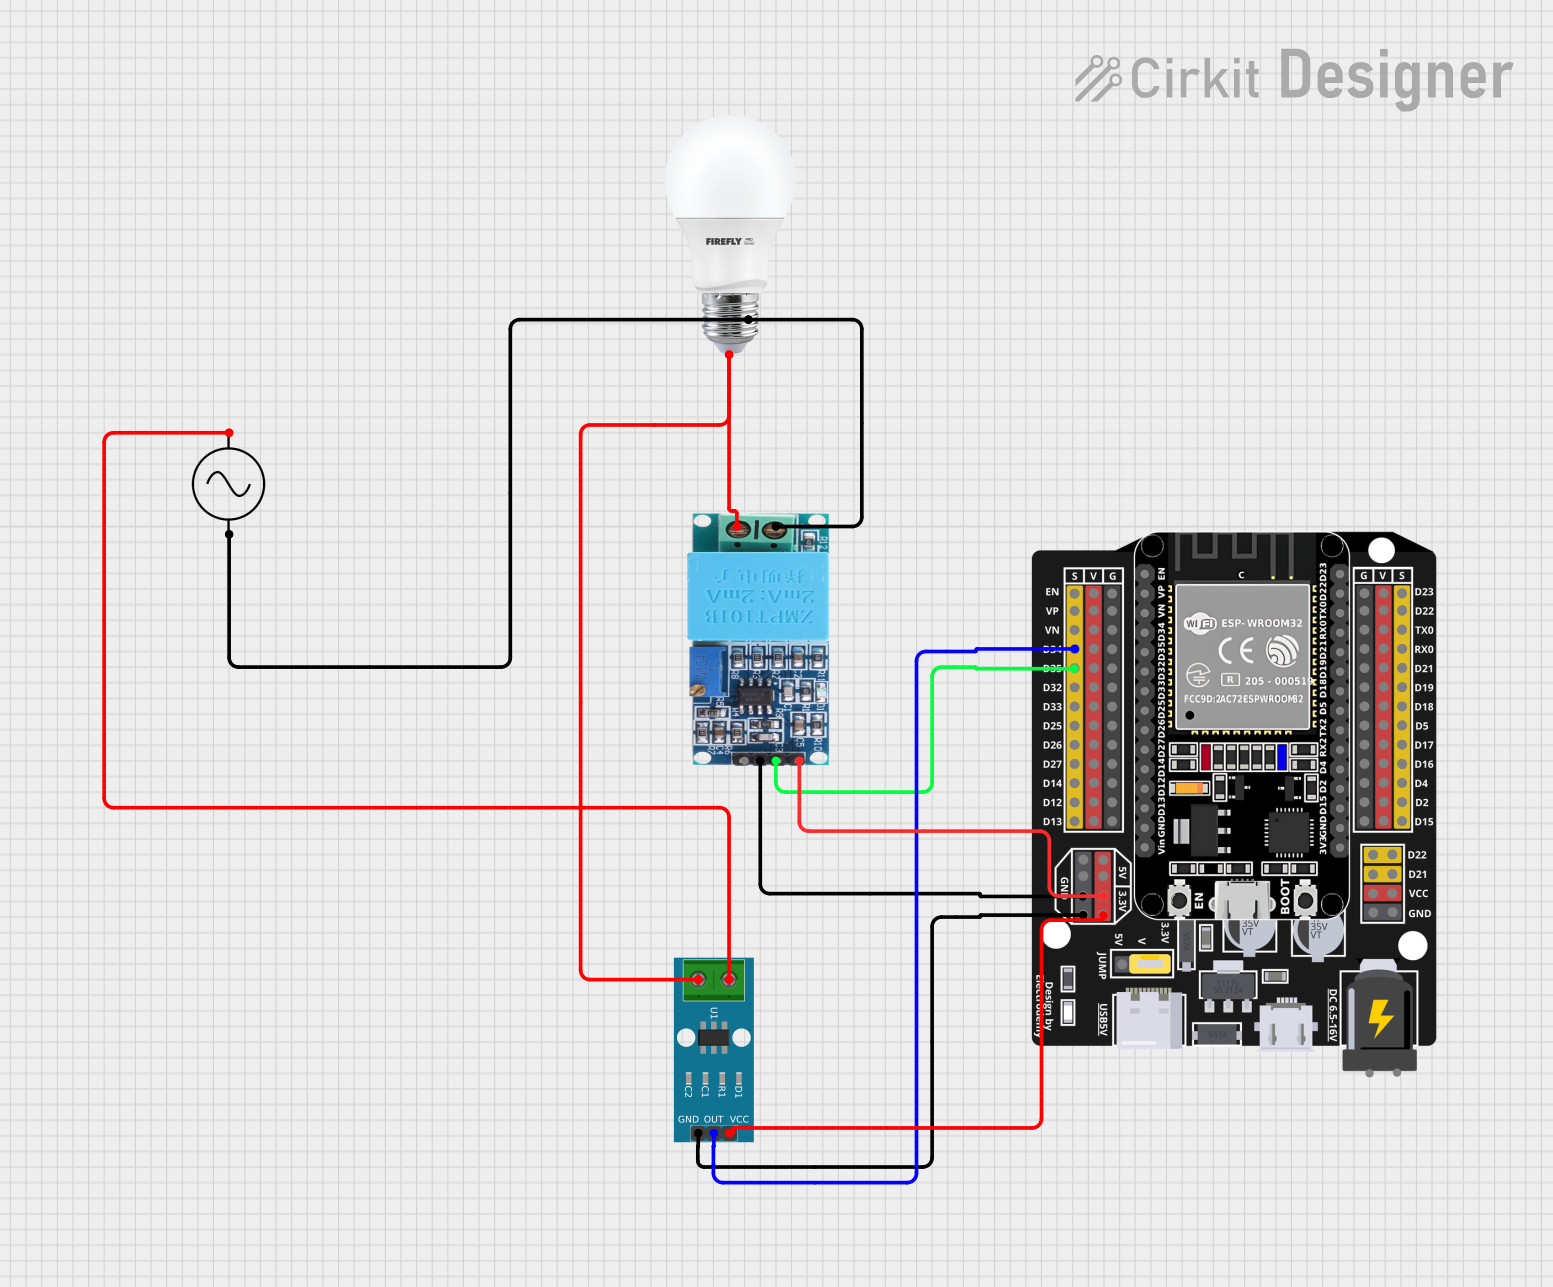
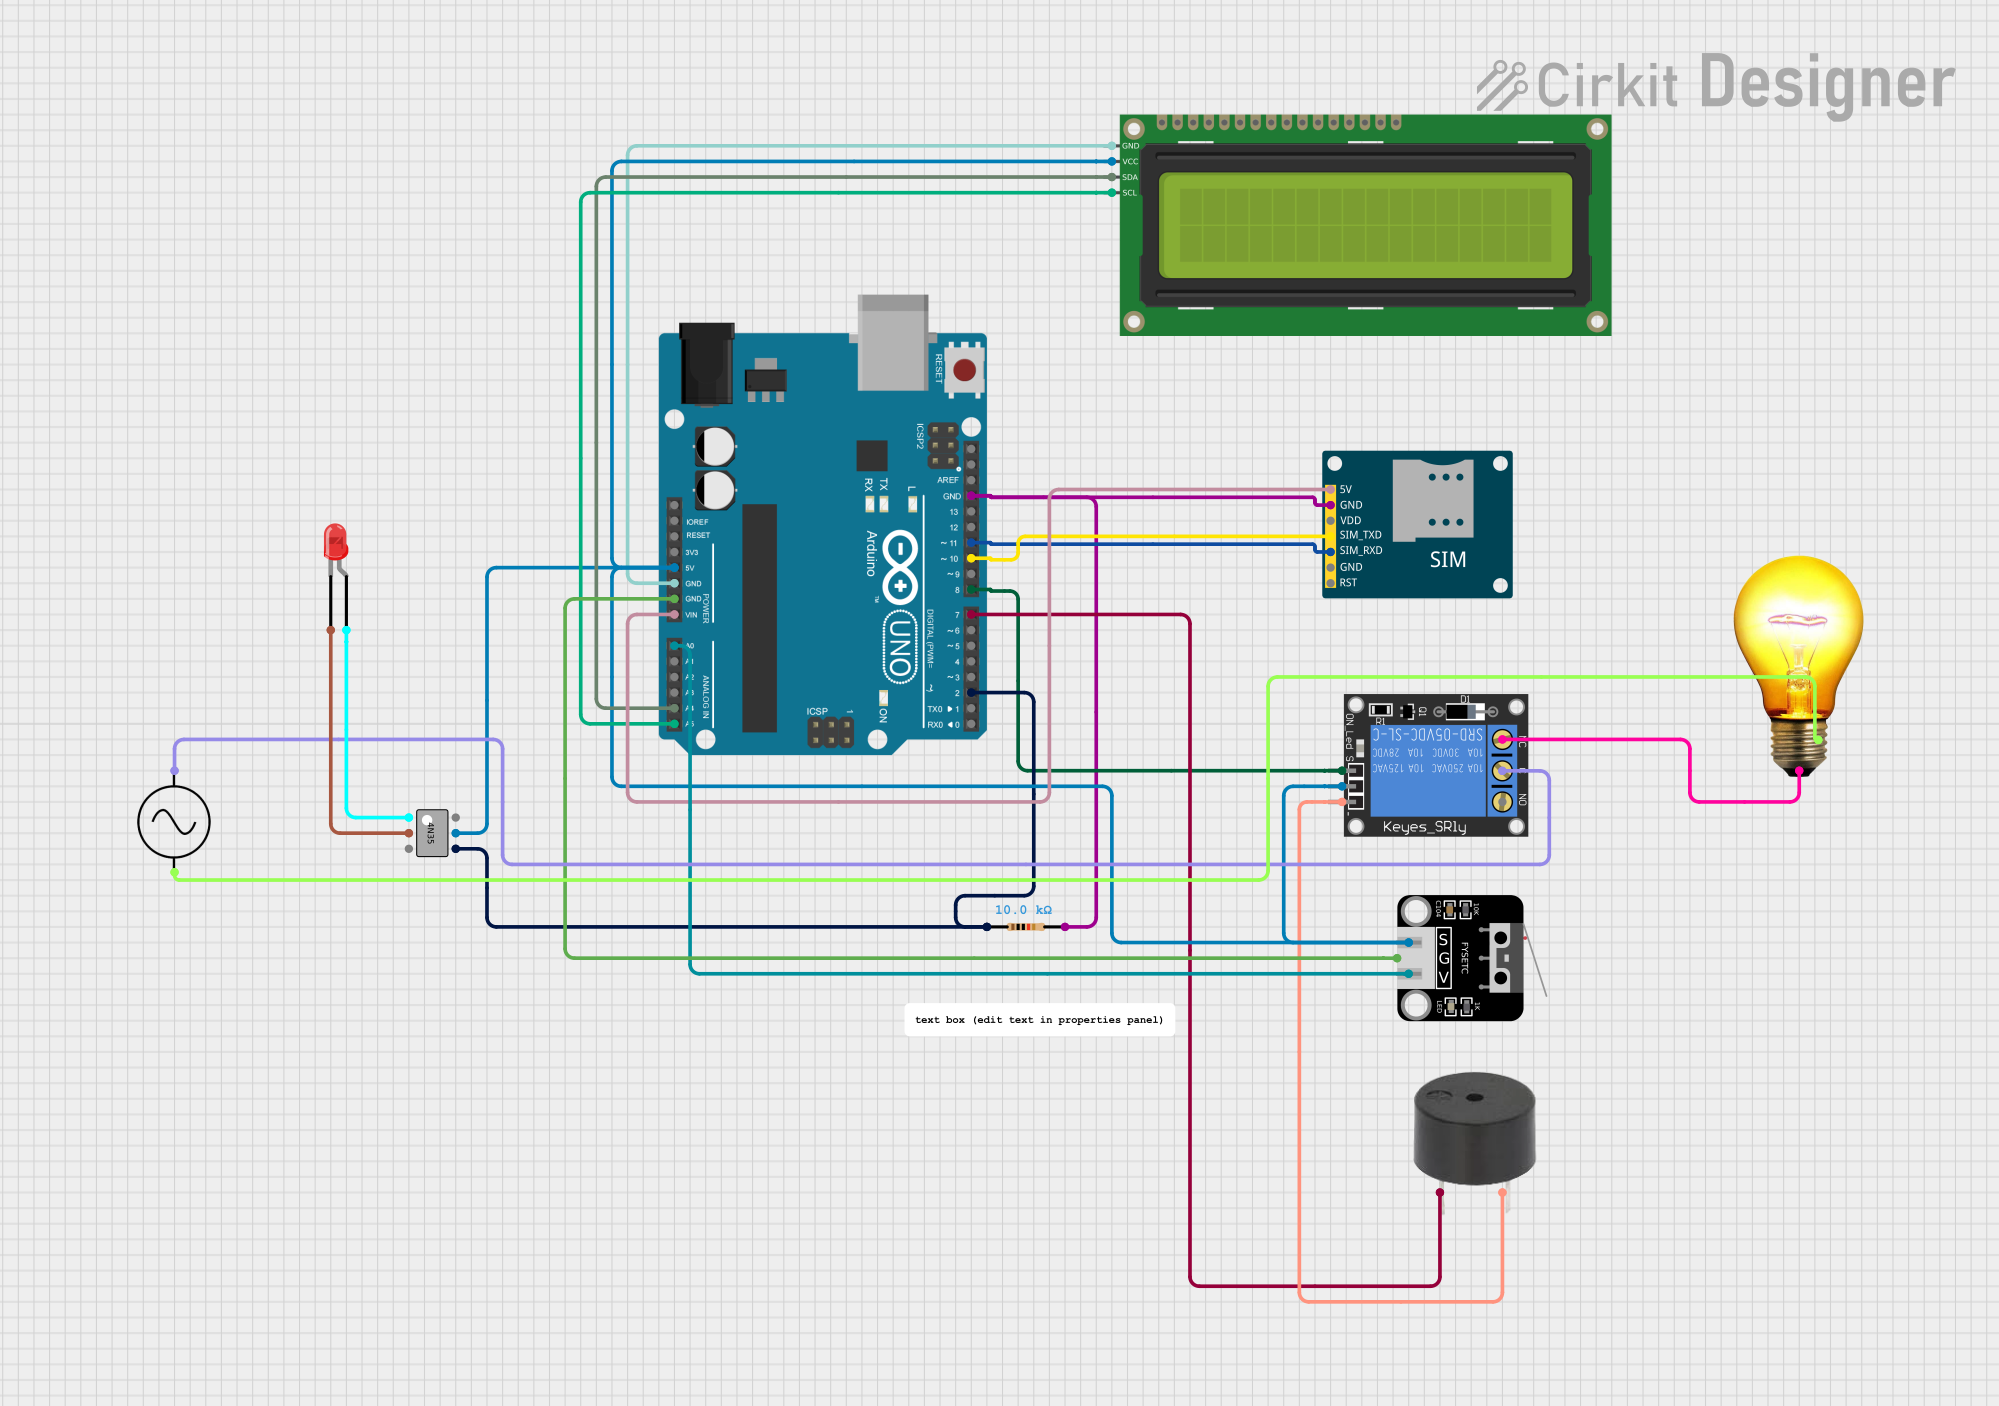
Arduino UNO Integration
The DDS668 Energy Meter does not natively support direct communication with microcontrollers like the Arduino UNO. However, you can integrate it with an Arduino by using an external sensor (e.g., a current sensor or voltage sensor) to measure the output parameters indirectly. Below is an example code snippet for reading current using an ACS712 current sensor:
// Example code for reading current using ACS712 sensor with Arduino UNO
#include <ACS712.h>

// Initialize ACS712 sensor (e.g., 5A version)
ACS712 sensor(ACS712_05B, A0);

void setup() {
  Serial.begin(9600); // Start serial communication
  sensor.calibrate(); // Calibrate the sensor
  Serial.println("ACS712 Current Sensor Initialized");
}

void loop() {
  float current = sensor.getCurrentAC(); // Get AC current in Amperes
  Serial.print("Current: ");
  Serial.print(current);
  Serial.println(" A");
  delay(1000); // Wait for 1 second before next reading
}
Note: The above code is for demonstration purposes and assumes the use of an ACS712 current sensor. The DDS668 Energy Meter itself does not provide direct data output for Arduino.
Troubleshooting and FAQs
Common Issues and Solutions
| Issue | Possible Cause | Solution |
|---|---|---|
| LCD display not turning on | Incorrect wiring or no power supply | Verify wiring and ensure power is on |
| Inaccurate readings | Overload or improper connections | Check load rating and wiring |
| Meter not responding | Internal fault or extreme conditions | Inspect for damage or replace meter |
| Flickering display | Unstable power supply | Use a voltage stabilizer |
FAQs
Can the DDS668 measure three-phase power?
- No, the DDS668 is designed for single-phase systems. For three-phase systems, use a compatible three-phase energy meter.
What is the maximum load the DDS668 can handle?
- The DDS668 can handle up to 5A directly. For higher loads, use an external current transformer (CT).
Does the DDS668 support remote monitoring?
- No, the DDS668 does not have built-in communication features. For remote monitoring, consider using a smart energy meter with communication capabilities.
How do I reset the energy readings?
- The DDS668 does not support manual reset of energy readings, as it is designed to provide cumulative energy consumption data.
By following this documentation, users can effectively install, operate, and troubleshoot the DDS668 Energy Meter for accurate energy monitoring.