How to Use Peristaltic Pump Kamoer 12V: Examples, Pinouts, and Specs
Introduction
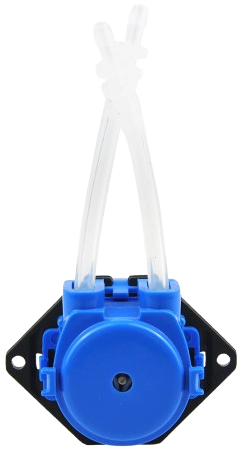
The Peristaltic Pump Kamoer 12V is a compact and efficient pump designed for precise fluid transfer and dosing. It operates using a series of rollers that compress a flexible tube, ensuring accurate and contamination-free fluid movement. This pump is powered by a 12V DC supply, making it versatile and easy to integrate into various systems. Its design is ideal for applications requiring controlled fluid flow, such as laboratory experiments, medical devices, food processing, and industrial automation.
Explore Projects Built with Peristaltic Pump Kamoer 12V
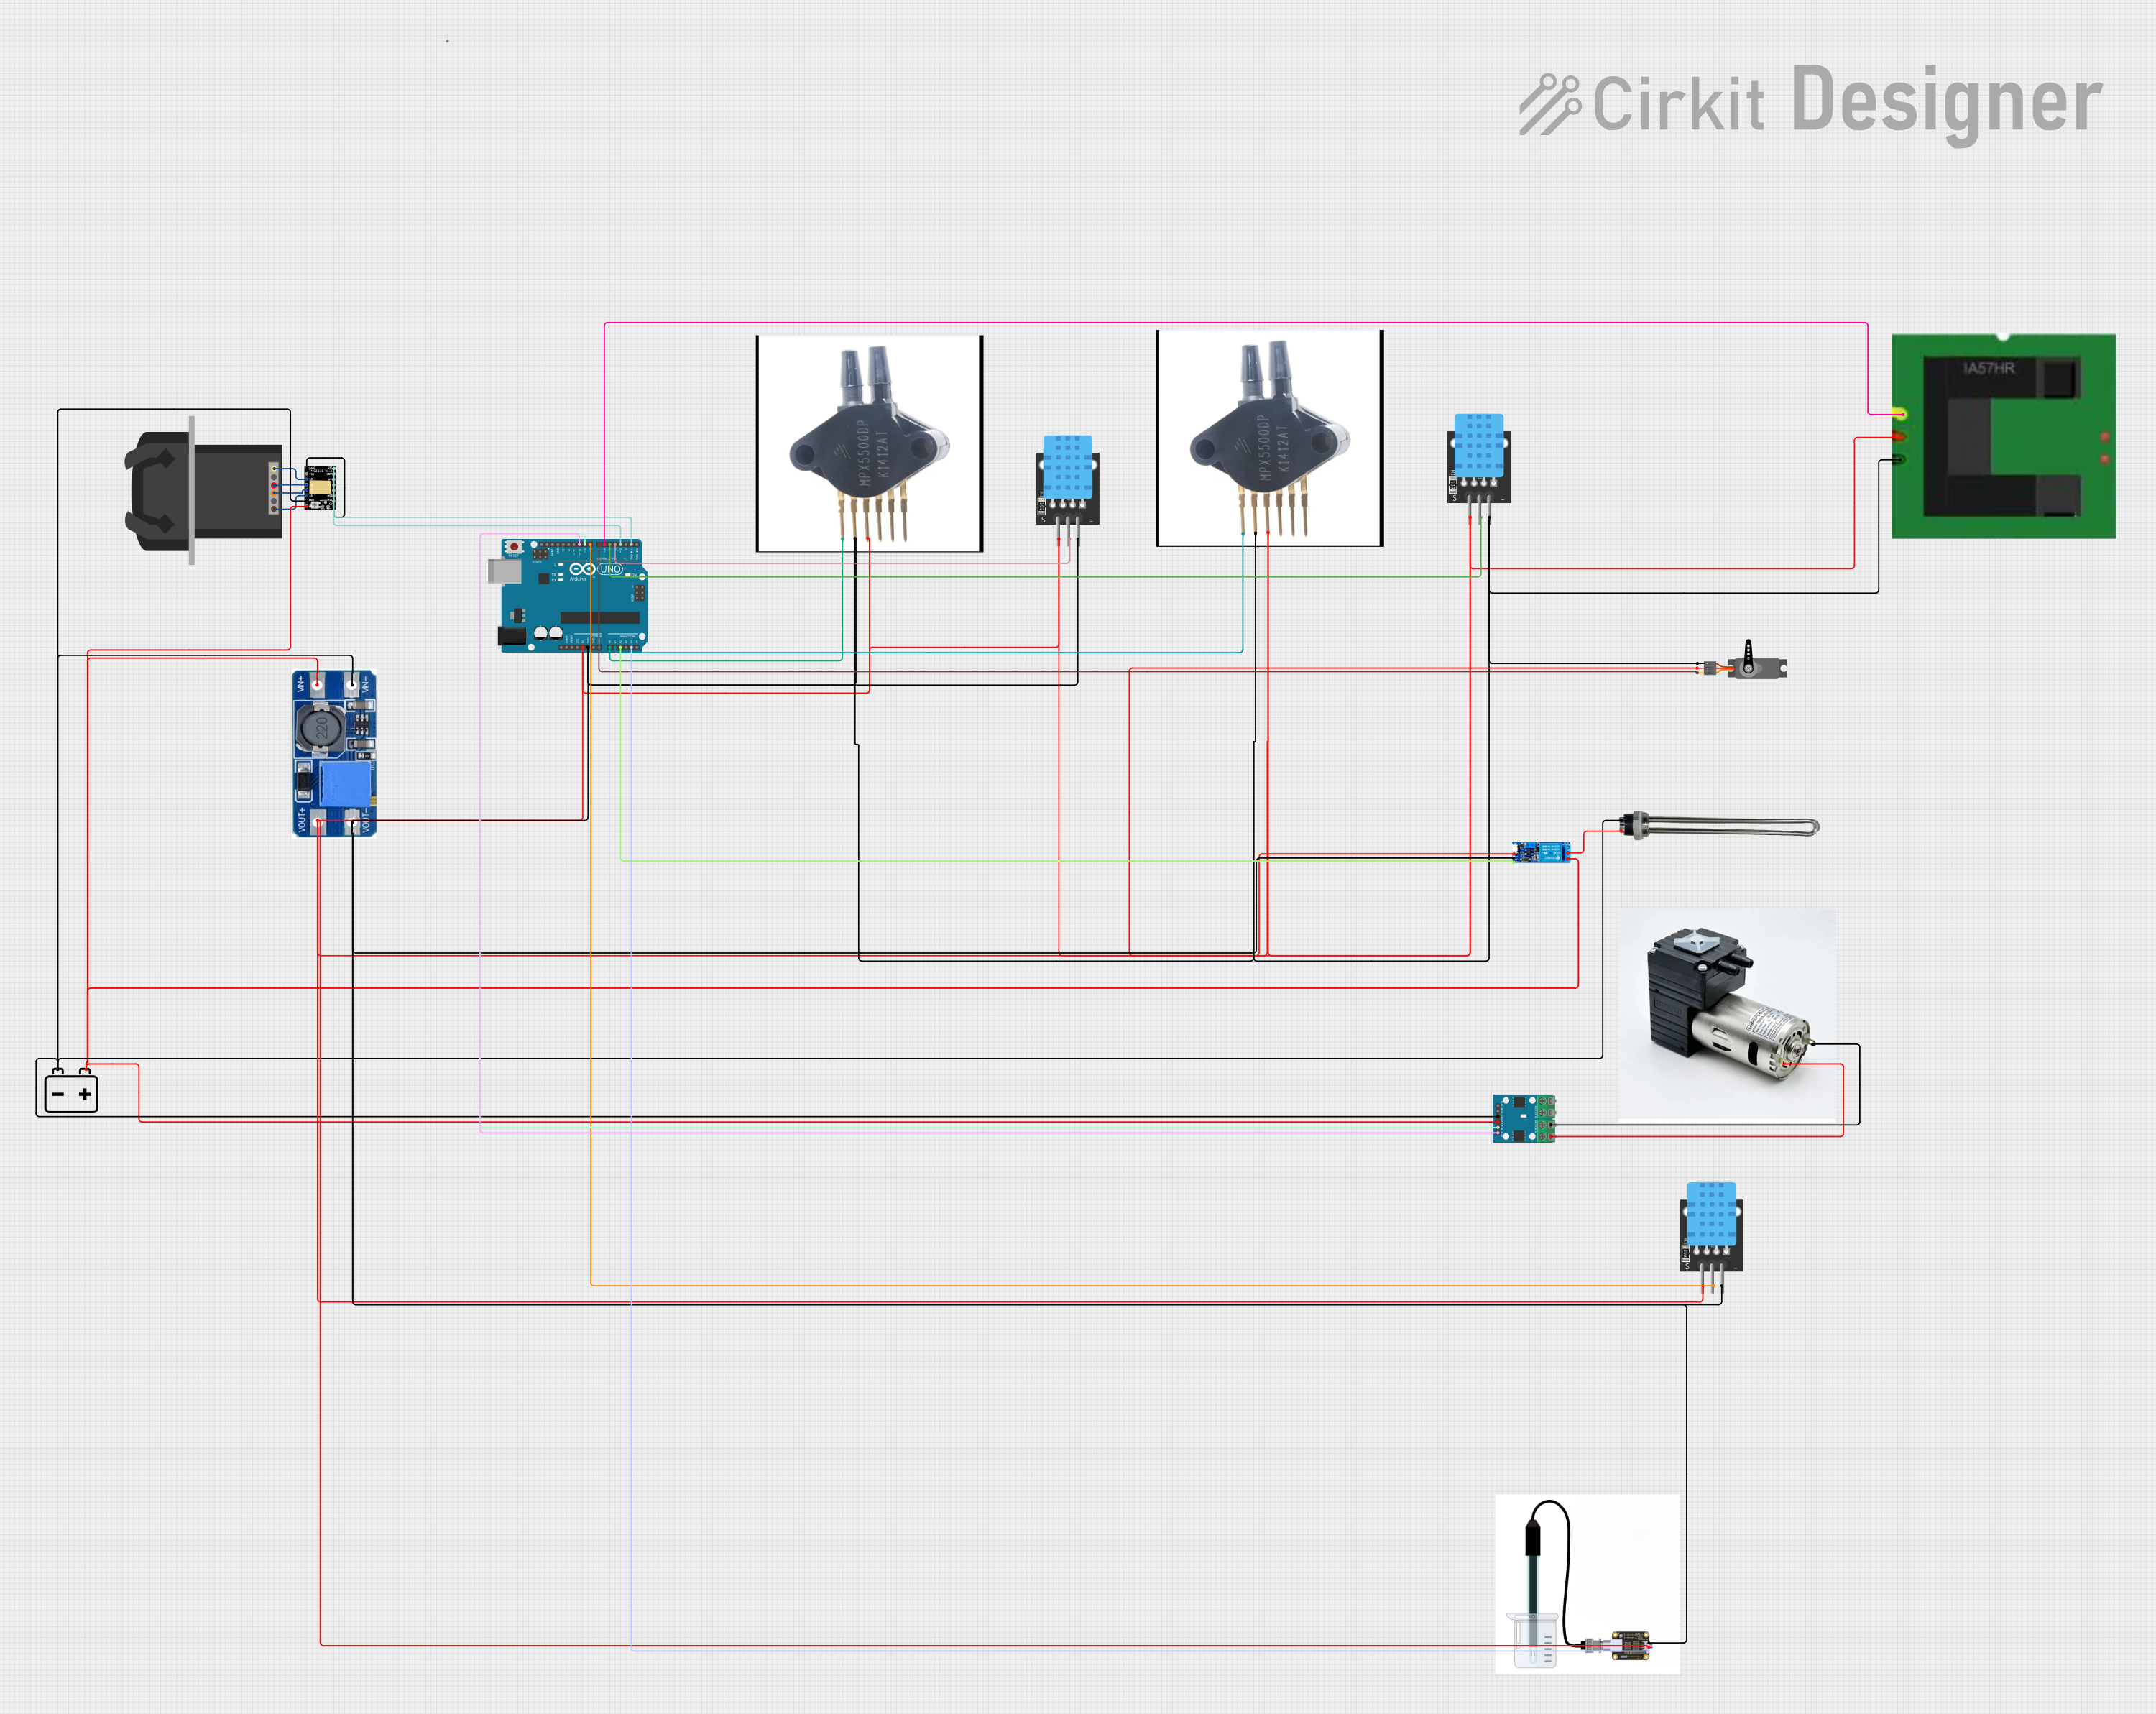
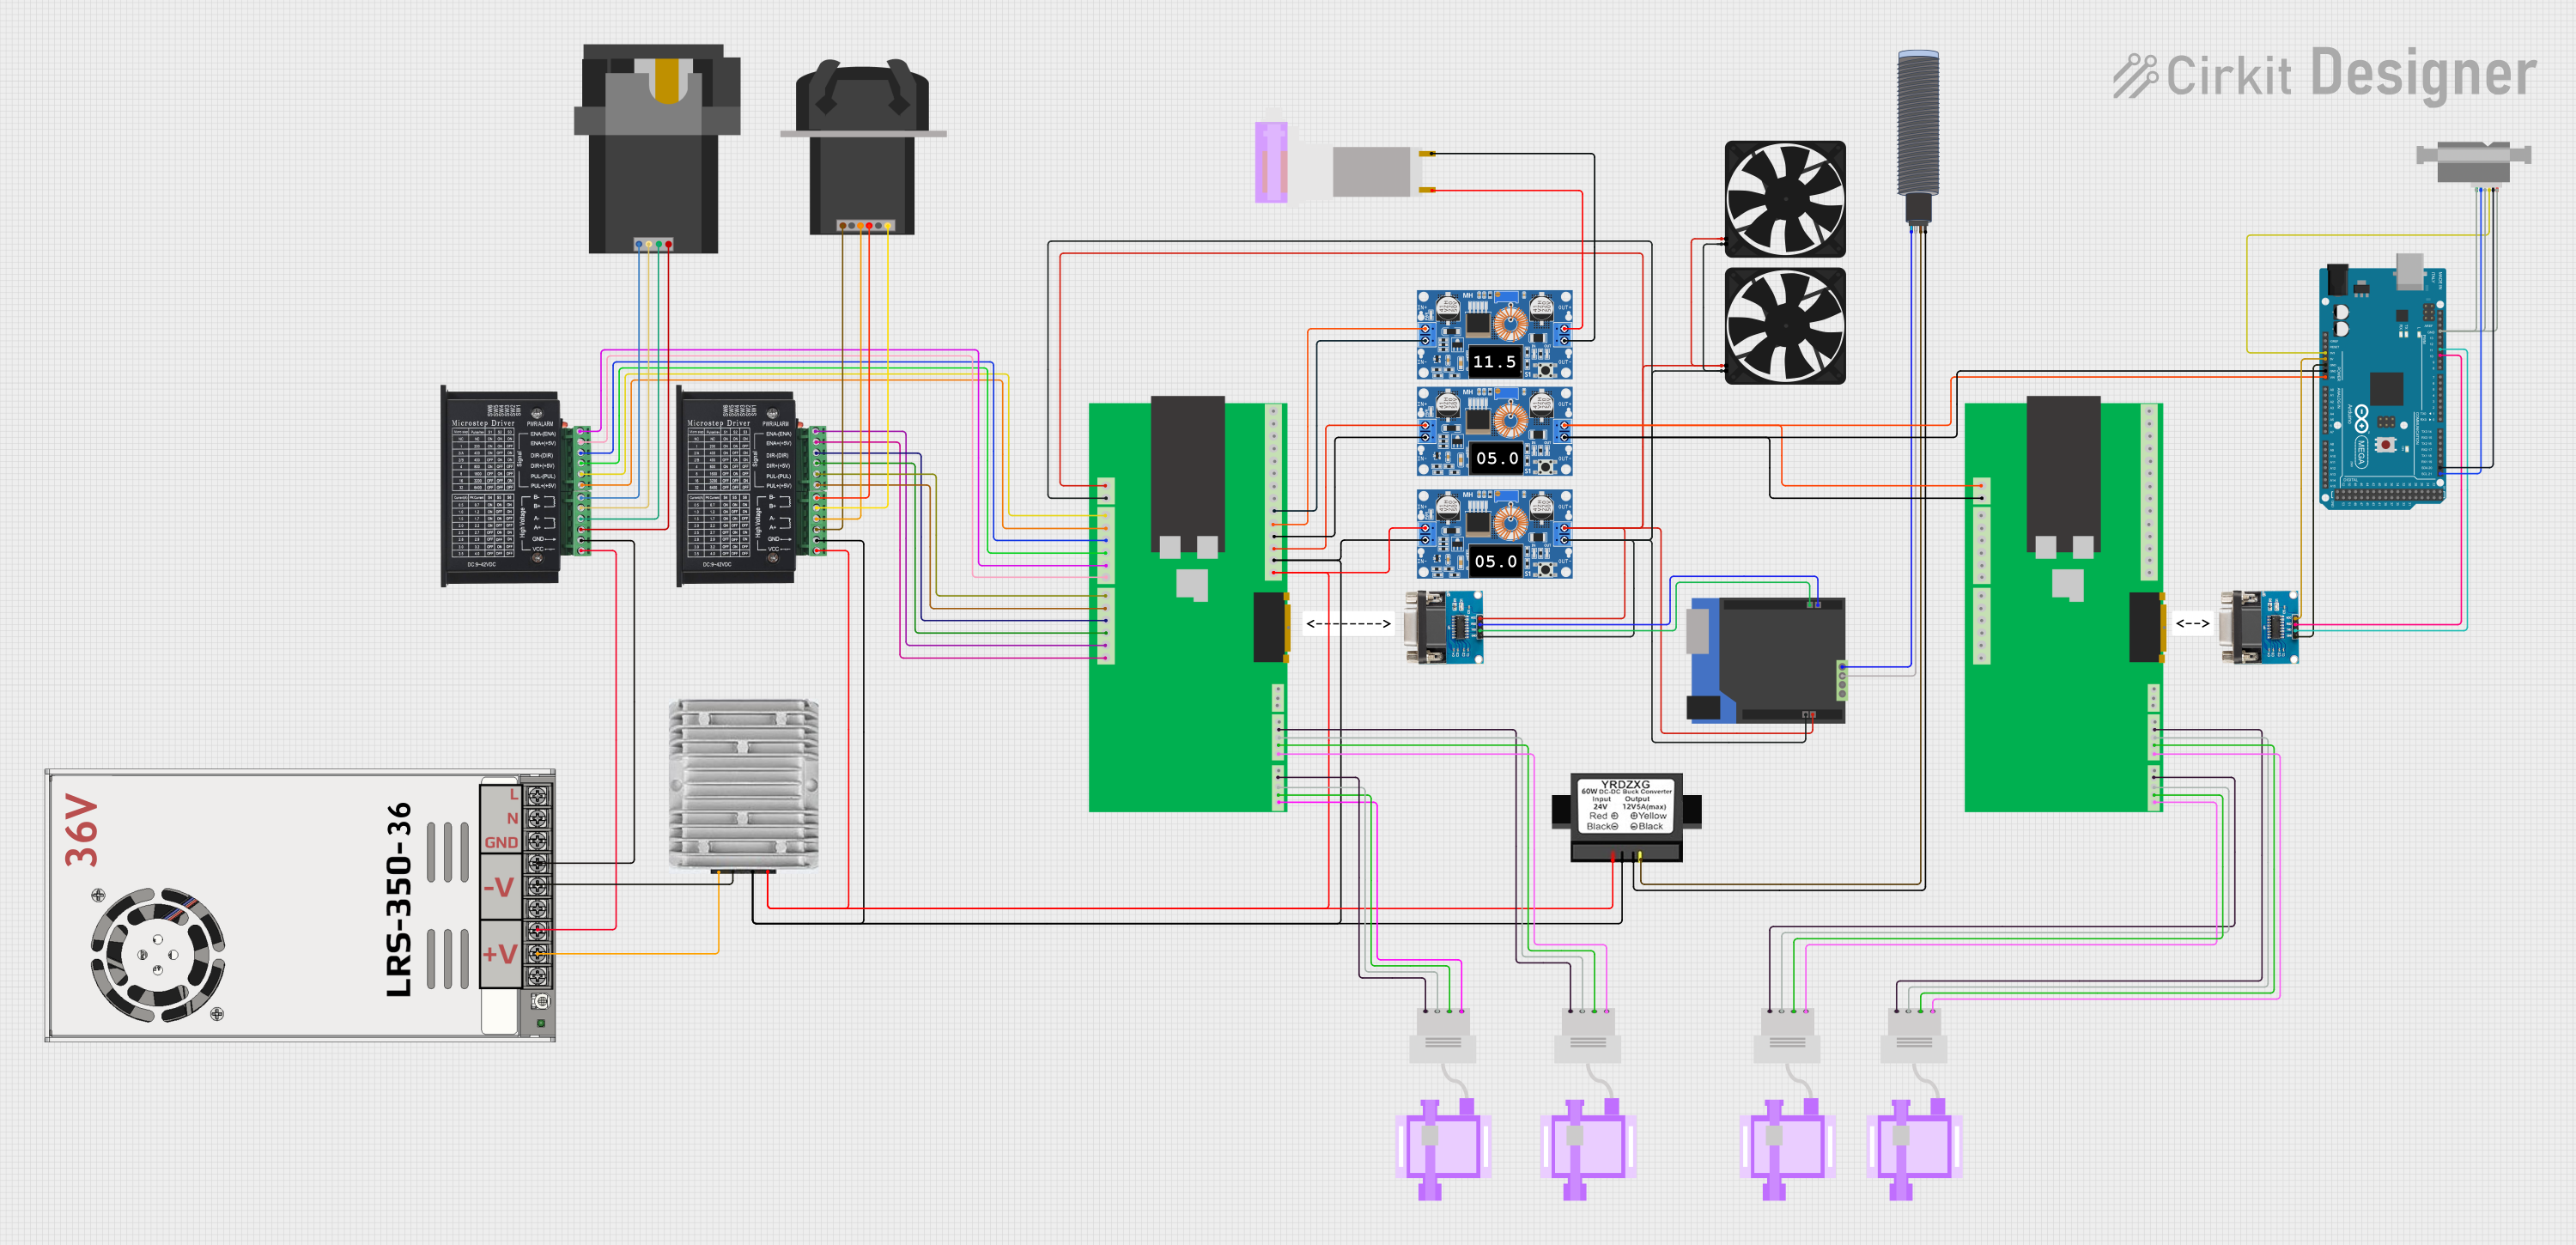
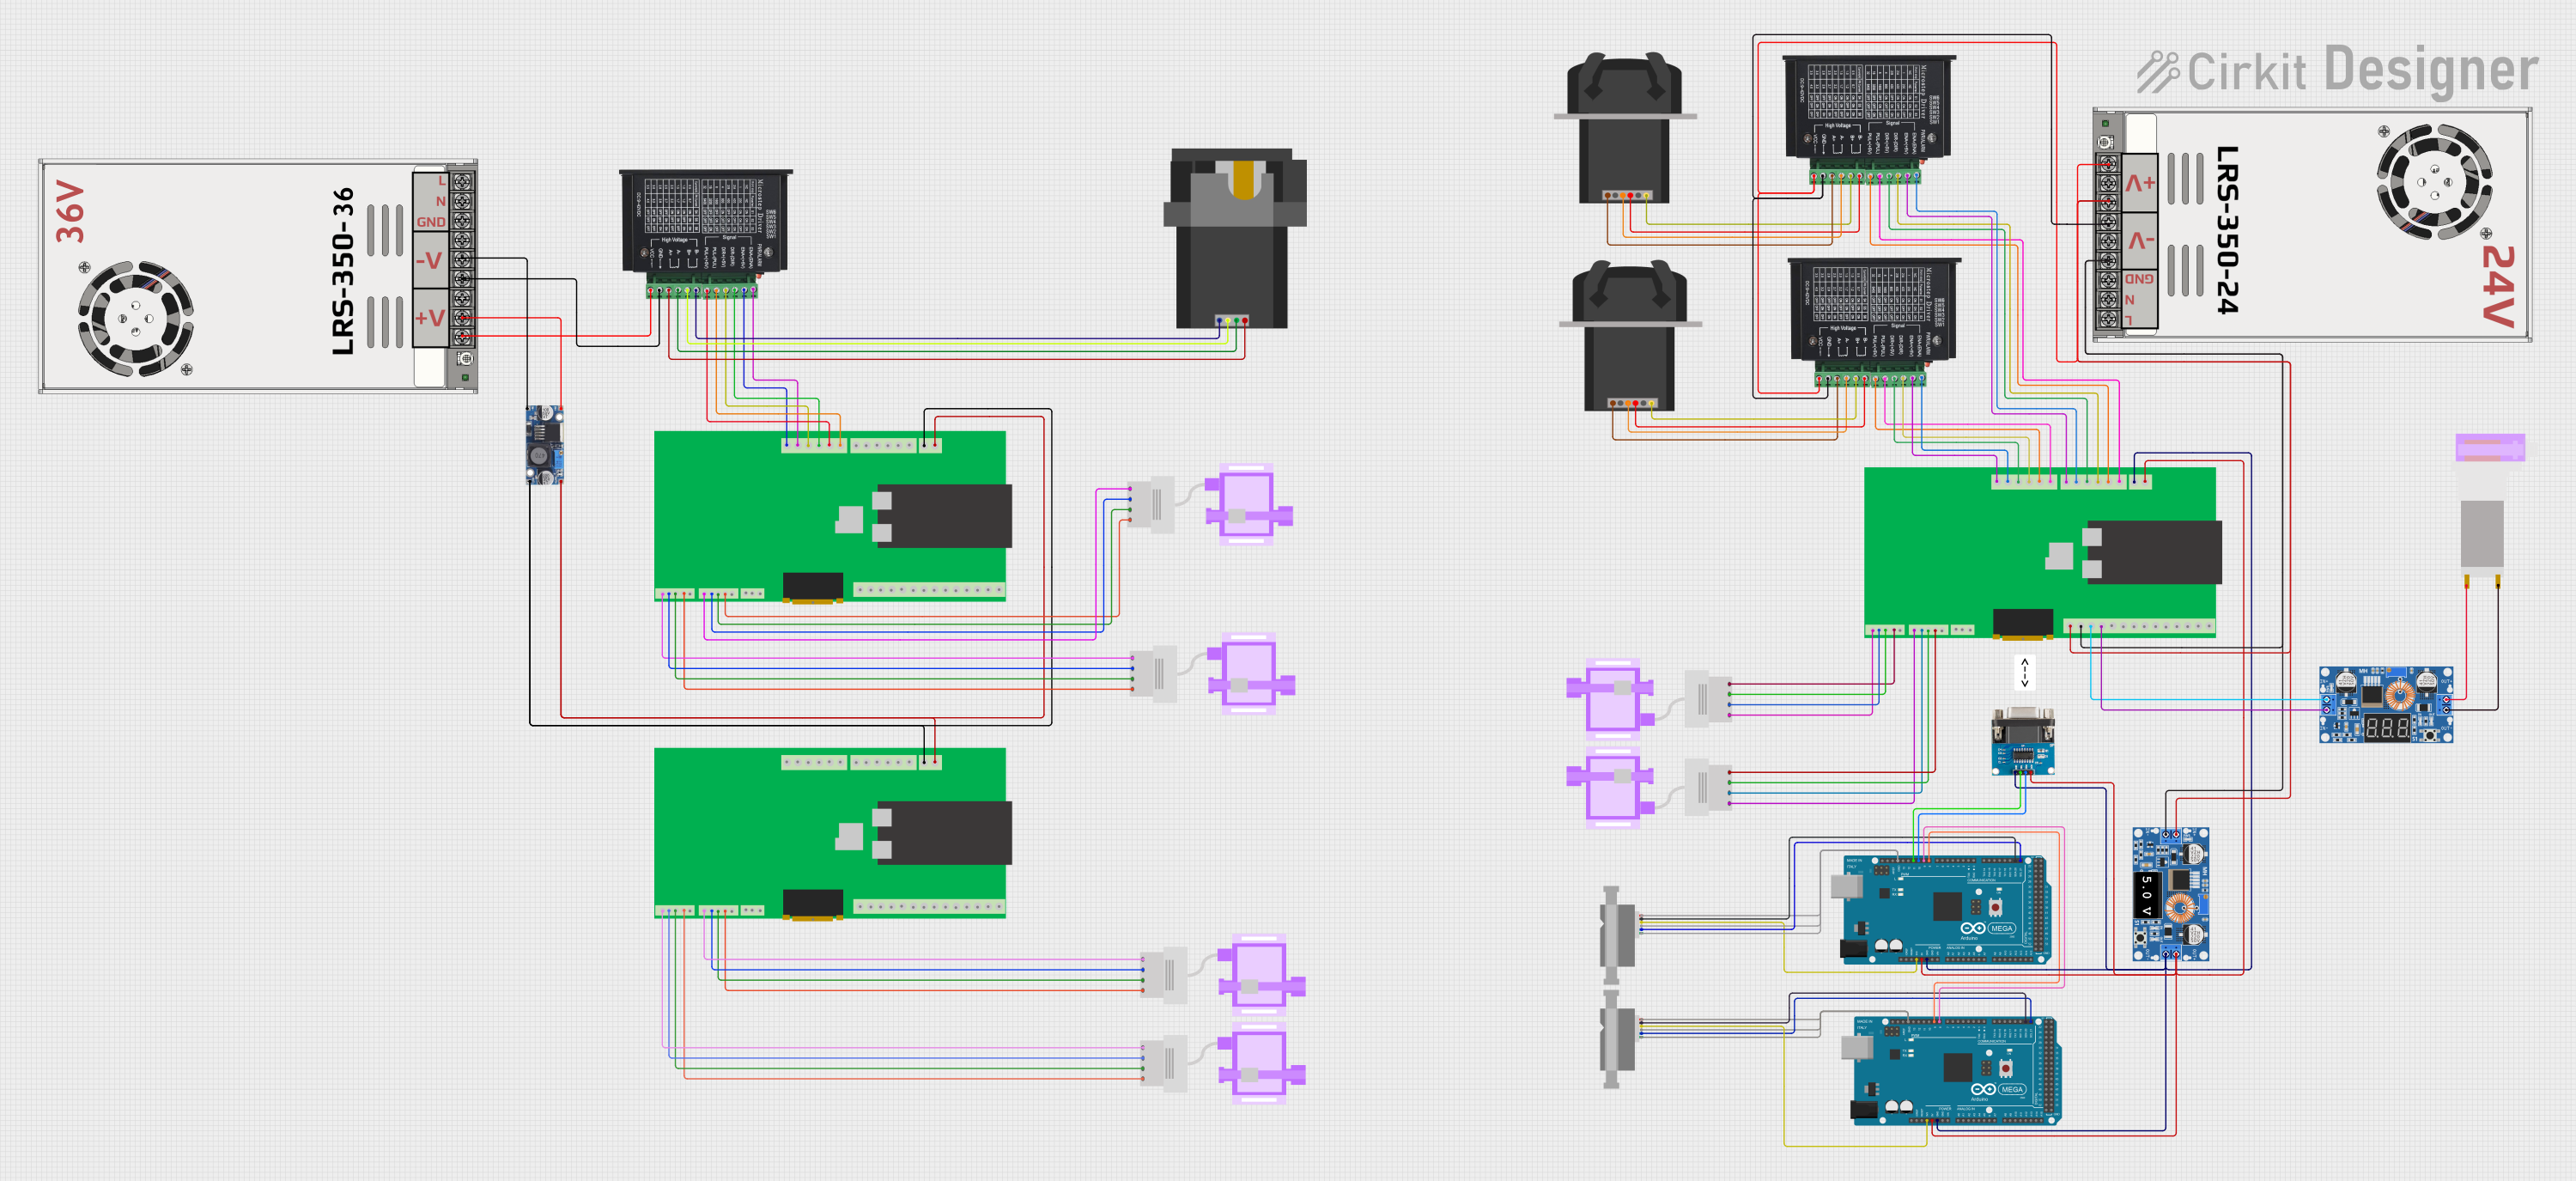
Explore Projects Built with Peristaltic Pump Kamoer 12V
Common Applications:
- Laboratory fluid dosing and sampling
- Medical equipment for precise liquid handling
- Food and beverage processing
- Chemical transfer in industrial systems
- Aquariums and hydroponic systems for nutrient dosing
Technical Specifications
Key Technical Details:
| Parameter | Value |
|---|---|
| Operating Voltage | 12V DC |
| Current Consumption | ~200mA (varies with load) |
| Flow Rate | 0-100 mL/min (approx.) |
| Tube Material | Silicone or compatible tubing |
| Tube Inner Diameter | 2-3 mm |
| Motor Type | DC motor |
| Lifespan | ~1000 hours (depends on usage) |
| Operating Temperature | 0°C to 40°C |
| Weight | ~150g |
Pin Configuration and Descriptions:
| Pin/Connection | Description |
|---|---|
| Positive (+) | Connect to the 12V DC power supply |
| Negative (-) | Connect to the ground (GND) |
| Motor Control | Optional PWM input for speed control |
Usage Instructions
How to Use the Peristaltic Pump in a Circuit:
- Power Connection: Connect the positive (+) terminal of the pump to a 12V DC power source and the negative (-) terminal to the ground (GND).
- Fluid Tubing: Attach the flexible silicone tubing to the pump's inlet and outlet ports. Ensure the tubing is securely fitted to prevent leaks.
- Flow Direction: Verify the flow direction by observing the pump's markings or testing with water.
- Speed Control (Optional): If speed control is required, connect a PWM signal to the motor control pin. Adjust the duty cycle of the PWM signal to control the pump's speed.
Important Considerations:
- Tubing Compatibility: Use tubing that is chemically compatible with the fluid being pumped.
- Avoid Dry Running: Do not operate the pump without fluid in the tubing, as this can damage the tubing and rollers.
- Voltage Regulation: Ensure the power supply provides a stable 12V DC to avoid damaging the motor.
- Mounting: Secure the pump to a stable surface to minimize vibration during operation.
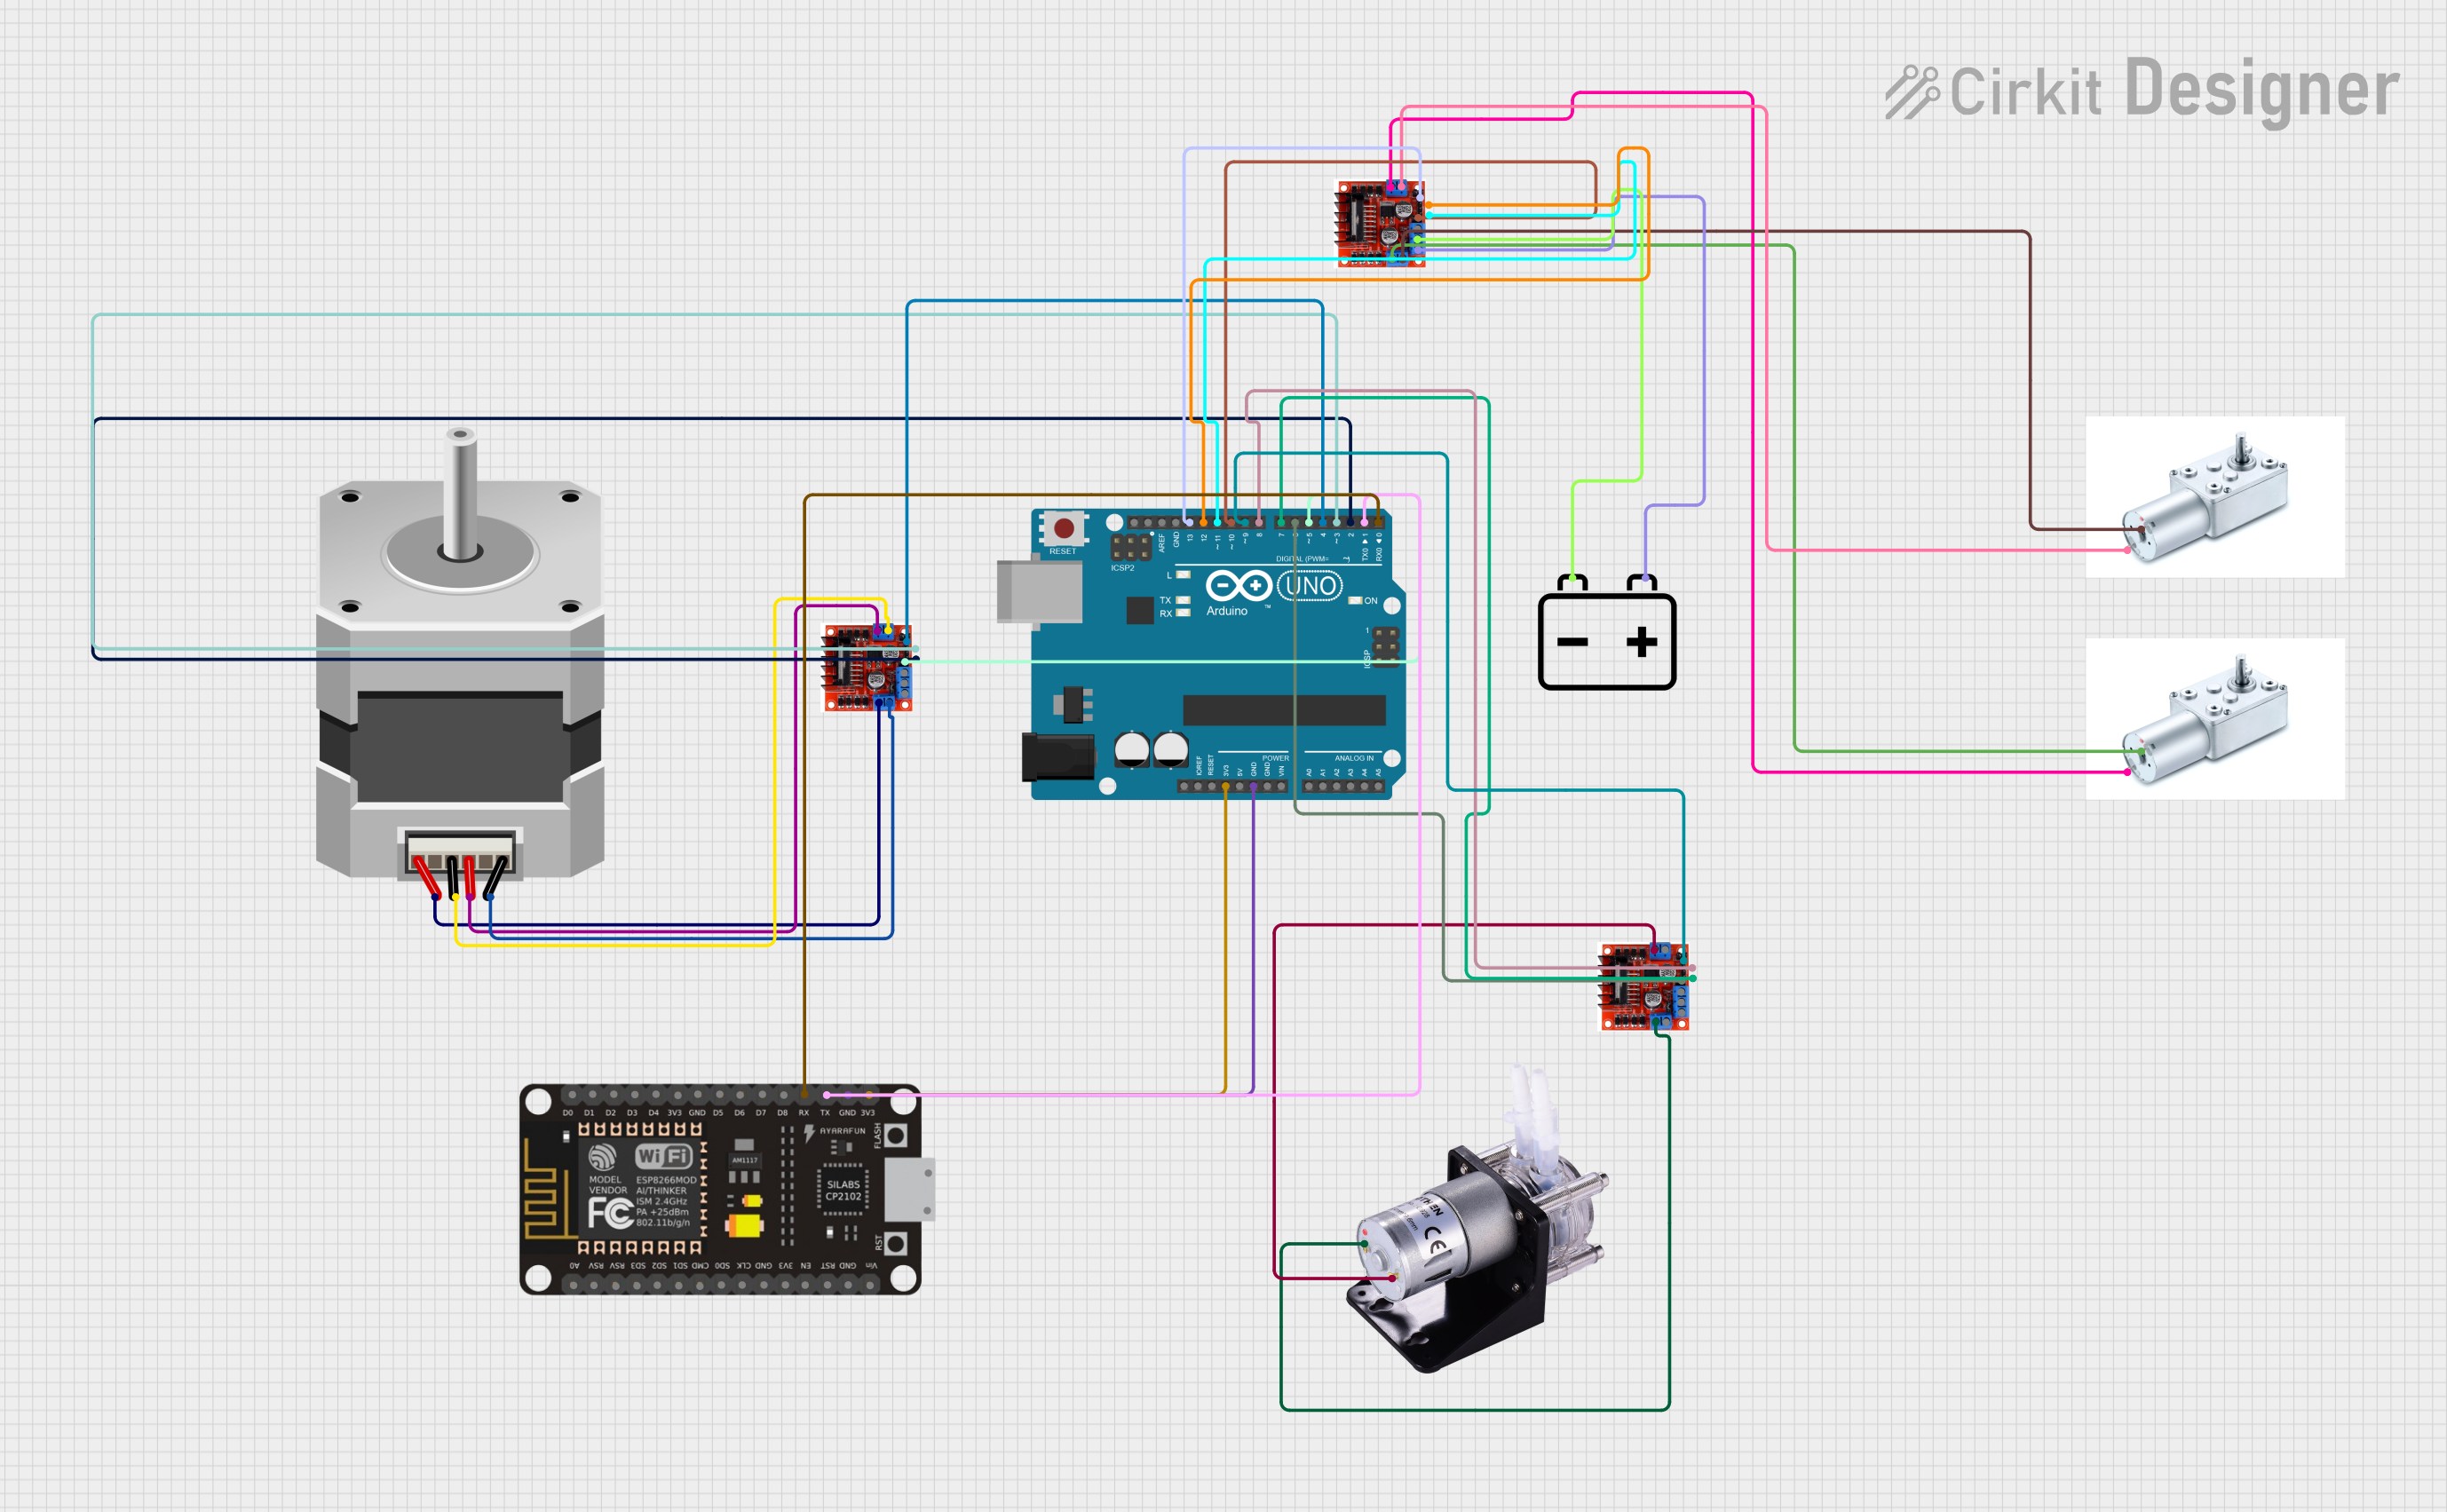
Example: Controlling the Pump with an Arduino UNO
The following example demonstrates how to control the pump's speed using PWM from an Arduino UNO.
// Arduino code to control the Peristaltic Pump Kamoer 12V
// Connect the pump's motor control pin to Arduino pin 9 (PWM capable)

const int pumpPin = 9; // PWM pin connected to the pump

void setup() {
  pinMode(pumpPin, OUTPUT); // Set the pump pin as an output
}

void loop() {
  // Gradually increase the pump speed
  for (int speed = 0; speed <= 255; speed += 5) {
    analogWrite(pumpPin, speed); // Set PWM duty cycle (0-255)
    delay(100); // Wait for 100ms
  }

  // Gradually decrease the pump speed
  for (int speed = 255; speed >= 0; speed -= 5) {
    analogWrite(pumpPin, speed); // Set PWM duty cycle (0-255)
    delay(100); // Wait for 100ms
  }
}
Notes:
- The
analogWrite()function generates a PWM signal to control the pump's speed. - Adjust the delay and speed increments to fine-tune the pump's operation.
Troubleshooting and FAQs
Common Issues and Solutions:
Pump Not Running:
- Cause: No power supply or incorrect wiring.
- Solution: Verify the 12V DC power supply and ensure proper connections.
Inconsistent Flow Rate:
- Cause: Loose tubing or worn-out rollers.
- Solution: Check tubing connections and inspect the rollers for wear.
Excessive Noise:
- Cause: Pump not securely mounted or motor issues.
- Solution: Mount the pump on a stable surface and inspect the motor.
Overheating:
- Cause: Prolonged operation or excessive load.
- Solution: Allow the pump to cool down periodically and avoid overloading.
FAQs:
Q: Can the pump handle corrosive fluids?
A: Only if the tubing material is compatible with the fluid. Check the chemical resistance of the tubing.Q: How do I clean the pump?
A: Flush the tubing with a cleaning solution compatible with the fluid and tubing material.Q: Can I run the pump on a lower voltage?
A: The pump is designed for 12V DC. Running it at a lower voltage may reduce performance or cause malfunction.Q: Is the pump waterproof?
A: No, the pump is not waterproof. Avoid exposing it to water or other liquids.
This documentation provides a comprehensive guide to using the Peristaltic Pump Kamoer 12V effectively and troubleshooting common issues.