How to Use Sparkfun 1568-COM-18356-ND: Examples, Pinouts, and Specs
Introduction
The Sparkfun 1568-COM-18356-ND is a versatile USB-to-serial converter module designed to facilitate seamless communication between a computer and microcontrollers or other serial devices. This compact and reliable module is ideal for prototyping, development, and debugging applications. It supports a wide range of baud rates and is compatible with various operating systems, making it a go-to solution for developers working on serial communication projects.
Explore Projects Built with Sparkfun 1568-COM-18356-ND

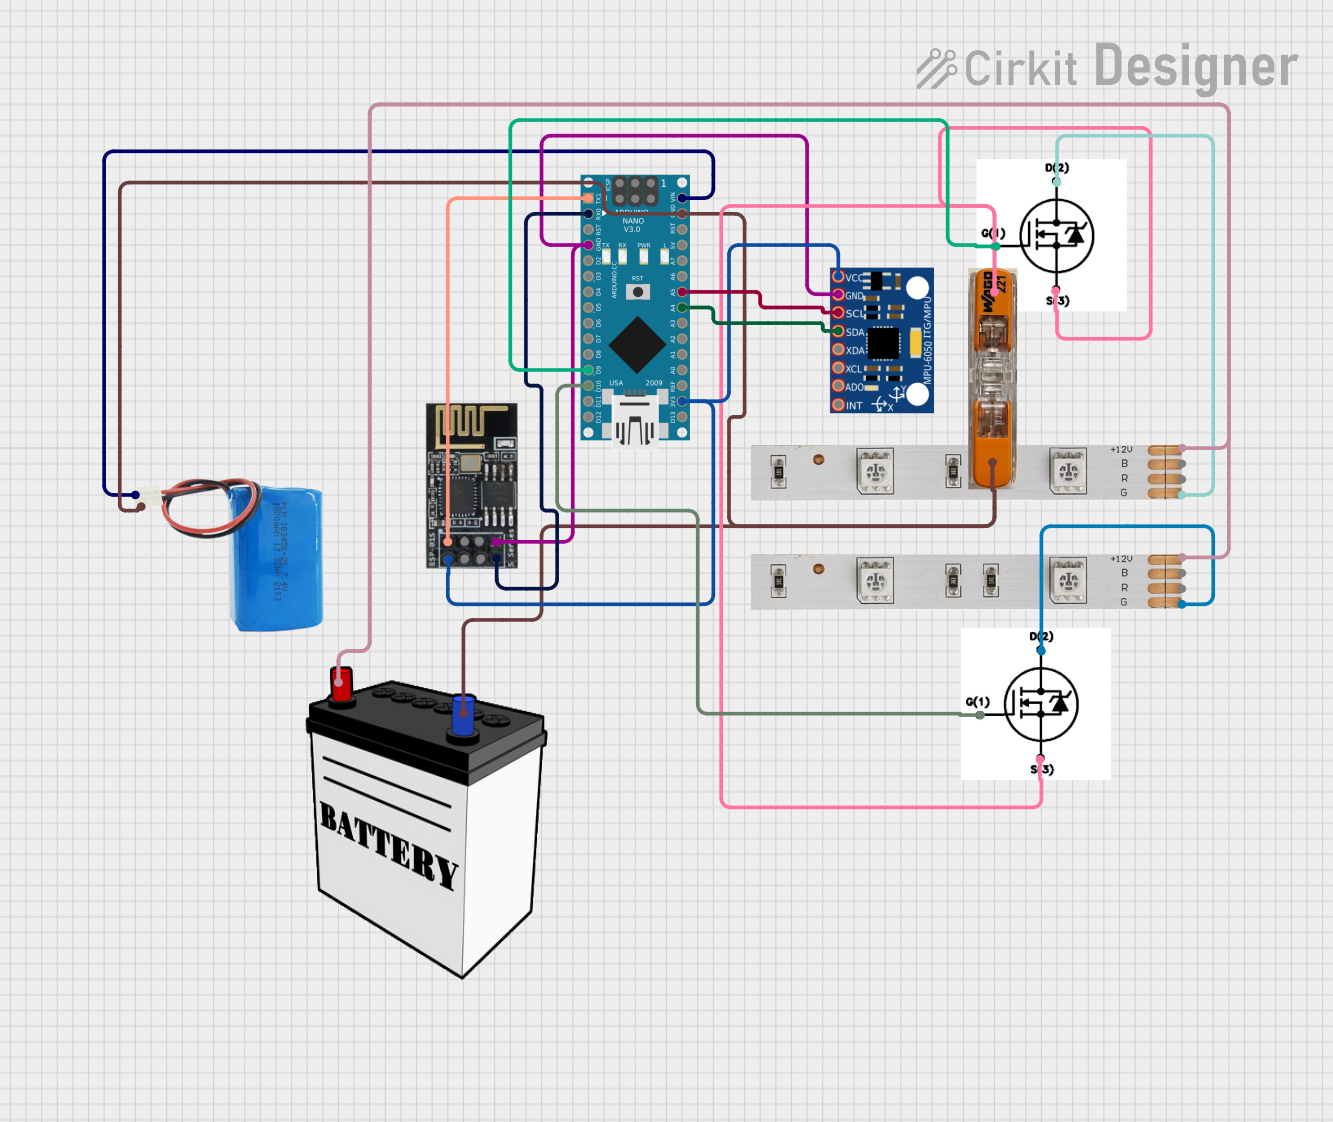
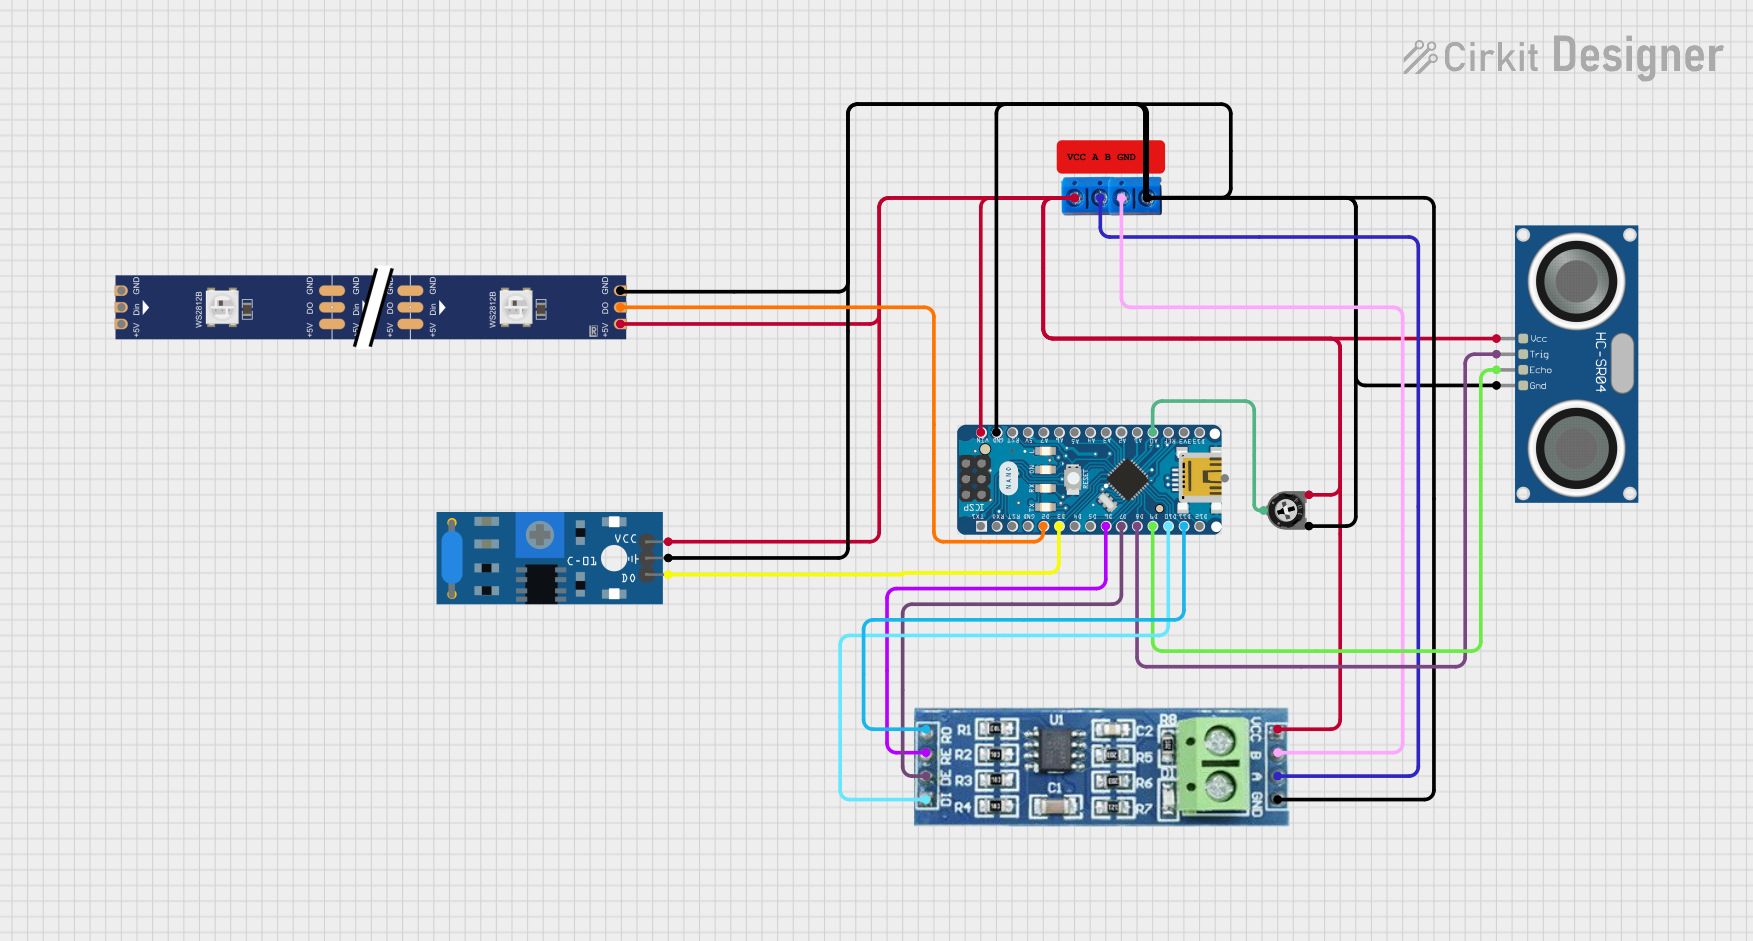

Explore Projects Built with Sparkfun 1568-COM-18356-ND
Common Applications and Use Cases
- Programming and debugging microcontrollers
- Serial communication with sensors, actuators, or other peripherals
- Data logging and monitoring
- Prototyping and testing serial-based projects
- Interfacing legacy serial devices with modern computers
Technical Specifications
The following table outlines the key technical details of the Sparkfun 1568-COM-18356-ND:
| Specification | Details |
|---|---|
| Manufacturer | Sparkfun |
| Manufacturer Part ID | 1568-COM-18356-ND |
| Communication Protocol | USB to UART (Serial) |
| USB Interface | USB 2.0 Type-B |
| Supported Baud Rates | 300 bps to 3 Mbps |
| Operating Voltage | 3.3V or 5V (selectable via jumper) |
| Current Consumption | ~15 mA (idle) |
| Operating Temperature | -40°C to +85°C |
| Dimensions | 25.4 mm x 12.7 mm |
| Drivers | Compatible with FTDI drivers (Windows, macOS, Linux) |
Pin Configuration and Descriptions
The module features a standard 6-pin header for serial communication. The pinout is as follows:
| Pin | Name | Description |
|---|---|---|
| 1 | GND | Ground connection |
| 2 | CTS | Clear to Send (input to the module) |
| 3 | VCC | Power supply (3.3V or 5V, selectable via jumper) |
| 4 | TXD | Transmit Data (output from the module) |
| 5 | RXD | Receive Data (input to the module) |
| 6 | RTS | Request to Send (output from the module) |
Usage Instructions
How to Use the Component in a Circuit
- Powering the Module: Connect the VCC pin to a 3.3V or 5V power source, depending on your system's requirements. Ensure the jumper on the module is set to the correct voltage level.
- Connecting to a Microcontroller:
- Connect the TXD pin of the module to the RX pin of the microcontroller.
- Connect the RXD pin of the module to the TX pin of the microcontroller.
- Connect the GND pin of the module to the GND pin of the microcontroller.
- USB Connection: Use a USB cable to connect the module to your computer. Install the necessary FTDI drivers if not already installed.
- Serial Communication: Use a terminal program (e.g., PuTTY, Tera Term) or a programming environment (e.g., Arduino IDE) to send and receive data.
Important Considerations and Best Practices
- Voltage Selection: Ensure the jumper is set to the correct voltage (3.3V or 5V) before powering the module.
- Driver Installation: Install the appropriate FTDI drivers for your operating system to ensure proper functionality.
- Signal Integrity: Use short and properly shielded cables to minimize noise and signal degradation.
- Baud Rate Matching: Ensure the baud rate of the module matches the baud rate of the connected device.
Example: Using with Arduino UNO
Below is an example of how to use the Sparkfun 1568-COM-18356-ND to communicate with an Arduino UNO:
Circuit Connections
- Connect the module's TXD pin to the Arduino's RX pin (pin 0).
- Connect the module's RXD pin to the Arduino's TX pin (pin 1).
- Connect the module's GND pin to the Arduino's GND pin.
- Connect the module to your computer via USB.
Arduino Code
// Example code for serial communication using Sparkfun 1568-COM-18356-ND
void setup() {
  Serial.begin(9600); // Initialize serial communication at 9600 baud
  delay(1000);        // Wait for the serial connection to stabilize
  Serial.println("Sparkfun USB-to-Serial Module Test");
}

void loop() {
  if (Serial.available() > 0) {
    // Read incoming data from the serial monitor
    char receivedChar = Serial.read();
    Serial.print("Received: ");
    Serial.println(receivedChar); // Echo the received character back
  }
}
Troubleshooting and FAQs
Common Issues and Solutions
Module Not Recognized by Computer:
- Ensure the USB cable is properly connected and functional.
- Verify that the FTDI drivers are installed correctly.
- Try using a different USB port or cable.
No Data Transmission:
- Check the TXD and RXD connections between the module and the microcontroller.
- Ensure the baud rate settings match between the module and the connected device.
- Verify that the module is powered correctly (check the VCC and GND connections).
Corrupted or Incomplete Data:
- Use shorter cables to reduce noise and signal degradation.
- Ensure proper grounding between the module and the connected device.
FAQs
Q: Can this module be used with 1.8V devices?
A: No, the module only supports 3.3V and 5V logic levels. Use a level shifter for 1.8V devices.
Q: Is the module compatible with macOS Ventura?
A: Yes, the module is compatible with macOS Ventura, provided the appropriate FTDI drivers are installed.
Q: Can I use this module for SPI or I2C communication?
A: No, this module is designed specifically for UART (serial) communication. For SPI or I2C, consider using a different interface module.
Q: How do I change the baud rate?
A: The baud rate can be set in your software (e.g., Arduino IDE or terminal program) when initializing the serial communication.
By following this documentation, you can effectively integrate the Sparkfun 1568-COM-18356-ND into your projects and troubleshoot any issues that arise.