How to Use Adafruit HalloWing: Examples, Pinouts, and Specs
Introduction
The Adafruit HalloWing is a versatile, Halloween-themed development board that is perfect for creating interactive projects and wearables. Based on the powerful ATSAMD21 microcontroller, it features a 1.44-inch color TFT display, user interface buttons, and a suite of onboard sensors. The HalloWing is designed to be easy to use for both beginners and experienced makers, with plenty of opportunities for customization and creativity.
Explore Projects Built with Adafruit HalloWing


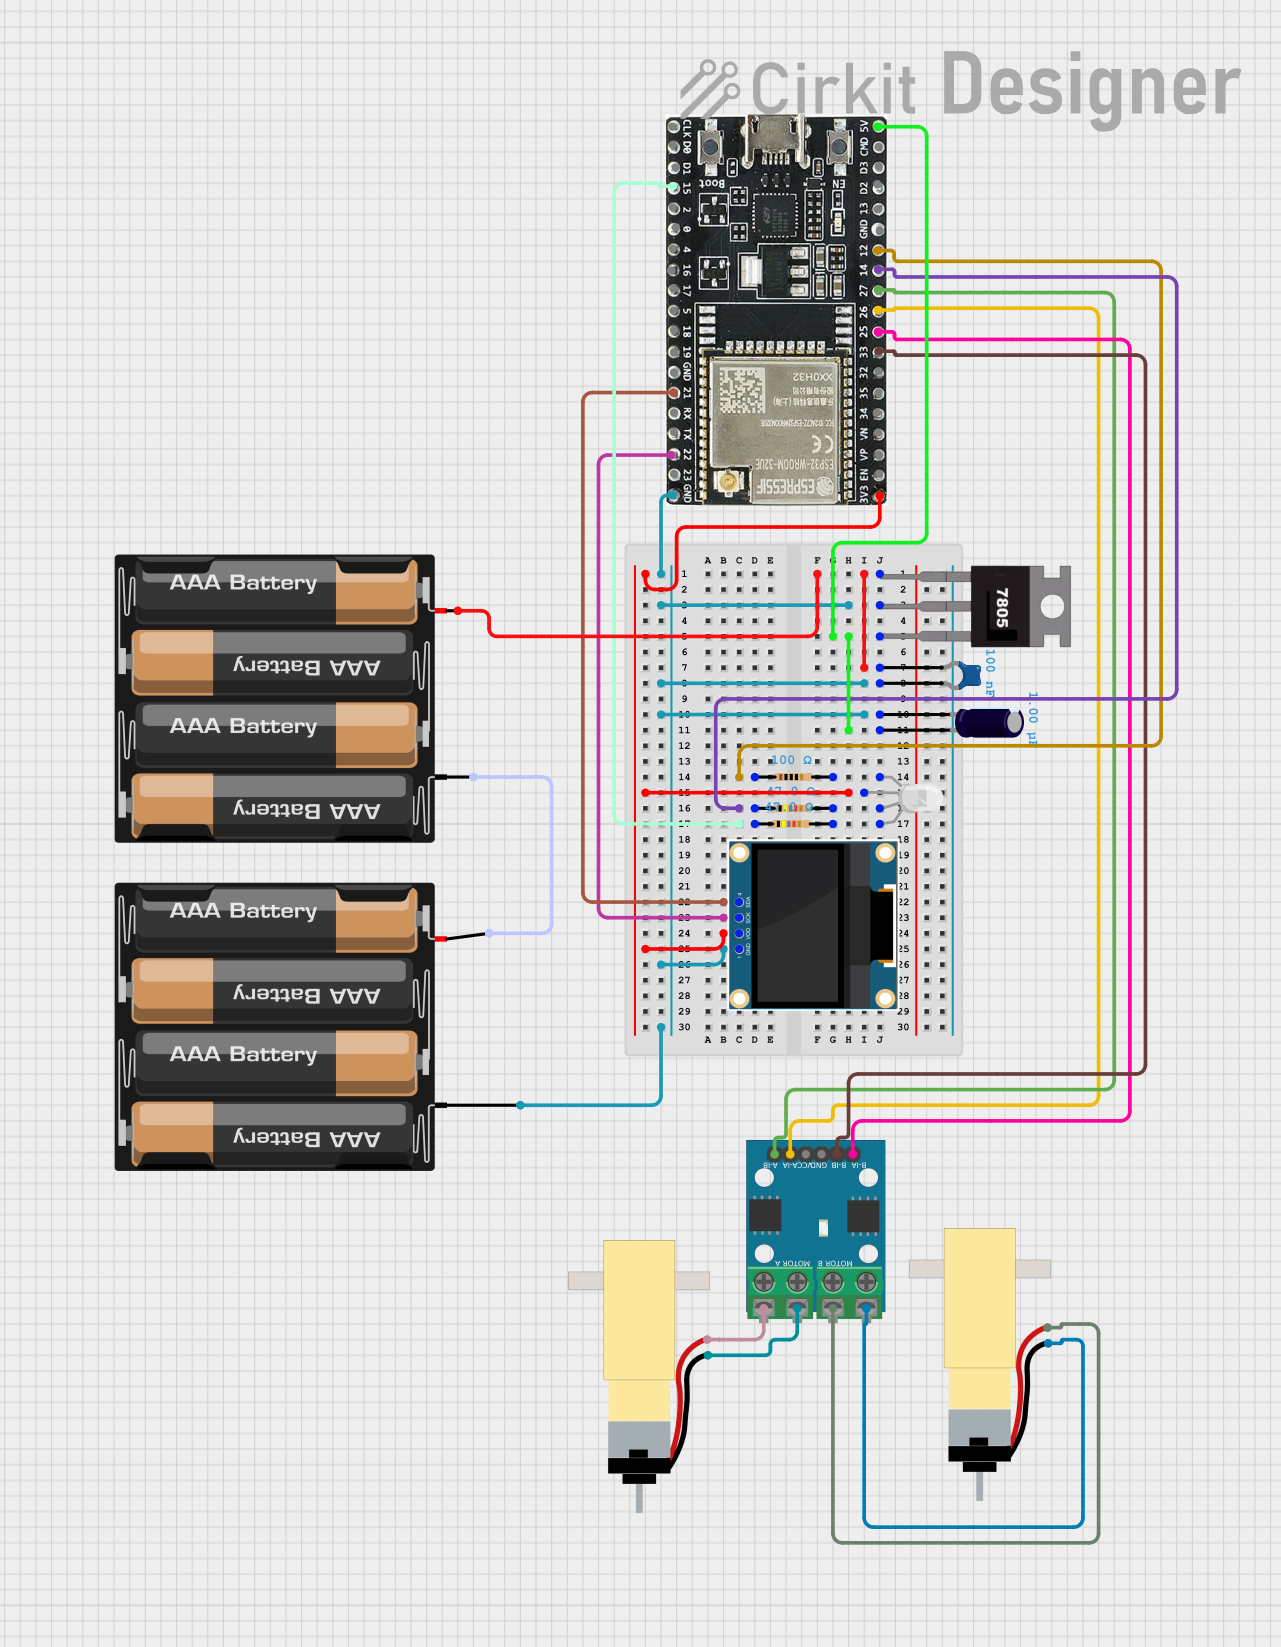
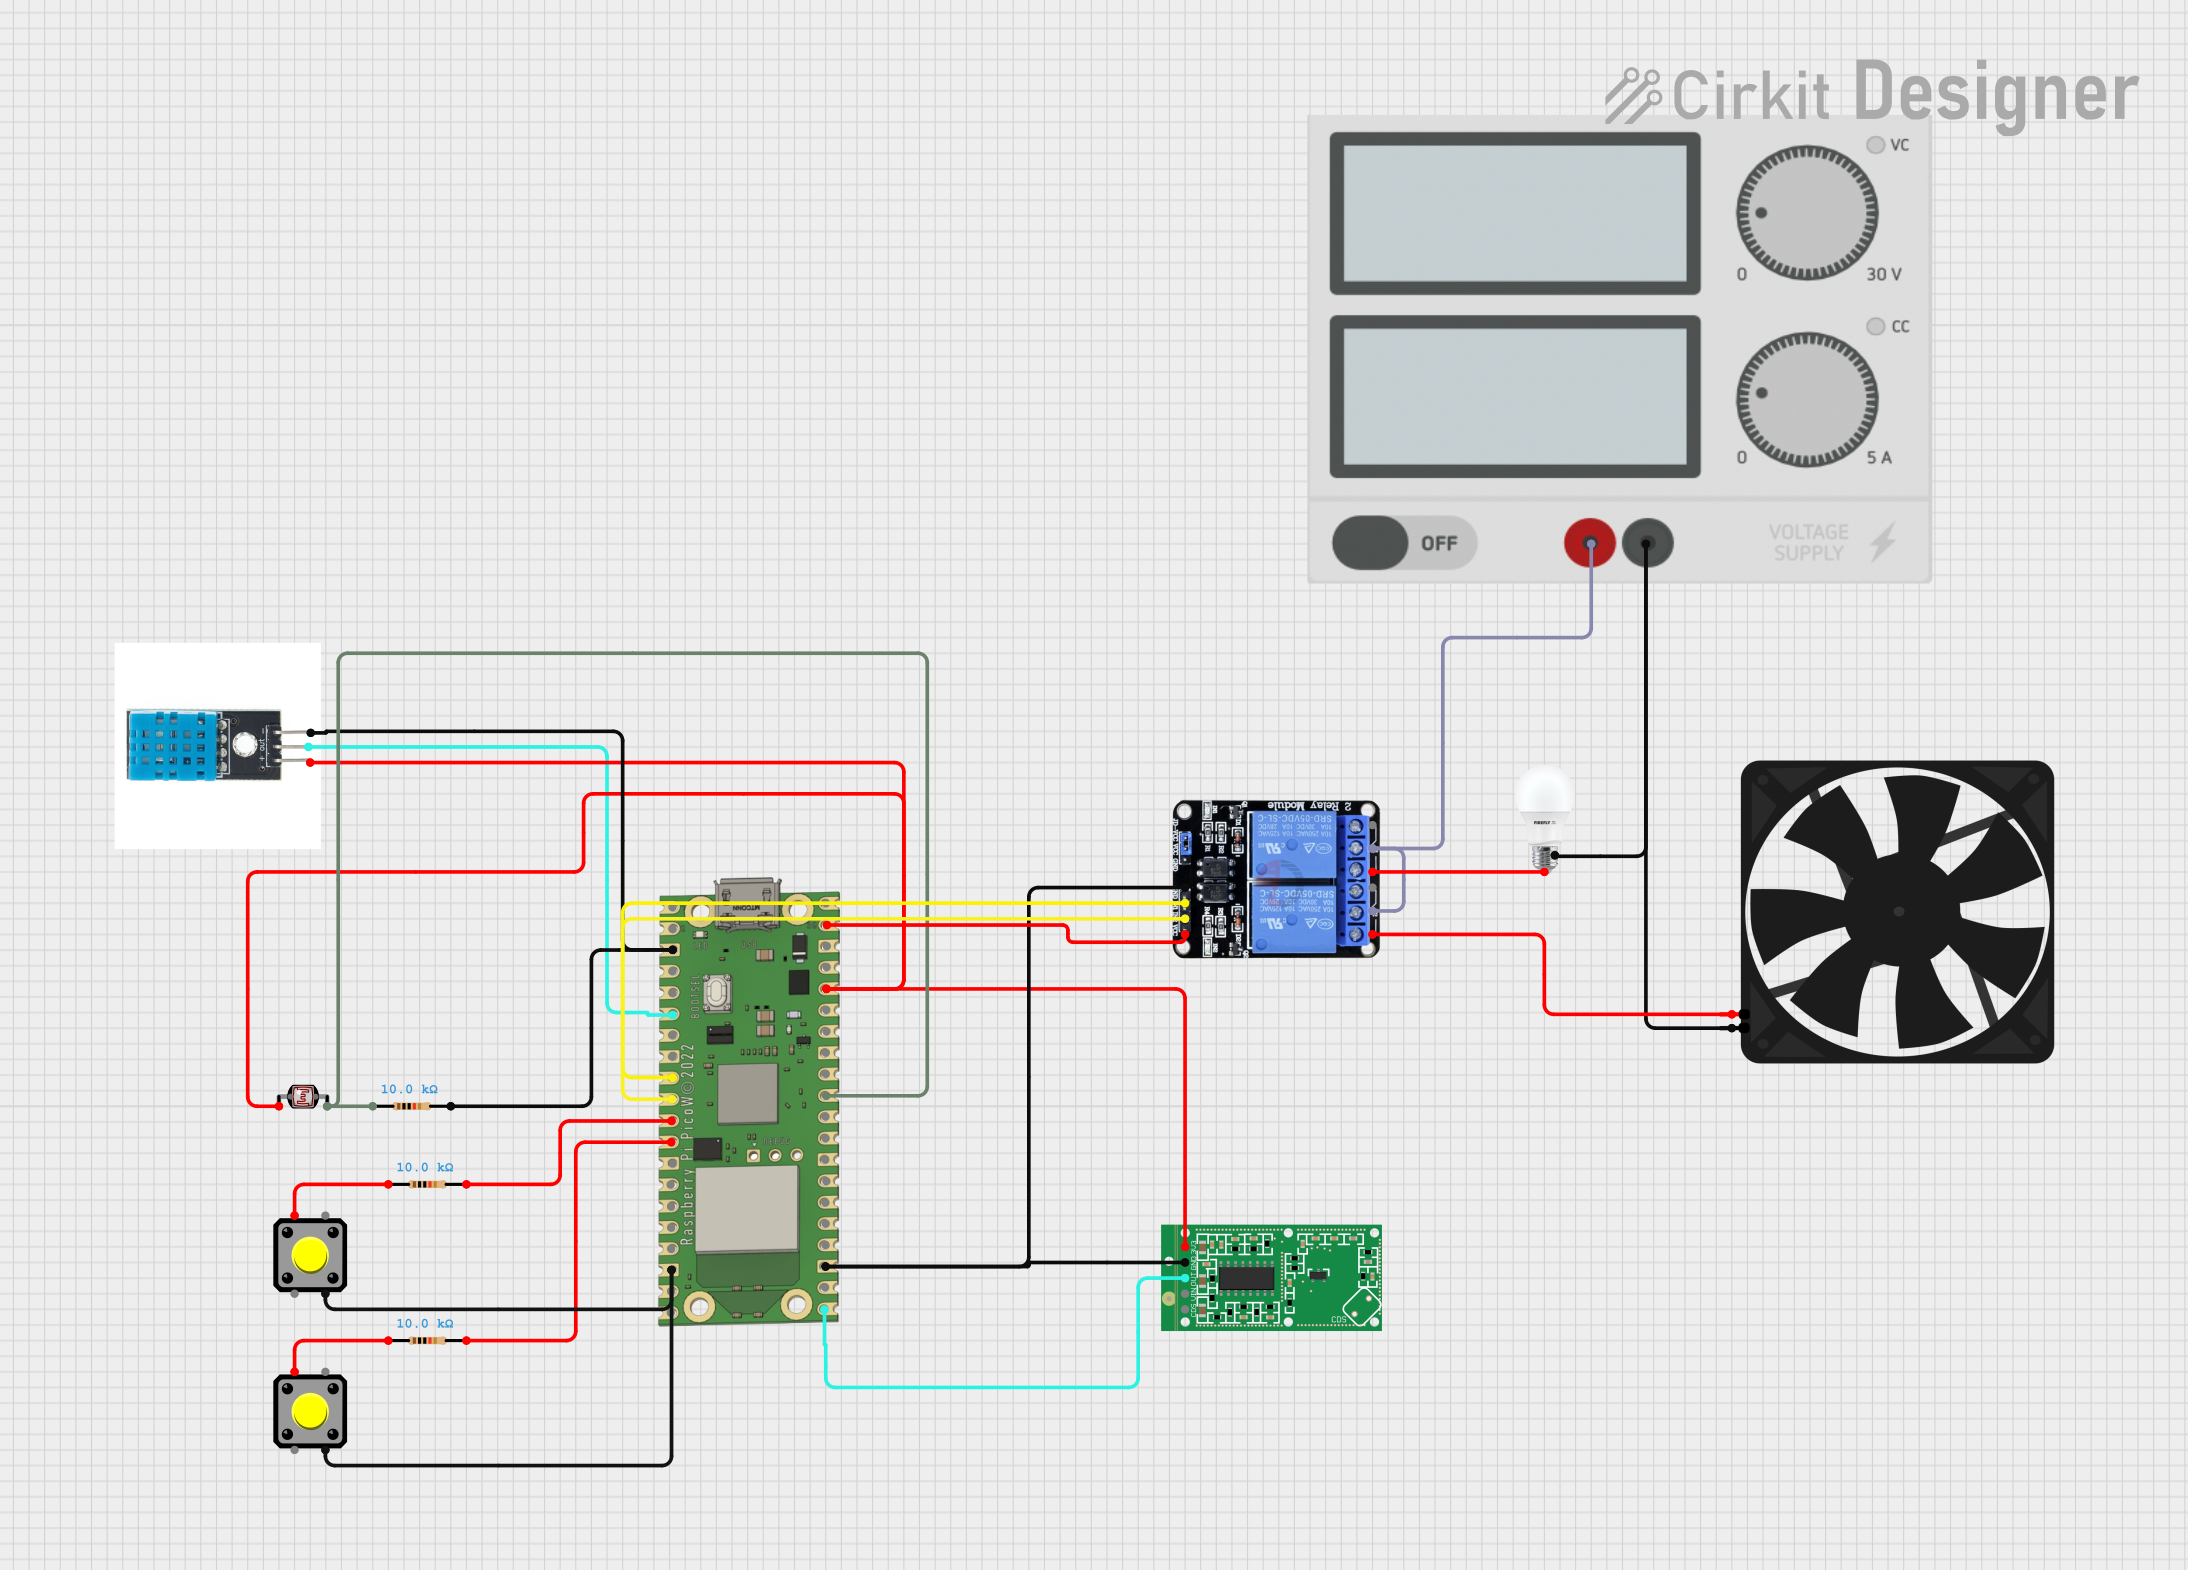
Explore Projects Built with Adafruit HalloWing
Common Applications and Use Cases
- Interactive Halloween costumes
- Spooky decorations with sound and light effects
- Wearable electronics with sensor feedback
- Educational projects for teaching programming and electronics
Technical Specifications
Key Technical Details
- Microcontroller: ATSAMD21G18 ARM Cortex M0
- Display: 1.44" 128x128 color TFT
- Sensors: Light sensor, temperature sensor, and accelerometer
- Sound: Mini speaker with class D amplifier
- Input: 2 x user buttons, 1 x reset button
- Connectivity: JST connectors for NeoPixel and sensor input
- Programming: Via USB or JTAG
- Storage: 8 MB SPI Flash memory
- Power: USB or battery with JST PH 2-pin connector
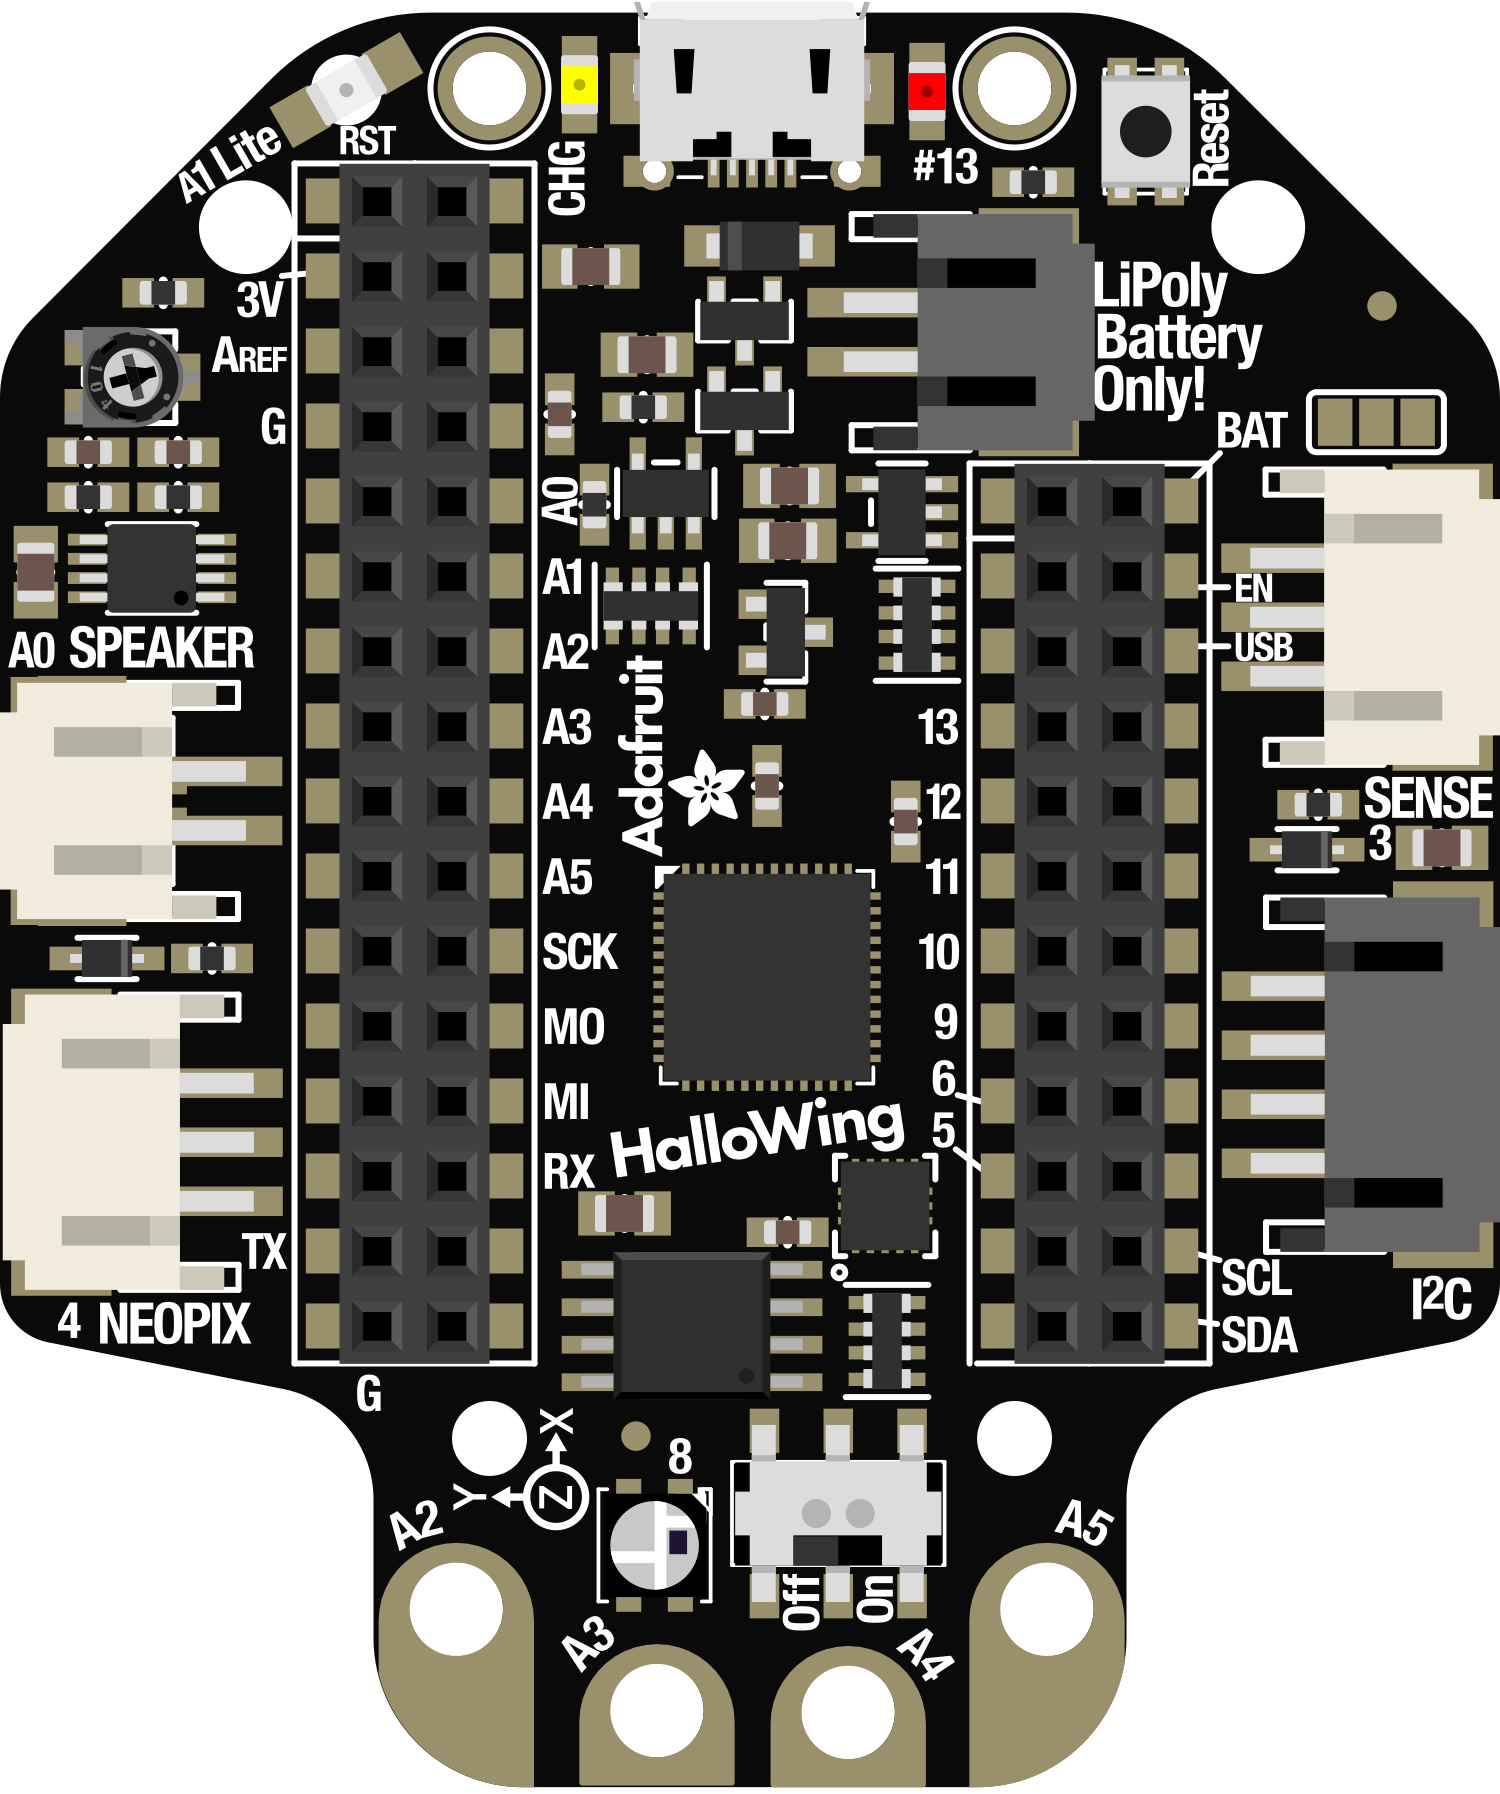
Pin Configuration and Descriptions
| Pin # | Function | Description |
|---|---|---|
| 1 | VBAT | Battery input for an optional LiPo battery |
| 2 | EN | Enable pin, can be used to turn off the board |
| 3 | GND | Ground |
| 4 | USB | USB connection for programming and power |
| 5 | NeoPixel | Output to chainable NeoPixel LEDs |
| 6 | Light Sensor | Analog light sensor input |
| 7 | A0-D2 | General purpose I/O pin |
| 8 | SDA | I2C data line |
| 9 | SCL | I2C clock line |
| 10 | TX | UART transmit |
| 11 | RX | UART receive |
| 12 | Button 1 | User interface button |
| 13 | Button 2 | User interface button |
Usage Instructions
How to Use the Component in a Circuit
- Powering the HalloWing: Connect the board to a power source via the USB port or attach a LiPo battery to the VBAT pin.
- Programming the HalloWing: Use the USB connection to program the board with the Arduino IDE or CircuitPython.
- Connecting Sensors and Peripherals: Utilize the I2C pins (SDA and SCL) to connect compatible sensors. The NeoPixel pin can be used to connect NeoPixel LEDs for additional lighting effects.
- Interacting with the Display: Use the provided libraries to draw text, shapes, and images on the TFT display.
- Using the Buttons: Program the buttons to trigger events or control elements in your project.
Important Considerations and Best Practices
- Always ensure the power source does not exceed the recommended voltage.
- When soldering, be cautious not to overheat the board or components.
- Use anti-static precautions to avoid damaging the microcontroller and sensors.
- Keep the firmware updated to the latest version for optimal performance and security.
Troubleshooting and FAQs
Common Issues Users Might Face
- Display not working: Ensure that the display ribbon cable is properly seated and that the correct libraries are installed.
- Board not recognized by computer: Check the USB cable and port, and ensure that the correct drivers are installed.
- Inaccurate sensor readings: Calibrate the sensors according to the datasheet and ensure there is no physical obstruction.
Solutions and Tips for Troubleshooting
- Reset the board: Use the reset button to reboot the HalloWing if it becomes unresponsive.
- Update libraries: Make sure all relevant libraries are up to date in the Arduino IDE or CircuitPython environment.
- Check solder joints: Inspect all solder connections for cold joints or shorts.
Example Code for Arduino UNO
#include <Adafruit_GFX.h>    // Core graphics library
#include <Adafruit_ST7735.h> // Hardware-specific library for ST7735
#include <SPI.h>

// Pin configuration for the HalloWing connected to an Arduino UNO
#define TFT_CS     10
#define TFT_RST    9
#define TFT_DC     8

// Initialize the display
Adafruit_ST7735 tft = Adafruit_ST7735(TFT_CS, TFT_DC, TFT_RST);

void setup() {
  tft.initR(INITR_144GREENTAB); // Initialize display with the correct init code
  tft.fillScreen(ST7735_BLACK);  // Clear the screen to black
}

void loop() {
  tft.setCursor(0, 0);           // Set the cursor at the top-left corner
  tft.setTextColor(ST7735_WHITE); // Set the text color to white
  tft.setTextWrap(true);          // Allow text to wrap after 80 characters
  tft.print("Happy Halloween!");  // Print a message to the screen
  delay(2000);                    // Wait for 2 seconds
  tft.fillScreen(ST7735_BLACK);   // Clear the screen
  delay(500);                     // Wait for half a second
}
Remember to wrap the code comments as needed to limit line length to 80 characters. This example demonstrates how to initialize the display and print a simple message. Adjust the pin configuration to match your setup if you're not using the default pins.
For more detailed information, refer to the Adafruit HalloWing guide and datasheets available on the Adafruit website.