How to Use DFRobot Touch Sensor: Examples, Pinouts, and Specs
Introduction
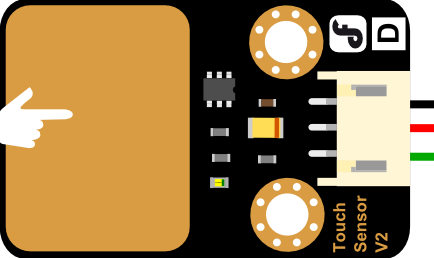
The DFRobot Touch Sensor is a capacitive touch sensor designed to detect touch input, enabling intuitive user interaction in electronic projects. This sensor is highly sensitive and can detect touch through non-conductive materials like glass or plastic, making it versatile for various applications. It is compact, easy to integrate, and ideal for projects requiring touch-based control.
Explore Projects Built with DFRobot Touch Sensor
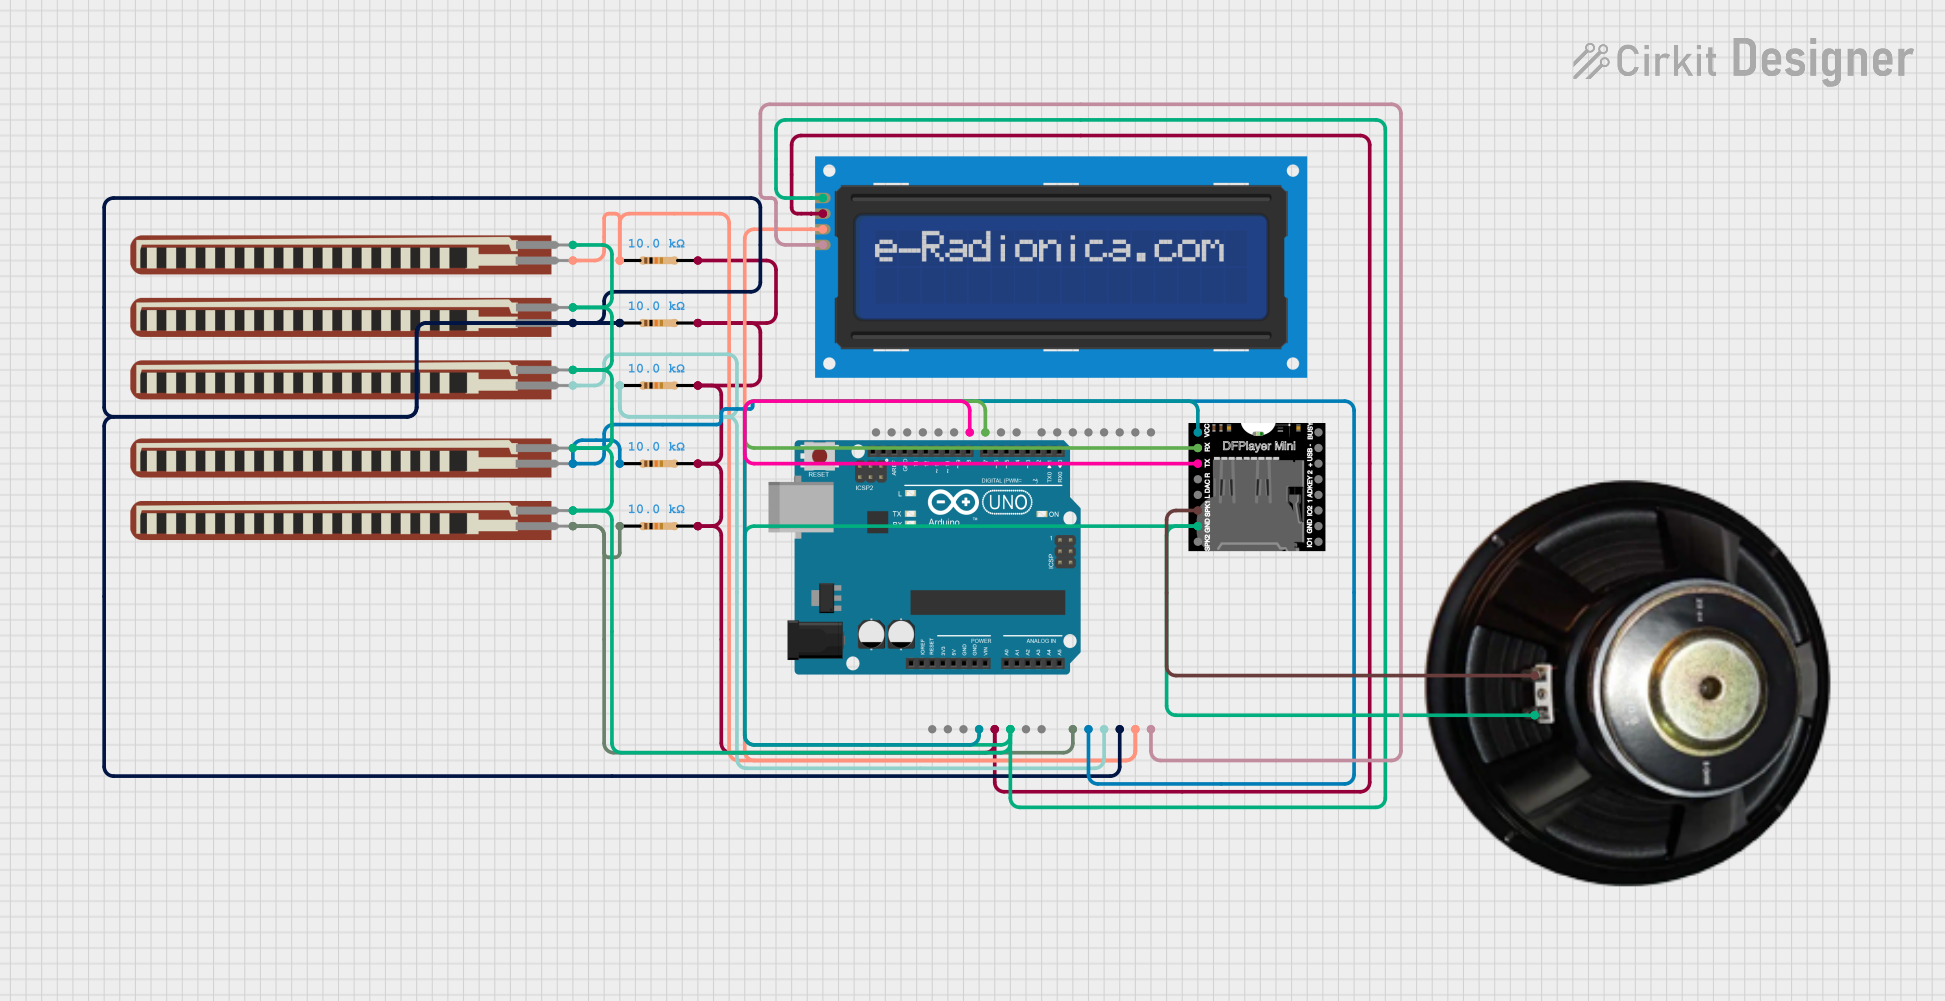

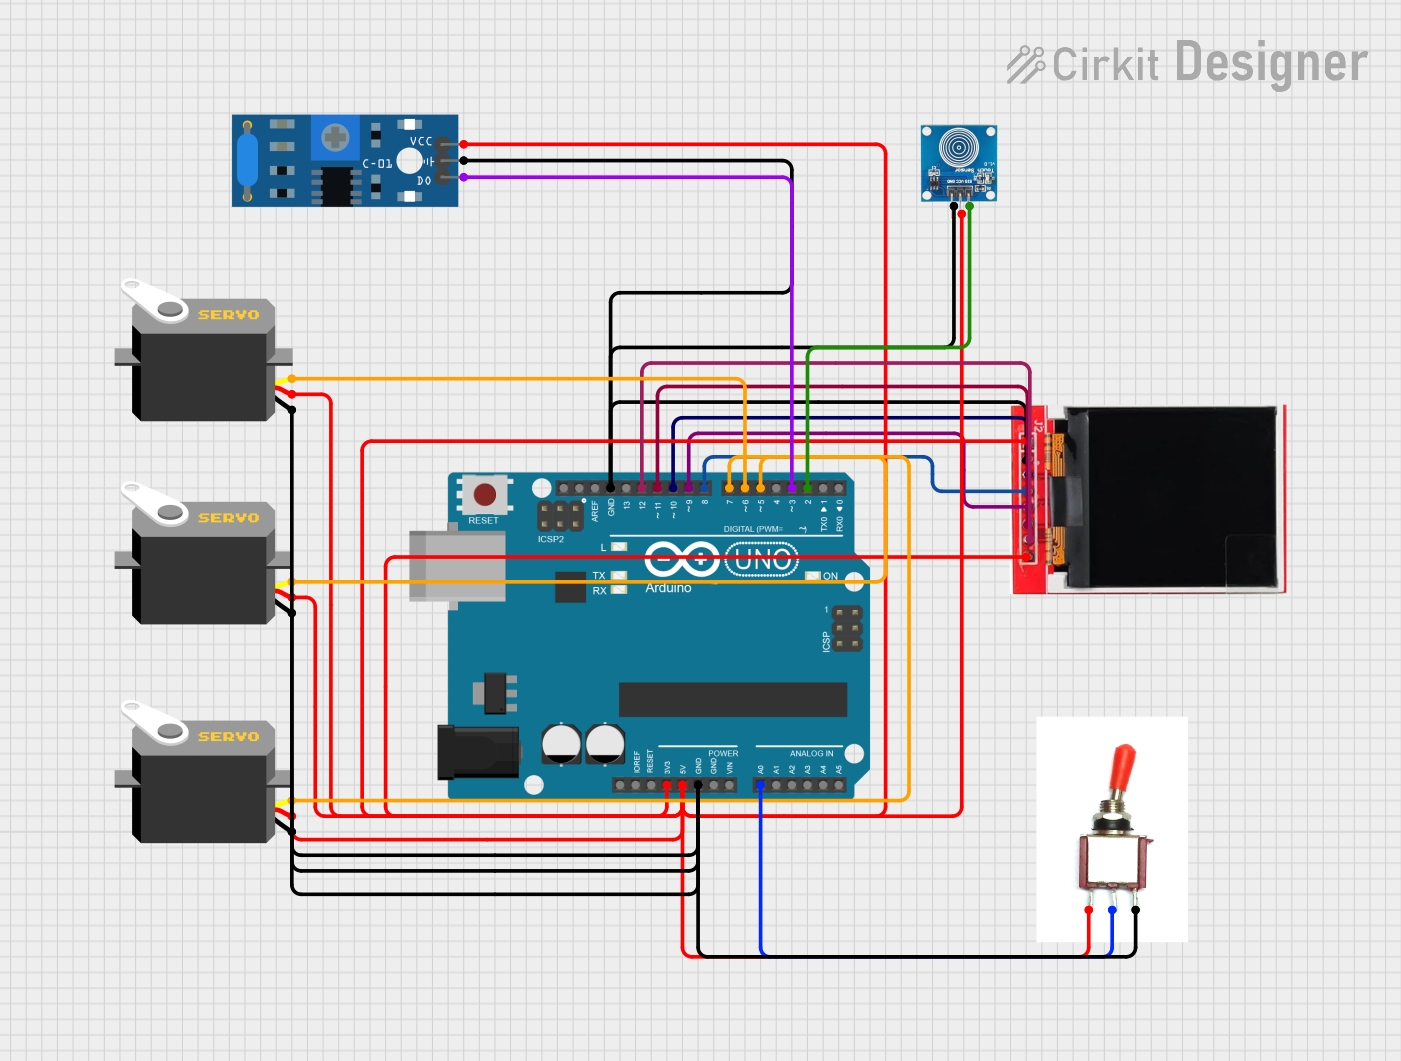
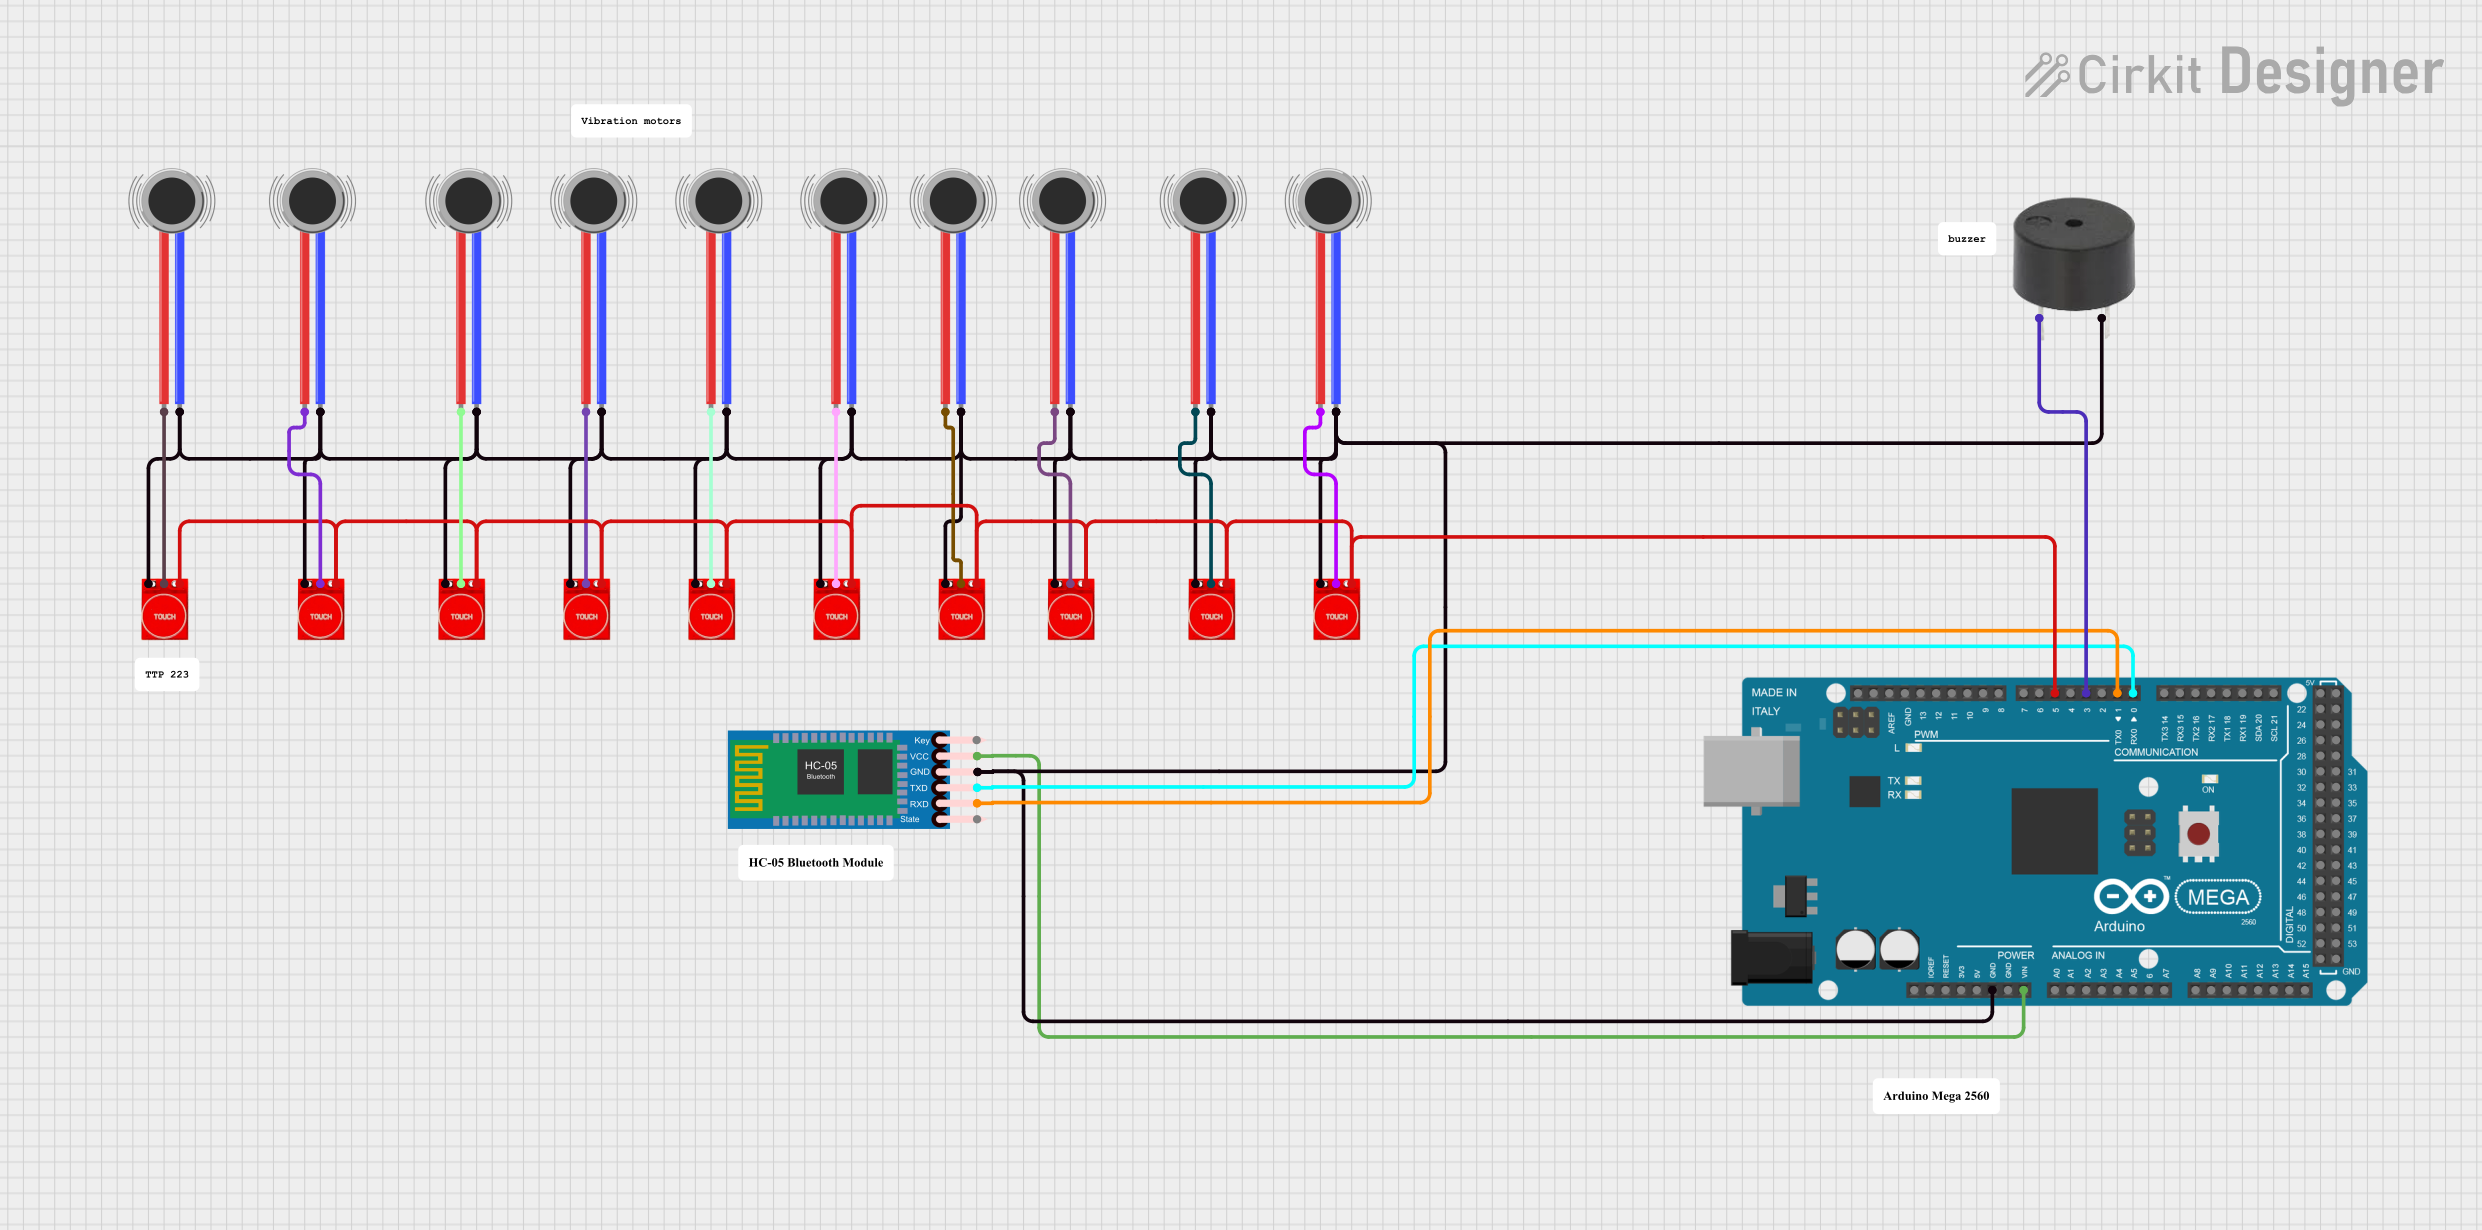
Explore Projects Built with DFRobot Touch Sensor
Common Applications and Use Cases
- Touch-sensitive buttons for home automation systems
- Interactive displays and kiosks
- Wearable devices with touch input
- Touch-activated lighting or appliances
- Educational and DIY electronics projects
Technical Specifications
The DFRobot Touch Sensor is designed for simplicity and reliability. Below are its key technical details:
| Parameter | Specification |
|---|---|
| Operating Voltage | 3.3V to 5.5V |
| Operating Current | < 20µA (low power consumption) |
| Output Type | Digital (High/Low) |
| Response Time | < 60ms |
| Touch Detection Range | Up to 5mm (depending on material) |
| Dimensions | 24mm x 24mm |
Pin Configuration and Descriptions
The DFRobot Touch Sensor typically has three pins for easy integration into circuits:
| Pin | Name | Description |
|---|---|---|
| 1 | VCC | Power supply pin (3.3V to 5.5V) |
| 2 | GND | Ground connection |
| 3 | SIG | Signal output pin (outputs HIGH when touched) |
Usage Instructions
How to Use the Component in a Circuit
- Power the Sensor: Connect the
VCCpin to a 3.3V or 5V power source and theGNDpin to the ground of your circuit. - Connect the Signal Pin: Attach the
SIGpin to a digital input pin on your microcontroller or other control device. - Touch Detection: When the sensor detects a touch, the
SIGpin outputs a HIGH signal (logic level 1). When no touch is detected, it outputs a LOW signal (logic level 0).
Important Considerations and Best Practices
- Avoid Noise Interference: Ensure proper grounding to minimize noise and false triggers.
- Material Sensitivity: The sensor can detect touch through non-conductive materials like glass or plastic. Test the material thickness to ensure reliable detection.
- Power Supply: Use a stable power source to avoid erratic behavior.
- Debouncing: If using the sensor for triggering events, consider implementing software debouncing to avoid multiple triggers from a single touch.
Example: Connecting to an Arduino UNO
Below is an example of how to use the DFRobot Touch Sensor with an Arduino UNO:
Circuit Connections
- Connect the
VCCpin of the sensor to the 5V pin on the Arduino. - Connect the
GNDpin of the sensor to the GND pin on the Arduino. - Connect the
SIGpin of the sensor to digital pin 2 on the Arduino.
Arduino Code
// DFRobot Touch Sensor Example Code
// This code reads the touch sensor's signal and turns on an LED when touched.

const int touchPin = 2;  // Pin connected to the SIG pin of the touch sensor
const int ledPin = 13;   // Pin connected to the built-in LED on the Arduino

void setup() {
  pinMode(touchPin, INPUT);  // Set the touch sensor pin as input
  pinMode(ledPin, OUTPUT);   // Set the LED pin as output
  Serial.begin(9600);        // Initialize serial communication for debugging
}

void loop() {
  int touchState = digitalRead(touchPin);  // Read the touch sensor state

  if (touchState == HIGH) {
    // If the sensor is touched, turn on the LED
    digitalWrite(ledPin, HIGH);
    Serial.println("Touch detected!");  // Print message to serial monitor
  } else {
    // If no touch is detected, turn off the LED
    digitalWrite(ledPin, LOW);
  }

  delay(50);  // Small delay to stabilize readings
}
Troubleshooting and FAQs
Common Issues and Solutions
Sensor Not Responding
- Cause: Incorrect wiring or loose connections.
- Solution: Double-check all connections, ensuring the
VCC,GND, andSIGpins are properly connected.
False Triggers
- Cause: Electrical noise or unstable power supply.
- Solution: Use a decoupling capacitor (e.g., 0.1µF) between
VCCandGNDto stabilize the power supply.
Touch Not Detected Through Material
- Cause: Material is too thick or not suitable for capacitive sensing.
- Solution: Test with thinner or different non-conductive materials.
Delayed Response
- Cause: Software or hardware debounce issues.
- Solution: Implement a debounce routine in your code or check for hardware issues.
FAQs
Q: Can the sensor detect multiple touches simultaneously?
A: No, the DFRobot Touch Sensor is designed to detect a single touch at a time.
Q: What is the maximum distance for touch detection?
A: The sensor can detect touch up to 5mm away, depending on the material used.
Q: Can I use this sensor with a 3.3V microcontroller?
A: Yes, the sensor operates within a voltage range of 3.3V to 5.5V, making it compatible with 3.3V systems.
Q: Is the sensor waterproof?
A: The sensor itself is not waterproof, but it can detect touch through waterproof materials like glass or plastic.
By following this documentation, you can effectively integrate the DFRobot Touch Sensor into your projects and troubleshoot any issues that arise.