How to Use led 12v: Examples, Pinouts, and Specs
Introduction
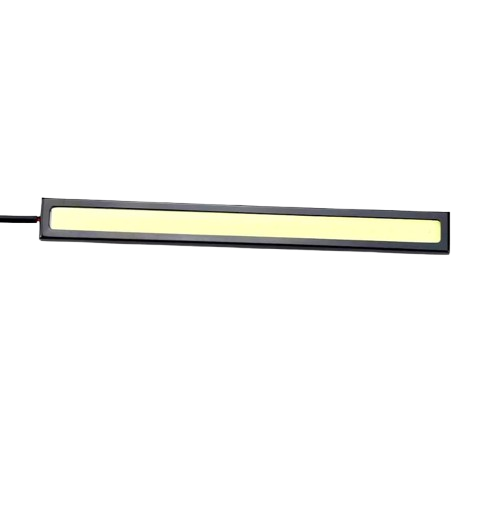
A Light Emitting Diode (LED) is a semiconductor device that emits light when an electric current passes through it. The 12V LED is specifically designed to operate at a voltage of 12 volts, making it suitable for a wide range of applications including automotive lighting, decorative lighting, electronic signage, and DIY projects where a 12V power supply is commonly used.
Explore Projects Built with led 12v


Explore Projects Built with led 12v
Technical Specifications
Key Technical Details
- Forward Voltage (Vf): 12V typical
- Forward Current (If): 20mA typical (may vary depending on the LED)
- Luminous Intensity: Specified in candela (cd) or lumens (lm), varies by LED
- Viewing Angle: Specified in degrees, varies by LED
- Color: Available in various colors (e.g., red, green, blue, white)
- Lens Type: Clear or diffused
Pin Configuration and Descriptions
| Pin Number | Description |
|---|---|
| 1 | Anode (+) |
| 2 | Cathode (-) |
Usage Instructions
How to Use the Component in a Circuit
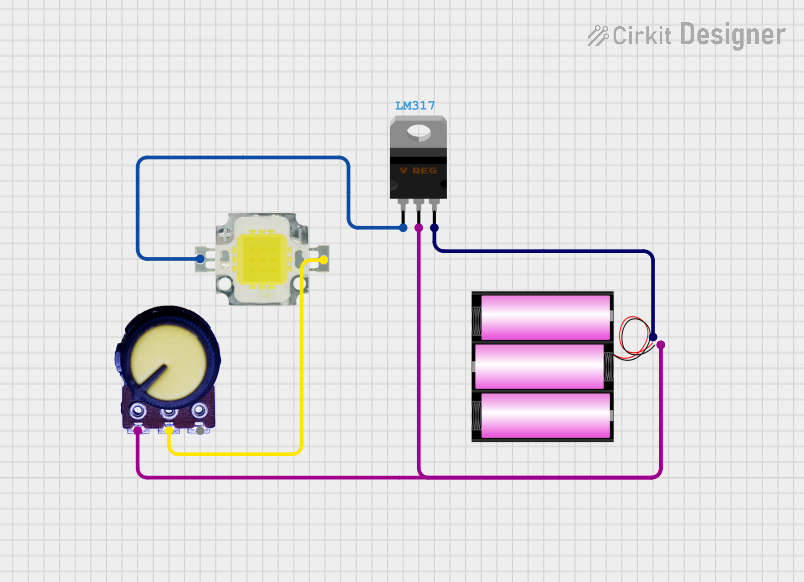
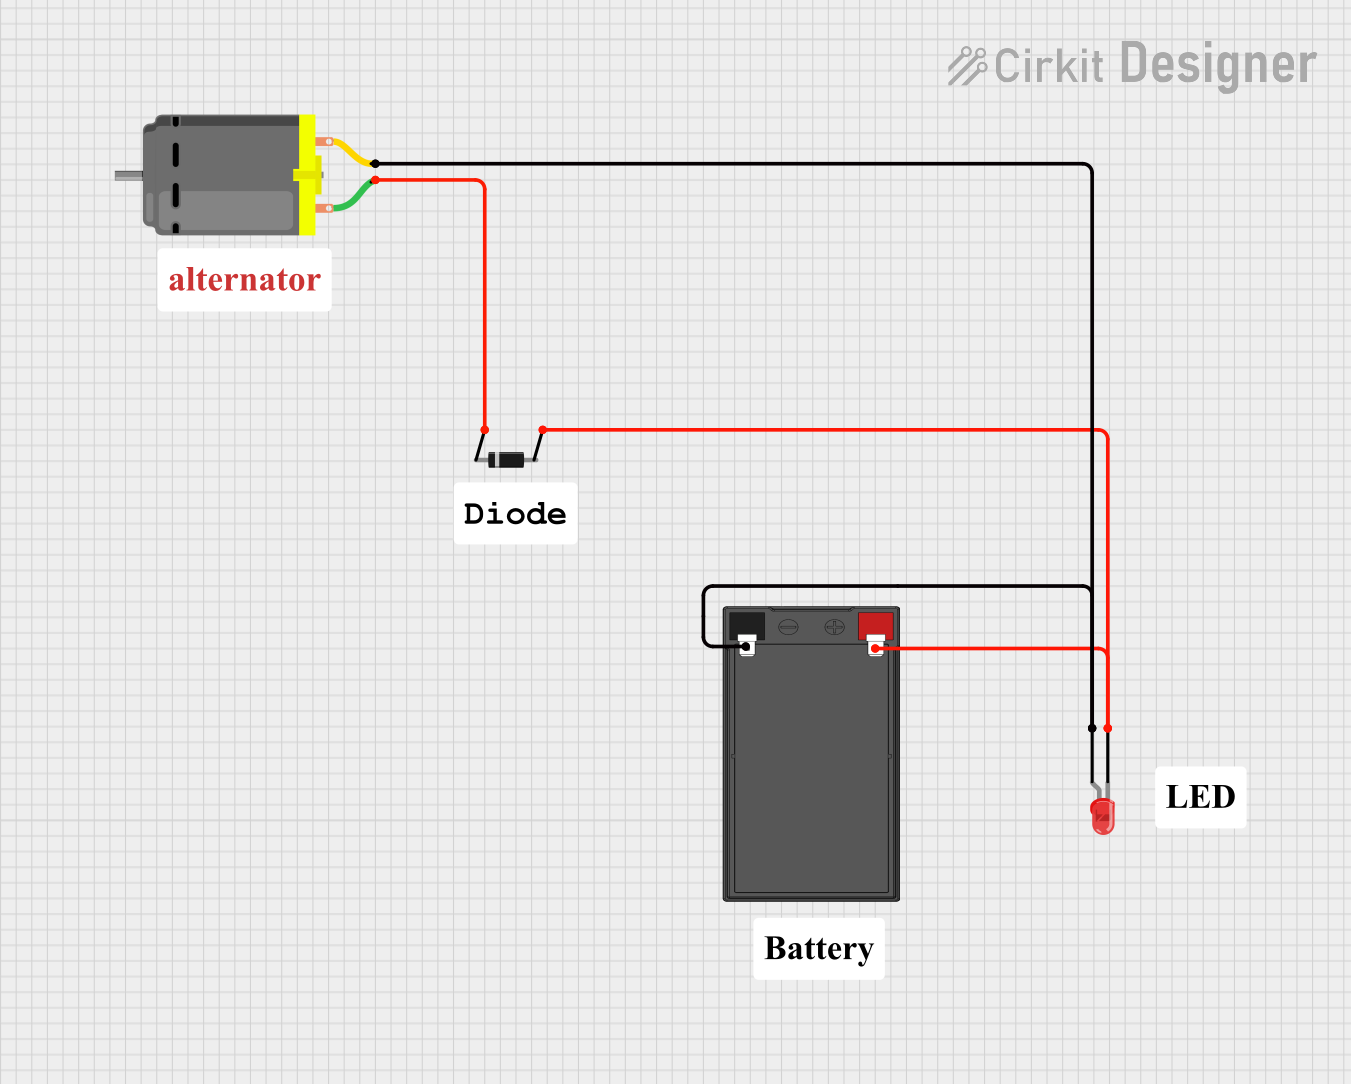
- Power Supply: Ensure that the power supply voltage is 12V. Exceeding this voltage can damage the LED.
- Current Limiting Resistor: Although the LED is rated for 12V, it is recommended to use a current limiting resistor to prevent excessive current flow. Calculate the resistor value using Ohm's law:
R = (V_supply - Vf) / If. - Polarity: Connect the anode (longer lead) to the positive terminal of the power supply and the cathode (shorter lead) to the negative terminal, often through the current limiting resistor.
- Soldering: When soldering the LED, avoid excessive heat and prolonged soldering time to prevent damage.
Important Considerations and Best Practices
- Heat Management: LEDs can generate heat; ensure adequate cooling if used in high-power applications.
- Dimming: If dimming is required, use a PWM (Pulse Width Modulation) controller compatible with 12V LEDs.
- Wiring: Use appropriate wire gauge to handle the current without excessive voltage drop.
Troubleshooting and FAQs
Common Issues
- LED Not Lighting Up: Check polarity, power supply voltage, and connections.
- LED Too Dim: Ensure the power supply is providing 12V and that the current limiting resistor is correctly calculated.
- LED Burnt Out: May be due to excessive voltage or current. Check the power supply and resistor value.
Solutions and Tips
- Polarity Check: Use a multimeter to verify the anode and cathode.
- Resistor Value: Recalculate the resistor value and ensure it is properly connected in series with the LED.
- Power Supply: Verify the power supply with a multimeter to ensure it is delivering 12V.
FAQs
Q: Can I connect a 12V LED directly to a 12V battery? A: While it is possible, it is not recommended without a current limiting resistor, as slight variations in voltage could damage the LED.
Q: How do I calculate the resistor value for a 12V LED?
A: Use the formula R = (V_supply - Vf) / If. For a 12V supply and a typical If of 20mA, the resistor value would be minimal. However, always verify the LED's datasheet for exact specifications.
Q: Can I use a 12V LED in a vehicle? A: Yes, 12V LEDs are commonly used in automotive applications. Ensure they are properly rated for automotive use.
Example Arduino UNO Code
// Define the LED pin
const int ledPin = 13; // Most Arduino UNO boards have an onboard LED at pin 13

void setup() {
  // Set the LED pin as an output
  pinMode(ledPin, OUTPUT);
}

void loop() {
  // Turn the LED on
  digitalWrite(ledPin, HIGH);
  delay(1000); // Wait for 1 second
  // Turn the LED off
  digitalWrite(ledPin, LOW);
  delay(1000); // Wait for 1 second
}
Note: The above code is for the onboard LED of an Arduino UNO, which operates at 5V. For a 12V LED, an external power source and a current limiting resistor are required, and the LED should be connected to one of the digital pins capable of providing a PWM signal if dimming is desired.