Cirkit Designer Logo
Cirkit Designer
Your all-in-one circuit design IDE
Home / 
Component Documentation

How to Use Adafruit PiTFT Plus 2.8inch: Examples, Pinouts, and Specs

Image of Adafruit PiTFT Plus 2.8inch
Cirkit Designer LogoDesign with Adafruit PiTFT Plus 2.8inch in Cirkit Designer

Introduction

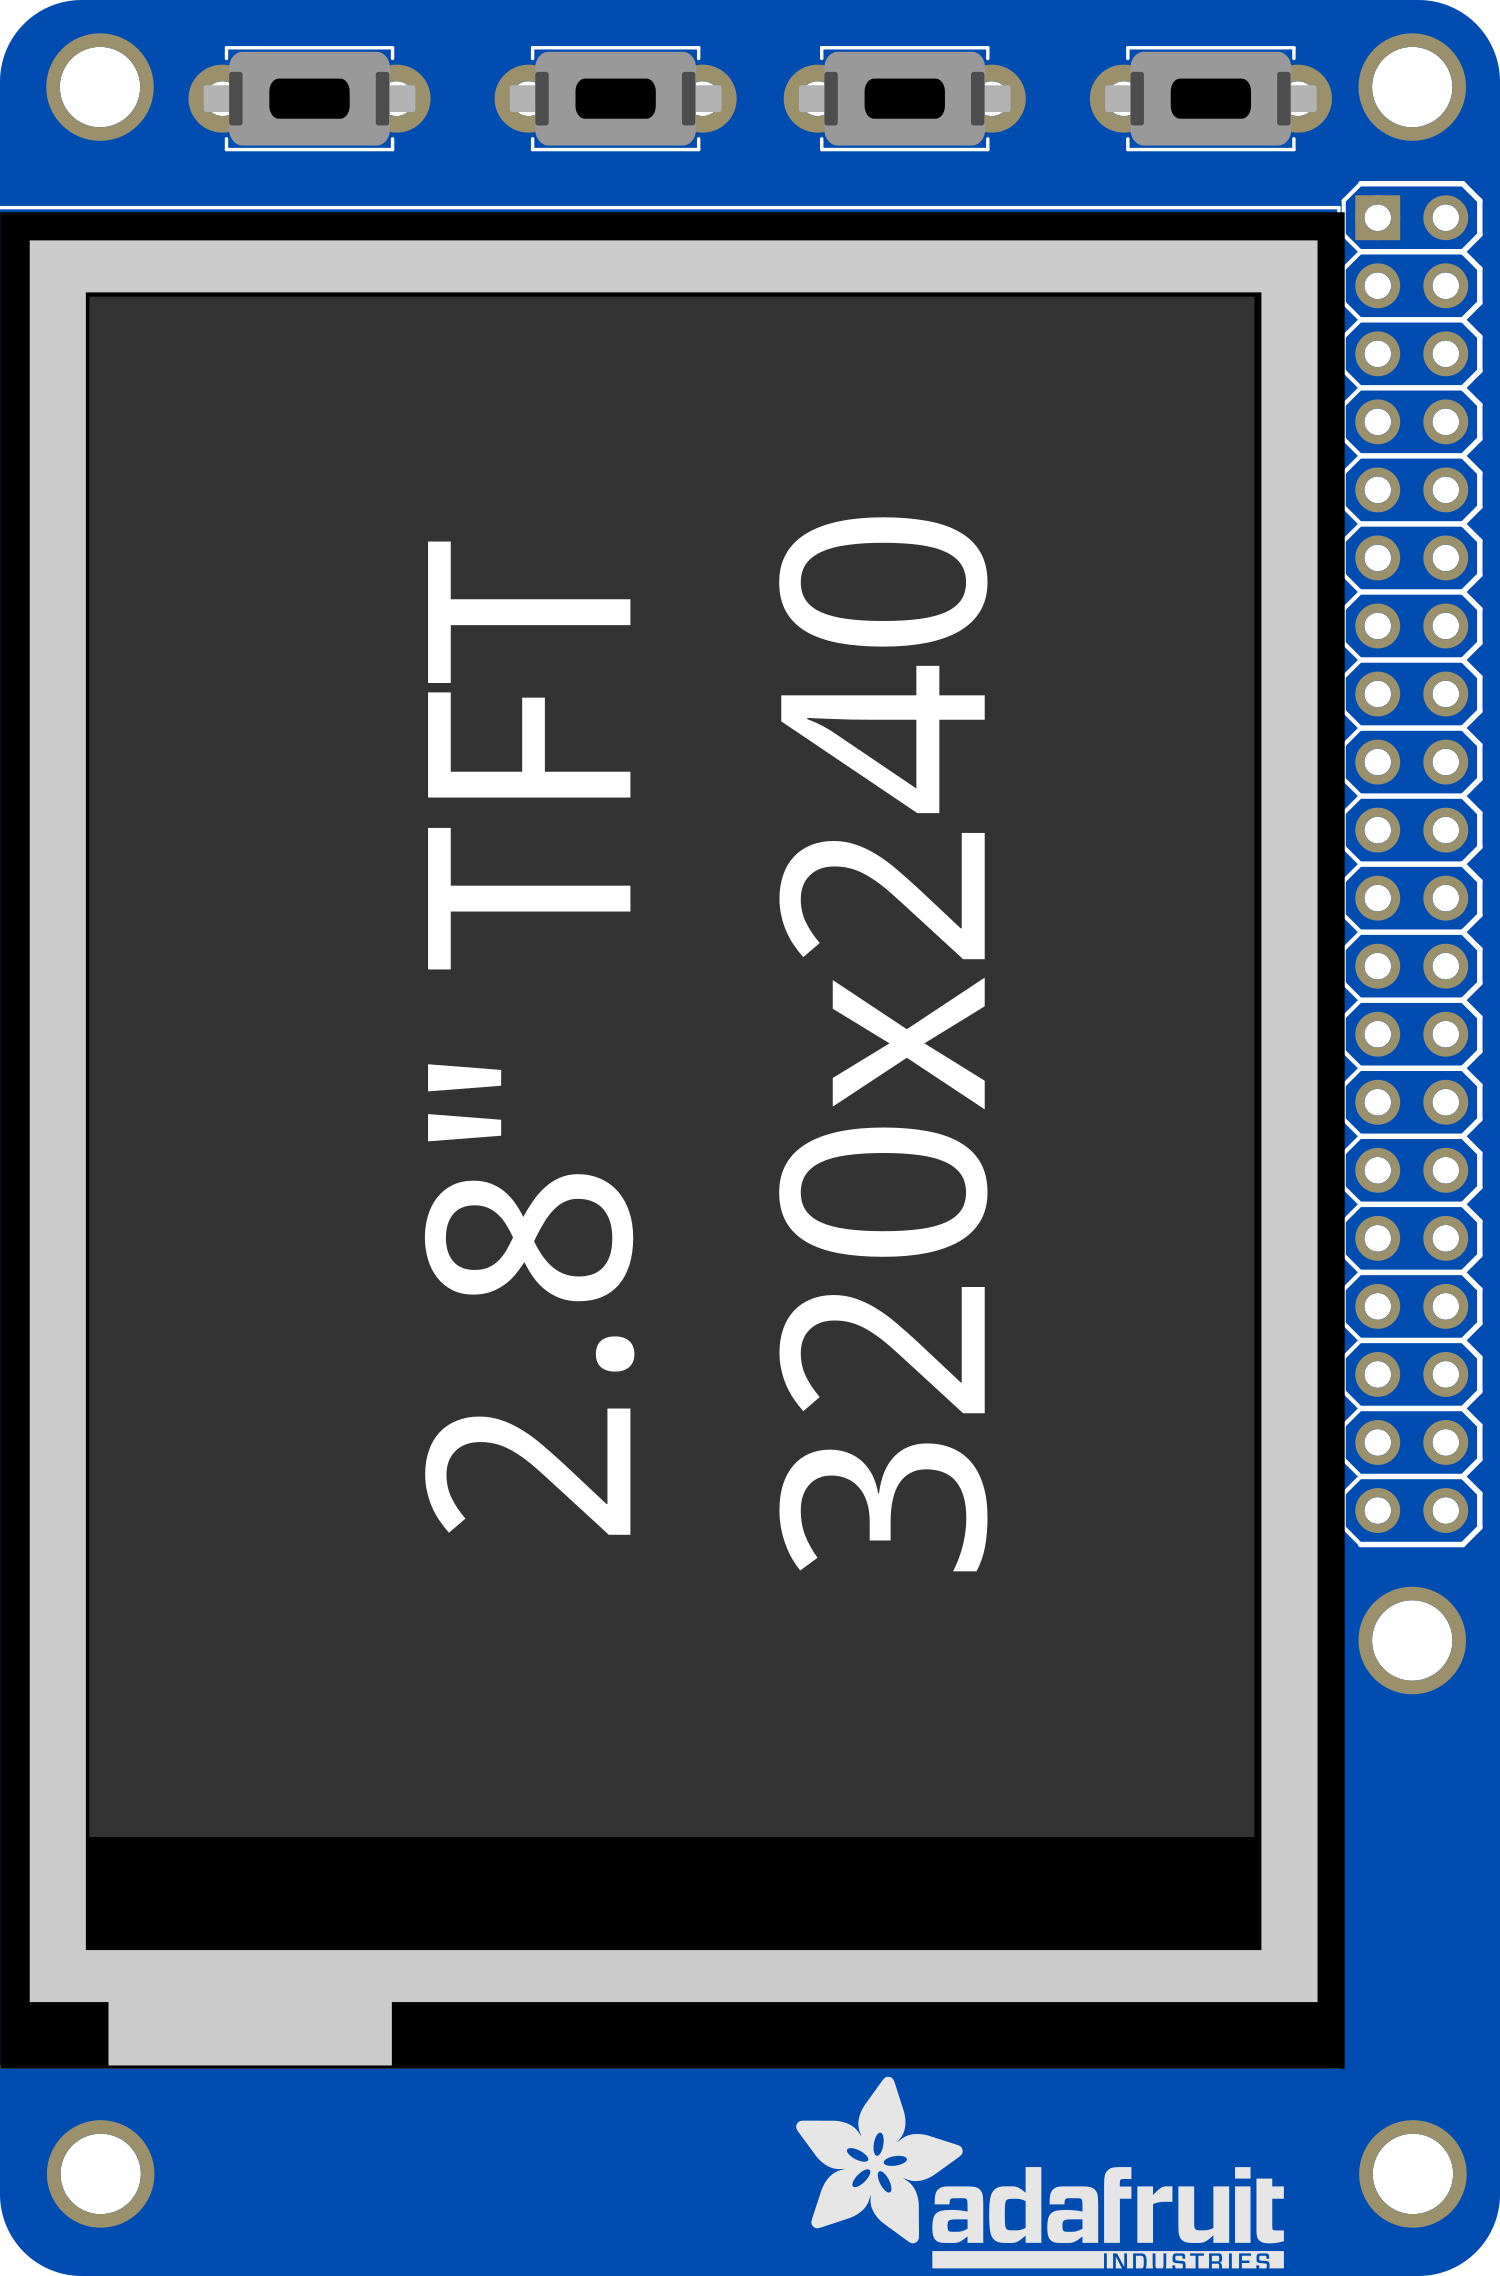
The Adafruit PiTFT Plus 2.8" is a compact touch screen display designed for the Raspberry Pi series of single-board computers. This display offers a 2.8-inch TFT screen with a resolution of 320x240 pixels, providing a suitable interface for projects requiring graphical output and touch input. It is commonly used in DIY electronics for handheld projects, custom interfaces, or control panels for various applications.

Explore Projects Built with Adafruit PiTFT Plus 2.8inch

Use Cirkit Designer to design, explore, and prototype these projects online. Some projects support real-time simulation. Click "Open Project" to start designing instantly!
Arduino Mega 2560 Controlled TFT Touchscreen Interface
Image of Tablero Moto: A project utilizing Adafruit PiTFT Plus 2.8inch in a practical application
This circuit connects an Arduino Mega 2560 microcontroller to a 3.5-inch 480x320 TFT LCD display. The Arduino provides power, ground, and digital signals to control the display, including data lines for pixel information and control lines for reset, write, and command/data selection. The embedded code initializes the display and configures the Arduino's pins for communication, likely to create a user interface or visual output for a project.
Cirkit Designer LogoOpen Project in Cirkit Designer
Raspberry Pi Pico and OV7670 Camera-Based Robotic System with TFT Display
Image of REF Speed Bot V3 CKT: A project utilizing Adafruit PiTFT Plus 2.8inch in a practical application
This circuit features two Raspberry Pi Pico microcontrollers interfacing with various peripherals including an OV7670 camera module, a TFT display, and an OLED display. It also includes a multiplexer and a motor driver to control two planetary gearbox motors, powered by a battery and regulated through buck converters. The setup is designed for image capture, display, and motor control applications.
Cirkit Designer LogoOpen Project in Cirkit Designer
ESP32-Powered 1.3 inch TFT Display Module for Visual Data Output
Image of ESP32+ST7789: A project utilizing Adafruit PiTFT Plus 2.8inch in a practical application
This circuit connects an ESP32 microcontroller to a 1.3 inch TFT display module (ST7789). The ESP32 provides power and control signals to the display, enabling it to show graphical data.
Cirkit Designer LogoOpen Project in Cirkit Designer
Raspberry Pi 4B-Based Current Monitoring System with I2C OLED Display
Image of Virtual Energy Monitoring Circuit: A project utilizing Adafruit PiTFT Plus 2.8inch in a practical application
This circuit features a Raspberry Pi 4B as the central processing unit, interfaced with an Adafruit ADS1115 16-bit I2C ADC for analog-to-digital conversion and a 0.96" OLED display for visual output. The ADS1115 is connected to a current sensor for measuring electrical current, with the sensor's output and burden pins connected to the ADC's analog input channels. The Raspberry Pi communicates with both the ADC and the OLED display over the I2C bus, using its GPIO2 and GPIO3 pins for data (SDA) and clock (SCL) lines, respectively.
Cirkit Designer LogoOpen Project in Cirkit Designer

Explore Projects Built with Adafruit PiTFT Plus 2.8inch

Use Cirkit Designer to design, explore, and prototype these projects online. Some projects support real-time simulation. Click "Open Project" to start designing instantly!
Image of Tablero Moto: A project utilizing Adafruit PiTFT Plus 2.8inch in a practical application
Arduino Mega 2560 Controlled TFT Touchscreen Interface
This circuit connects an Arduino Mega 2560 microcontroller to a 3.5-inch 480x320 TFT LCD display. The Arduino provides power, ground, and digital signals to control the display, including data lines for pixel information and control lines for reset, write, and command/data selection. The embedded code initializes the display and configures the Arduino's pins for communication, likely to create a user interface or visual output for a project.
Cirkit Designer LogoOpen Project in Cirkit Designer
Image of REF Speed Bot V3 CKT: A project utilizing Adafruit PiTFT Plus 2.8inch in a practical application
Raspberry Pi Pico and OV7670 Camera-Based Robotic System with TFT Display
This circuit features two Raspberry Pi Pico microcontrollers interfacing with various peripherals including an OV7670 camera module, a TFT display, and an OLED display. It also includes a multiplexer and a motor driver to control two planetary gearbox motors, powered by a battery and regulated through buck converters. The setup is designed for image capture, display, and motor control applications.
Cirkit Designer LogoOpen Project in Cirkit Designer
Image of ESP32+ST7789: A project utilizing Adafruit PiTFT Plus 2.8inch in a practical application
ESP32-Powered 1.3 inch TFT Display Module for Visual Data Output
This circuit connects an ESP32 microcontroller to a 1.3 inch TFT display module (ST7789). The ESP32 provides power and control signals to the display, enabling it to show graphical data.
Cirkit Designer LogoOpen Project in Cirkit Designer
Image of Virtual Energy Monitoring Circuit: A project utilizing Adafruit PiTFT Plus 2.8inch in a practical application
Raspberry Pi 4B-Based Current Monitoring System with I2C OLED Display
This circuit features a Raspberry Pi 4B as the central processing unit, interfaced with an Adafruit ADS1115 16-bit I2C ADC for analog-to-digital conversion and a 0.96" OLED display for visual output. The ADS1115 is connected to a current sensor for measuring electrical current, with the sensor's output and burden pins connected to the ADC's analog input channels. The Raspberry Pi communicates with both the ADC and the OLED display over the I2C bus, using its GPIO2 and GPIO3 pins for data (SDA) and clock (SCL) lines, respectively.
Cirkit Designer LogoOpen Project in Cirkit Designer

Technical Specifications

Display

  • Type: TFT LCD
  • Size: 2.8 inches (diagonal)
  • Resolution: 320x240 pixels
  • Interface: SPI
  • Touchscreen: Resistive touch panel

Electrical

  • Operating Voltage: 3.3V
  • Logic Level: 3.3V compatible

Pin Configuration and Descriptions

Pin Number Name Description
1 3V3 3.3V Power Supply
2 5V 5V Power Supply (used for backlight)
3 GND Ground
4 CS SPI Chip Select
5 SCK SPI Clock
6 MOSI SPI Master Out Slave In
7 MISO SPI Master In Slave Out
8 STMPE_CS Touch Controller Chip Select
9 GPIO #23 Interrupt for Touch Controller
10 GPIO #18 PWM output for backlight control

Usage Instructions

Connecting to Raspberry Pi

  1. Power Off Raspberry Pi: Ensure your Raspberry Pi is turned off before connecting the display to prevent any electrical damage.
  2. Attach Display: Carefully align the GPIO pins of the PiTFT with the corresponding pins on the Raspberry Pi and press down to connect.
  3. Secure the Display: Use the provided screws and standoffs to secure the PiTFT to the Raspberry Pi if necessary.

Software Setup

  1. Operating System: Ensure you have the latest version of Raspberry Pi OS installed on your Raspberry Pi.
  2. Install Drivers: Run the following commands in the terminal to install the necessary drivers:
sudo apt-get update
sudo apt-get install -y git python3-pip
cd ~
git clone https://github.com/adafruit/Raspberry-Pi-Installer-Scripts.git
cd Raspberry-Pi-Installer-Scripts
sudo python3 adafruit-pitft.py
  1. Configure Display: Follow the on-screen prompts to configure the display settings for your specific model.

Touchscreen Calibration

To calibrate the touchscreen for accurate input, use the adafruit-pitft.py script with the -c option:

sudo python3 adafruit-pitft.py -c

Best Practices

  • Power Management: Use the GPIO #18 to control the backlight and save power when the display is not in use.
  • Touch Sensitivity: Calibrate the touchscreen periodically to maintain accuracy.
  • Screen Protection: Consider using a screen protector to prevent scratches on the resistive touch panel.

Troubleshooting and FAQs

Common Issues

  • Display Not Working: Ensure all connections are secure and the PiTFT is properly seated on the GPIO pins.
  • Touch Inaccuracy: Re-calibrate the touchscreen using the provided script.
  • Screen Flickering: Check the power supply to the Raspberry Pi and ensure it meets the required specifications.

FAQs

Q: Can I use the PiTFT with other devices besides the Raspberry Pi? A: The PiTFT is designed specifically for the Raspberry Pi GPIO interface and may not be compatible with other devices without proper interfacing and driver support.

Q: How do I turn off the backlight? A: You can control the backlight by toggling GPIO #18. Setting it to LOW turns off the backlight, while HIGH turns it on.

Q: Is the touchscreen capacitive or resistive? A: The PiTFT Plus 2.8" features a resistive touchscreen, which can be activated with any object and does not require a capacitive touch like a finger.

Q: How do I update the PiTFT firmware? A: Firmware updates are typically not required for the PiTFT. However, you should keep your Raspberry Pi OS and all drivers up to date for optimal performance.

For further assistance, visit the Adafruit support forums or the Raspberry Pi community forums.