How to Use DF mini module: Examples, Pinouts, and Specs
Introduction
The DF Mini Module is a compact digital frequency module designed for signal processing and communication systems. Its small form factor makes it ideal for integration into a wide range of electronic projects. This module is commonly used in applications requiring frequency measurement, signal generation, or communication protocols. Its versatility and ease of use make it a popular choice for hobbyists and professionals alike.
Explore Projects Built with DF mini module

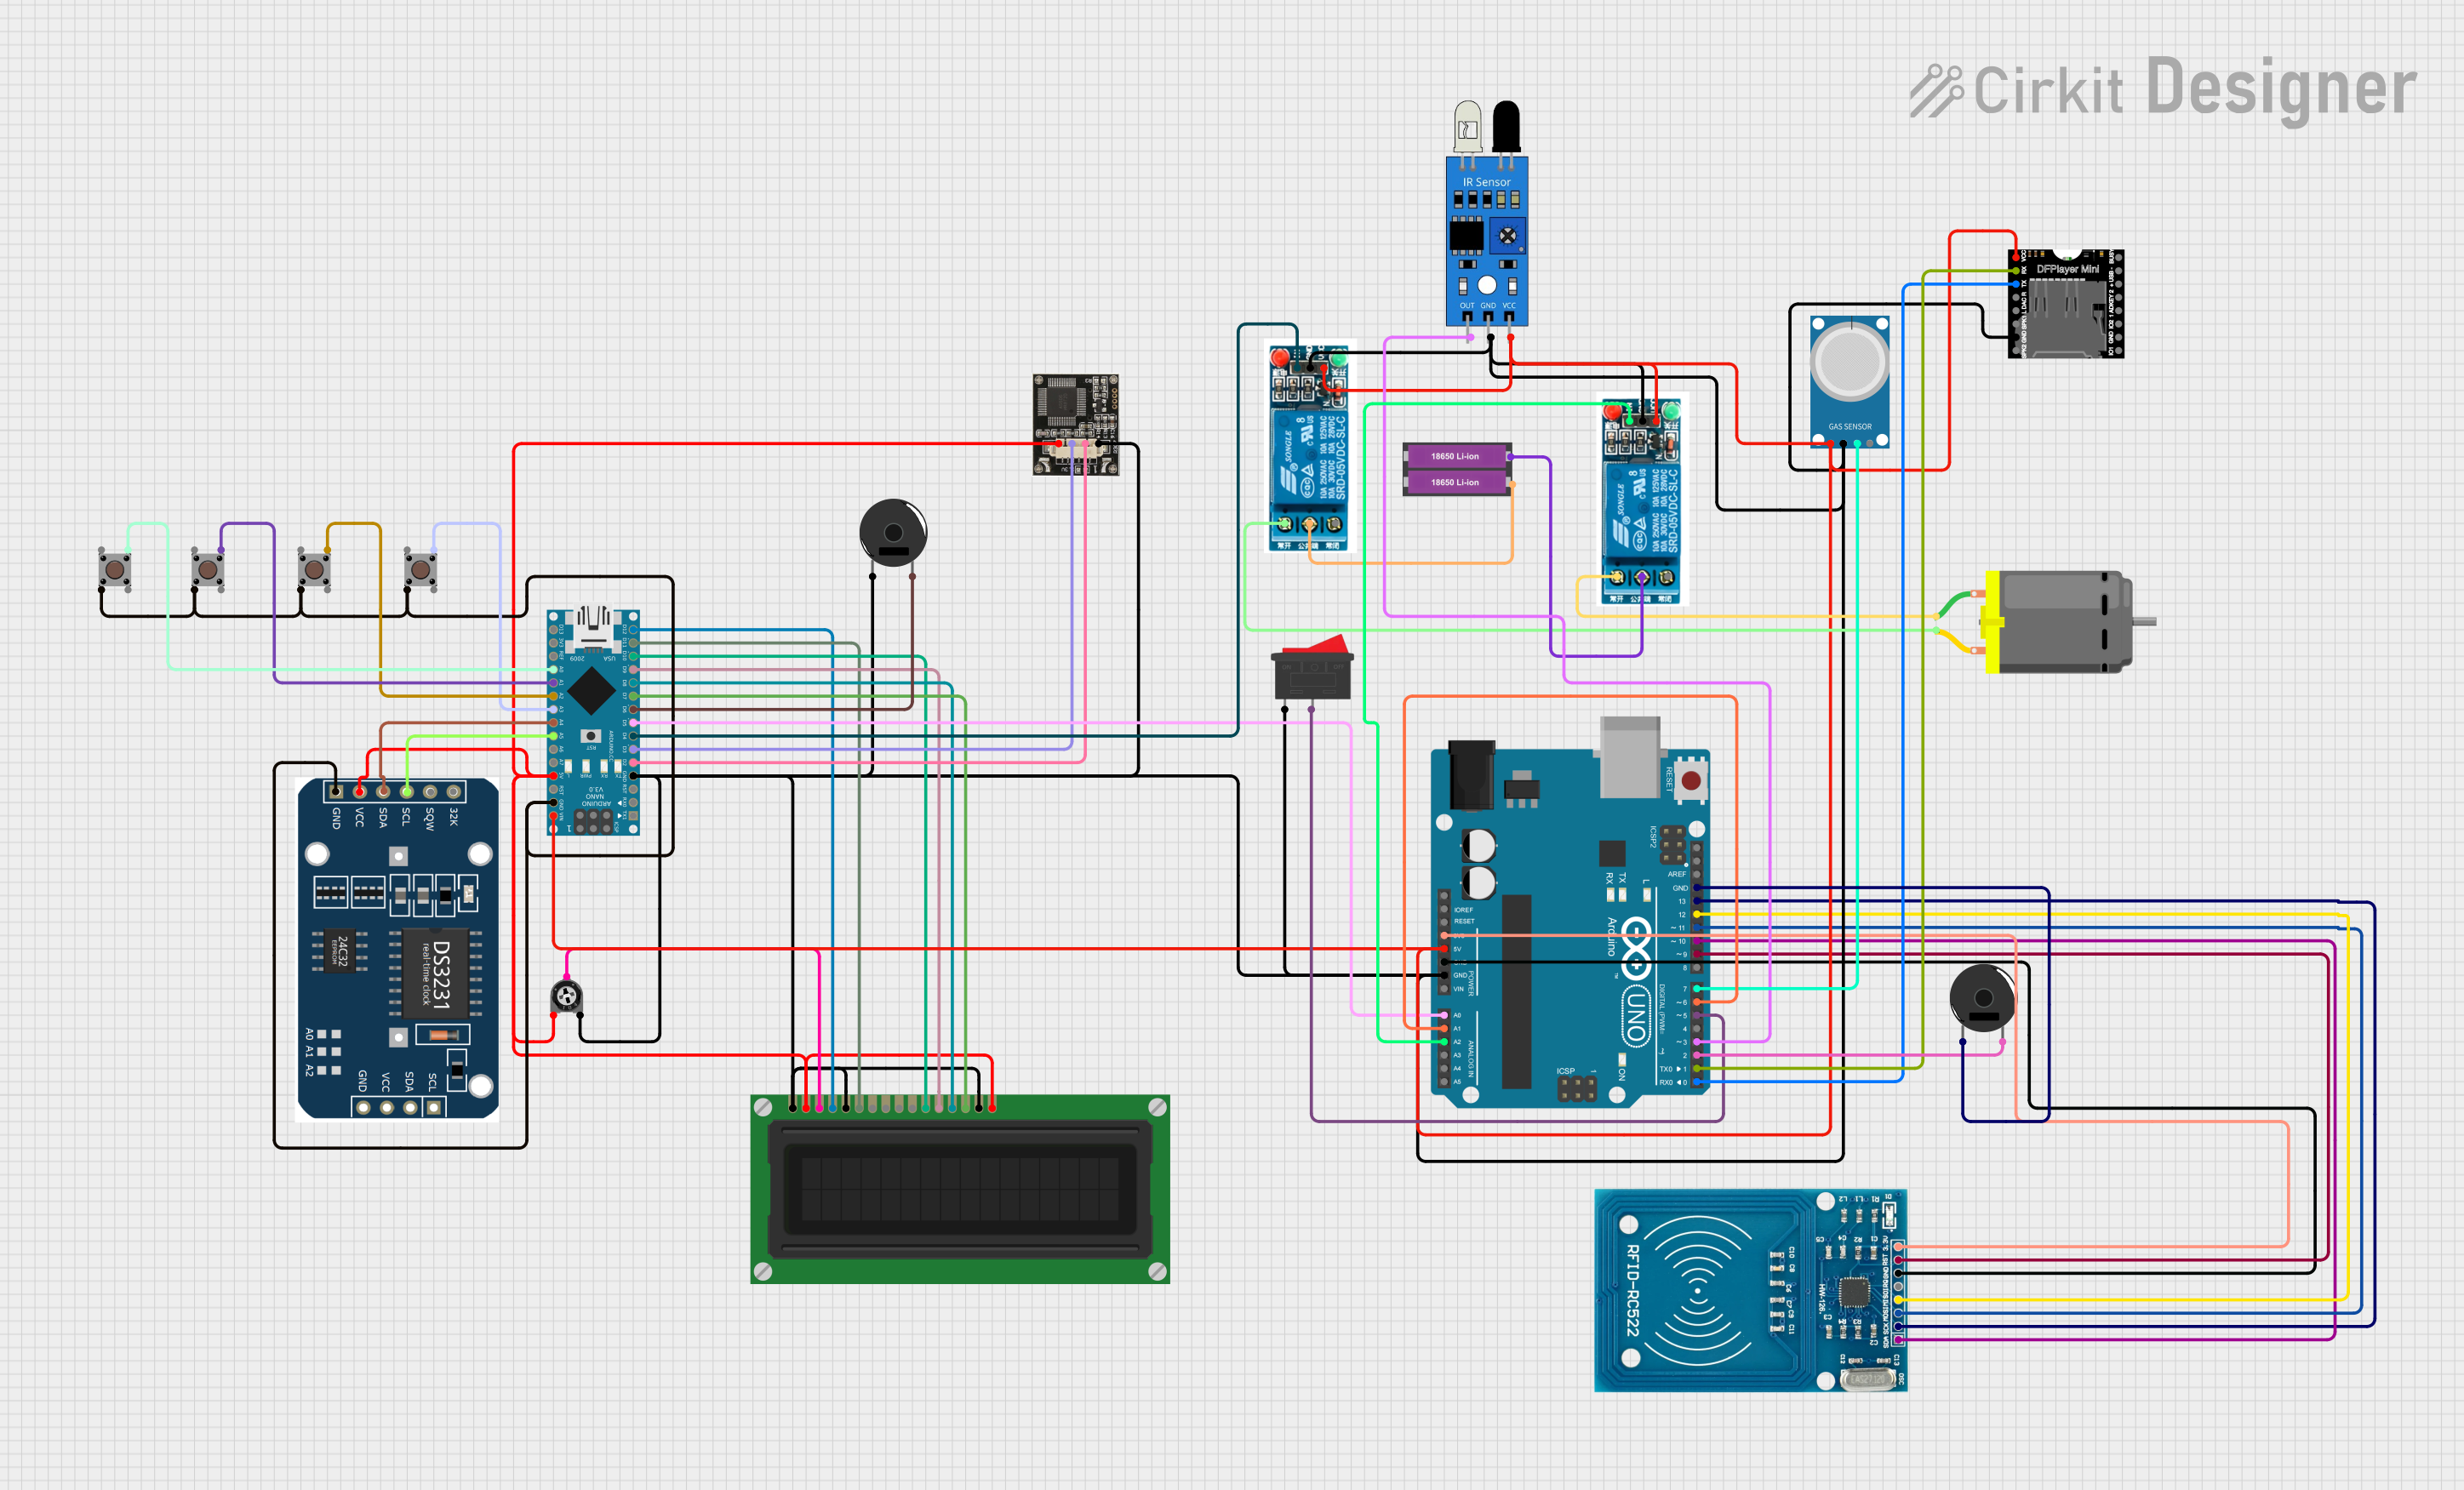
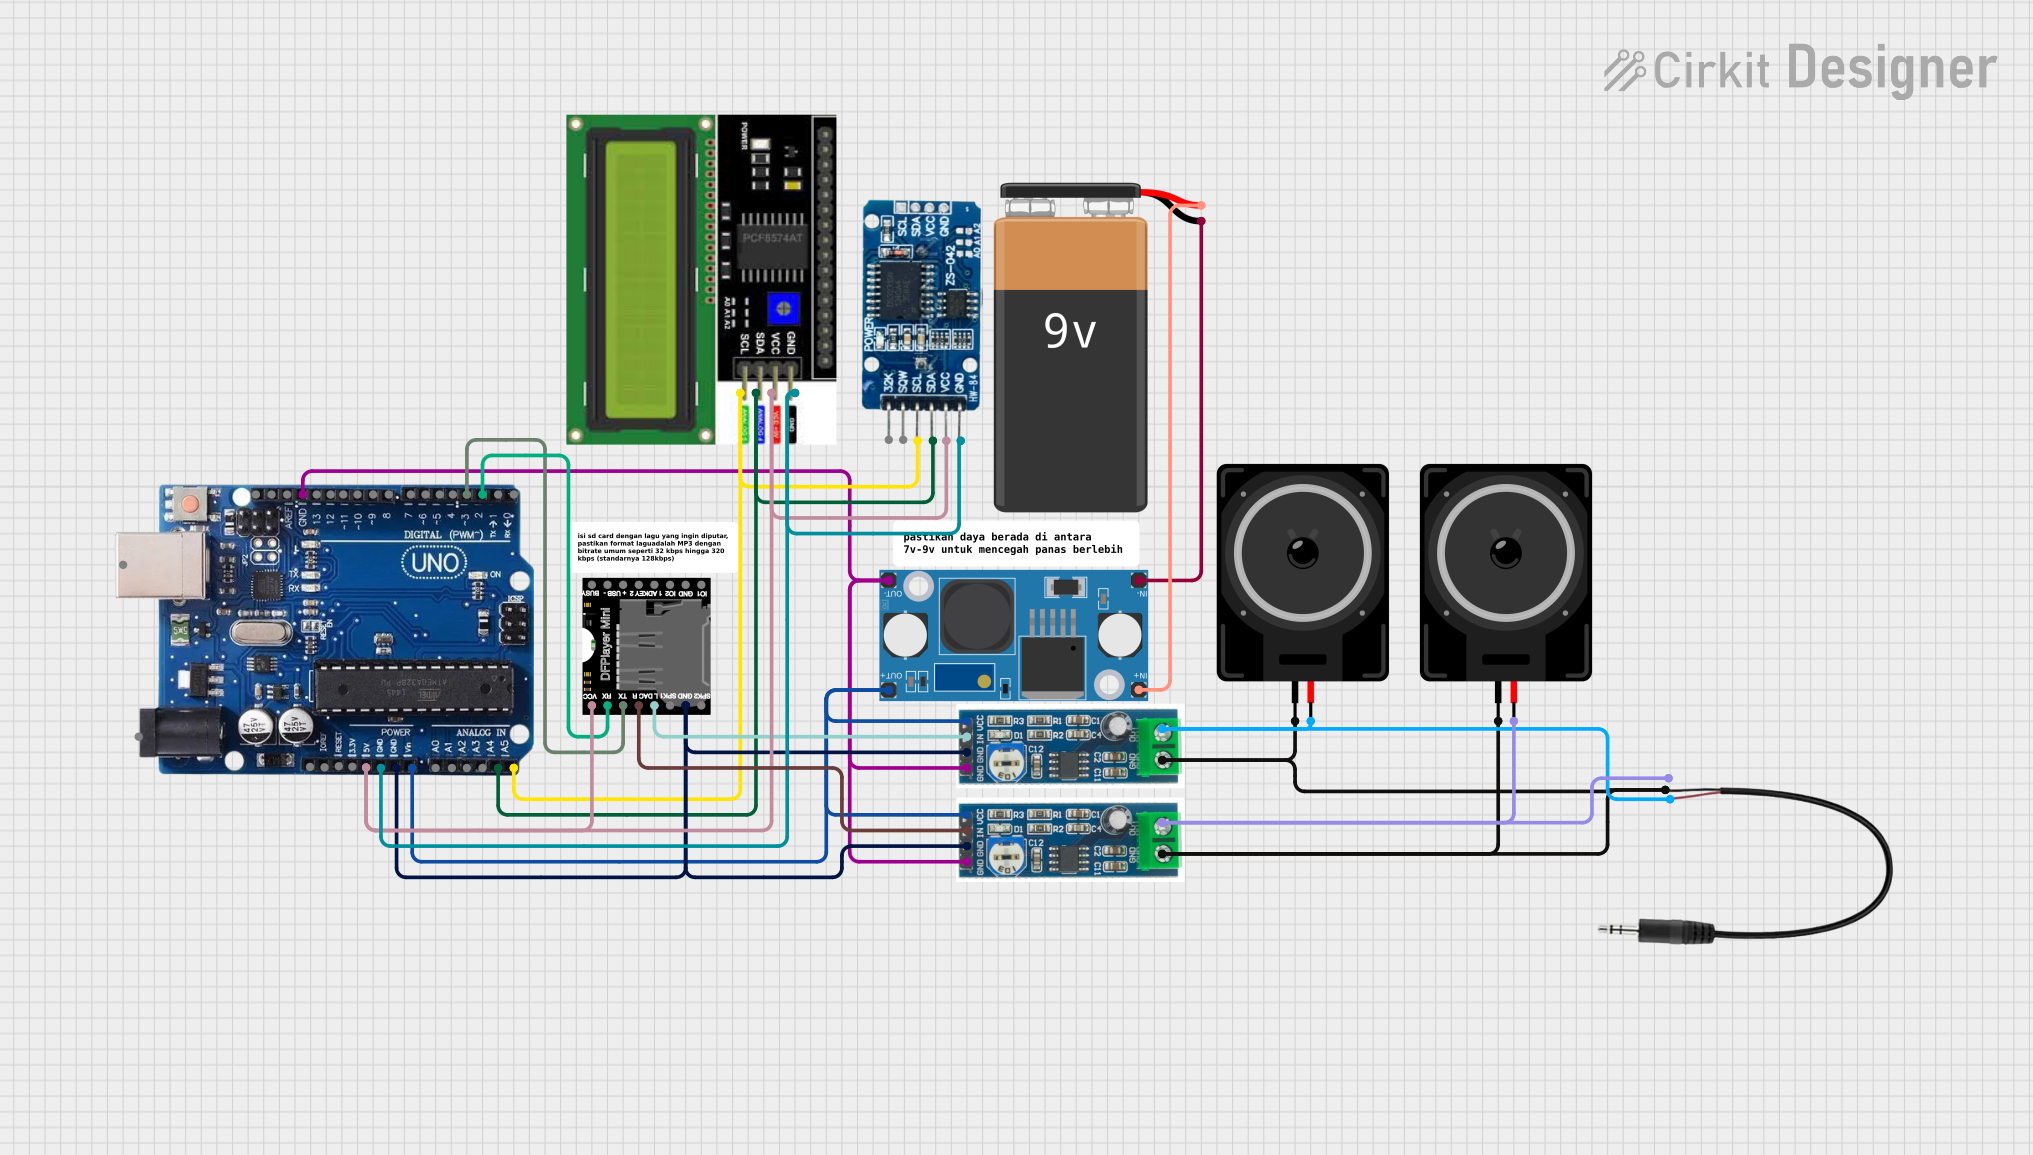
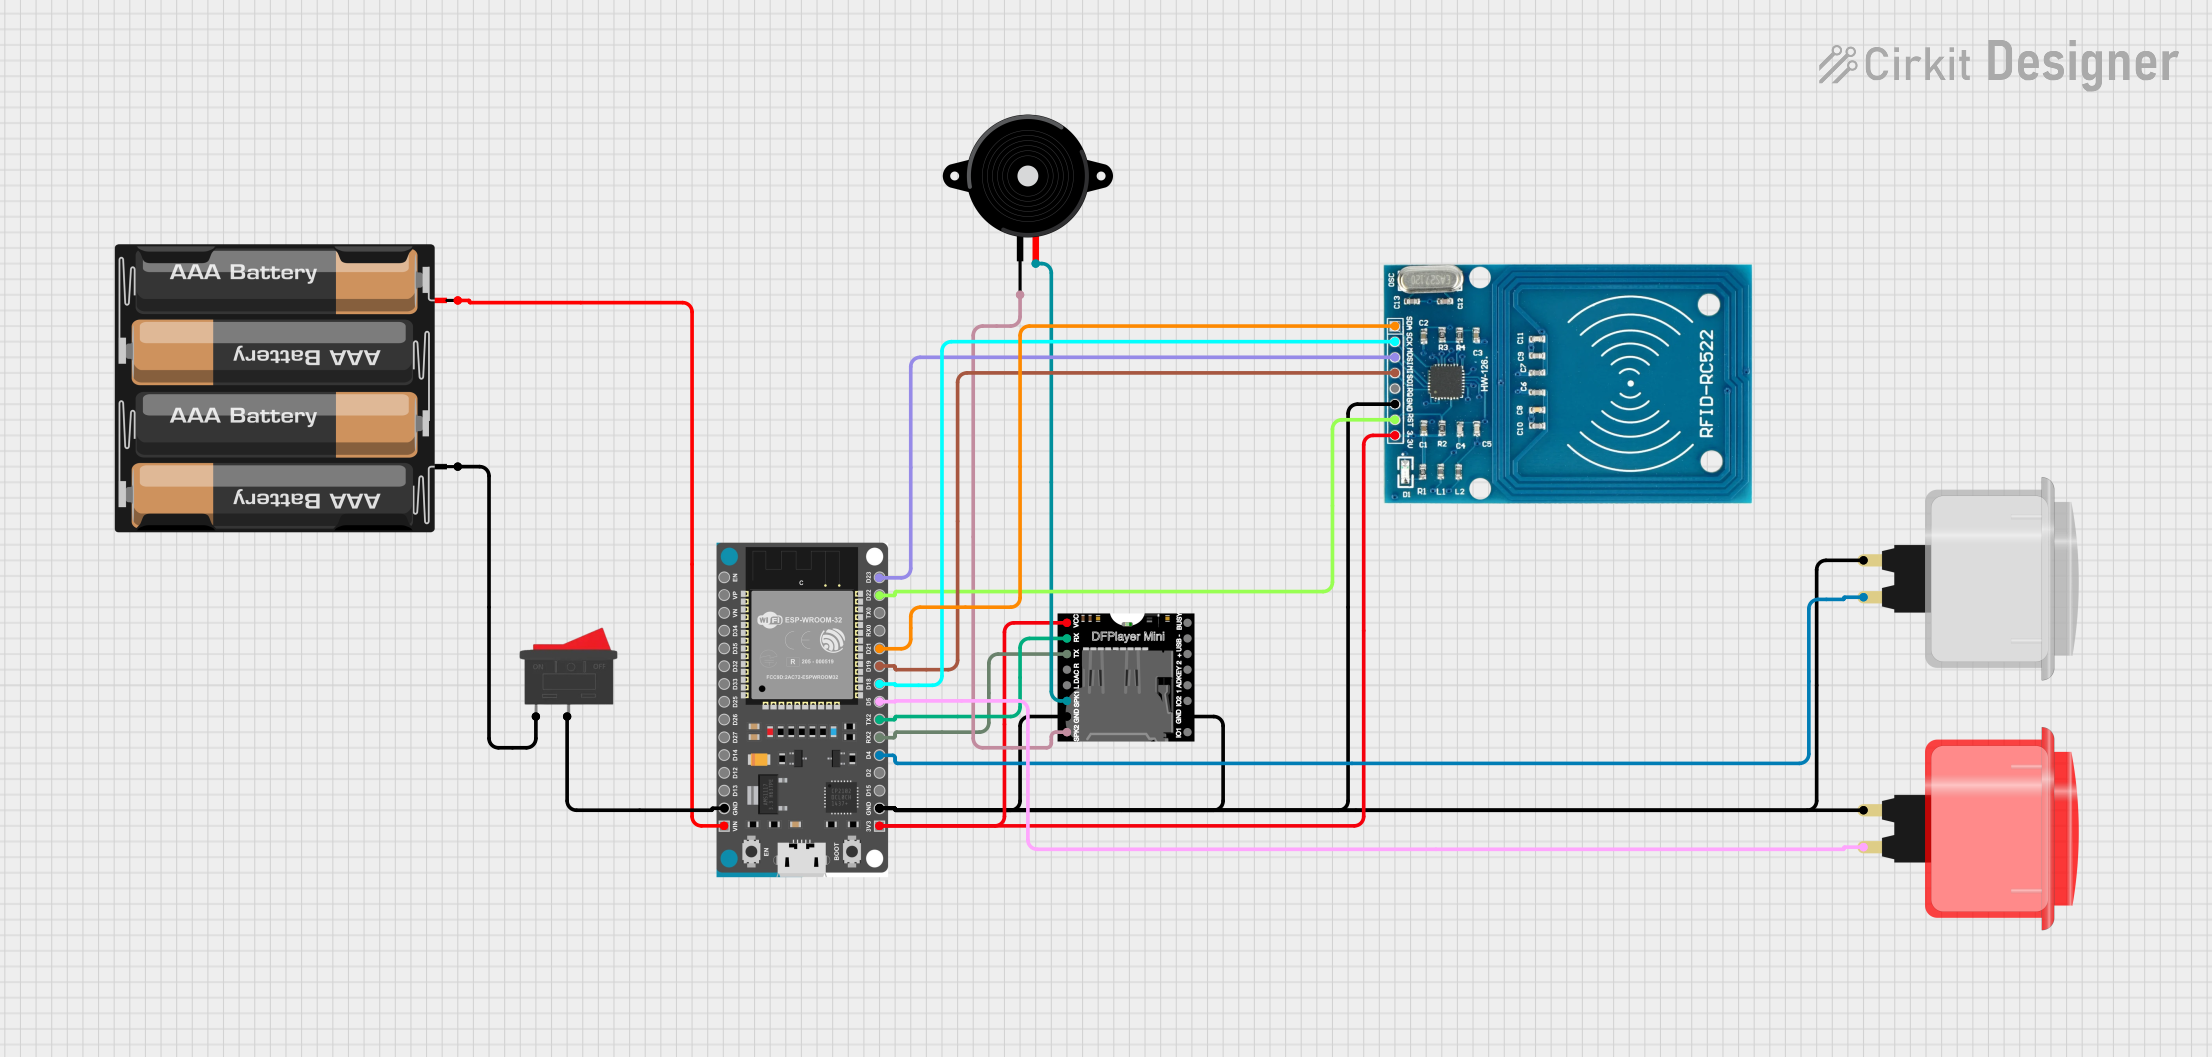
Explore Projects Built with DF mini module
Common Applications:
- Frequency measurement in signal processing systems
- Signal generation for testing and debugging circuits
- Communication systems requiring precise frequency control
- Educational projects and prototyping
Technical Specifications
Below are the key technical details of the DF Mini Module:
| Parameter | Value |
|---|---|
| Operating Voltage | 3.3V to 5V |
| Operating Current | 15mA (typical) |
| Frequency Range | 1Hz to 10MHz |
| Frequency Resolution | 0.1Hz |
| Output Signal Type | Square wave |
| Communication Protocol | UART (9600 baud rate by default) |
| Dimensions | 22mm x 18mm x 3mm |
Pin Configuration and Descriptions
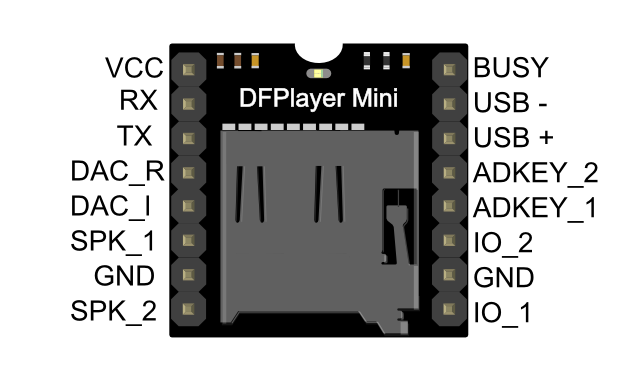
The DF Mini Module has a simple pinout for easy integration:
| Pin Name | Description |
|---|---|
| VCC | Power supply input (3.3V to 5V) |
| GND | Ground connection |
| TX | UART Transmit pin (used to send data to a microcontroller or other devices) |
| RX | UART Receive pin (used to receive data from a microcontroller or other devices) |
| OUT | Frequency output pin (generates the square wave signal) |
Usage Instructions
How to Use the DF Mini Module in a Circuit
- Power the Module: Connect the
VCCpin to a 3.3V or 5V power source and theGNDpin to ground. - Connect UART Pins:
- Connect the
TXpin of the module to theRXpin of your microcontroller. - Connect the
RXpin of the module to theTXpin of your microcontroller.
- Connect the
- Frequency Output: Use the
OUTpin to access the generated square wave signal. - Control via UART: Send commands to the module via UART to configure the frequency output. The default baud rate is 9600.
Important Considerations and Best Practices
- Ensure the power supply voltage is within the specified range (3.3V to 5V) to avoid damaging the module.
- Use a level shifter if interfacing the module with a 3.3V microcontroller while operating at 5V.
- Keep the UART communication lines as short as possible to minimize noise and signal degradation.
- Use decoupling capacitors (e.g., 0.1µF) near the power pins to stabilize the power supply.
Example: Using the DF Mini Module with Arduino UNO
Below is an example of how to use the DF Mini Module with an Arduino UNO to generate a 1kHz square wave signal:
#include <SoftwareSerial.h>

// Define the RX and TX pins for SoftwareSerial
SoftwareSerial dfMiniSerial(10, 11); // RX = Pin 10, TX = Pin 11

void setup() {
  // Initialize the serial communication with the DF Mini Module
  dfMiniSerial.begin(9600);
  Serial.begin(9600); // For debugging via Serial Monitor

  // Send command to set frequency to 1kHz
  // Command format: "Fxxxx" where xxxx is the frequency in Hz
  dfMiniSerial.print("F1000"); // Set frequency to 1000Hz (1kHz)
  Serial.println("Frequency set to 1kHz");
}

void loop() {
  // No additional code needed for this example
}
Notes:
- Replace
10and11in theSoftwareSerialdefinition with the pins you are using for UART communication. - Ensure the Arduino UNO is powered properly and connected to the DF Mini Module as per the pin configuration.
Troubleshooting and FAQs
Common Issues and Solutions
No Output Signal on the OUT Pin:
- Verify that the module is powered correctly (check
VCCandGNDconnections). - Ensure the UART communication is configured with the correct baud rate (default: 9600).
- Check the command format sent to the module (e.g., "Fxxxx" for frequency setting).
- Verify that the module is powered correctly (check
Incorrect Frequency Output:
- Double-check the frequency value sent via UART. Ensure it is within the module's supported range (1Hz to 10MHz).
- Verify that the microcontroller's UART pins are correctly connected to the module.
Module Not Responding to Commands:
- Ensure the
TXandRXpins are not swapped. - Check for loose or faulty connections in the circuit.
- Confirm that the microcontroller's UART settings (baud rate, parity, etc.) match the module's requirements.
- Ensure the
FAQs
Q: Can the DF Mini Module operate at 3.3V?
A: Yes, the module supports an operating voltage range of 3.3V to 5V.
Q: What is the maximum frequency resolution of the module?
A: The module supports a frequency resolution of 0.1Hz.
Q: Can I use the module with a 3.3V microcontroller?
A: Yes, but ensure the module is powered at 3.3V or use a level shifter for UART communication if the module is powered at 5V.
Q: How do I reset the module?
A: Power cycle the module by disconnecting and reconnecting the VCC pin.
By following this documentation, you can effectively integrate and use the DF Mini Module in your projects.