Cirkit Designer Logo
Cirkit Designer
Your all-in-one circuit design IDE
Home / 
Component Documentation

How to Use Adafruit OLED Monochrome 128x64 0.96 inch: Examples, Pinouts, and Specs

Image of Adafruit OLED Monochrome 128x64 0.96 inch
Cirkit Designer LogoDesign with Adafruit OLED Monochrome 128x64 0.96 inch in Cirkit Designer

Introduction

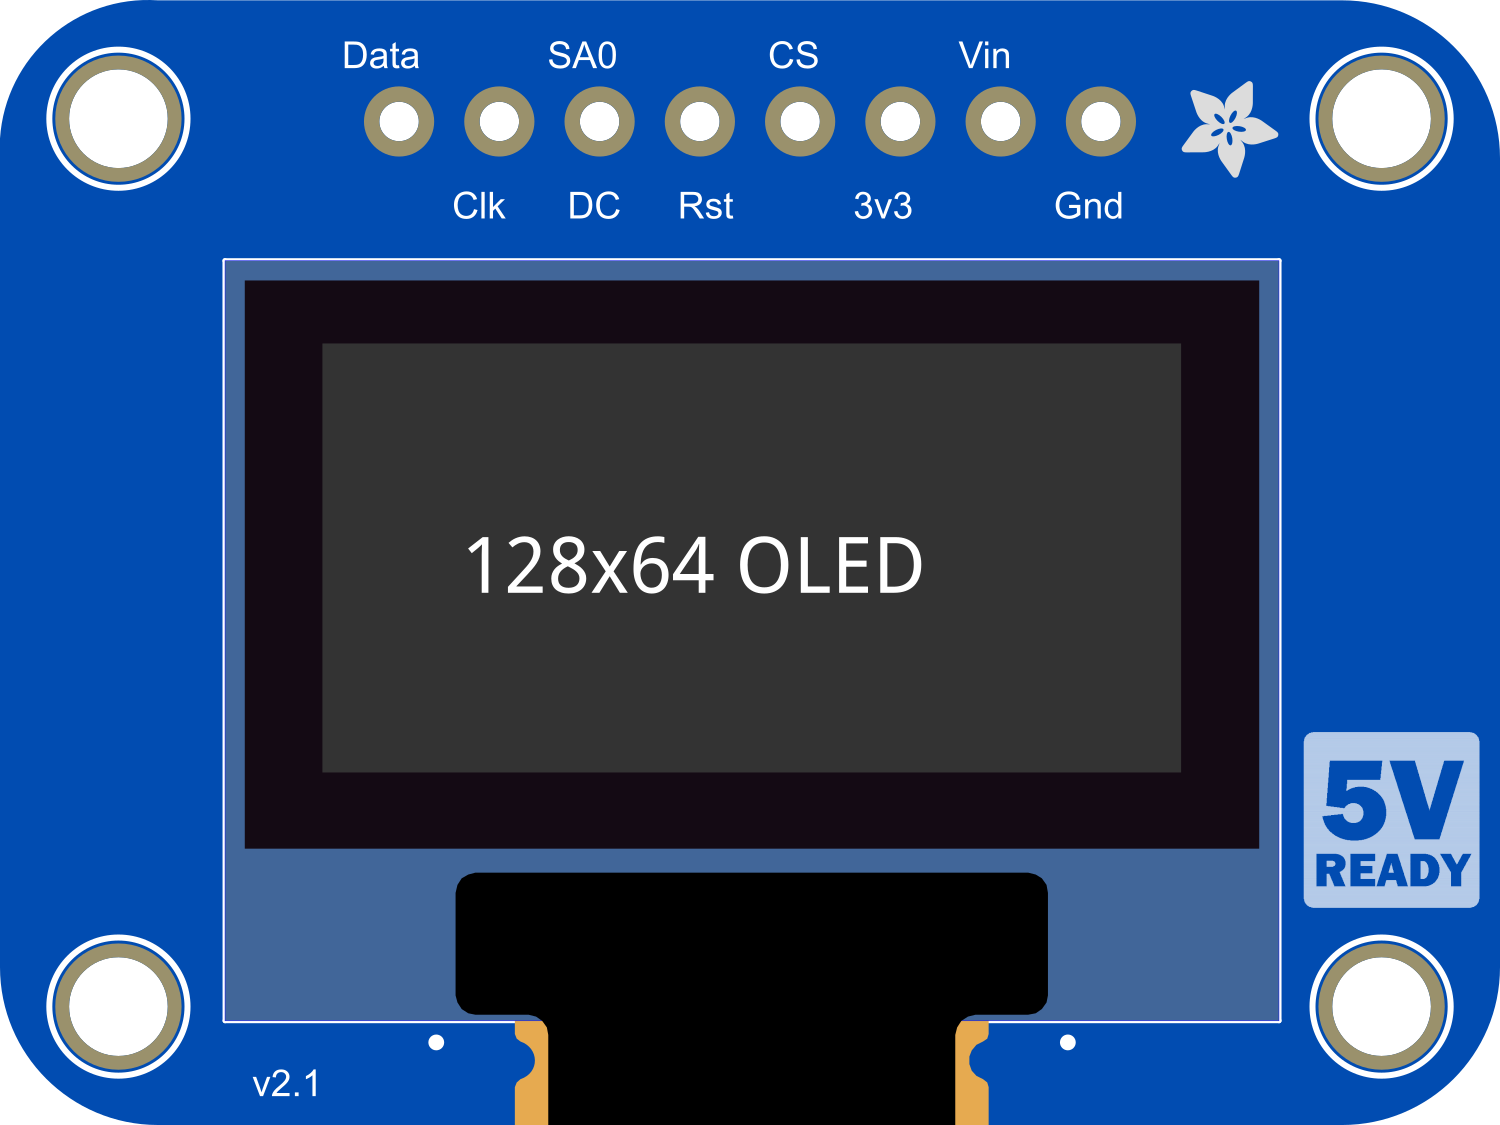
The Adafruit OLED Monochrome 128x64 0.96 inch display module is a compact and energy-efficient display that offers high contrast and wide viewing angles. Utilizing Organic Light Emitting Diode (OLED) technology, this display does not require a backlight and can display deep blacks by turning off individual pixels. It is commonly used in wearable devices, portable instruments, and various embedded systems where a small, high-quality display is required.

Explore Projects Built with Adafruit OLED Monochrome 128x64 0.96 inch

Use Cirkit Designer to design, explore, and prototype these projects online. Some projects support real-time simulation. Click "Open Project" to start designing instantly!
Arduino 101 OLED Display Animation Project
Image of wokwi animater test: A project utilizing Adafruit OLED Monochrome 128x64 0.96 inch in a practical application
This circuit consists of an Arduino 101 microcontroller connected to a 0.96" OLED display via I2C communication. The Arduino runs a program that initializes the OLED and continuously displays an animated sequence of frames on the screen.
Cirkit Designer LogoOpen Project in Cirkit Designer
Arduino Nano and OLED Display for Real-Time Data Visualization
Image of OLED Display: A project utilizing Adafruit OLED Monochrome 128x64 0.96 inch in a practical application
This circuit consists of an Arduino Nano microcontroller connected to a 0.96" OLED display. The Arduino Nano provides power to the OLED display and communicates with it using the I2C protocol via the A4 (SDA) and A5 (SCK) pins.
Cirkit Designer LogoOpen Project in Cirkit Designer
Arduino Nano Controlled OLED Display Interface
Image of Chandru: A project utilizing Adafruit OLED Monochrome 128x64 0.96 inch in a practical application
This circuit connects an Arduino Nano to an OLED 128x64 I2C Monochrome Display. The Arduino provides power to the OLED display and communicates with it via the I2C protocol, using its A4 and A5 pins as SDA and SCK lines, respectively. The embedded code initializes the display and draws a single pixel on it, which suggests that the circuit is designed for visual output, possibly for a user interface or data visualization.
Cirkit Designer LogoOpen Project in Cirkit Designer
IoT Board with 0.96" OLED Display for Real-Time Data Visualization
Image of dgd: A project utilizing Adafruit OLED Monochrome 128x64 0.96 inch in a practical application
This circuit connects a 0.96" OLED display to an IoT board. The OLED display is powered by the 3.3V and GND pins of the IoT board, and communicates with the board via I2C using the SDA and SCL pins.
Cirkit Designer LogoOpen Project in Cirkit Designer

Explore Projects Built with Adafruit OLED Monochrome 128x64 0.96 inch

Use Cirkit Designer to design, explore, and prototype these projects online. Some projects support real-time simulation. Click "Open Project" to start designing instantly!
Image of wokwi animater test: A project utilizing Adafruit OLED Monochrome 128x64 0.96 inch in a practical application
Arduino 101 OLED Display Animation Project
This circuit consists of an Arduino 101 microcontroller connected to a 0.96" OLED display via I2C communication. The Arduino runs a program that initializes the OLED and continuously displays an animated sequence of frames on the screen.
Cirkit Designer LogoOpen Project in Cirkit Designer
Image of OLED Display: A project utilizing Adafruit OLED Monochrome 128x64 0.96 inch in a practical application
Arduino Nano and OLED Display for Real-Time Data Visualization
This circuit consists of an Arduino Nano microcontroller connected to a 0.96" OLED display. The Arduino Nano provides power to the OLED display and communicates with it using the I2C protocol via the A4 (SDA) and A5 (SCK) pins.
Cirkit Designer LogoOpen Project in Cirkit Designer
Image of Chandru: A project utilizing Adafruit OLED Monochrome 128x64 0.96 inch in a practical application
Arduino Nano Controlled OLED Display Interface
This circuit connects an Arduino Nano to an OLED 128x64 I2C Monochrome Display. The Arduino provides power to the OLED display and communicates with it via the I2C protocol, using its A4 and A5 pins as SDA and SCK lines, respectively. The embedded code initializes the display and draws a single pixel on it, which suggests that the circuit is designed for visual output, possibly for a user interface or data visualization.
Cirkit Designer LogoOpen Project in Cirkit Designer
Image of dgd: A project utilizing Adafruit OLED Monochrome 128x64 0.96 inch in a practical application
IoT Board with 0.96" OLED Display for Real-Time Data Visualization
This circuit connects a 0.96" OLED display to an IoT board. The OLED display is powered by the 3.3V and GND pins of the IoT board, and communicates with the board via I2C using the SDA and SCL pins.
Cirkit Designer LogoOpen Project in Cirkit Designer

Common Applications and Use Cases

  • Wearable technology (e.g., smartwatches, fitness trackers)
  • Portable devices (e.g., handheld meters, music players)
  • User interfaces for small-scale embedded projects
  • Prototyping for IoT devices

Technical Specifications

Key Technical Details

  • Display Type: Monochrome OLED
  • Resolution: 128x64 pixels
  • Screen Size: 0.96 inches (diagonal)
  • Communication Protocol: I2C (Inter-Integrated Circuit)
  • Operating Voltage: 3.3V to 5V
  • Driver IC: SSD1306

Pin Configuration and Descriptions

Pin Number Name Description
1 GND Ground connection
2 VCC Power supply (3.3V to 5V)
3 SCL I2C clock line
4 SDA I2C data line

Usage Instructions

Interfacing with a Microcontroller

  1. Power Connections: Connect the VCC pin to the microcontroller's 3.3V or 5V output, and the GND pin to the ground.
  2. I2C Connections: Connect the SCL pin to the microcontroller's I2C clock pin, and the SDA pin to the I2C data pin.
  3. Initialization: Initialize the display within your code using the appropriate library and set the I2C address (usually 0x3C or 0x3D).

Important Considerations and Best Practices

  • Level Shifting: If you are using a 5V microcontroller, ensure that the I2C lines are level-shifted to be compatible with the display's logic level.
  • Library Usage: Utilize libraries such as Adafruit_SSD1306 and Adafruit_GFX for easy interfacing and graphics handling.
  • Power Consumption: To conserve power, take advantage of the OLED's ability to turn off individual pixels for displaying true blacks.

Example Code for Arduino UNO

#include <Wire.h>
#include <Adafruit_GFX.h>
#include <Adafruit_SSD1306.h>

#define SCREEN_WIDTH 128 // OLED display width, in pixels
#define SCREEN_HEIGHT 64 // OLED display height, in pixels

// Declaration for an SSD1306 display connected to I2C (SCL, SDA pins)
#define OLED_RESET     -1 // Reset pin # (or -1 if sharing Arduino reset pin)
Adafruit_SSD1306 display(SCREEN_WIDTH, SCREEN_HEIGHT, &Wire, OLED_RESET);

void setup() {
  // Initialize with the I2C addr 0x3C (for the 128x64)
  if(!display.begin(SSD1306_SWITCHCAPVCC, 0x3C)) {
    Serial.println(F("SSD1306 allocation failed"));
    for(;;); // Don't proceed, loop forever
  }
  display.display();
  delay(2000); // Pause for 2 seconds

  // Clear the buffer
  display.clearDisplay();

  // Draw a single pixel in white
  display.drawPixel(10, 10, SSD1306_WHITE);

  // Display the drawing
  display.display();
}

void loop() {
  // Nothing here for this simple example
}

Troubleshooting and FAQs

Common Issues

  • Display Not Powering On: Check the power connections and ensure the correct voltage is applied.
  • No Display Output: Verify that the I2C connections are correct and secure. Also, check that the correct I2C address is used in the code.
  • Garbled Display: Reset the display and check for correct initialization in the code.

Solutions and Tips for Troubleshooting

  • Check Connections: Double-check all wiring, especially the I2C lines and power supply connections.
  • Use Serial Debugging: Implement serial print statements in your code to debug the initialization and display update process.
  • Library Compatibility: Ensure you have the latest version of the Adafruit_SSD1306 and Adafruit_GFX libraries.

FAQs

Q: Can I use this display with a 5V microcontroller? A: Yes, but ensure that the I2C lines are level-shifted to be safe for the display.

Q: How do I invert the display colors? A: Use the display.invertDisplay(true) function to invert the colors on the display.

Q: What is the lifespan of the OLED display? A: OLED displays typically have a lifespan of around 5,000 to 15,000 hours of continuous operation, depending on usage and environmental conditions.