
How to Use Capacitive Soil Moisture Sensor v1.2: Examples, Pinouts, and Specs
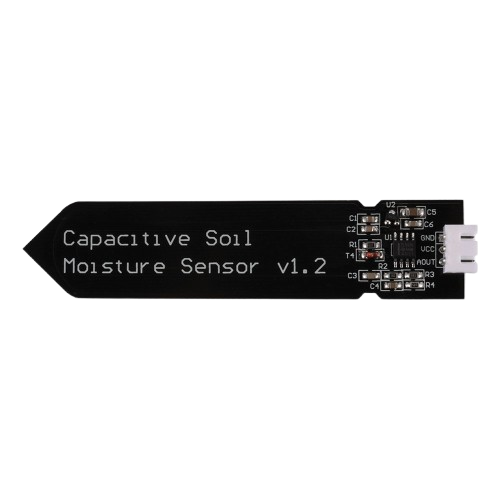
 Design with Capacitive Soil Moisture Sensor v1.2 in Cirkit Designer
Introduction
The Capacitive Soil Moisture Sensor v1.2 is a reliable and non-invasive device designed to measure the volumetric water content in soil. Unlike resistive soil moisture sensors, this capacitive sensor detects changes in soil capacitance, making it less prone to corrosion and more durable over time. It outputs an analog voltage that corresponds to the soil's moisture level, making it easy to integrate with microcontrollers and other electronic systems.
Explore Projects Built with Capacitive Soil Moisture Sensor v1.2
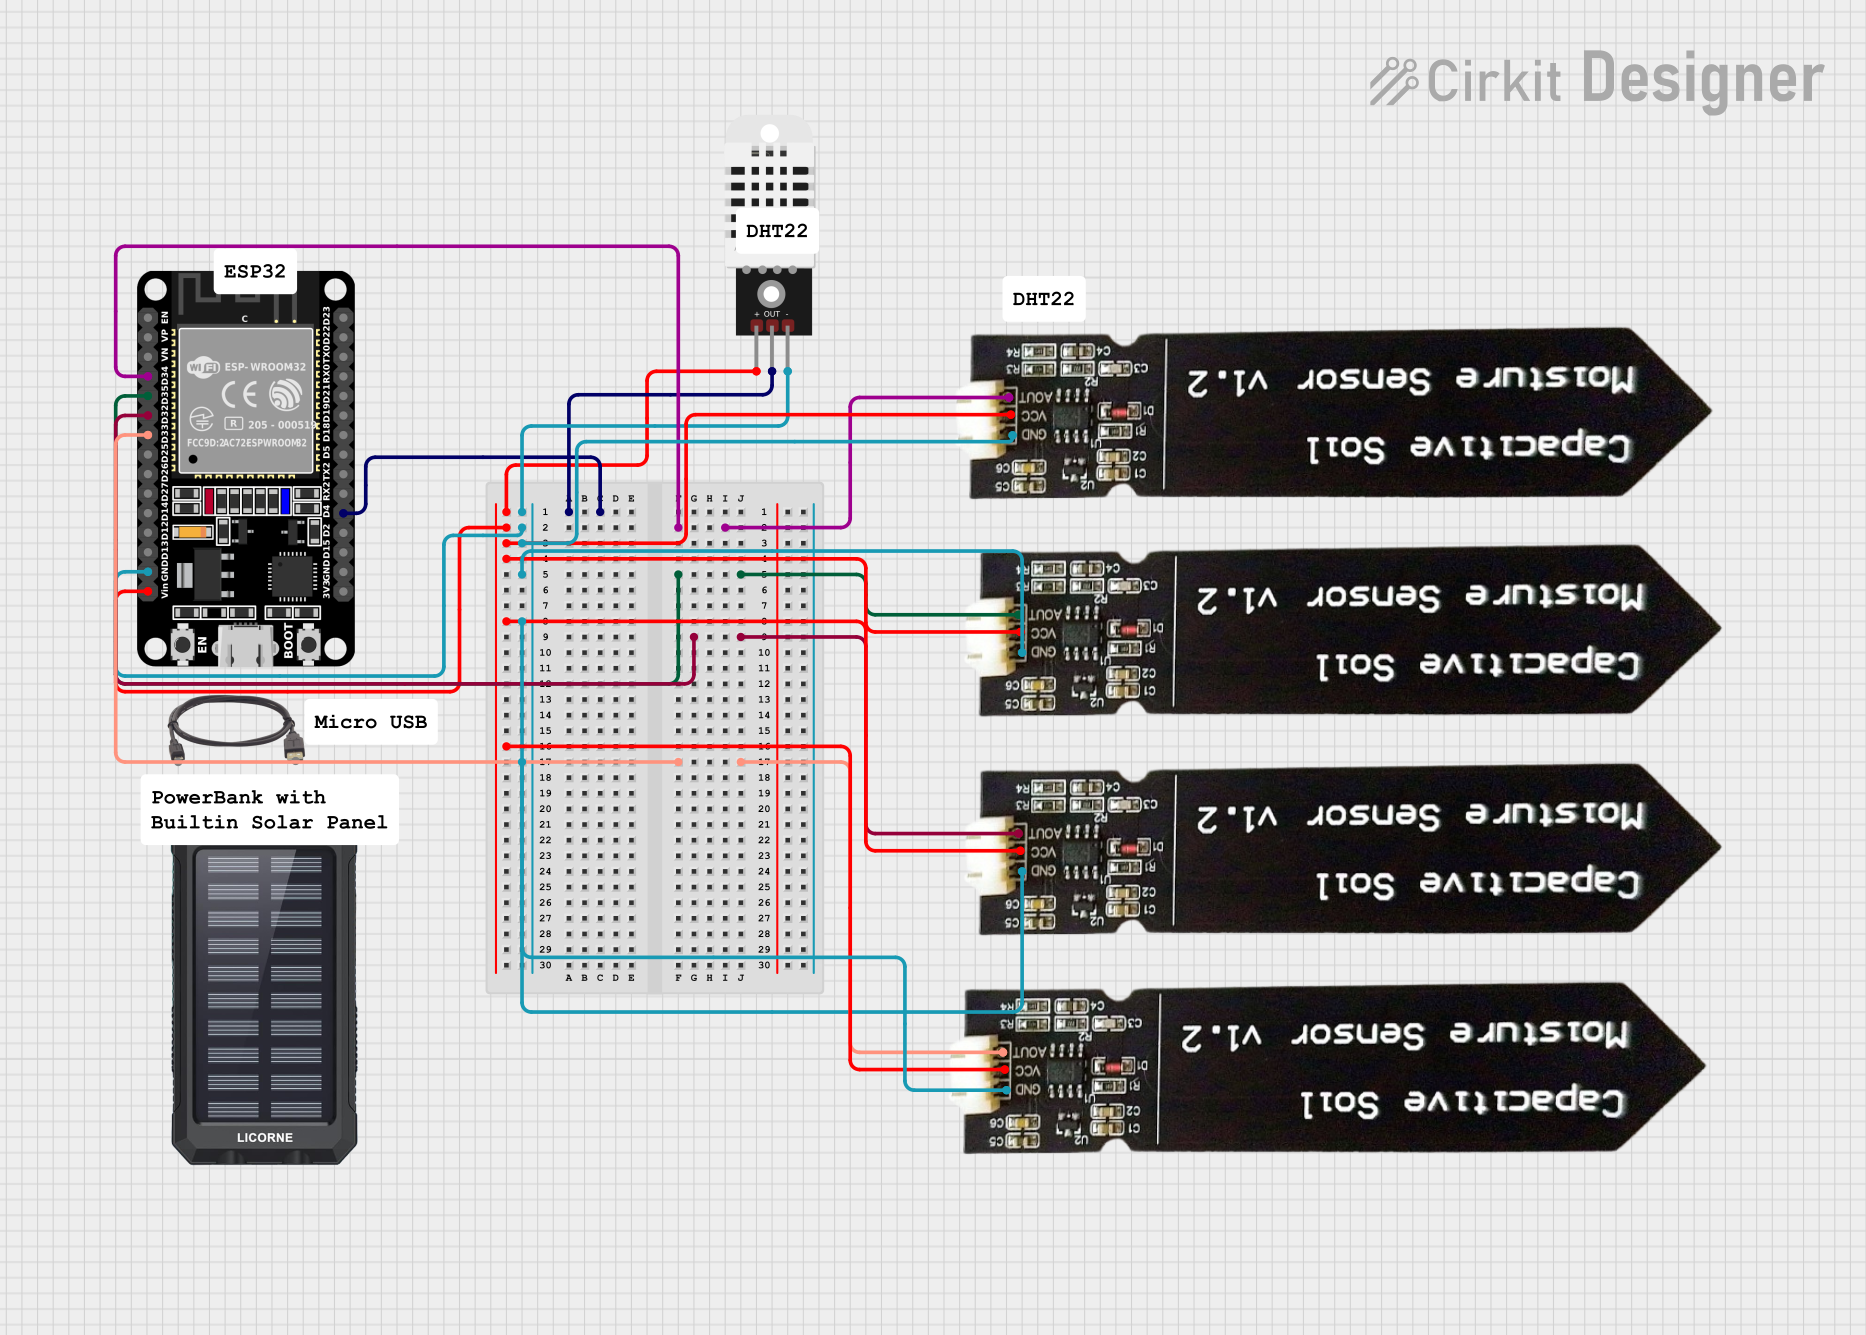 Open Project in Cirkit Designer
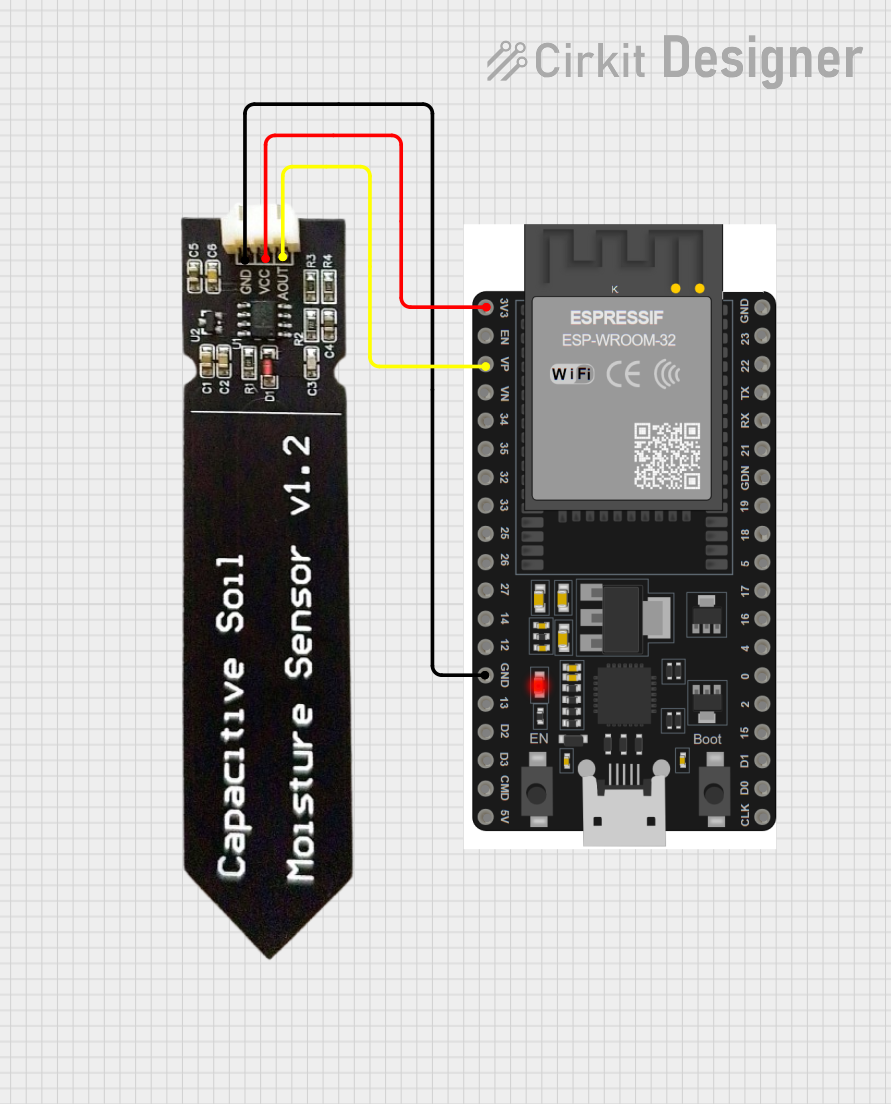 Open Project in Cirkit Designer
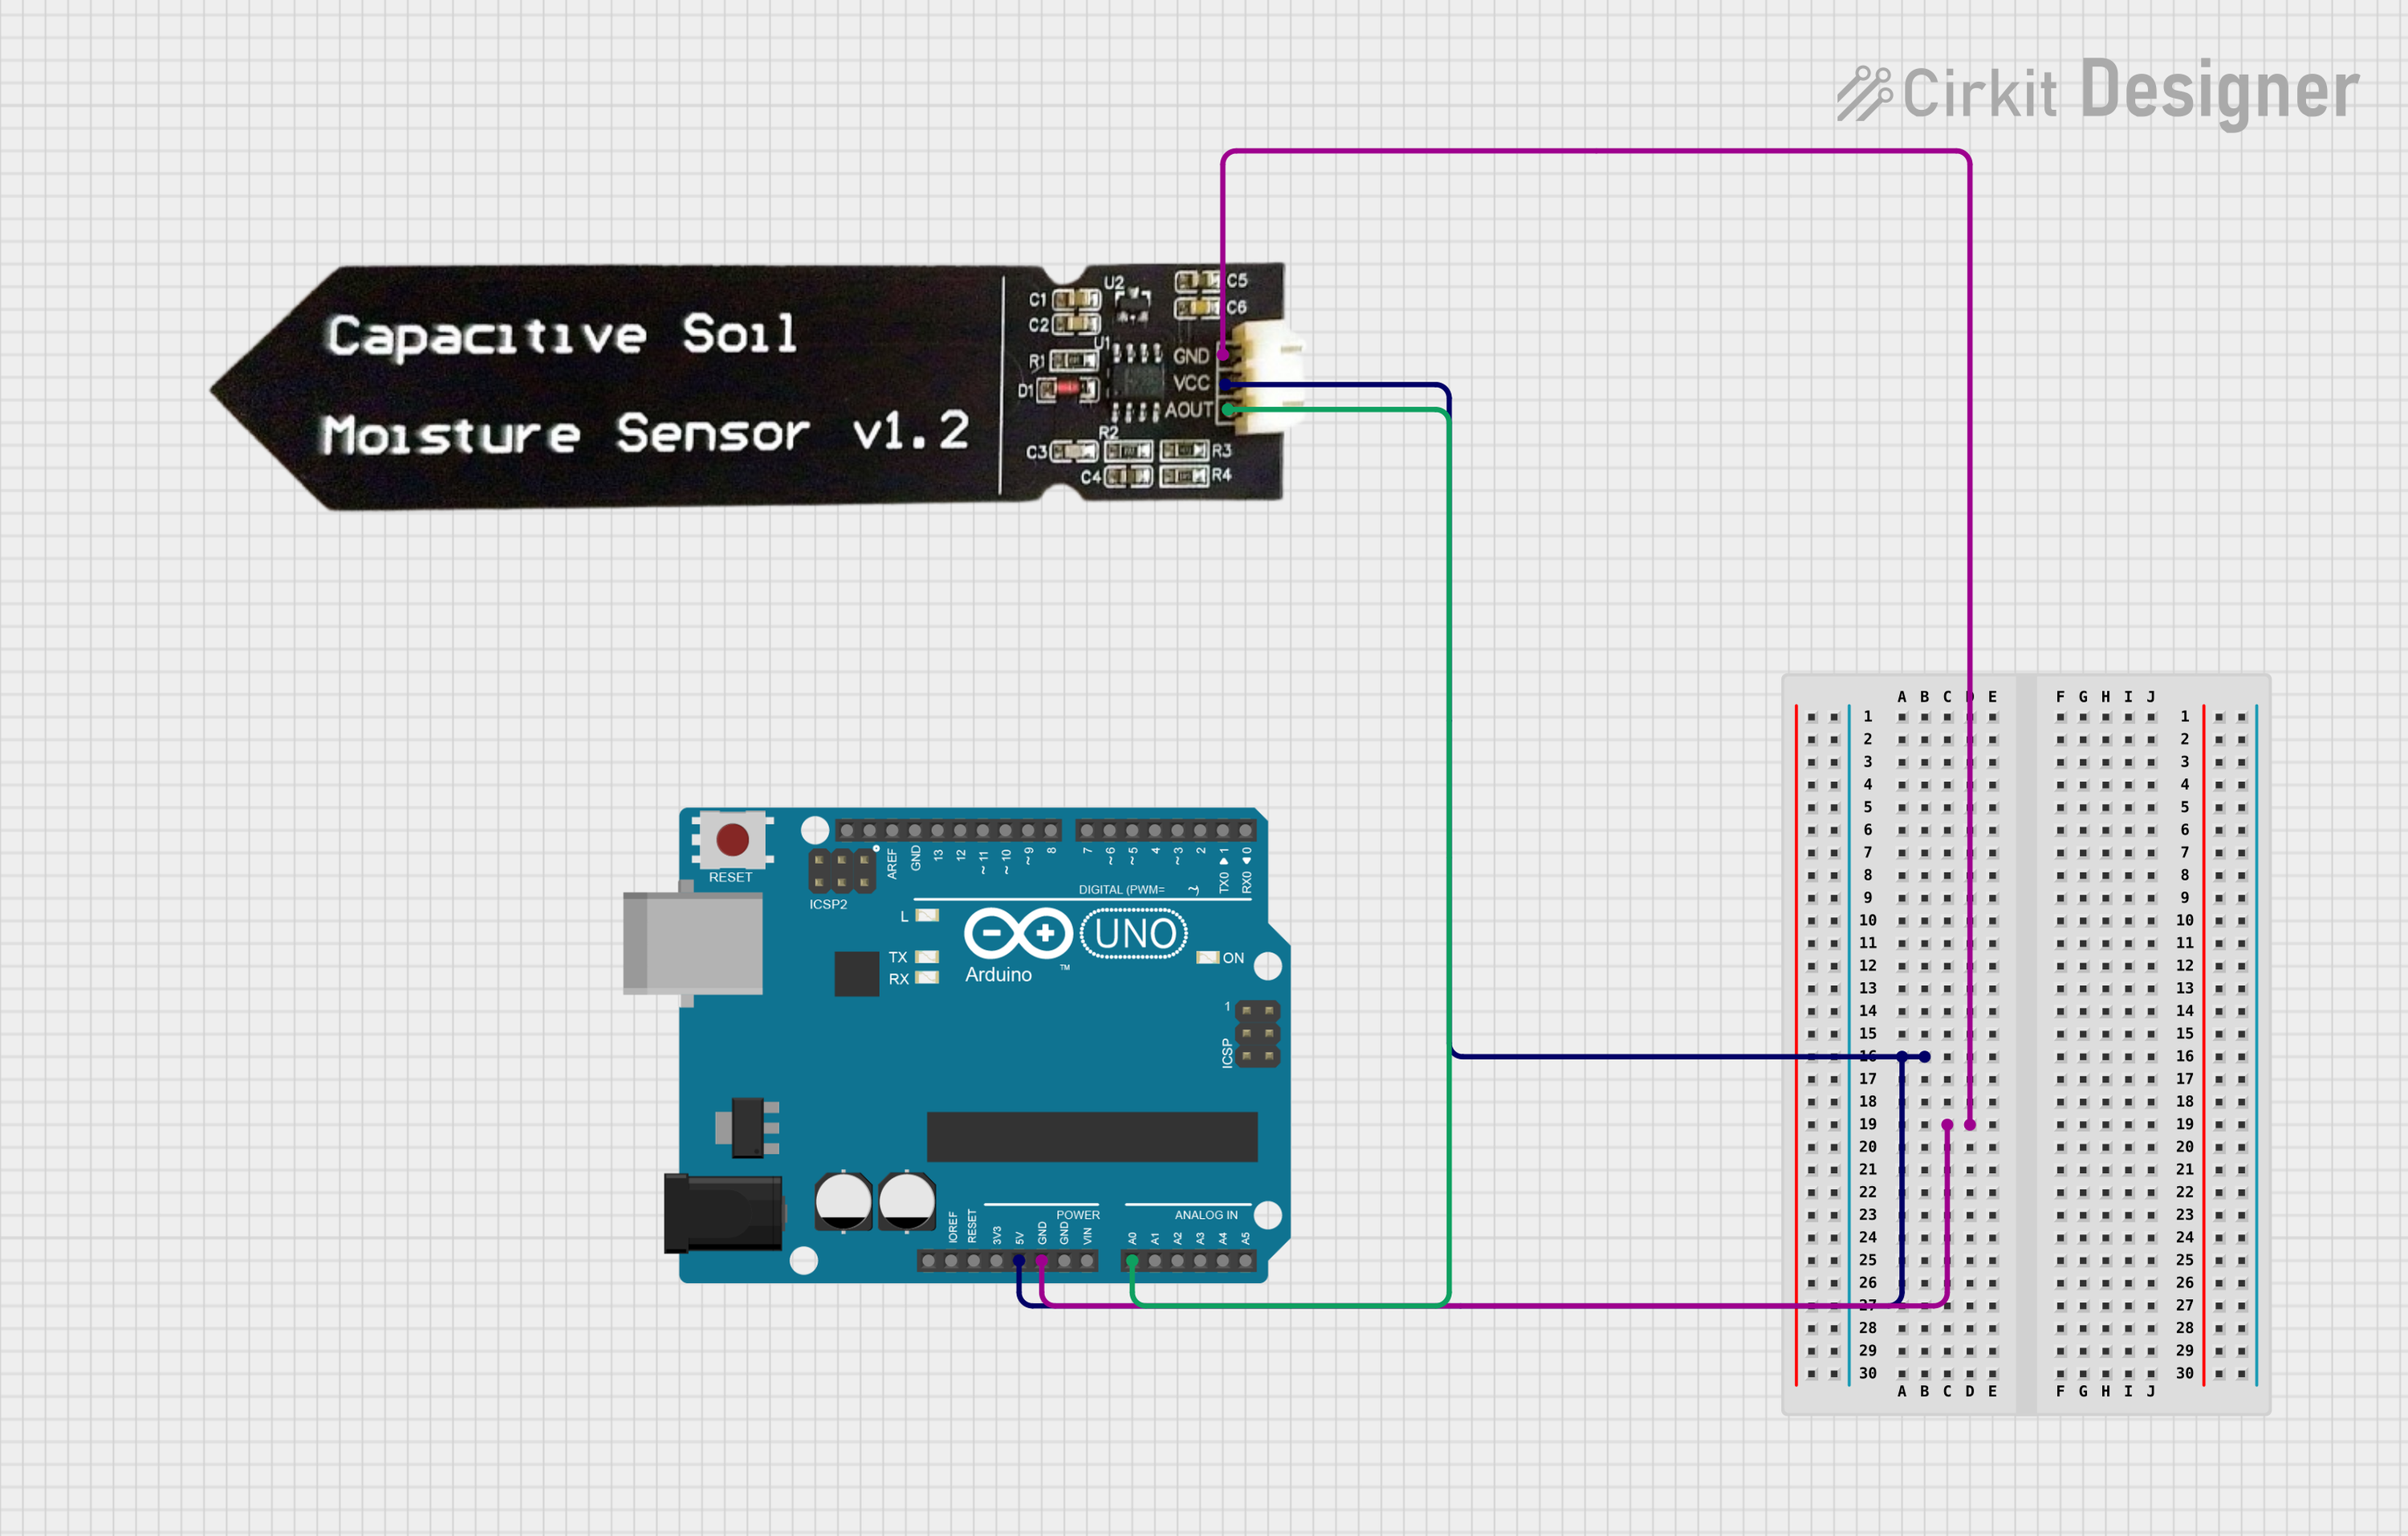 Open Project in Cirkit Designer
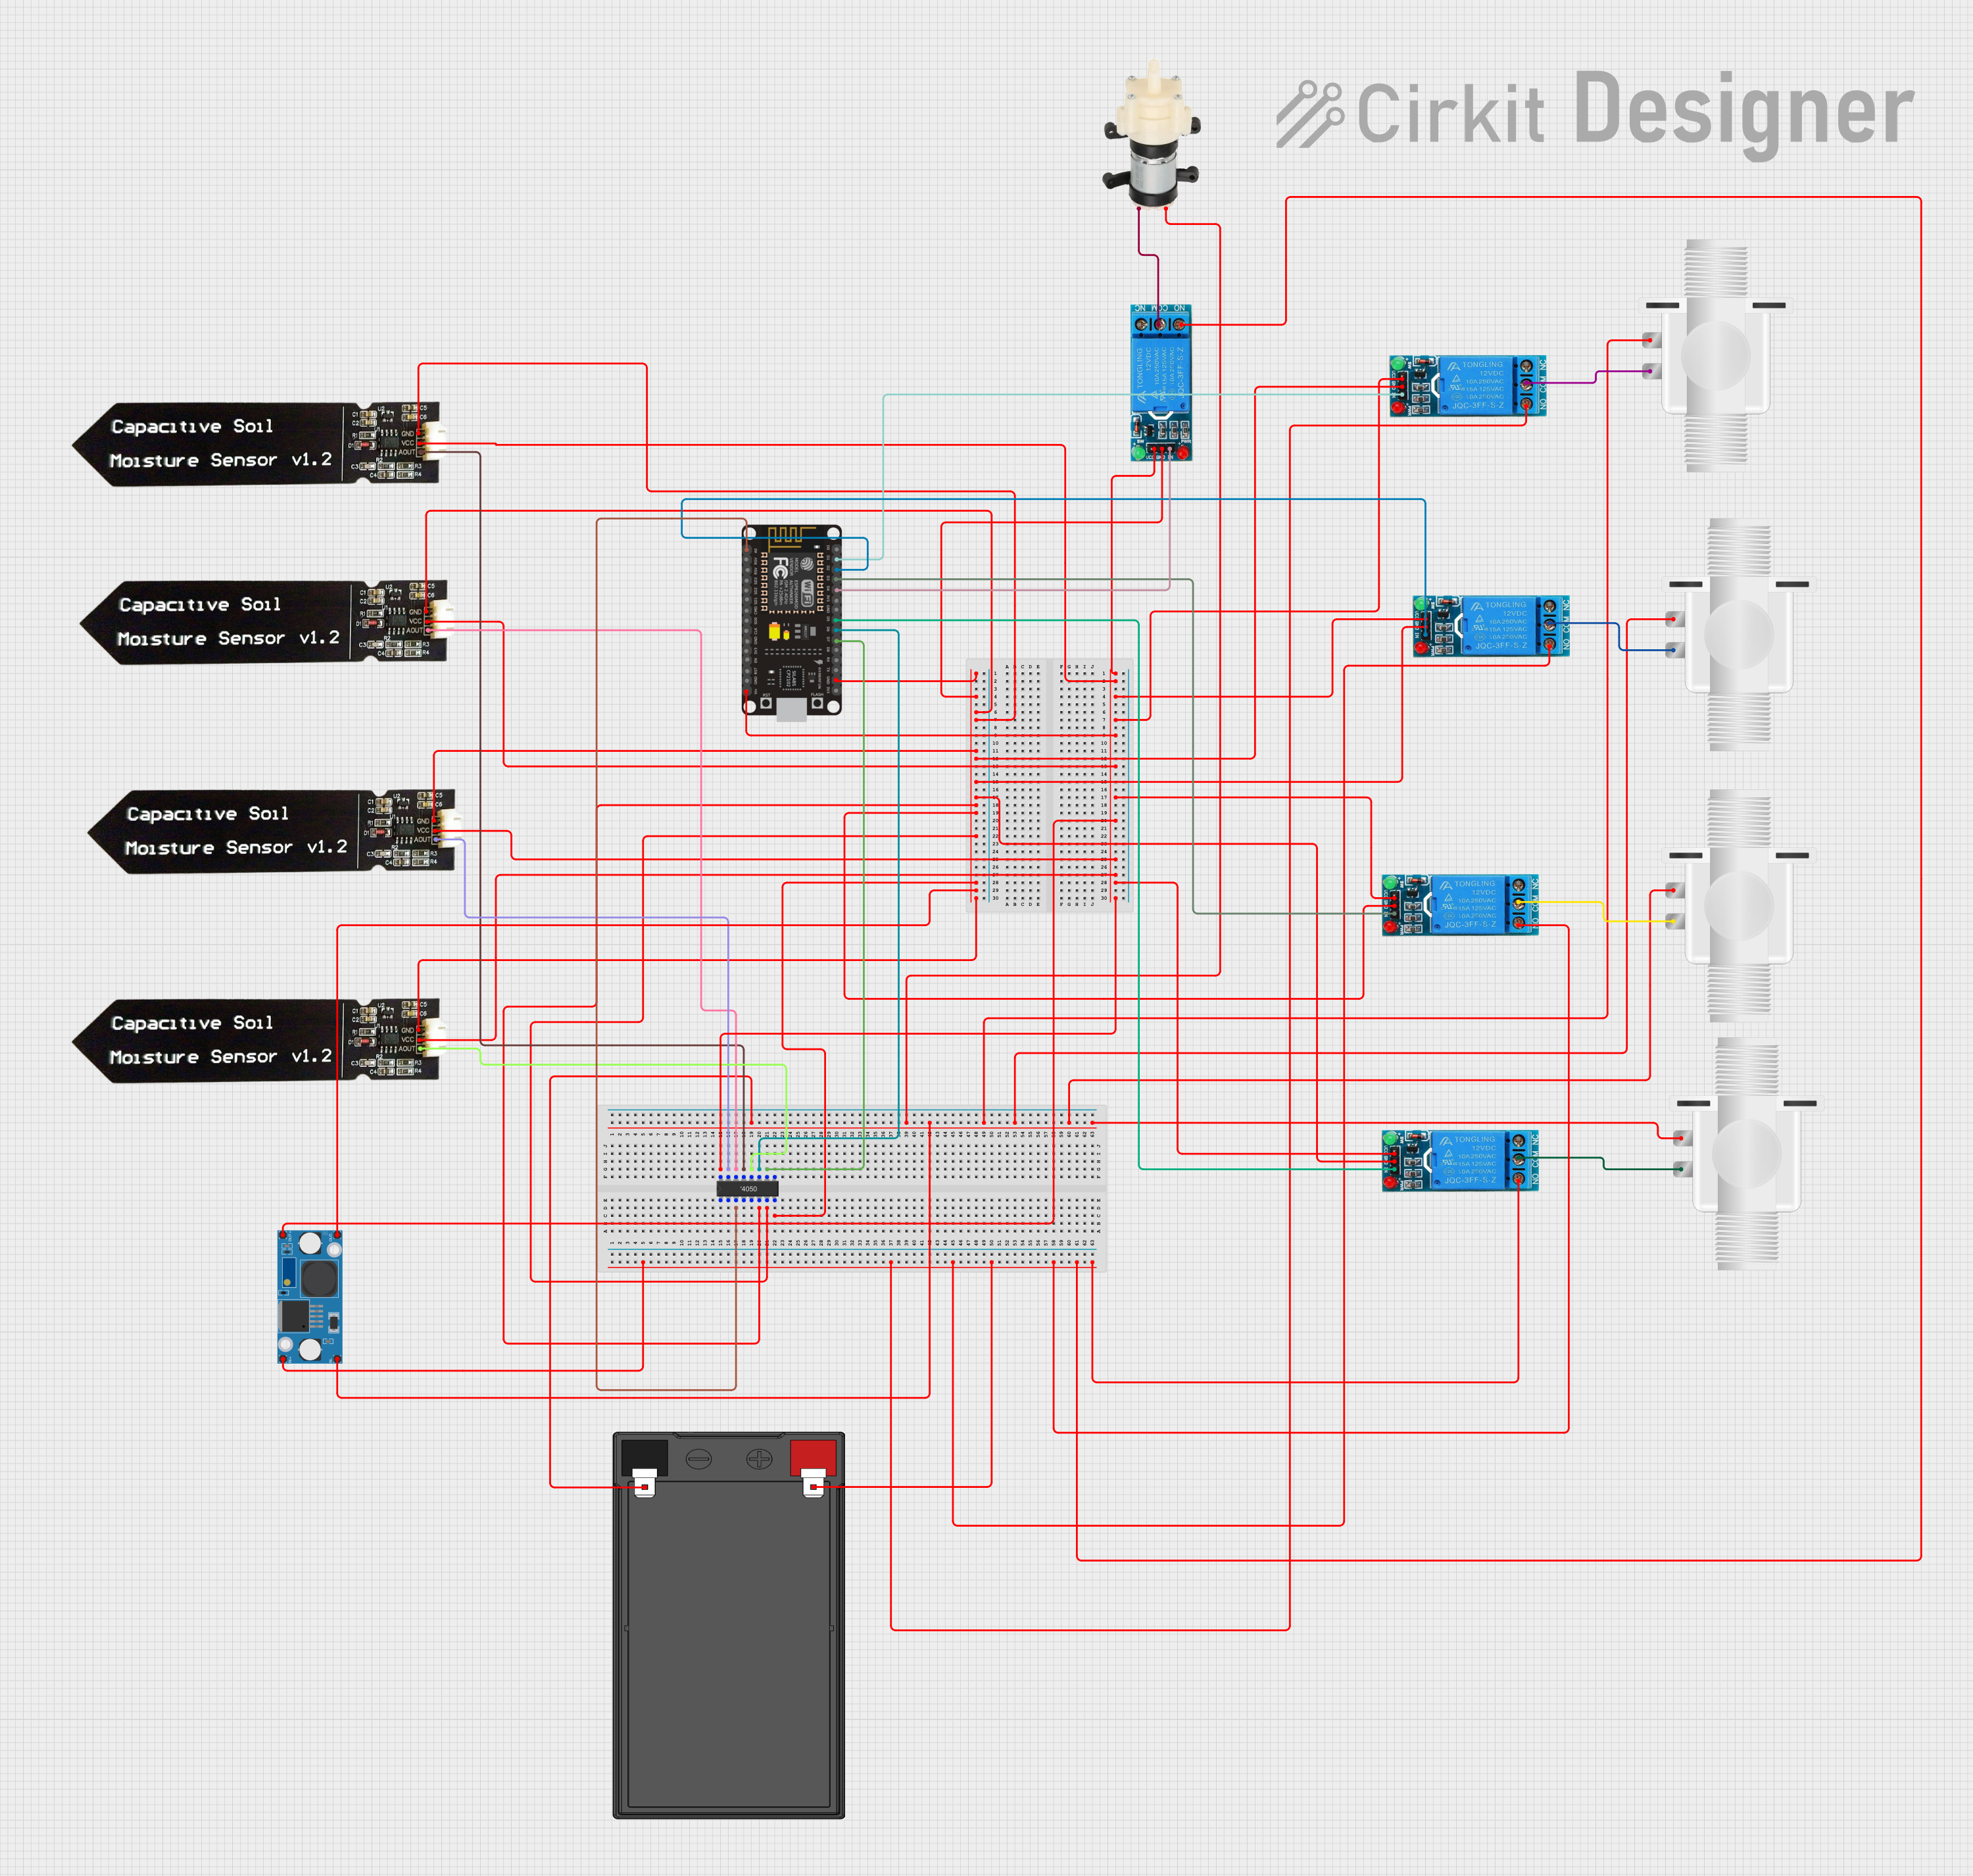 Open Project in Cirkit Designer
Explore Projects Built with Capacitive Soil Moisture Sensor v1.2
Open Project in Cirkit DesignerOpen Project in Cirkit DesignerOpen Project in Cirkit DesignerOpen Project in Cirkit DesignerCommon Applications and Use Cases
- Automated irrigation systems
- Smart gardening and agriculture
- Environmental monitoring
- Soil moisture data logging
- DIY electronics and IoT projects
Technical Specifications
Below are the key technical details of the Capacitive Soil Moisture Sensor v1.2:
| Parameter | Specification |
|---|---|
| Operating Voltage | 3.3V - 5.5V |
| Output Voltage Range | 0V - 3V (analog signal) |
| Current Consumption | < 20mA |
| Interface Type | Analog |
| Dimensions | 98mm x 23mm |
| Operating Temperature | -40°C to 85°C |
| Moisture Detection Range | 0% - 100% (relative soil moisture) |
Pin Configuration and Descriptions
The Capacitive Soil Moisture Sensor v1.2 has a 3-pin interface:
| Pin | Name | Description |
|---|---|---|
| 1 | VCC | Power supply pin. Connect to 3.3V or 5V depending on your microcontroller. |
| 2 | GND | Ground pin. Connect to the ground of your circuit. |
| 3 | AOUT | Analog output pin. Outputs a voltage proportional to the soil moisture level. |
Usage Instructions
How to Use the Sensor in a Circuit
- Power the Sensor: Connect the
VCCpin to a 3.3V or 5V power source and theGNDpin to the ground of your circuit. - Read the Analog Output: Connect the
AOUTpin to an analog input pin on your microcontroller (e.g., Arduino UNO). - Insert the Sensor into Soil: Place the sensor's probe into the soil you want to measure. Ensure the sensor is inserted deep enough for accurate readings.
- Interpret the Output: The sensor outputs an analog voltage that decreases as the soil moisture increases. Dry soil produces a higher voltage, while wet soil produces a lower voltage.
Important Considerations and Best Practices
- Avoid Full Submersion: The sensor is not waterproof. Do not submerge it fully in water; only the probe should contact the soil.
- Calibrate for Accuracy: Soil composition and environmental factors can affect readings. Calibrate the sensor for your specific soil type to improve accuracy.
- Power Supply Stability: Use a stable power source to avoid fluctuations in the sensor's output.
- Protect the Circuit: If used outdoors, shield the sensor and connections from rain and extreme weather conditions.
Example Code for Arduino UNO
Below is an example of how to use the Capacitive Soil Moisture Sensor v1.2 with an Arduino UNO:
// Define the analog pin connected to the sensor's AOUT pin
const int sensorPin = A0;

// Variable to store the sensor reading
int sensorValue;

void setup() {
  // Initialize serial communication for debugging
  Serial.begin(9600);
}

void loop() {
  // Read the analog value from the sensor
  sensorValue = analogRead(sensorPin);

  // Map the sensor value to a percentage (0% to 100%)
  int moisturePercent = map(sensorValue, 1023, 0, 0, 100);

  // Print the raw sensor value and the moisture percentage
  Serial.print("Raw Sensor Value: ");
  Serial.print(sensorValue);
  Serial.print(" | Soil Moisture: ");
  Serial.print(moisturePercent);
  Serial.println("%");

  // Wait for 1 second before the next reading
  delay(1000);
}
Notes on the Code
- The
map()function is used to convert the raw analog reading (0-1023) into a percentage (0%-100%). Adjust the mapping range based on your calibration. - Use
Serial Monitorin the Arduino IDE to view the sensor readings in real time.
Troubleshooting and FAQs
Common Issues and Solutions
No Output or Incorrect Readings
- Cause: Loose or incorrect wiring.
- Solution: Double-check all connections, ensuring the
VCC,GND, andAOUTpins are properly connected.
Fluctuating Readings
- Cause: Unstable power supply or electrical noise.
- Solution: Use a decoupling capacitor (e.g., 0.1µF) between
VCCandGNDto stabilize the power supply.
Sensor Not Responding
- Cause: Damaged sensor or improper voltage supply.
- Solution: Verify the operating voltage (3.3V-5.5V) and replace the sensor if necessary.
Inconsistent Moisture Levels
- Cause: Soil type or improper calibration.
- Solution: Calibrate the sensor for your specific soil type by comparing its readings with a known moisture level.
FAQs
Q: Can this sensor be used with a Raspberry Pi?
A: Yes, but since the Raspberry Pi lacks analog input pins, you will need an ADC (Analog-to-Digital Converter) module to read the sensor's output.
Q: How do I calibrate the sensor?
A: Measure the sensor's output in dry soil and fully saturated soil. Use these values to adjust the mapping range in your code.
Q: Is the sensor suitable for long-term outdoor use?
A: The sensor is not waterproof and may degrade over time in harsh outdoor conditions. Use protective enclosures and periodic maintenance for long-term use.
Q: Can I use this sensor with a 3.3V microcontroller?
A: Yes, the sensor operates within a voltage range of 3.3V to 5.5V, making it compatible with 3.3V microcontrollers like ESP32 or STM32.