
How to Use Rain sensor MH series: Examples, Pinouts, and Specs
 Design with Rain sensor MH series in Cirkit Designer
Introduction
The Rain Sensor MH Series is a versatile electronic component designed to detect moisture levels caused by rainfall. It is commonly used in applications where automatic activation or deactivation of devices is required based on the presence of rain. This sensor is widely utilized in irrigation systems, automatic windshield wipers, weather monitoring systems, and smart home automation projects. Its simple design and ease of integration make it a popular choice for both hobbyists and professionals.
Explore Projects Built with Rain sensor MH series
 Open Project in Cirkit Designer
 Open Project in Cirkit Designer
 Open Project in Cirkit Designer
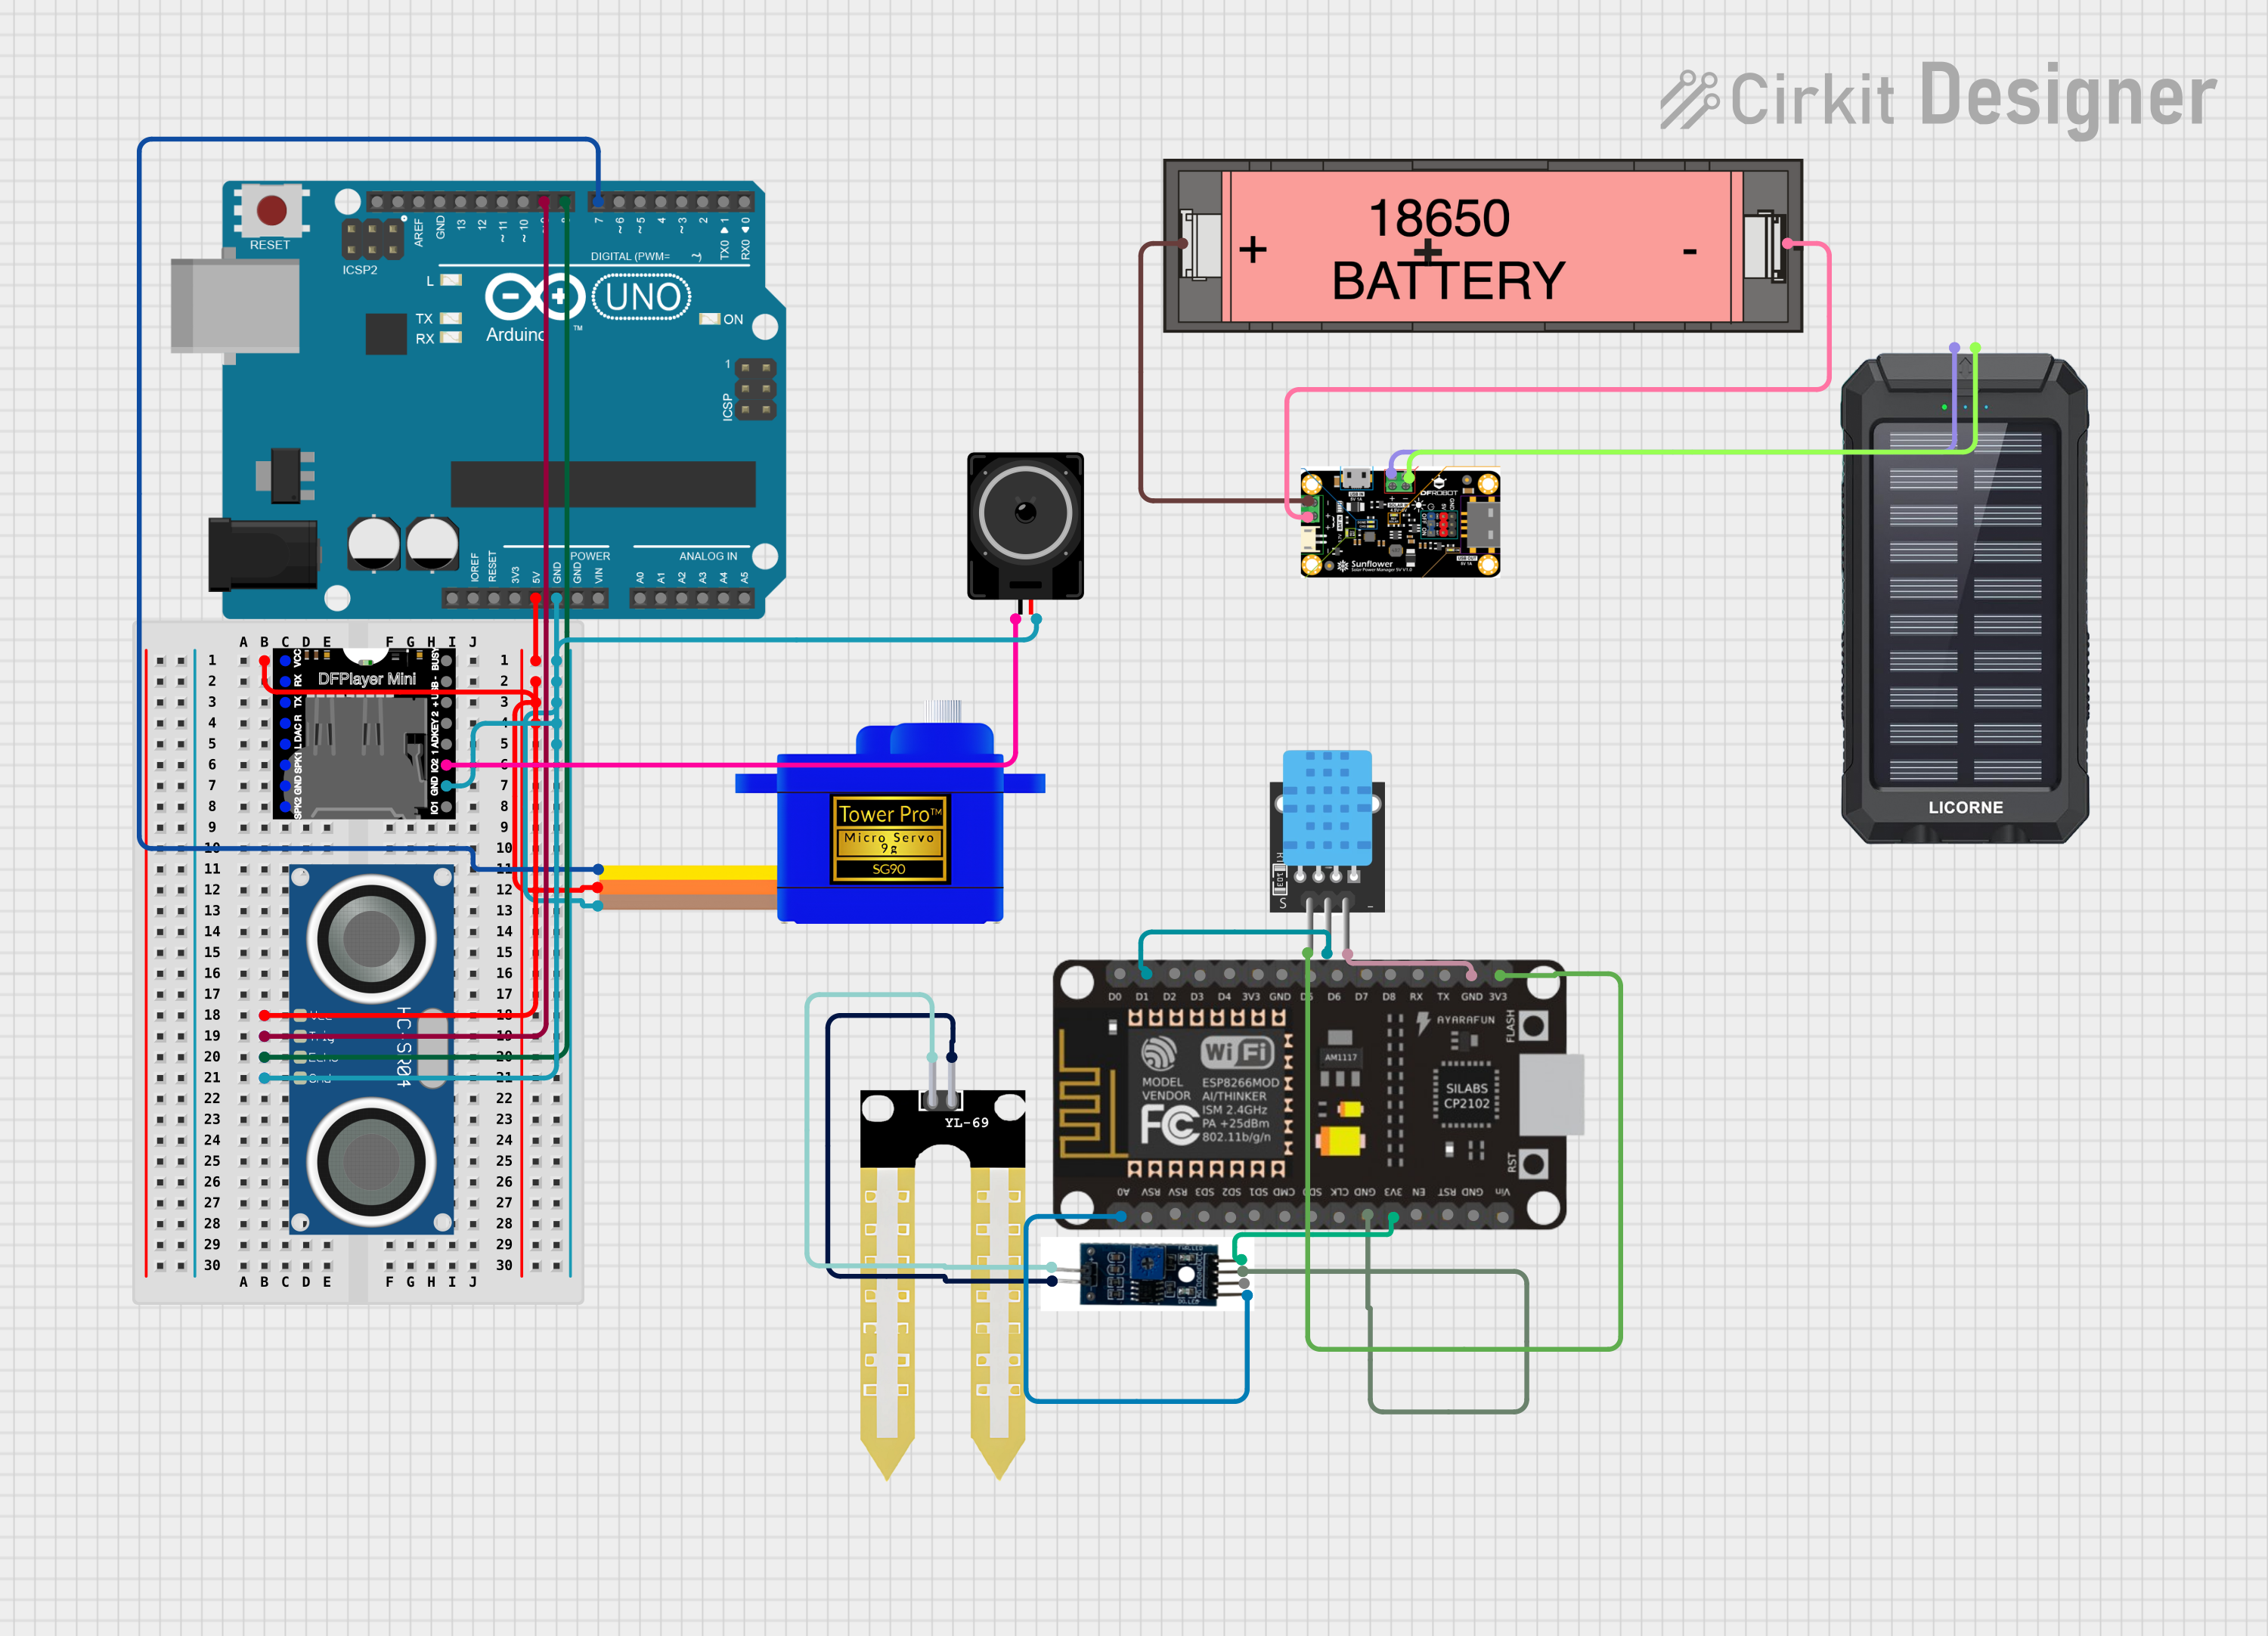 Open Project in Cirkit Designer
Explore Projects Built with Rain sensor MH series
Open Project in Cirkit DesignerOpen Project in Cirkit DesignerOpen Project in Cirkit DesignerOpen Project in Cirkit DesignerTechnical Specifications
- Operating Voltage: 3.3V to 5V DC
- Output Types: Analog (AO) and Digital (DO)
- Current Consumption: < 20mA
- Output Signal:
- Digital Output: High (no rain) or Low (rain detected)
- Analog Output: Proportional to moisture level
- Dimensions:
- Sensor Board: ~5cm x 4cm
- Control Module: ~3.1cm x 1.6cm
- Operating Temperature: -40°C to 85°C
- Detection Area: ~4cm x 3cm (sensor board)
Pin Configuration and Descriptions
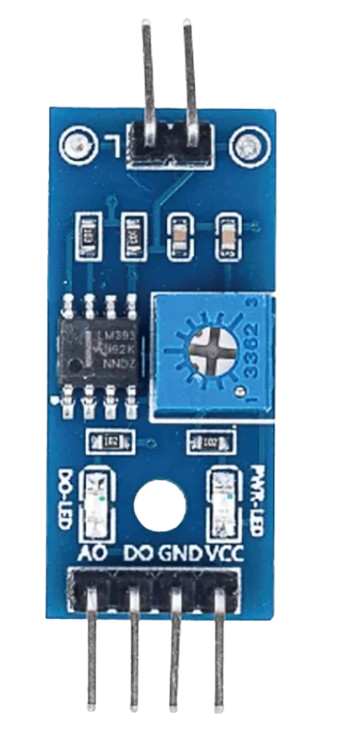
Control Module Pinout
| Pin Name | Description |
|---|---|
| VCC | Power supply input (3.3V to 5V DC) |
| GND | Ground connection |
| AO | Analog output pin, provides a voltage proportional to the moisture level |
| DO | Digital output pin, outputs HIGH or LOW based on the adjustable threshold |
Sensor Board Pinout
| Pin Name | Description |
|---|---|
| S | Signal pin, connects to the control module for moisture detection |
| + | Power supply input, connects to VCC on the control module |
| - | Ground connection, connects to GND on the control module |
Usage Instructions
Connecting the Rain Sensor
- Power Supply: Connect the VCC pin of the control module to a 3.3V or 5V DC power source, and the GND pin to the ground.
- Sensor Board: Connect the
S,+, and-pins of the sensor board to the corresponding pins on the control module. - Output Pins:
- For digital output, connect the DO pin to a digital input pin on your microcontroller.
- For analog output, connect the AO pin to an analog input pin on your microcontroller.
Adjusting the Sensitivity
- The control module includes a potentiometer to adjust the sensitivity of the digital output.
- Rotate the potentiometer clockwise to increase sensitivity (detects smaller amounts of rain) or counterclockwise to decrease sensitivity.
Example: Using with Arduino UNO
Below is an example of how to use the Rain Sensor MH Series with an Arduino UNO to monitor rainfall and display the results in the Serial Monitor.
// Define pin connections
const int digitalPin = 2; // Digital output from the sensor
const int analogPin = A0; // Analog output from the sensor

void setup() {
  pinMode(digitalPin, INPUT); // Set digital pin as input
  Serial.begin(9600);        // Initialize serial communication
}

void loop() {
  // Read digital output (HIGH or LOW)
  int digitalValue = digitalRead(digitalPin);

  // Read analog output (0-1023)
  int analogValue = analogRead(analogPin);

  // Display the results in the Serial Monitor
  Serial.print("Digital Output: ");
  Serial.println(digitalValue); // 1 = No rain, 0 = Rain detected

  Serial.print("Analog Output: ");
  Serial.println(analogValue);  // Higher value = Less moisture

  delay(1000); // Wait for 1 second before the next reading
}
Best Practices
- Placement: Ensure the sensor board is placed in an open area where it can directly detect rainfall. Avoid placing it under obstructions like roofs or trees.
- Waterproofing: While the sensor board is designed to detect moisture, prolonged exposure to water can cause corrosion. Use a protective coating or enclosure if necessary.
- Cleaning: Periodically clean the sensor board to remove dirt or debris that may affect its accuracy.
Troubleshooting and FAQs
Common Issues
No Output Detected:
- Ensure the sensor is properly connected to the control module.
- Verify that the power supply voltage is within the specified range (3.3V to 5V).
- Check for loose or damaged wires.
Inconsistent Readings:
- Adjust the potentiometer on the control module to fine-tune the sensitivity.
- Clean the sensor board to remove any dirt or residue.
Corrosion on the Sensor Board:
- Apply a waterproof coating to the sensor board to prevent corrosion.
- Avoid prolonged exposure to water or high humidity environments.
FAQs
Q: Can the Rain Sensor MH Series be used outdoors?
A: Yes, but it is recommended to use a protective enclosure or coating to prevent corrosion and damage from prolonged exposure to water.
Q: How do I know if the sensor is detecting rain?
A: The digital output pin (DO) will go LOW when rain is detected. Additionally, the analog output pin (AO) will provide a lower voltage as the moisture level increases.
Q: Can I use this sensor with a 3.3V microcontroller?
A: Yes, the Rain Sensor MH Series is compatible with both 3.3V and 5V systems.
Q: What is the maximum distance between the sensor board and the control module?
A: It is recommended to keep the distance as short as possible (less than 1 meter) to avoid signal degradation.
By following this documentation, you can effectively integrate the Rain Sensor MH Series into your projects and ensure reliable performance.