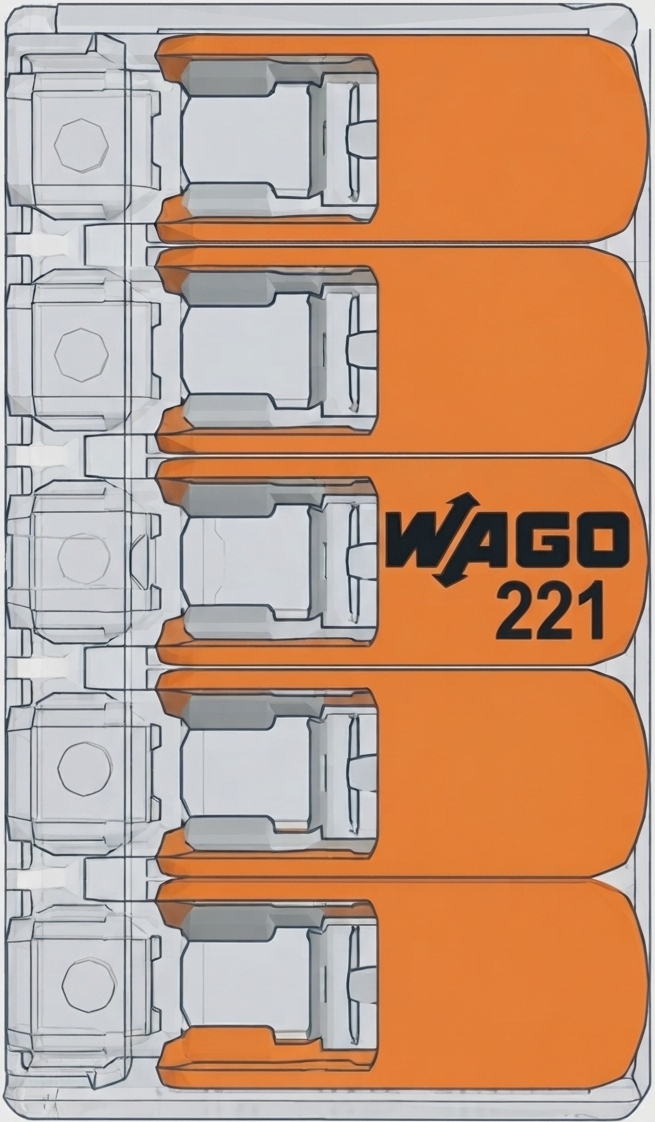
The WAGO 221-415 splicing connector is a compact and user-friendly solution for quick and reliable electrical wire connections. It features a transparent housing that allows for visual inspection of the wire connections and a lever mechanism for secure and tool-free wire insertion. This connector is designed to accommodate a wide range of wire sizes, making it versatile for various applications.
Explore Projects Built with Splicing connector WAGO 221
Use Cirkit Designer to design, explore, and prototype these projects online. Some projects support real-time simulation. Click "Open Project" to start designing instantly!
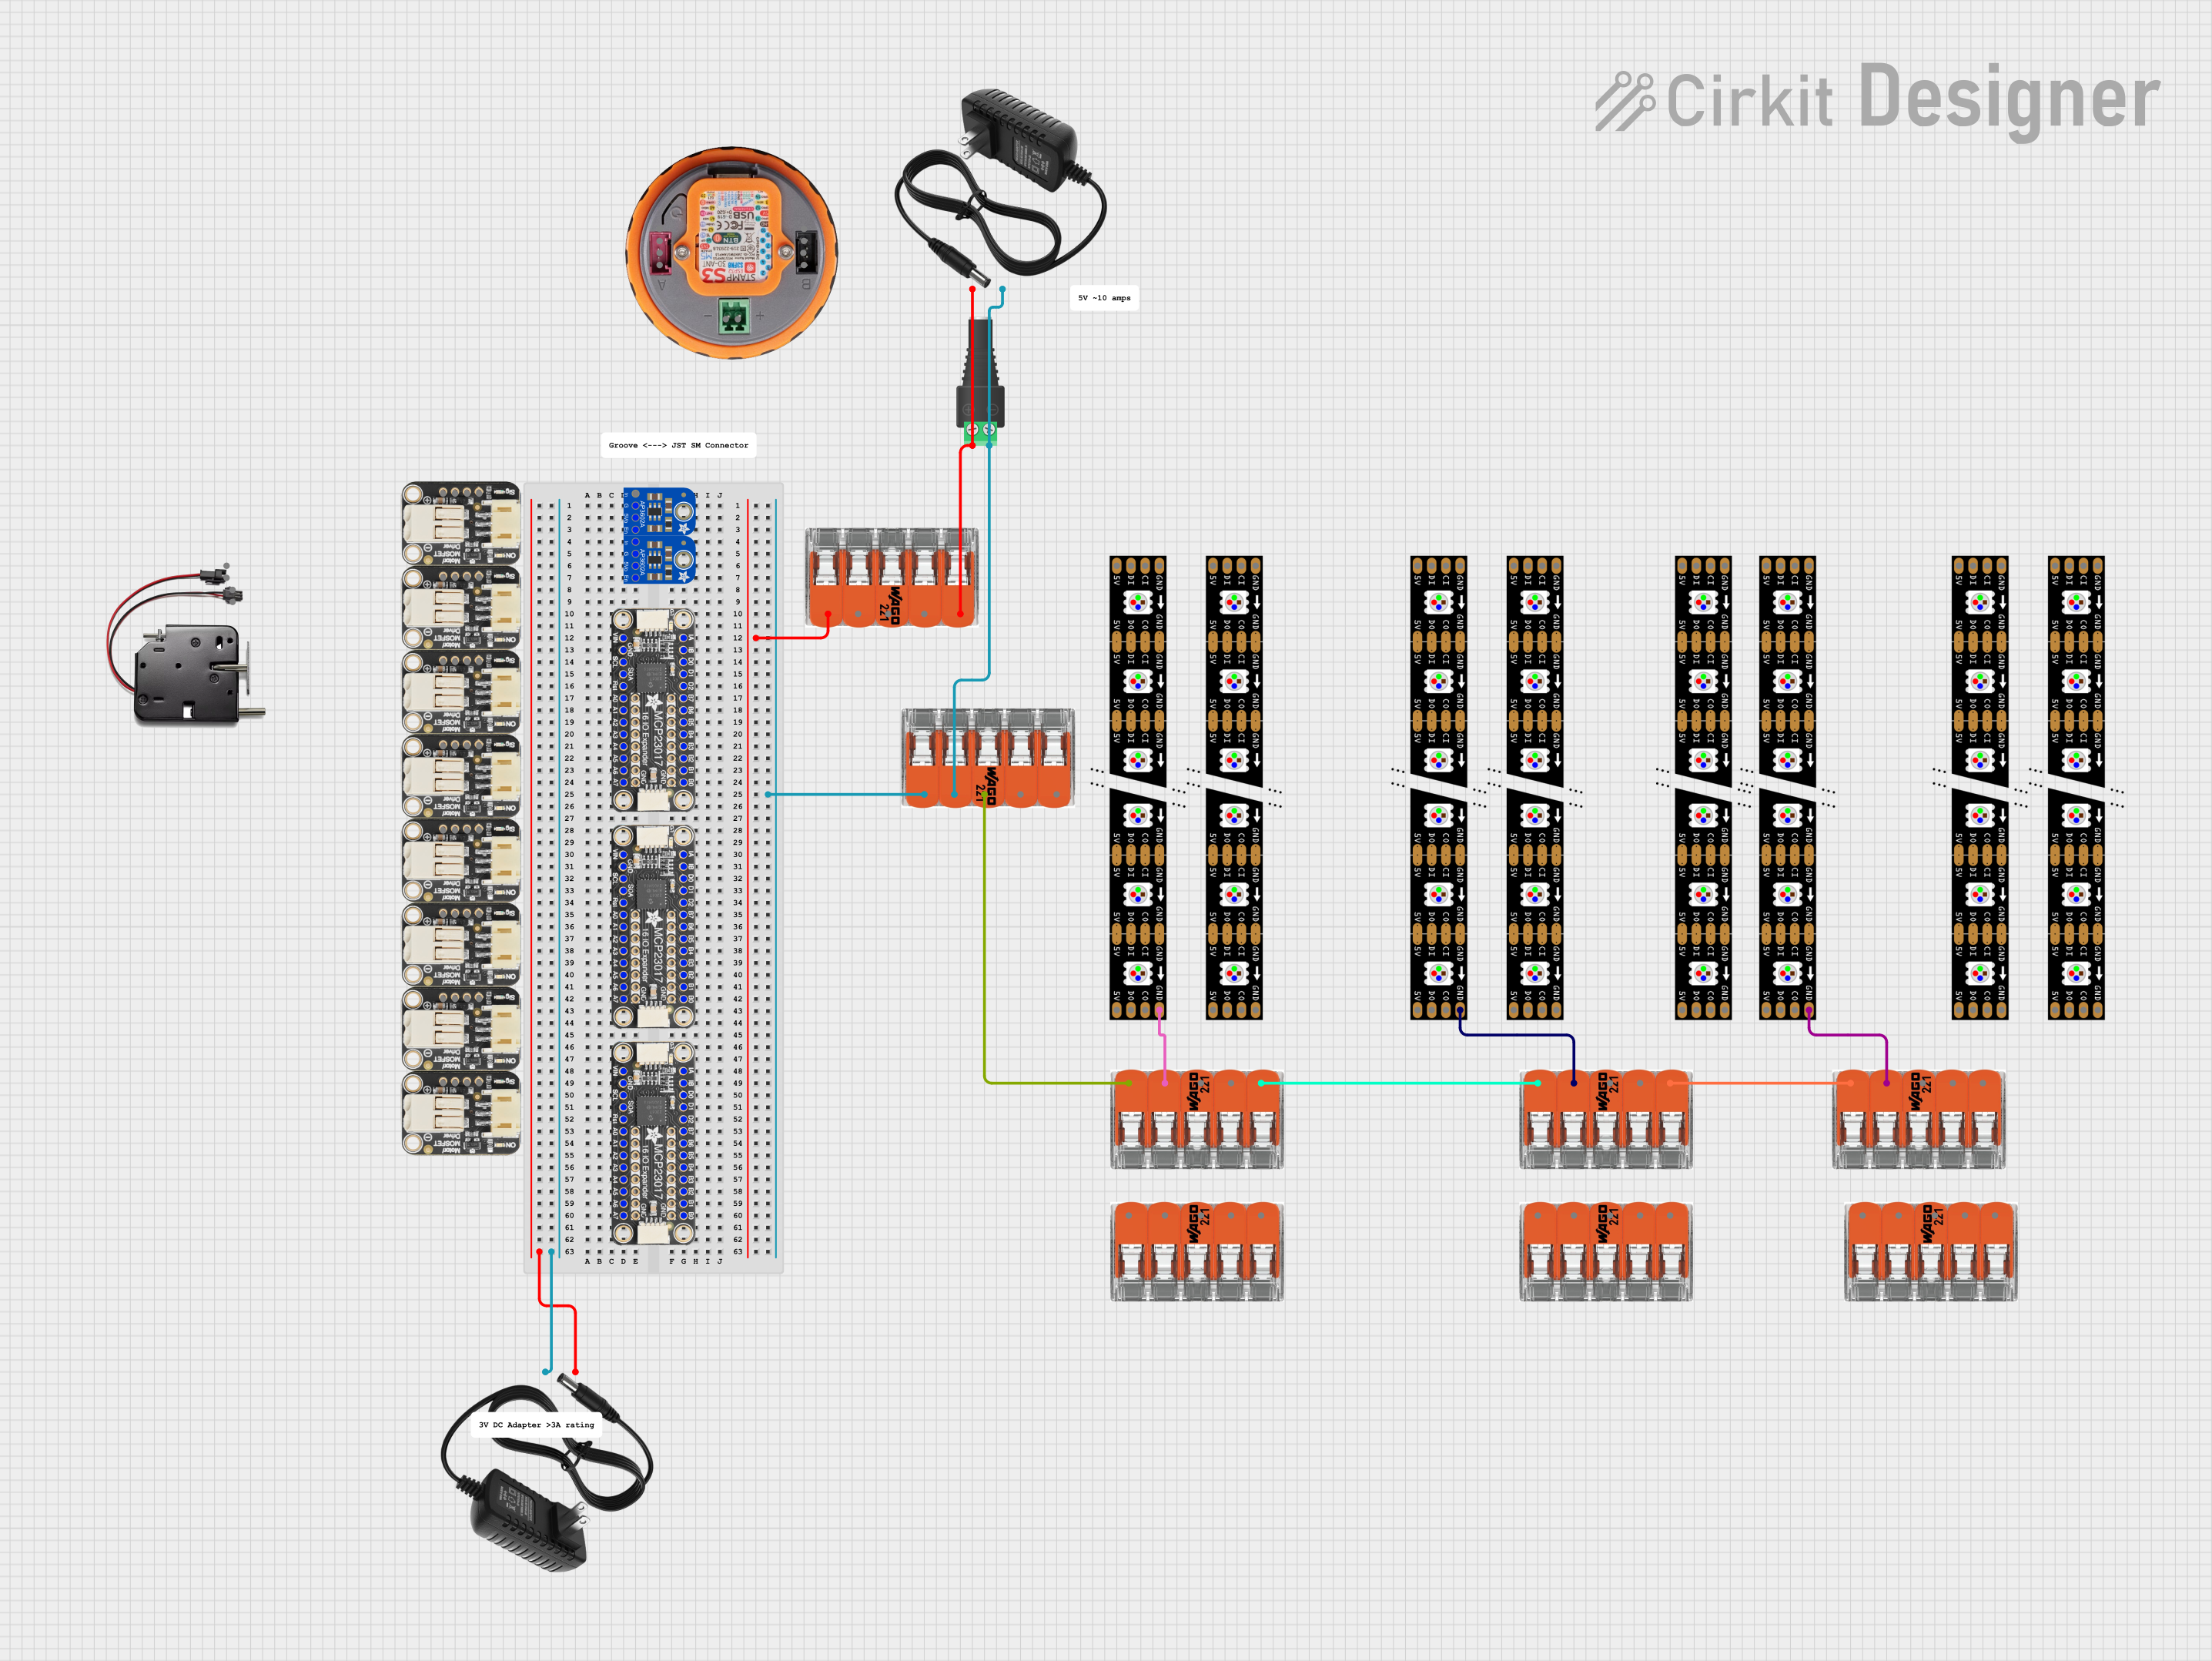
This circuit integrates multiple Adafruit DotStar LED strips powered by 12V power supplies, with ground connections managed through WAGO splicing connectors. The setup is designed to provide a stable power and ground distribution for the LED strips, ensuring synchronized and reliable operation.
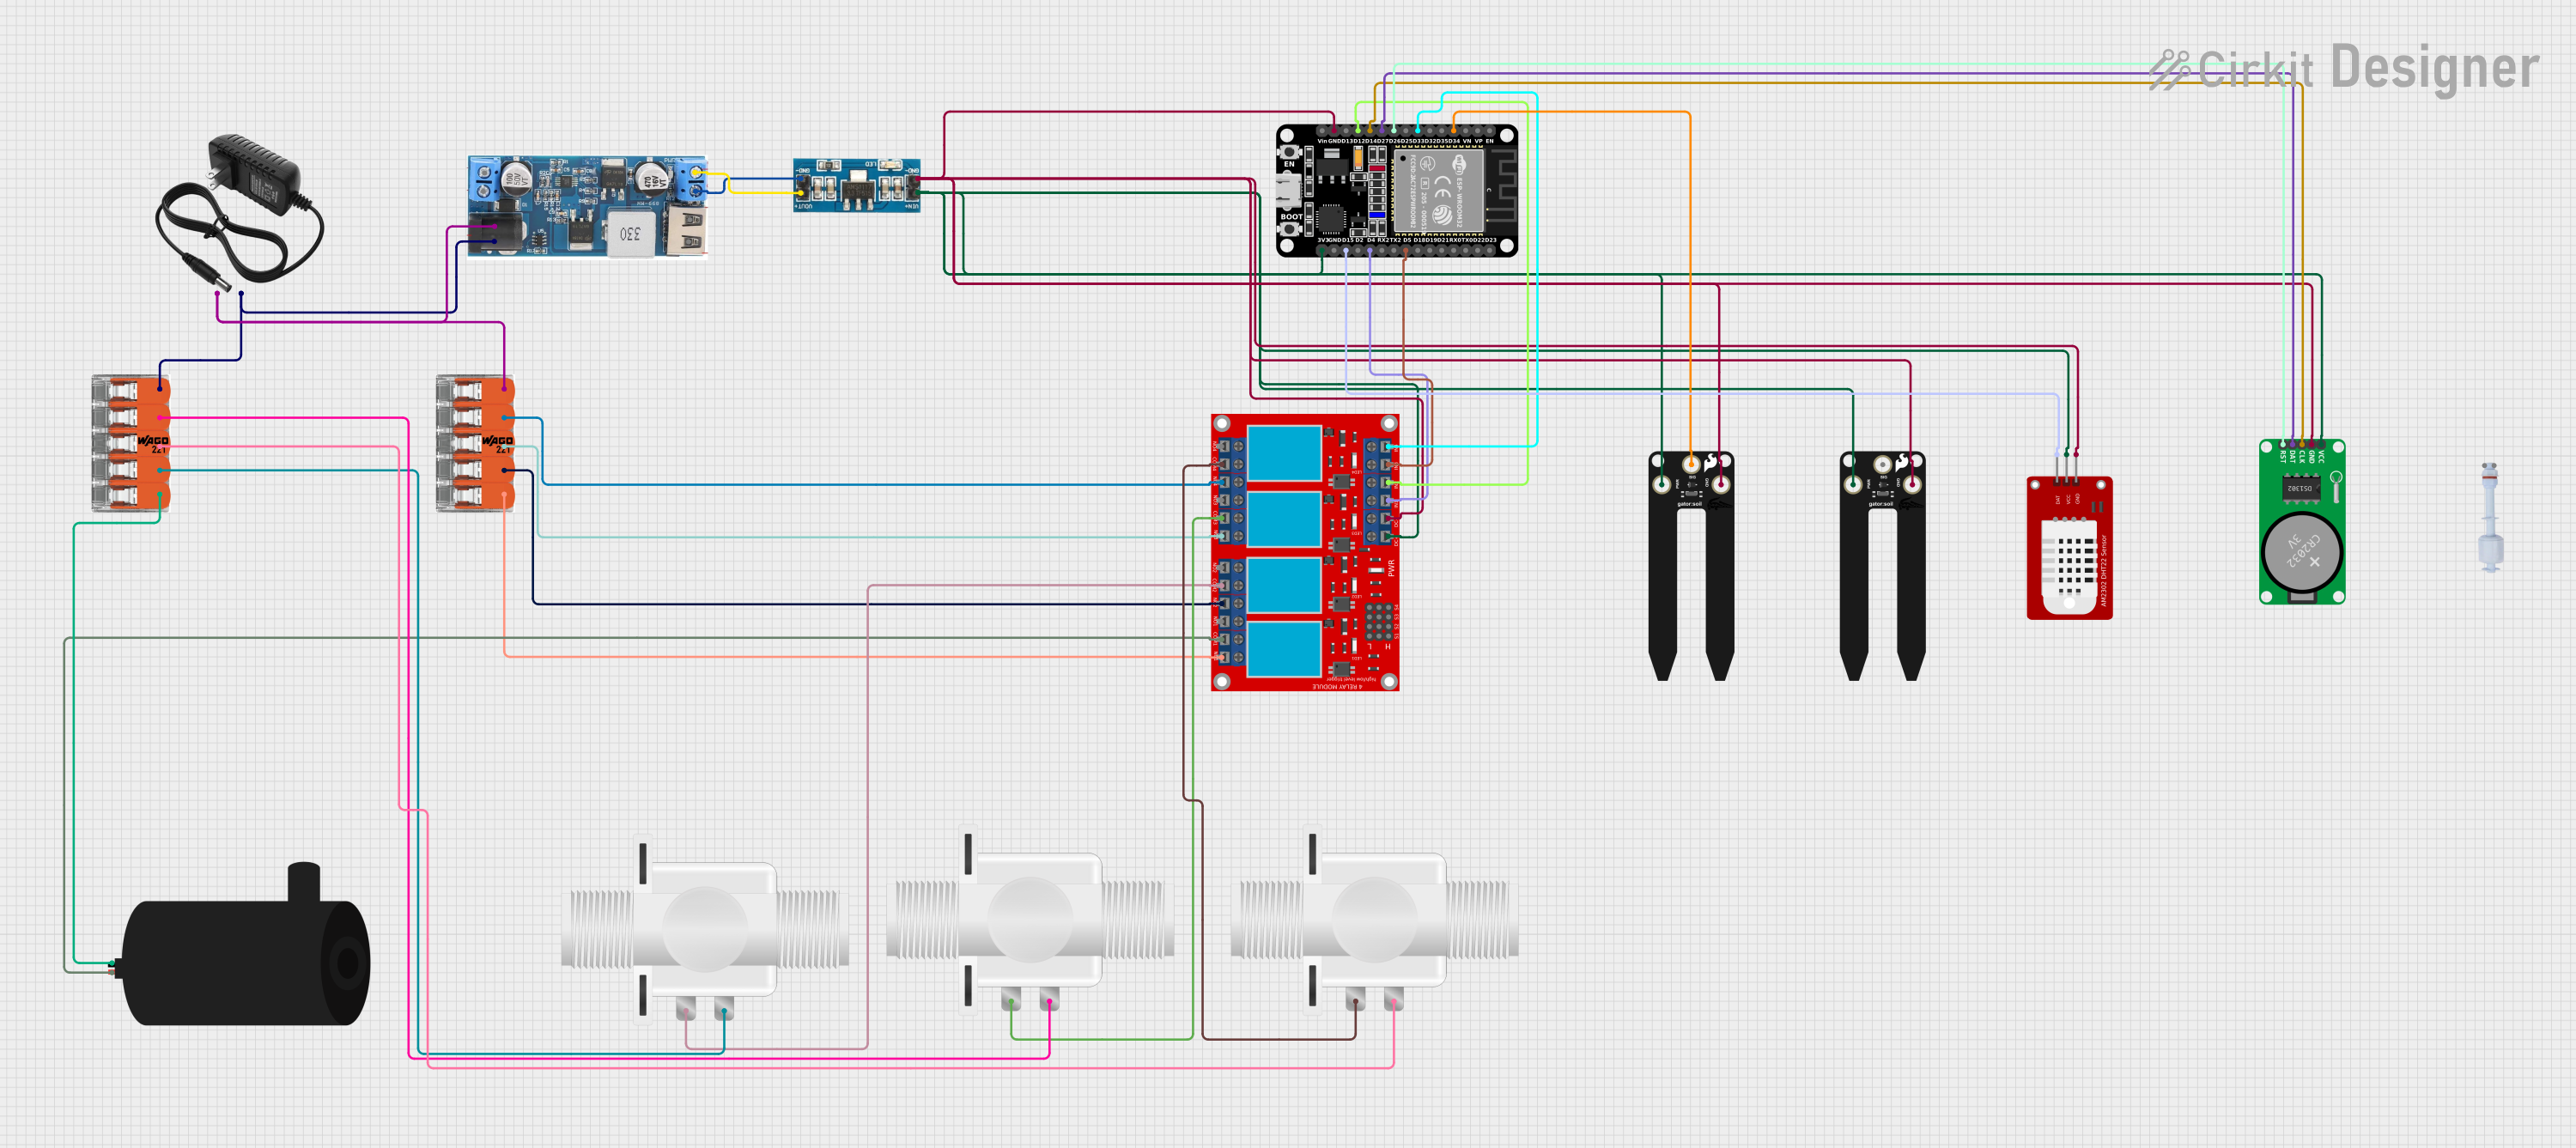
This circuit is an automated irrigation system controlled by an ESP32 microcontroller. It uses soil moisture sensors and a DHT22 sensor to monitor environmental conditions, and controls water pumps and solenoid valves via a relay module to manage water distribution. The system also includes an RTC module for time-based operations and connects to a WiFi network for remote monitoring and control.
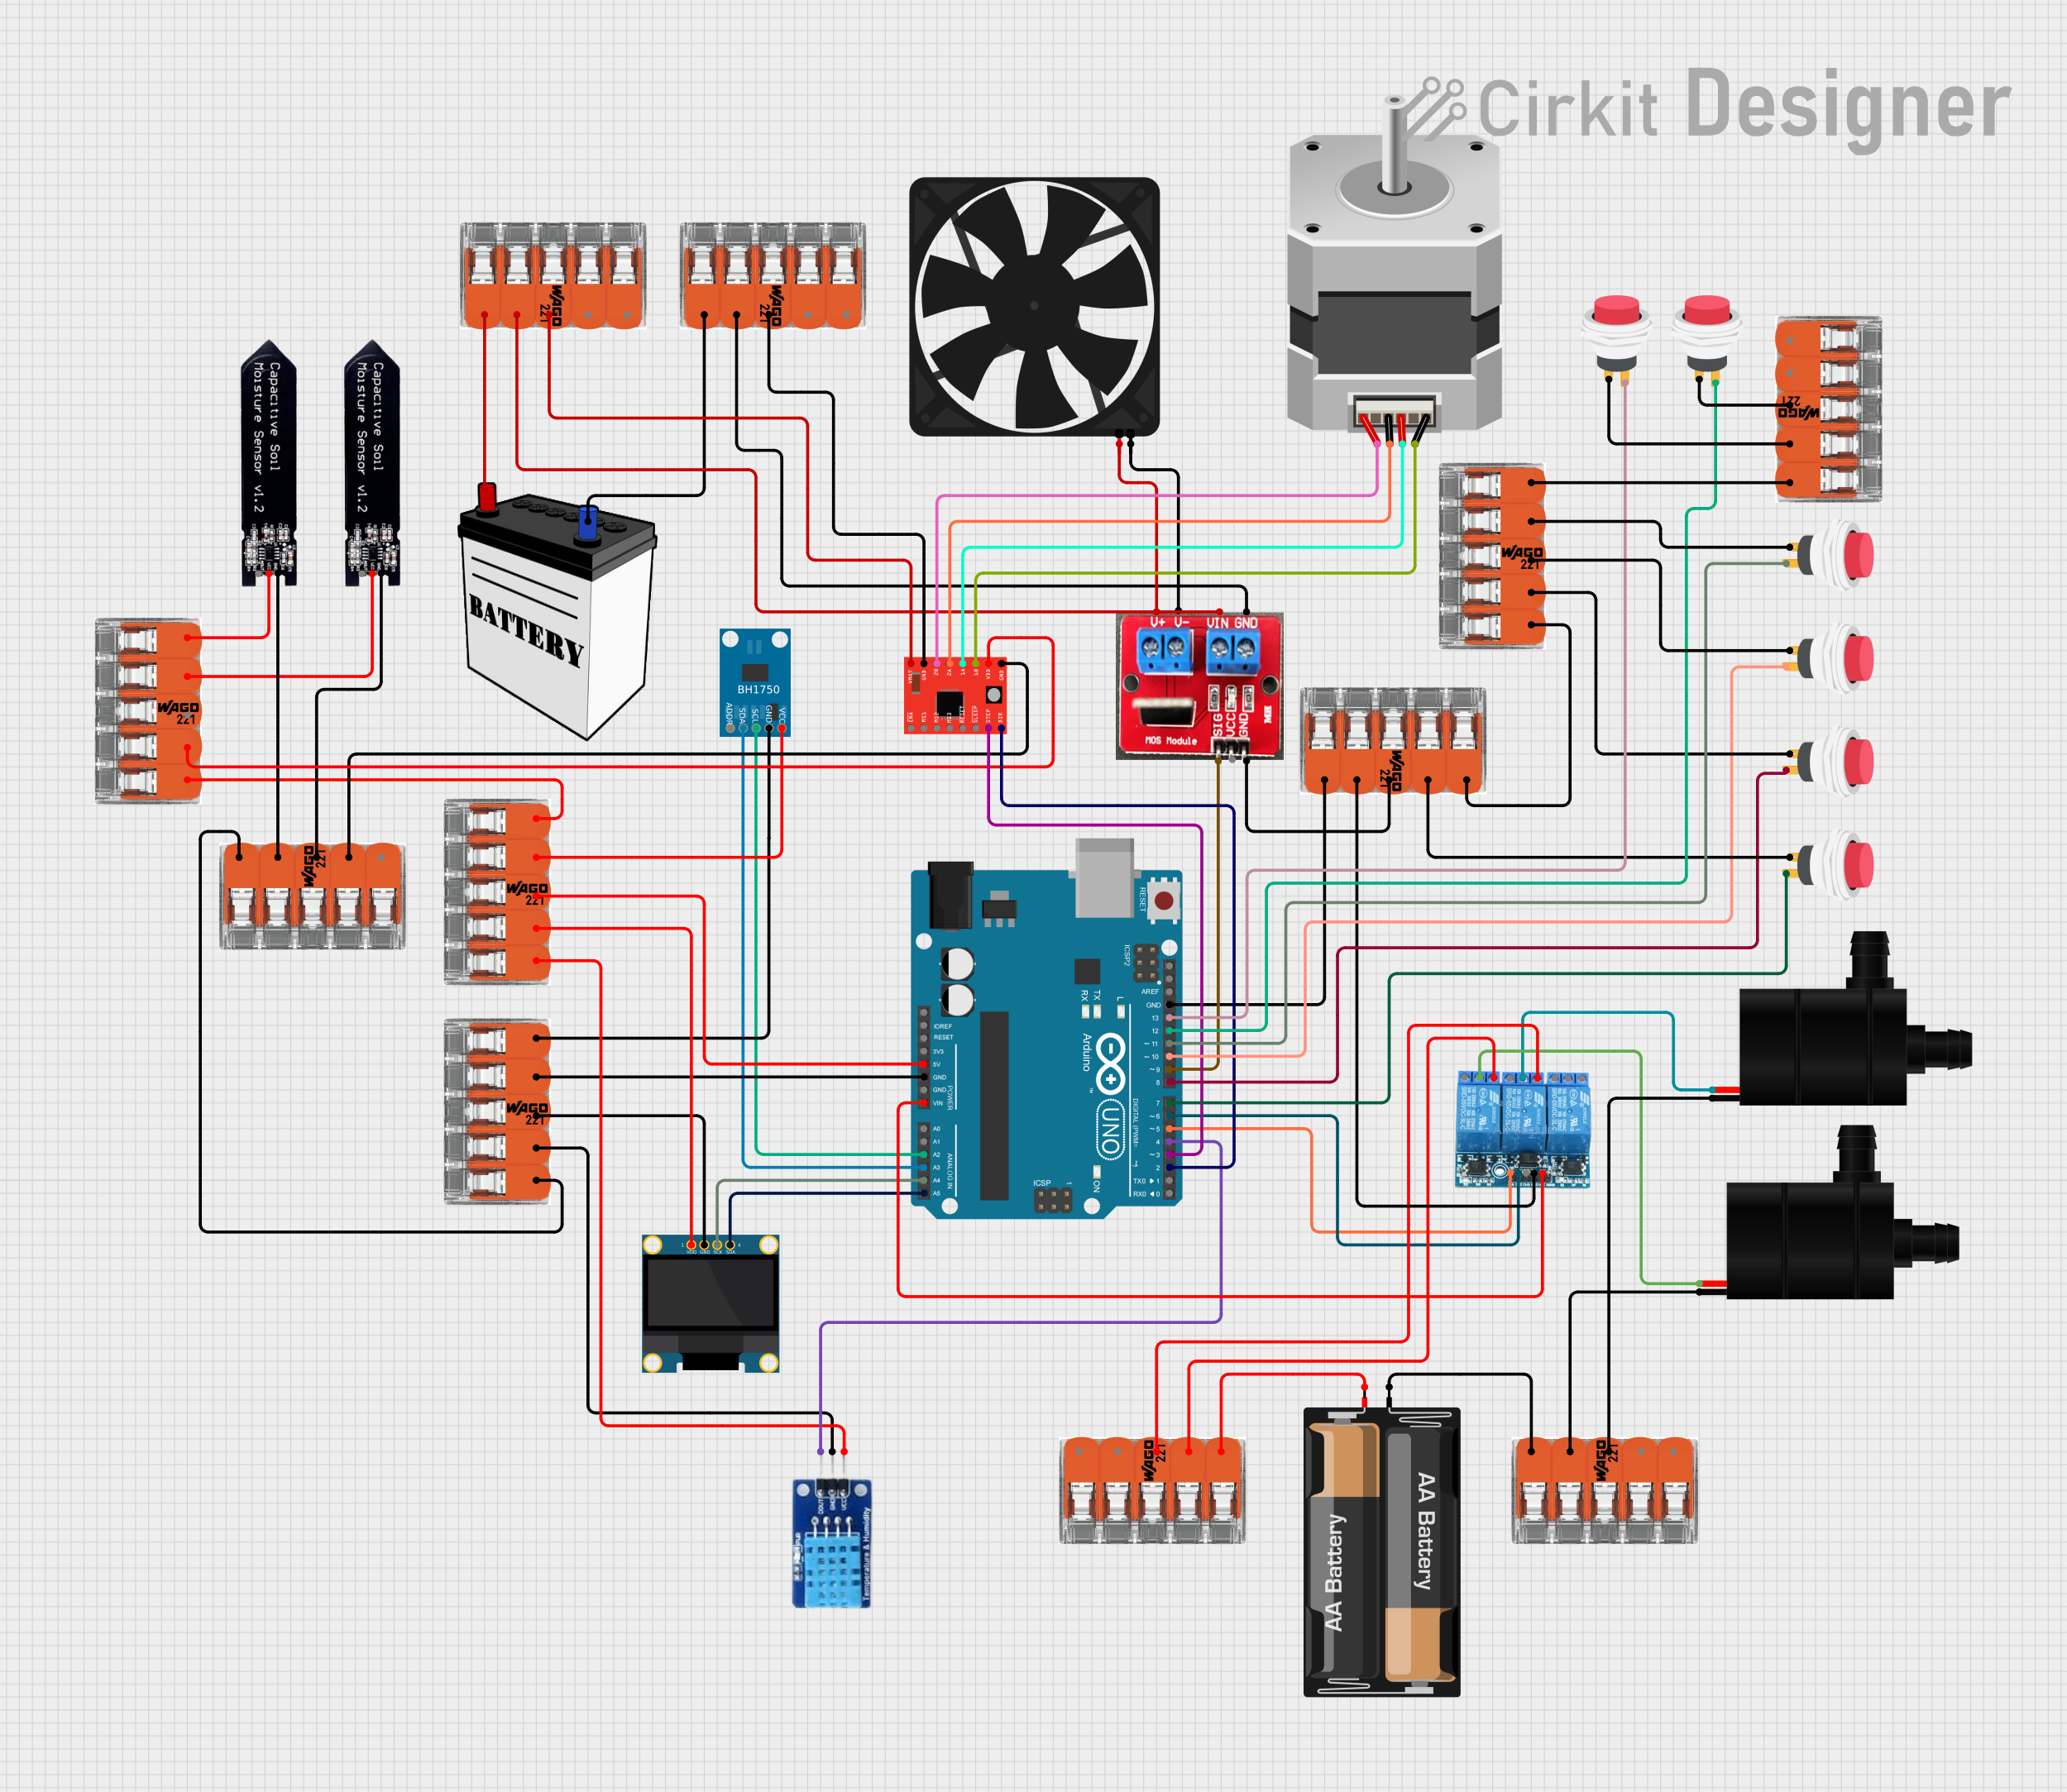
This circuit is designed to monitor environmental conditions and control peripheral devices. It features light and temperature/humidity sensing, visual output on an OLED display, and actuation of a fan, water pumps, and a stepper motor. Power management and distribution are facilitated by splicing connectors, and the system is controlled by an Arduino UNO, which currently has placeholder code for customization.
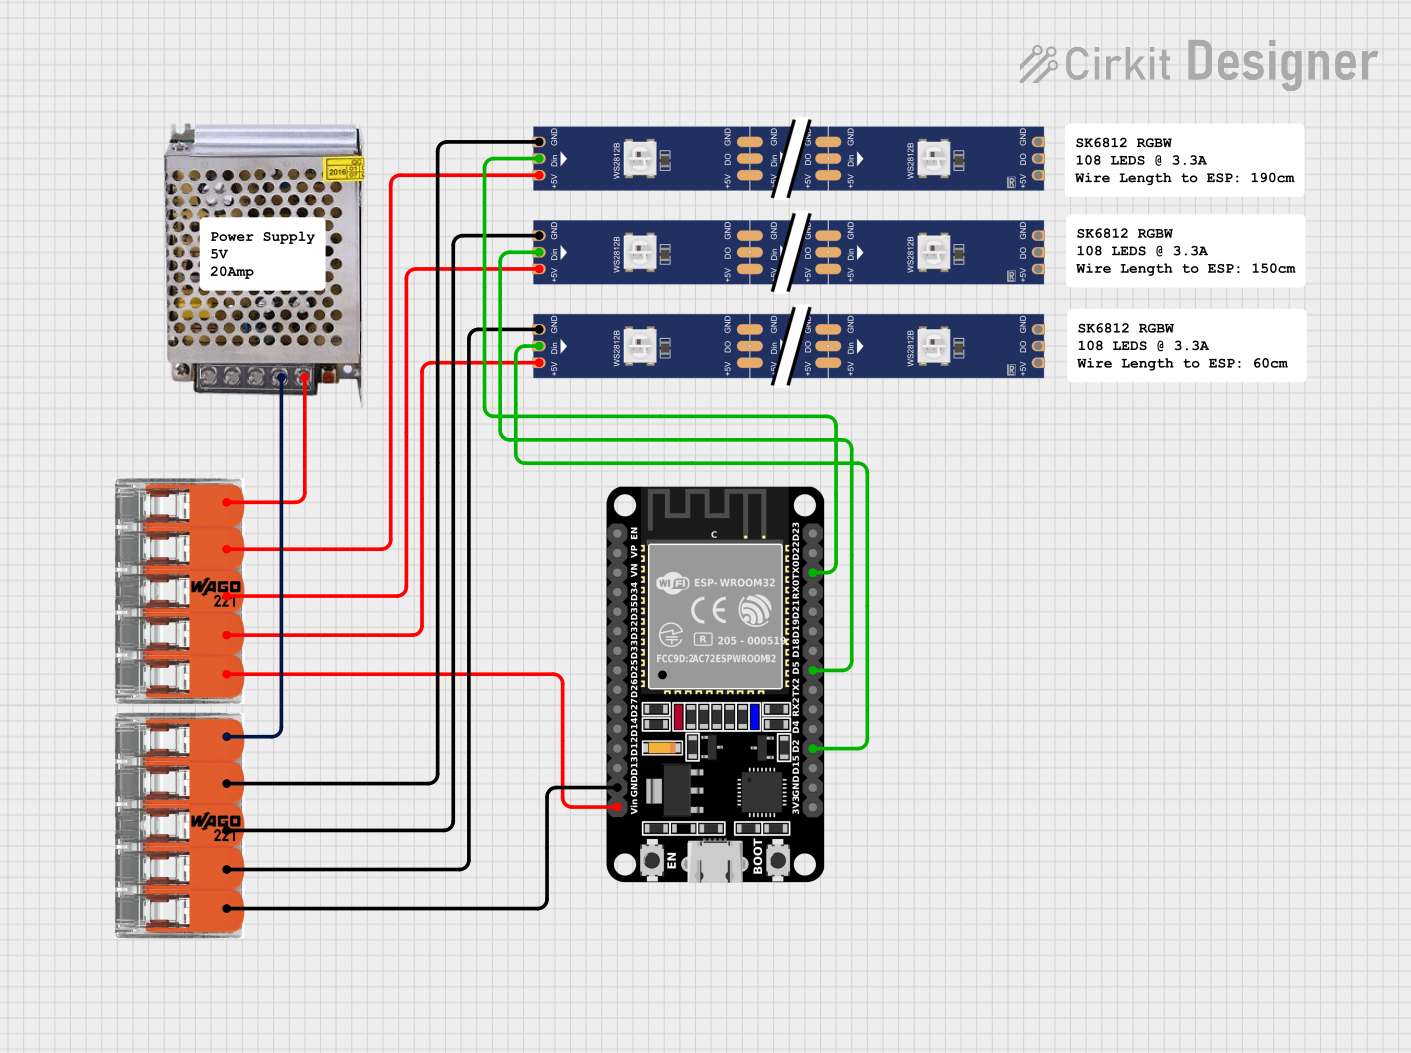
This circuit uses an ESP32 microcontroller to control three WS2812 RGB LED strips. The ESP32 is powered by a 5V power supply, and the LED strips receive their power and ground connections through splicing connectors. The ESP32 sends data signals to each LED strip to control their lighting patterns.
Electrical installations in residential, commercial, and industrial environments
Lighting systems and fixture connections
Junction boxes and distribution boards
Prototyping and temporary wiring setups
Maintenance and repair of electrical systems
Technical Specifications
Key Technical Details
Parameter
Specification
Manufacturer
WAGO
Part Number
221-415
Wire Size Compatibility
0.14 mm² to 4 mm² (24–12 AWG)
Voltage Rating
450 V
Current Rating
32 A
Operating Temperature Range
-20°C to +85°C
Housing Material
Polycarbonate (transparent)
Number of Connections
5
Connection Type
Lever-actuated, tool-free
Certifications
UL, CE, ENEC, and RoHS compliant
Pin Configuration and Descriptions
The WAGO 221-415 splicing connector does not have traditional pins but instead features five connection slots for wire insertion. Each slot is equipped with a lever mechanism for secure and independent wire connections.
Slot Number
Description
1 to 5
Wire insertion slots for splicing connections.
Usage Instructions
How to Use the WAGO 221-415 in a Circuit
Prepare the Wires: Strip the insulation from the wire ends, leaving approximately 10–12 mm of exposed conductor.
Open the Lever: Lift the lever on the WAGO 221-415 connector to open the clamping mechanism.
Insert the Wire: Insert the stripped wire end into the corresponding slot until it reaches the stop.
Close the Lever: Push the lever back down to secure the wire in place. Ensure the wire is firmly clamped and does not move.
Repeat for Additional Wires: Repeat the process for the remaining wires, using the other slots as needed.
Important Considerations and Best Practices
Ensure the wire insulation is not damaged during stripping, as this could compromise the connection.
Verify that the wire is fully inserted and visible through the transparent housing.
Avoid exceeding the voltage and current ratings of the connector.
Use wires within the specified size range (0.14 mm² to 4 mm² or 24–12 AWG).
For high-current applications, ensure proper heat dissipation and avoid bundling multiple connectors tightly.
Example: Connecting to an Arduino UNO
The WAGO 221-415 can be used to connect external components, such as sensors or actuators, to an Arduino UNO. Below is an example of wiring an LED to an Arduino using the connector:
Connect the positive leg of the LED to a resistor (e.g., 220 Ω).
Insert one end of the resistor into a slot of the WAGO 221-415.
Insert a jumper wire into another slot of the connector and connect it to a digital pin on the Arduino (e.g., pin 13).
Insert the negative leg of the LED into another slot of the connector and connect a jumper wire to the Arduino's GND pin.
// Arduino code to blink an LED connected via WAGO 221-415 connector

const int ledPin = 13; // Digital pin connected to the LED

void setup() {
  pinMode(ledPin, OUTPUT); // Set the LED pin as an output
}

void loop() {
  digitalWrite(ledPin, HIGH); // Turn the LED on
  delay(1000);               // Wait for 1 second
  digitalWrite(ledPin, LOW);  // Turn the LED off
  delay(1000);               // Wait for 1 second
}
Troubleshooting and FAQs
Common Issues and Solutions
Issue
Solution
Wire slips out of the connector
Ensure the lever is fully closed and the wire is properly stripped.
Poor electrical connection
Verify the wire is inserted to the stop and the conductor is not damaged.
Overheating of the connector
Check that the current does not exceed the 32 A rating.
Difficulty inserting the wire
Confirm the wire size is within the specified range (0.14–4 mm²).
FAQs
Q: Can I reuse the WAGO 221-415 connector?
A: Yes, the connector is reusable. Simply lift the lever to release the wire and insert a new one.
Q: Is the connector suitable for stranded wires?
A: Yes, the WAGO 221-415 supports both solid and stranded wires within the specified size range.
Q: Can I use this connector outdoors?
A: The WAGO 221-415 is not waterproof. For outdoor use, ensure it is placed in a weatherproof enclosure.
Q: How can I verify the connection is secure?
A: The transparent housing allows you to visually inspect the wire insertion and clamping mechanism.
Q: What is the maximum number of wires I can connect?
A: The WAGO 221-415 has five slots, allowing up to five wires to be connected.

 Open Project in Cirkit Designer