Cirkit Designer Logo
Cirkit Designer
Your all-in-one circuit design IDE
Home / 
Component Documentation

How to Use Adafruit MCP9808: Examples, Pinouts, and Specs

Image of Adafruit MCP9808
Cirkit Designer LogoDesign with Adafruit MCP9808 in Cirkit Designer

Introduction

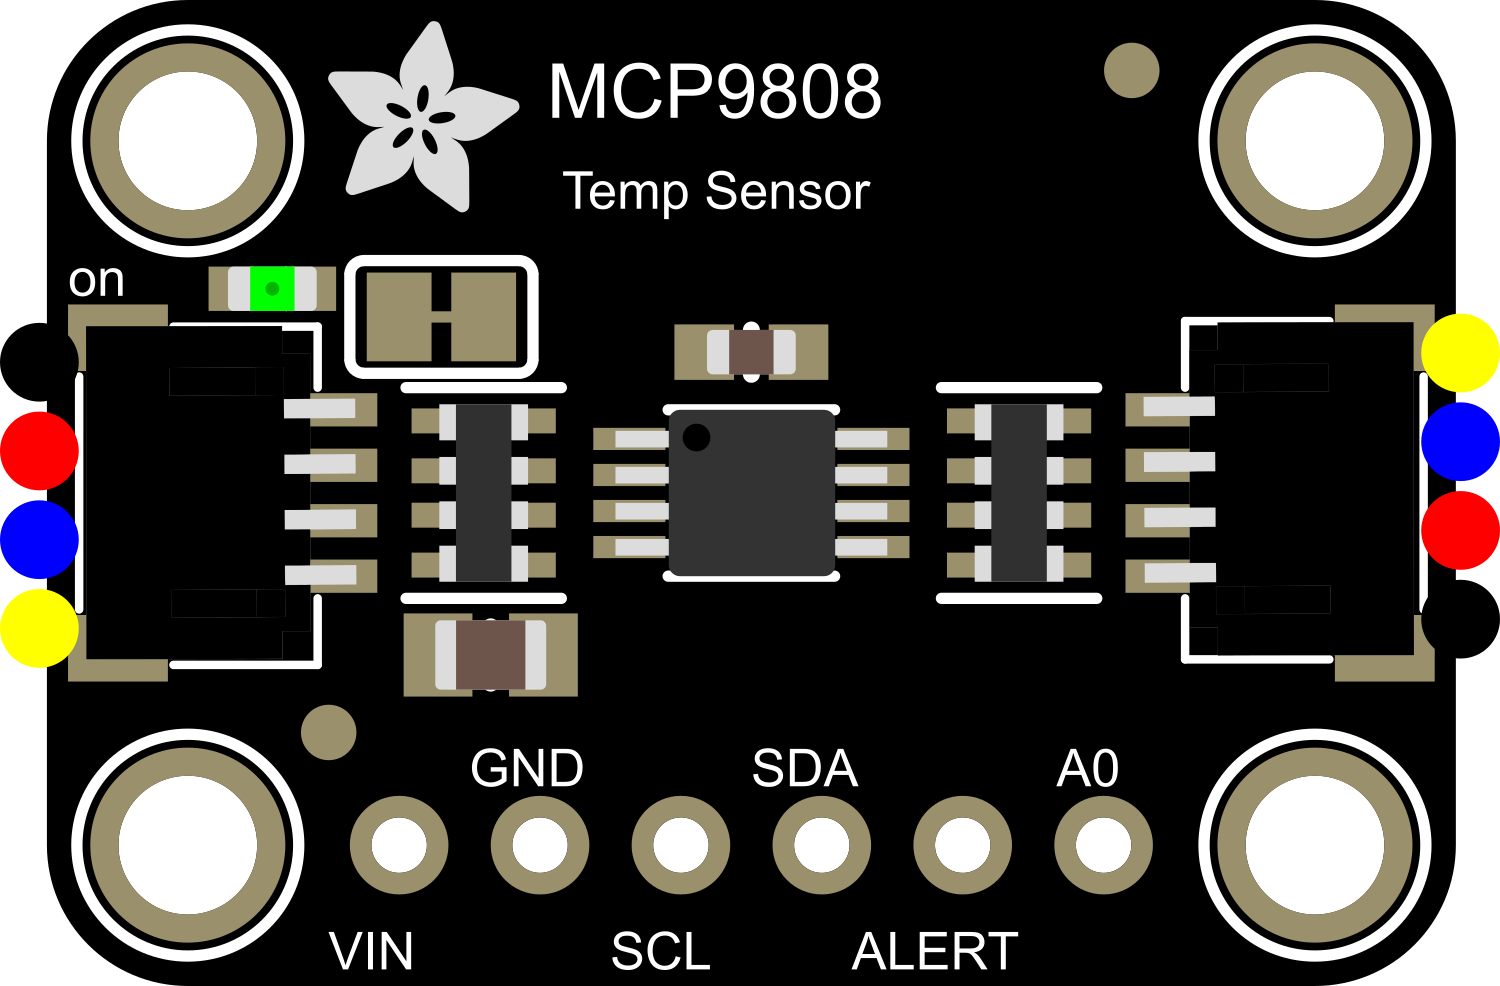
The Adafruit MCP9808 is a precision digital temperature sensor that offers high accuracy and easy interfacing, making it suitable for a wide range of temperature monitoring applications. Its high resolution and accuracy are ideal for environmental monitoring, data logging, HVAC systems, and other scenarios where precise temperature readings are crucial.

Explore Projects Built with Adafruit MCP9808

Use Cirkit Designer to design, explore, and prototype these projects online. Some projects support real-time simulation. Click "Open Project" to start designing instantly!
ESP32-Based I2C Communication Hub with Multiplexer and Expander
Image of Lights: A project utilizing Adafruit MCP9808 in a practical application
This circuit features an Olimex ESP32-EVB microcontroller unit (MCU) for processing and connectivity, interfaced with an MCP23017 I/O expander and an Adafruit TCA9548A I2C multiplexer to expand the number of I/O lines and allow multiple I2C devices to communicate with the MCU over the same bus. Pull-up resistors are connected to the I2C lines for proper bus operation, and both the MCP23017 and TCA9548A have their reset lines pulled high, likely for normal operation without external reset control.
Cirkit Designer LogoOpen Project in Cirkit Designer
Battery-Powered Smart Light with Proximity Sensor and OLED Display using Adafruit QT Py RP2040
Image of lab: A project utilizing Adafruit MCP9808 in a practical application
This circuit is a portable, battery-powered system featuring an Adafruit QT Py RP2040 microcontroller that interfaces with an OLED display, a proximity sensor, an accelerometer, and an RGB LED strip. The system is powered by a lithium-ion battery with a step-up boost converter to provide 5V for the LED strip, and it includes a toggle switch for power control. The microcontroller communicates with the sensors and display via I2C.
Cirkit Designer LogoOpen Project in Cirkit Designer
Battery-Powered Smart Sensor Hub with Adafruit QT Py RP2040
Image of wearable final: A project utilizing Adafruit MCP9808 in a practical application
This circuit features an Adafruit QT Py RP2040 microcontroller interfaced with an APDS9960 proximity sensor, an MPU6050 accelerometer and gyroscope, and an OLED display via I2C communication. It also includes a buzzer controlled by the microcontroller and is powered by a 3.7V LiPo battery with a toggle switch for power control.
Cirkit Designer LogoOpen Project in Cirkit Designer
Raspberry Pi 4B-Based Multi-Sensor Interface Hub with GPS and GSM
Image of Rocket: A project utilizing Adafruit MCP9808 in a practical application
This circuit features a Raspberry Pi 4B interfaced with an IMX296 color global shutter camera, a Neo 6M GPS module, an Adafruit BMP388 barometric pressure sensor, an MPU-6050 accelerometer/gyroscope, and a Sim800l GSM module for cellular connectivity. Power management is handled by an MT3608 boost converter, which steps up the voltage from a Lipo battery, with a resettable fuse PTC and a 1N4007 diode for protection. The Adafruit Perma-Proto HAT is used for organizing connections and interfacing the sensors and modules with the Raspberry Pi via I2C and GPIO pins.
Cirkit Designer LogoOpen Project in Cirkit Designer

Explore Projects Built with Adafruit MCP9808

Use Cirkit Designer to design, explore, and prototype these projects online. Some projects support real-time simulation. Click "Open Project" to start designing instantly!
Image of Lights: A project utilizing Adafruit MCP9808 in a practical application
ESP32-Based I2C Communication Hub with Multiplexer and Expander
This circuit features an Olimex ESP32-EVB microcontroller unit (MCU) for processing and connectivity, interfaced with an MCP23017 I/O expander and an Adafruit TCA9548A I2C multiplexer to expand the number of I/O lines and allow multiple I2C devices to communicate with the MCU over the same bus. Pull-up resistors are connected to the I2C lines for proper bus operation, and both the MCP23017 and TCA9548A have their reset lines pulled high, likely for normal operation without external reset control.
Cirkit Designer LogoOpen Project in Cirkit Designer
Image of lab: A project utilizing Adafruit MCP9808 in a practical application
Battery-Powered Smart Light with Proximity Sensor and OLED Display using Adafruit QT Py RP2040
This circuit is a portable, battery-powered system featuring an Adafruit QT Py RP2040 microcontroller that interfaces with an OLED display, a proximity sensor, an accelerometer, and an RGB LED strip. The system is powered by a lithium-ion battery with a step-up boost converter to provide 5V for the LED strip, and it includes a toggle switch for power control. The microcontroller communicates with the sensors and display via I2C.
Cirkit Designer LogoOpen Project in Cirkit Designer
Image of wearable final: A project utilizing Adafruit MCP9808 in a practical application
Battery-Powered Smart Sensor Hub with Adafruit QT Py RP2040
This circuit features an Adafruit QT Py RP2040 microcontroller interfaced with an APDS9960 proximity sensor, an MPU6050 accelerometer and gyroscope, and an OLED display via I2C communication. It also includes a buzzer controlled by the microcontroller and is powered by a 3.7V LiPo battery with a toggle switch for power control.
Cirkit Designer LogoOpen Project in Cirkit Designer
Image of Rocket: A project utilizing Adafruit MCP9808 in a practical application
Raspberry Pi 4B-Based Multi-Sensor Interface Hub with GPS and GSM
This circuit features a Raspberry Pi 4B interfaced with an IMX296 color global shutter camera, a Neo 6M GPS module, an Adafruit BMP388 barometric pressure sensor, an MPU-6050 accelerometer/gyroscope, and a Sim800l GSM module for cellular connectivity. Power management is handled by an MT3608 boost converter, which steps up the voltage from a Lipo battery, with a resettable fuse PTC and a 1N4007 diode for protection. The Adafruit Perma-Proto HAT is used for organizing connections and interfacing the sensors and modules with the Raspberry Pi via I2C and GPIO pins.
Cirkit Designer LogoOpen Project in Cirkit Designer

Common Applications and Use Cases

  • Environmental monitoring
  • Data logging systems
  • HVAC control
  • Computer/server temperature monitoring
  • Industrial temperature control systems

Technical Specifications

Key Technical Details

  • Temperature Range: -40°C to +125°C
  • Accuracy: ±0.25°C (typical) from -40°C to +125°C
  • Resolution: 0.0625°C
  • Operating Voltage: 2.7V to 5.5V
  • Interface: I2C (up to 400kHz)
  • Operating Current: 200 µA (typical)

Pin Configuration and Descriptions

Pin Number Name Description
1 VDD Power supply (2.7V to 5.5V)
2 GND Ground connection
3 SDA I2C Data line
4 SCL I2C Clock line
5 A0 Address pin 0
6 A1 Address pin 1
7 A2 Address pin 2
8 Alert Alert/Interrupt output

Usage Instructions

How to Use the Component in a Circuit

  1. Connect the VDD pin to a 2.7V to 5.5V power supply.
  2. Connect the GND pin to the ground of the power supply.
  3. Connect the SDA and SCL pins to the I2C data and clock lines, respectively.
  4. Set the address pins (A0, A1, A2) as needed for your I2C network.
  5. Optionally, connect the Alert pin to a microcontroller interrupt pin if temperature alert functionality is required.

Important Considerations and Best Practices

  • Ensure that the power supply voltage is within the specified range.
  • Use pull-up resistors on the SDA and SCL lines, typically 4.7kΩ to 10kΩ.
  • Avoid running I2C lines near high-current traces to minimize noise.
  • Configure the sensor's address correctly if multiple I2C devices are used.
  • Implement proper I2C communication error handling in your software.

Example Code for Arduino UNO

#include <Wire.h>
#include <Adafruit_MCP9808.h>

// Create MCP9808 temperature sensor object
Adafruit_MCP9808 tempsensor = Adafruit_MCP9808();

void setup() {
  Serial.begin(9600);
  Serial.println("MCP9808 test");

  // Begin communication with the sensor
  if (!tempsensor.begin()) {
    Serial.println("Couldn't find MCP9808!");
    while (1);
  }
}

void loop() {
  // Read and print out the temperature
  Serial.print("Temp: ");
  Serial.print(tempsensor.readTempC());
  Serial.println("*C");
  
  // Delay between readings
  delay(1000);
}

Code Comments

  • #include <Wire.h>: Includes the I2C library for communication.
  • #include <Adafruit_MCP9808.h>: Includes the library for the MCP9808 sensor.
  • Adafruit_MCP9808 tempsensor: Creates an object for the temperature sensor.
  • tempsensor.begin(): Initializes the sensor and checks for its presence.
  • tempsensor.readTempC(): Reads the temperature in Celsius from the sensor.
  • delay(1000): Pauses the loop for 1 second between temperature readings.

Troubleshooting and FAQs

Common Issues Users Might Face

  • Sensor Not Detected: Ensure that the wiring is correct, and the sensor is powered.
  • Inaccurate Readings: Check for proper grounding and stable power supply.
  • No Alert Signal: Verify the Alert pin connection and configuration in the sensor.

Solutions and Tips for Troubleshooting

  • Double-check the I2C address if using multiple sensors.
  • Use a multimeter to verify the voltage at the VDD pin.
  • Ensure that the I2C pull-up resistors are correctly installed.
  • Check for loose connections or soldering issues on the pins.
  • Review the code for proper initialization and reading functions.

FAQs

Q: Can the MCP9808 be used with a 3.3V system? A: Yes, the MCP9808 operates between 2.7V and 5.5V, making it compatible with both 3.3V and 5V systems.

Q: How many MCP9808 sensors can be connected on the same I2C bus? A: Up to eight MCP9808 sensors can be connected on a single I2C bus by configuring the address pins (A0, A1, A2) to different settings.

Q: What is the purpose of the Alert pin? A: The Alert pin can be used to trigger an interrupt on the host microcontroller when the temperature exceeds a programmed limit.

Q: How do I calibrate the sensor? A: The MCP9808 is factory-calibrated and typically does not require additional calibration. However, you can perform software calibration by comparing and adjusting readings against a known temperature standard if necessary.