
How to Use HX710B: Examples, Pinouts, and Specs
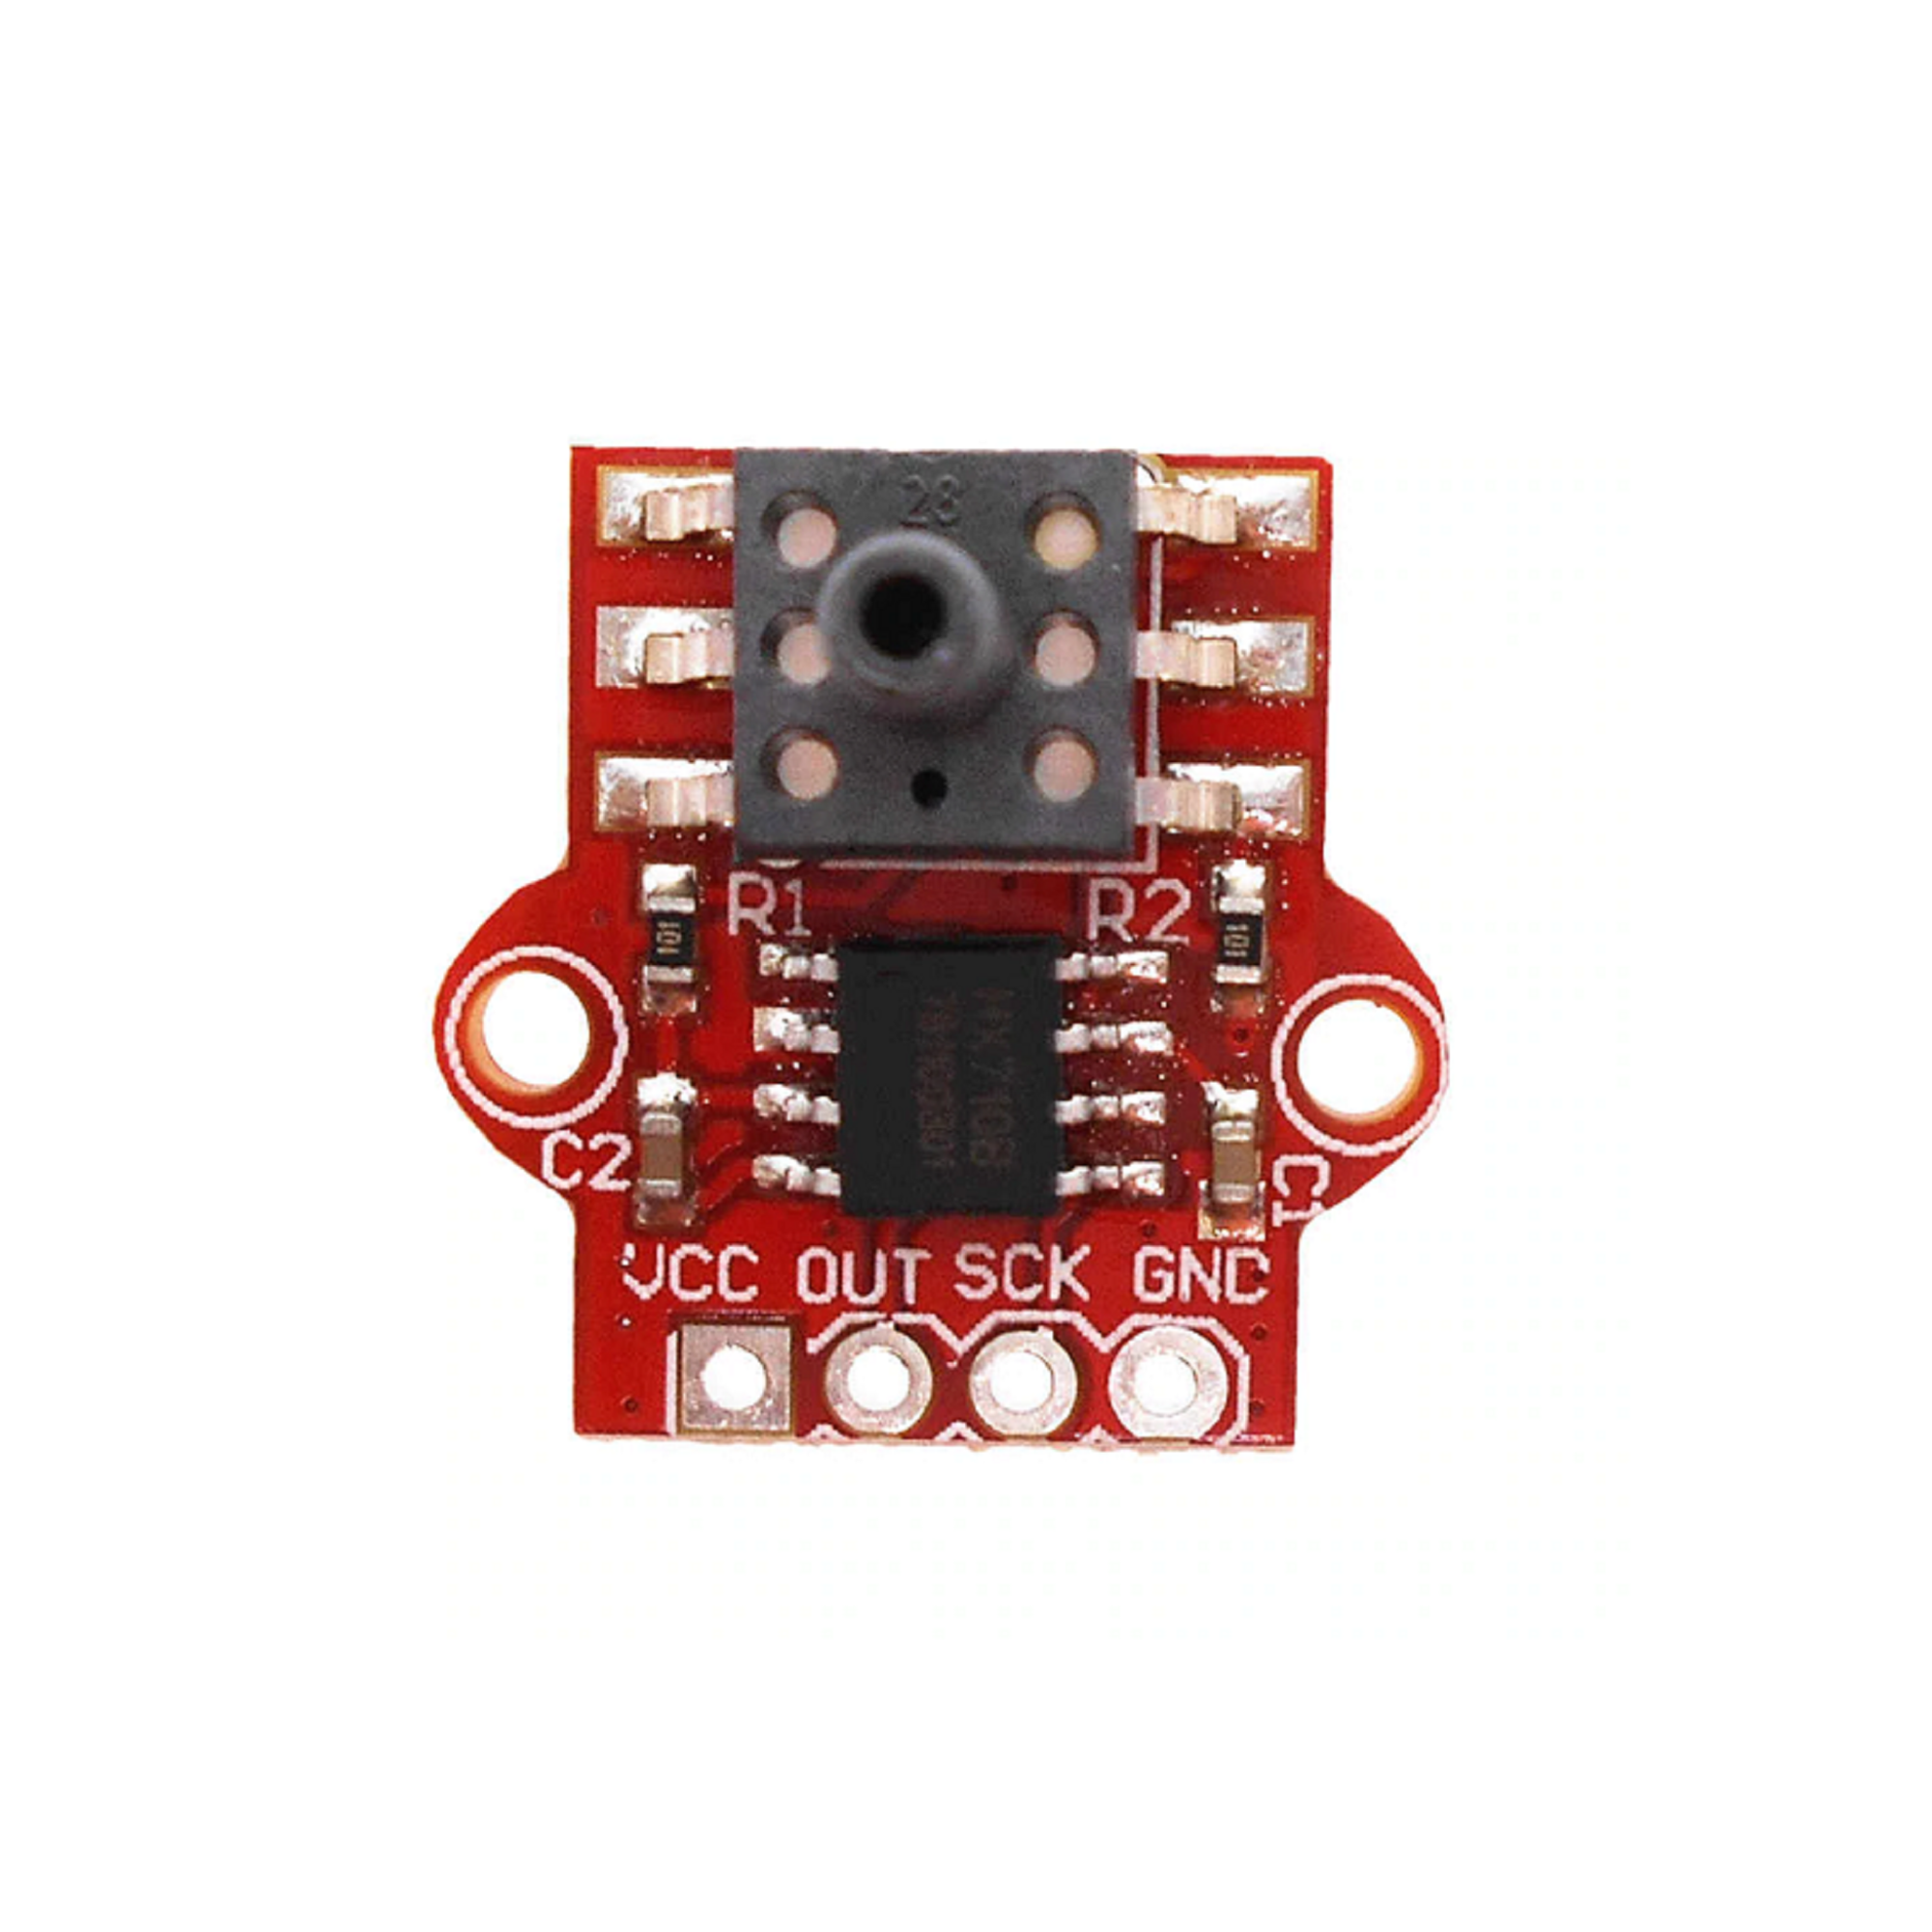
 Design with HX710B in Cirkit Designer
Introduction
The HX710B is a high-precision analog-to-digital converter (ADC) designed for applications requiring accurate measurement of analog signals. With its 24-bit resolution, the HX710B is particularly suited for weighing scales and industrial systems. It is capable of interfacing directly with load cells, converting their analog output into precise digital data for further processing. Its compact design and high accuracy make it a popular choice in applications such as electronic weighing systems, industrial process control, and other measurement systems.
Explore Projects Built with HX710B
 Open Project in Cirkit Designer
 Open Project in Cirkit Designer
 Open Project in Cirkit Designer
 Open Project in Cirkit Designer
Explore Projects Built with HX710B
Open Project in Cirkit DesignerOpen Project in Cirkit DesignerOpen Project in Cirkit DesignerOpen Project in Cirkit DesignerCommon Applications and Use Cases
- Digital weighing scales
- Industrial process control systems
- Load cell-based measurement systems
- Pressure and force measurement devices
- High-precision data acquisition systems
Technical Specifications
The HX710B is designed to deliver high performance in a compact package. Below are its key technical specifications:
| Parameter | Value |
|---|---|
| Resolution | 24-bit |
| Operating Voltage | 2.6V to 5.5V |
| Operating Current | < 1.5mA |
| Input Type | Differential input |
| Input Voltage Range | ±40mV (typical for load cells) |
| Sampling Rate | 10Hz or 80Hz (selectable) |
| Communication Interface | Serial (2-wire interface) |
| Operating Temperature | -40°C to +85°C |
Pin Configuration and Descriptions
The HX710B has a total of 16 pins. Below is the pin configuration and their descriptions:
| Pin Number | Pin Name | Description |
|---|---|---|
| 1 | VCC | Power supply input (2.6V to 5.5V). |
| 2 | VFB | Feedback voltage for internal regulator. |
| 3 | VBG | Bandgap reference voltage output. |
| 4 | VREF | Reference voltage input for ADC. |
| 5 | IN+ | Positive differential input for the ADC. |
| 6 | IN- | Negative differential input for the ADC. |
| 7 | AGND | Analog ground. |
| 8 | DGND | Digital ground. |
| 9 | DOUT | Serial data output. |
| 10 | SCK | Serial clock input. |
| 11 | RATE | Sampling rate selection (connect to VCC for 80Hz, GND for 10Hz). |
| 12 | NC | No connection (leave unconnected). |
| 13 | NC | No connection (leave unconnected). |
| 14 | NC | No connection (leave unconnected). |
| 15 | NC | No connection (leave unconnected). |
| 16 | NC | No connection (leave unconnected). |
Usage Instructions
The HX710B is straightforward to use in a circuit, especially for applications involving load cells. Below are the steps and considerations for using the HX710B:
Connecting the HX710B
- Power Supply: Connect the VCC pin to a stable power source (2.6V to 5.5V) and the AGND/DGND pins to ground.
- Load Cell Connection:
- Connect the positive output of the load cell to the IN+ pin.
- Connect the negative output of the load cell to the IN- pin.
- Reference Voltage: Provide a stable reference voltage to the VREF pin. This is typically derived from the load cell's excitation voltage.
- Data Communication:
- Connect the DOUT pin to the microcontroller's data input pin.
- Connect the SCK pin to the microcontroller's clock output pin.
- Sampling Rate: Use the RATE pin to select the desired sampling rate:
- Connect to GND for 10Hz.
- Connect to VCC for 80Hz.
Important Considerations
- Use decoupling capacitors (e.g., 0.1µF and 10µF) between VCC and AGND to reduce noise.
- Ensure the load cell's excitation voltage matches the HX710B's input voltage range.
- Keep the analog and digital grounds separate to minimize noise interference.
- Use shielded cables for load cell connections in noisy environments.
Example Code for Arduino UNO
Below is an example of how to interface the HX710B with an Arduino UNO to read data from a load cell:
// HX710B Arduino Example Code
// This code reads data from the HX710B ADC and prints it to the Serial Monitor.

#define DOUT  3  // Data output pin connected to HX710B DOUT
#define SCK   2  // Clock pin connected to HX710B SCK

void setup() {
  pinMode(SCK, OUTPUT);  // Set SCK as output
  pinMode(DOUT, INPUT);  // Set DOUT as input
  Serial.begin(9600);    // Initialize serial communication
}

long readHX710B() {
  while (digitalRead(DOUT) == HIGH);  // Wait for DOUT to go LOW (data ready)

  long data = 0;  // Variable to store the ADC value
  for (int i = 0; i < 24; i++) {
    digitalWrite(SCK, HIGH);  // Generate clock pulse
    delayMicroseconds(1);
    data = (data << 1) | digitalRead(DOUT);  // Read bit and shift left
    digitalWrite(SCK, LOW);
    delayMicroseconds(1);
  }

  // HX710B outputs 24 bits, but the MSB is a sign bit. Extend it to 32 bits.
  digitalWrite(SCK, HIGH);  // Generate 25th clock pulse
  delayMicroseconds(1);
  digitalWrite(SCK, LOW);
  delayMicroseconds(1);

  if (data & 0x800000) {  // If the sign bit is set
    data |= 0xFF000000;   // Extend the sign bit to 32 bits
  }

  return data;
}

void loop() {
  long value = readHX710B();  // Read ADC value
  Serial.println(value);      // Print the value to Serial Monitor
  delay(100);                 // Delay for readability
}
Notes on the Code
- Ensure the DOUT and SCK pins are correctly connected to the Arduino.
- The
readHX710Bfunction reads the 24-bit ADC value and extends the sign bit to 32 bits for proper handling of negative values. - Use a stable power supply and minimize noise for accurate readings.
Troubleshooting and FAQs
Common Issues
No Data Output:
- Ensure the HX710B is powered correctly and the VCC and GND connections are secure.
- Verify that the DOUT pin is connected to the correct microcontroller pin.
Inconsistent Readings:
- Check for noise in the power supply or load cell connections.
- Use proper shielding and grounding techniques.
Incorrect Weight Measurements:
- Calibrate the load cell and ensure the reference voltage is stable.
- Verify that the load cell's output voltage is within the HX710B's input range.
Solutions and Tips
- Use a low-noise power supply to improve measurement accuracy.
- Perform a full calibration of the load cell and ADC system before use.
- If using long cables, ensure they are shielded to reduce electromagnetic interference.
By following these guidelines, the HX710B can be effectively used in high-precision measurement applications.