
How to Use AC 3 Phase Source: Examples, Pinouts, and Specs

 Design with AC 3 Phase Source in Cirkit Designer
Introduction
The AC 3 Phase Source is a power source that provides alternating current (AC) in three distinct phases. Unlike single-phase power, which delivers power through a single alternating voltage, a three-phase source uses three alternating voltages that are 120 degrees out of phase with each other. This configuration ensures a constant power transfer, making it ideal for industrial and commercial applications.
Explore Projects Built with AC 3 Phase Source
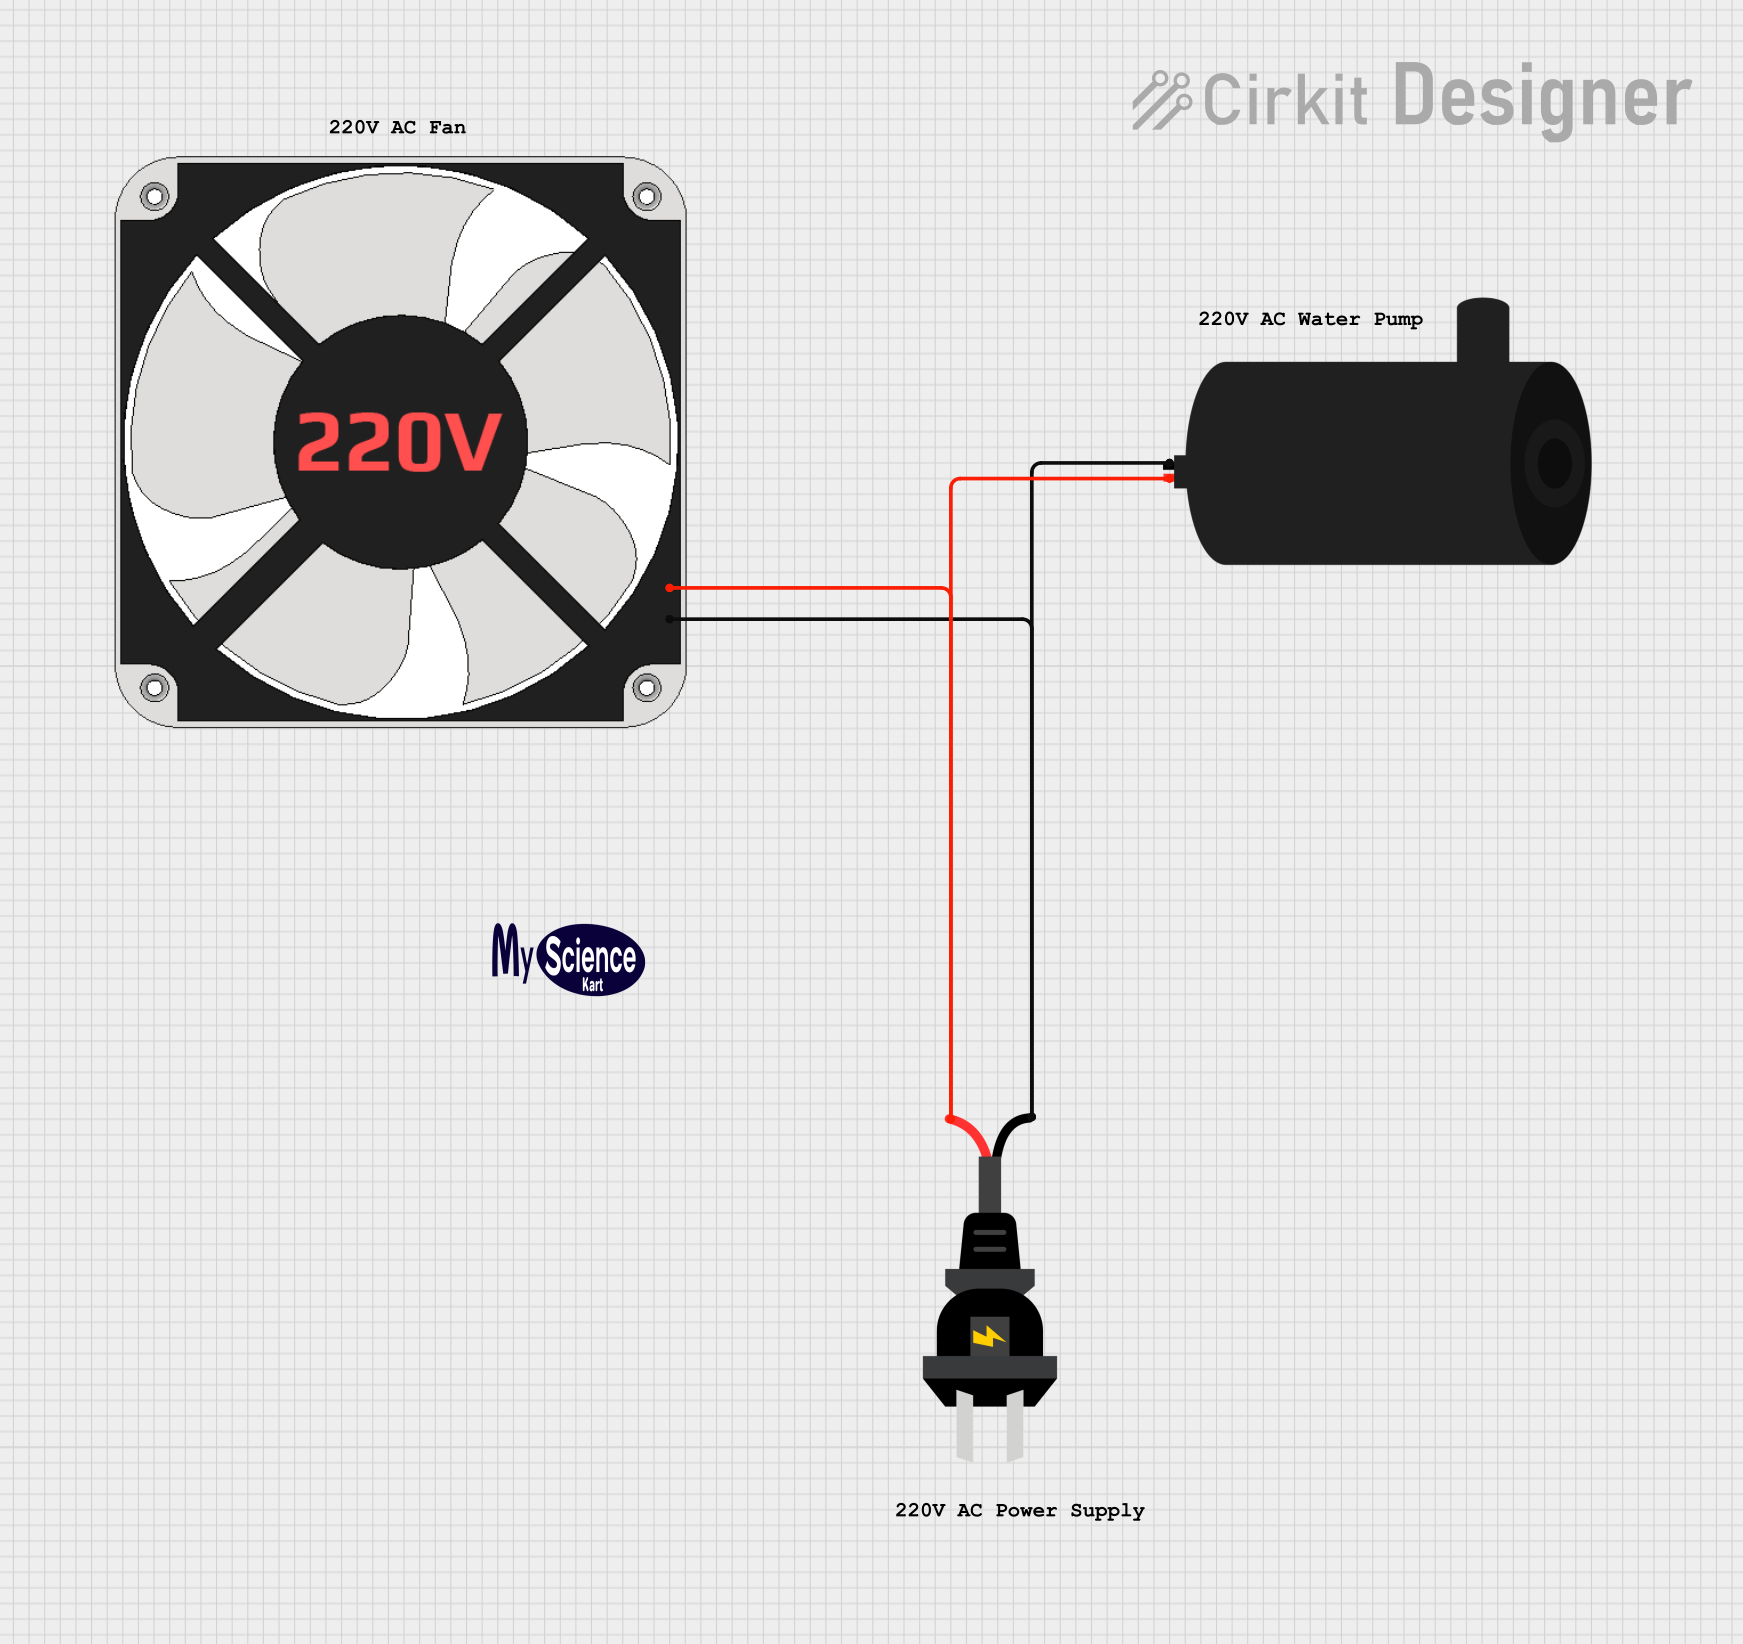 Open Project in Cirkit Designer
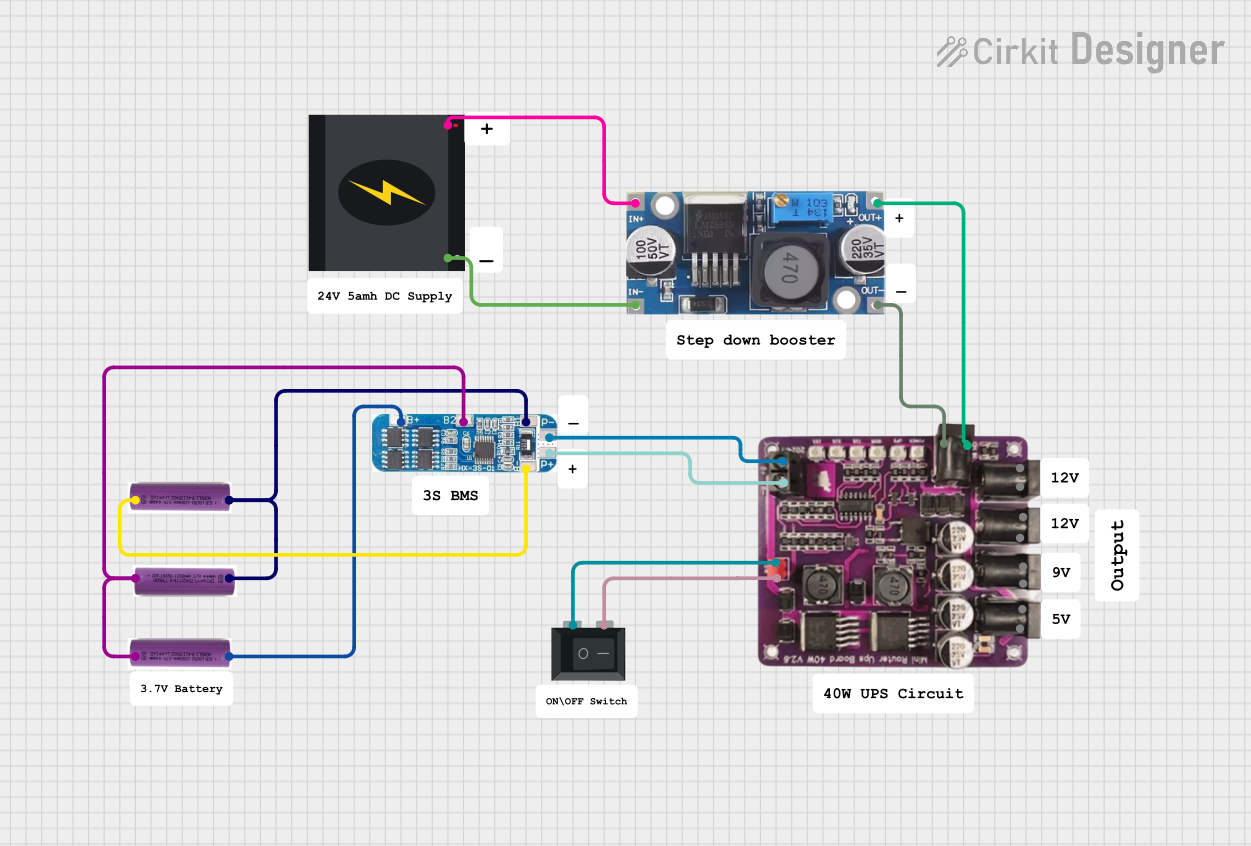 Open Project in Cirkit Designer
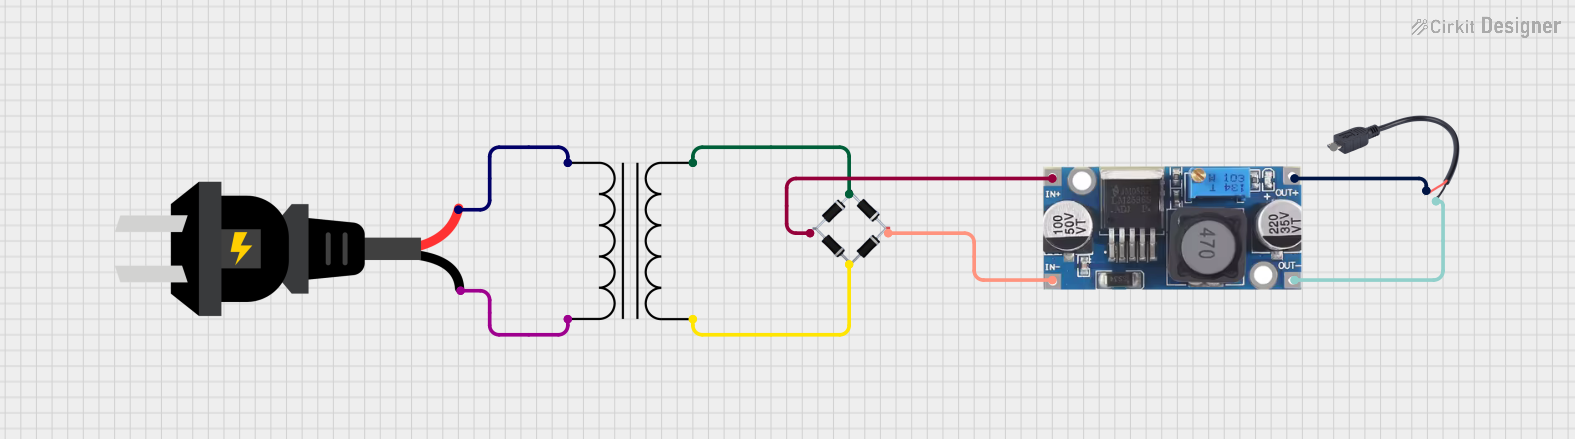 Open Project in Cirkit Designer
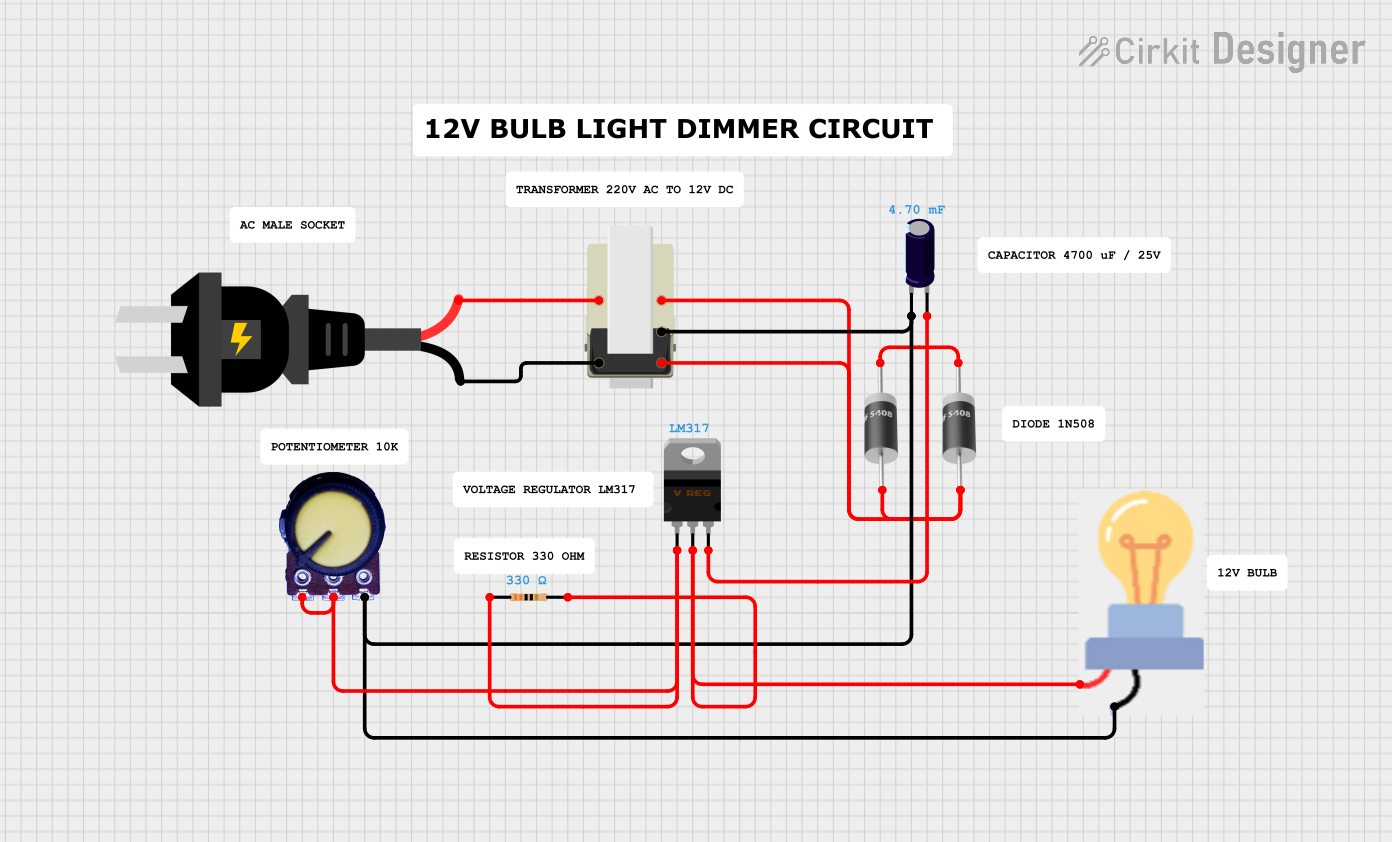 Open Project in Cirkit Designer
Explore Projects Built with AC 3 Phase Source
Open Project in Cirkit DesignerOpen Project in Cirkit DesignerOpen Project in Cirkit DesignerOpen Project in Cirkit DesignerCommon Applications and Use Cases
- Powering industrial motors and heavy machinery
- Supplying energy to large HVAC systems
- Operating pumps, compressors, and conveyor systems
- Efficient energy distribution in factories and commercial buildings
- Reducing voltage drops over long-distance power transmission
Technical Specifications
The following table outlines the key technical details of a standard AC 3 Phase Source:
| Parameter | Specification |
|---|---|
| Voltage Range | 208V, 400V, 480V (common standards) |
| Frequency | 50 Hz or 60 Hz |
| Power Rating | Varies (commonly 1 kW to several MW) |
| Phase Angle Difference | 120° between each phase |
| Output Waveform | Sinusoidal |
| Efficiency | Typically >90% |
Pin Configuration and Descriptions
The AC 3 Phase Source typically has three live phase outputs and one neutral connection. The table below describes the connections:
| Pin Name | Description |
|---|---|
| L1 (Phase 1) | First phase of the AC output |
| L2 (Phase 2) | Second phase of the AC output |
| L3 (Phase 3) | Third phase of the AC output |
| N (Neutral) | Neutral connection (optional, depending on system) |
| PE (Ground) | Protective Earth for safety grounding |
Usage Instructions
How to Use the Component in a Circuit
Connection Setup:
- Connect the three phase outputs (L1, L2, L3) to the load (e.g., motor or machinery).
- If required, connect the neutral (N) to the load for systems that need a return path.
- Ensure the protective earth (PE) is properly grounded for safety.
Load Compatibility:
- Verify that the load is rated for the voltage and frequency of the AC 3 Phase Source.
- Ensure the load is balanced across all three phases to prevent overloading any single phase.
Power On:
- After verifying all connections, power on the source.
- Monitor the load to ensure proper operation and check for any irregularities.
Important Considerations and Best Practices
- Safety First: Always disconnect the power source before making or modifying connections.
- Load Balancing: Distribute the load evenly across all three phases to maximize efficiency and prevent overheating.
- Voltage Compatibility: Ensure the voltage and frequency of the source match the requirements of the connected equipment.
- Grounding: Properly ground the system to prevent electrical hazards.
- Harmonics: Use filters if the load generates significant harmonic distortion to maintain power quality.
Example: Connecting to an Arduino UNO
While an AC 3 Phase Source cannot be directly connected to an Arduino UNO, you can use sensors like a voltage or current transformer to monitor the source. Below is an example of Arduino code to read voltage data from a sensor:
// Example code to read voltage data from a sensor connected to an Arduino UNO
// This assumes the use of an analog voltage sensor with a 0-5V output range.

const int sensorPin = A0; // Analog pin connected to the voltage sensor
float sensorValue = 0;    // Variable to store the sensor reading
float voltage = 0;        // Calculated voltage value

void setup() {
  Serial.begin(9600); // Initialize serial communication
}

void loop() {
  sensorValue = analogRead(sensorPin); // Read the sensor value
  voltage = (sensorValue / 1023.0) * 5.0; // Convert to voltage (assuming 5V ADC)

  // Print the voltage value to the Serial Monitor
  Serial.print("Voltage: ");
  Serial.print(voltage);
  Serial.println(" V");

  delay(1000); // Wait for 1 second before the next reading
}
Note: Use appropriate sensors and isolation techniques when interfacing with high-voltage systems.
Troubleshooting and FAQs
Common Issues Users Might Face
Uneven Load Distribution:
- Issue: One phase is overloaded compared to the others.
- Solution: Rebalance the load across all three phases.
Voltage Drop:
- Issue: Significant voltage drop over long distances.
- Solution: Use thicker cables or step-up transformers to minimize losses.
Overheating:
- Issue: The source or connected equipment overheats.
- Solution: Check for proper ventilation and ensure the load does not exceed the source's power rating.
Harmonic Distortion:
- Issue: Distorted waveforms due to non-linear loads.
- Solution: Install harmonic filters to improve power quality.
Solutions and Tips for Troubleshooting
- Check Connections: Ensure all connections are secure and correctly wired.
- Inspect the Load: Verify that the connected equipment is functioning properly and is compatible with the source.
- Monitor Voltage and Current: Use a multimeter or oscilloscope to check the output voltage and current for irregularities.
- Consult the Manual: Refer to the manufacturer's documentation for specific troubleshooting steps.
By following these guidelines, you can ensure safe and efficient operation of the AC 3 Phase Source in your applications.