Cirkit Designer Logo
Cirkit Designer
Your all-in-one circuit design IDE
Home / 
Component Documentation

How to Use RAK19007: Examples, Pinouts, and Specs

Image of RAK19007
Cirkit Designer LogoDesign with RAK19007 in Cirkit Designer

Introduction

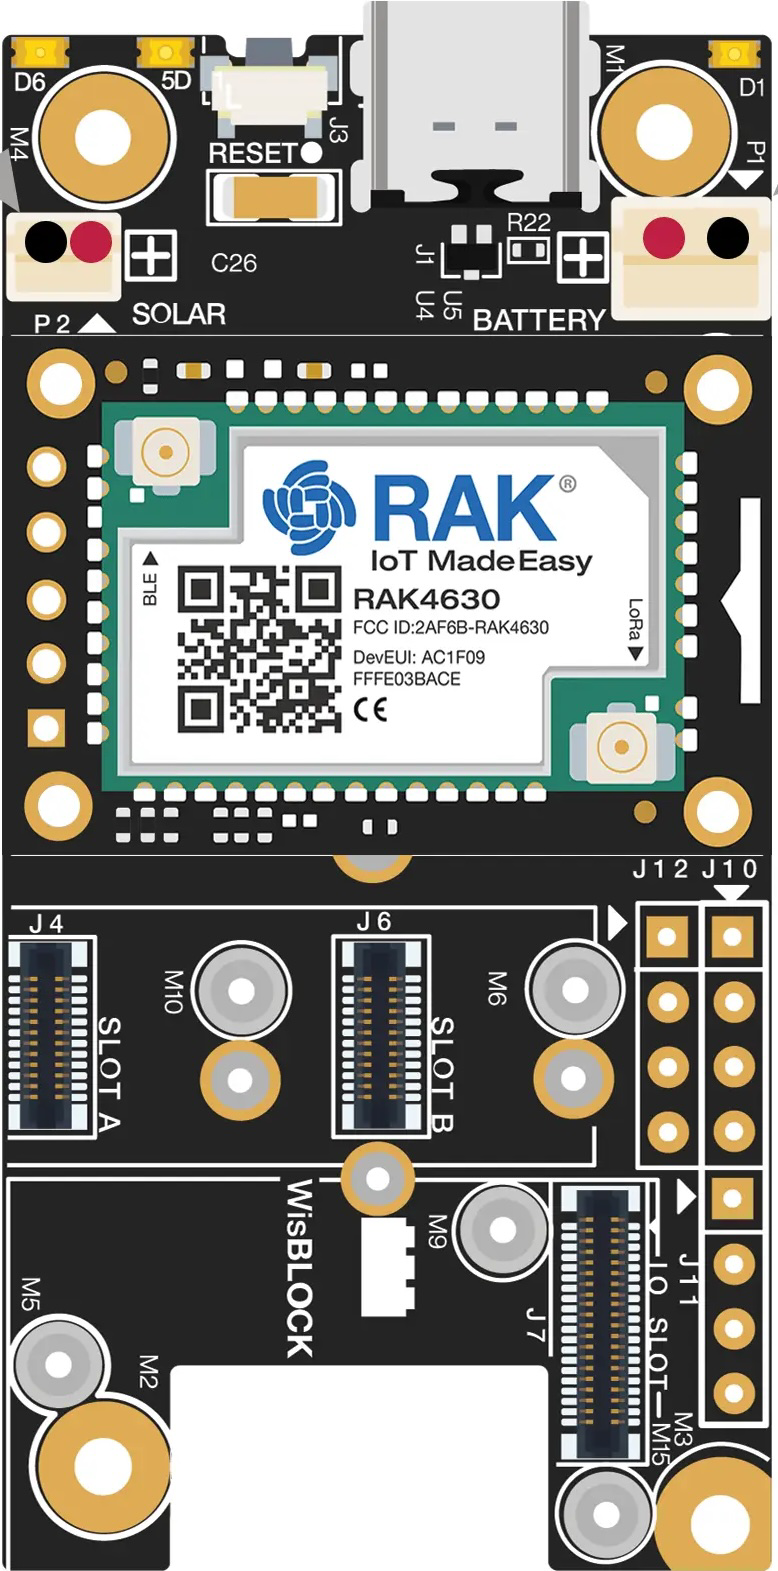
The RAK19007 is a high-precision temperature and humidity sensor manufactured by RAK. It is specifically designed for Internet of Things (IoT) applications, offering reliable and accurate environmental monitoring. The sensor provides a digital output and is capable of measuring temperature in the range of -40°C to 125°C and relative humidity (RH) from 0% to 100%. Its compact design and robust performance make it ideal for applications such as smart agriculture, industrial automation, weather stations, and indoor air quality monitoring.

Explore Projects Built with RAK19007

Use Cirkit Designer to design, explore, and prototype these projects online. Some projects support real-time simulation. Click "Open Project" to start designing instantly!
Battery-Powered Emergency Alert System with NUCLEO-F072RB, SIM800L, and GPS NEO 6M
Image of women safety: A project utilizing RAK19007 in a practical application
This circuit is an emergency alert system that uses a NUCLEO-F072RB microcontroller to send SMS alerts and make calls via a SIM800L GSM module, while obtaining location data from a GPS NEO 6M module. The system is powered by a Li-ion battery and includes a TP4056 module for battery charging and protection, with a rocker switch to control power to the microcontroller.
Cirkit Designer LogoOpen Project in Cirkit Designer
Arduino Nano RF Remote Controller with Dual Joysticks and Potentiometers
Image of RC-SP-01 - Controller: A project utilizing RAK19007 in a practical application
This circuit is an RF remote controller using an Arduino Nano, two dual-axis joysticks, multiple push buttons, and potentiometers to capture user inputs. The inputs are transmitted wirelessly via an NRF24L01 module, with power regulation provided by a 3.3V regulator and capacitors for stability.
Cirkit Designer LogoOpen Project in Cirkit Designer
Battery-Powered Remote-Controlled Dual Motor System with Cytron URC10
Image of URC10 SUMO RC: A project utilizing RAK19007 in a practical application
This circuit is a remote-controlled dual DC motor driver system powered by a 3S LiPo battery. It uses a Cytron URC10 motor driver to control two GM25 DC motors based on signals received from an R6FG receiver, with a rocker switch for power control and a 7-segment panel voltmeter for monitoring the battery voltage.
Cirkit Designer LogoOpen Project in Cirkit Designer
Arduino Mega ADK Controlled Robotic Vehicle with Ultrasonic Sensors and IR Remote
Image of Robo Reativo: A project utilizing RAK19007 in a practical application
This circuit features an Arduino Mega ADK (Rev3) microcontroller interfaced with multiple HC-SR04 ultrasonic sensors and an IR receiver, suggesting a system designed for distance measurement and remote control. The L298N motor driver is connected to the Arduino and two DC motors, indicating the capability to drive motors based on sensor inputs or remote commands. A toggle switch and 9V batteries are included for power management and supply.
Cirkit Designer LogoOpen Project in Cirkit Designer

Explore Projects Built with RAK19007

Use Cirkit Designer to design, explore, and prototype these projects online. Some projects support real-time simulation. Click "Open Project" to start designing instantly!
Image of women safety: A project utilizing RAK19007 in a practical application
Battery-Powered Emergency Alert System with NUCLEO-F072RB, SIM800L, and GPS NEO 6M
This circuit is an emergency alert system that uses a NUCLEO-F072RB microcontroller to send SMS alerts and make calls via a SIM800L GSM module, while obtaining location data from a GPS NEO 6M module. The system is powered by a Li-ion battery and includes a TP4056 module for battery charging and protection, with a rocker switch to control power to the microcontroller.
Cirkit Designer LogoOpen Project in Cirkit Designer
Image of RC-SP-01 - Controller: A project utilizing RAK19007 in a practical application
Arduino Nano RF Remote Controller with Dual Joysticks and Potentiometers
This circuit is an RF remote controller using an Arduino Nano, two dual-axis joysticks, multiple push buttons, and potentiometers to capture user inputs. The inputs are transmitted wirelessly via an NRF24L01 module, with power regulation provided by a 3.3V regulator and capacitors for stability.
Cirkit Designer LogoOpen Project in Cirkit Designer
Image of URC10 SUMO RC: A project utilizing RAK19007 in a practical application
Battery-Powered Remote-Controlled Dual Motor System with Cytron URC10
This circuit is a remote-controlled dual DC motor driver system powered by a 3S LiPo battery. It uses a Cytron URC10 motor driver to control two GM25 DC motors based on signals received from an R6FG receiver, with a rocker switch for power control and a 7-segment panel voltmeter for monitoring the battery voltage.
Cirkit Designer LogoOpen Project in Cirkit Designer
Image of Robo Reativo: A project utilizing RAK19007 in a practical application
Arduino Mega ADK Controlled Robotic Vehicle with Ultrasonic Sensors and IR Remote
This circuit features an Arduino Mega ADK (Rev3) microcontroller interfaced with multiple HC-SR04 ultrasonic sensors and an IR receiver, suggesting a system designed for distance measurement and remote control. The L298N motor driver is connected to the Arduino and two DC motors, indicating the capability to drive motors based on sensor inputs or remote commands. A toggle switch and 9V batteries are included for power management and supply.
Cirkit Designer LogoOpen Project in Cirkit Designer

Technical Specifications

The RAK19007 sensor is built to deliver precise environmental data with minimal power consumption. Below are its key technical specifications:

Key Specifications

Parameter Value
Temperature Range -40°C to 125°C
Humidity Range 0% to 100% RH
Accuracy (Temperature) ±0.2°C
Accuracy (Humidity) ±2% RH
Supply Voltage 1.8V to 3.6V
Communication Protocol I²C
Operating Current 0.6 mA (typical)
Standby Current <1 µA
Dimensions 15 mm x 10 mm x 2 mm

Pin Configuration and Descriptions

The RAK19007 features a standard I²C interface with the following pinout:

Pin Name Pin Number Description
VCC 1 Power supply input (1.8V to 3.6V)
GND 2 Ground connection
SDA 3 I²C data line
SCL 4 I²C clock line
INT 5 Interrupt pin (optional, for event notifications)

Usage Instructions

The RAK19007 is straightforward to integrate into IoT systems, thanks to its I²C interface. Below are the steps to use the sensor in a circuit and some best practices:

Connecting the RAK19007 to a Microcontroller

  1. Power Supply: Connect the VCC pin to a 3.3V power source and the GND pin to ground.
  2. I²C Communication: Connect the SDA and SCL pins to the corresponding I²C pins on your microcontroller.
  3. Optional Interrupt: If you want to use the interrupt feature, connect the INT pin to a GPIO pin on your microcontroller.
  4. Pull-Up Resistors: Ensure that the SDA and SCL lines have pull-up resistors (typically 4.7 kΩ) if not already provided by your microcontroller.

Example Code for Arduino UNO

Below is an example Arduino sketch to read temperature and humidity data from the RAK19007:

#include <Wire.h>

// I2C address of the RAK19007 sensor
#define RAK19007_ADDRESS 0x44

void setup() {
  Serial.begin(9600); // Initialize serial communication
  Wire.begin();       // Initialize I2C communication

  // Check if the sensor is connected
  Wire.beginTransmission(RAK19007_ADDRESS);
  if (Wire.endTransmission() != 0) {
    Serial.println("RAK19007 not detected. Check connections.");
    while (1); // Halt execution if sensor is not found
  }
  Serial.println("RAK19007 detected successfully.");
}

void loop() {
  float temperature, humidity;

  // Request 4 bytes of data from the sensor
  Wire.beginTransmission(RAK19007_ADDRESS);
  Wire.write(0x00); // Command to read temperature and humidity
  Wire.endTransmission();
  Wire.requestFrom(RAK19007_ADDRESS, 4);

  if (Wire.available() == 4) {
    // Read temperature and humidity data
    uint16_t tempRaw = (Wire.read() << 8) | Wire.read();
    uint16_t humRaw = (Wire.read() << 8) | Wire.read();

    // Convert raw data to human-readable values
    temperature = -45.0 + 175.0 * ((float)tempRaw / 65535.0);
    humidity = 100.0 * ((float)humRaw / 65535.0);

    // Print the results
    Serial.print("Temperature: ");
    Serial.print(temperature);
    Serial.println(" °C");

    Serial.print("Humidity: ");
    Serial.print(humidity);
    Serial.println(" %RH");
  } else {
    Serial.println("Failed to read data from RAK19007.");
  }

  delay(2000); // Wait 2 seconds before the next reading
}

Best Practices

  • Use decoupling capacitors (e.g., 0.1 µF) near the VCC pin to stabilize the power supply.
  • Avoid placing the sensor in direct sunlight or near heat sources to ensure accurate readings.
  • Calibrate the sensor periodically if used in critical applications.

Troubleshooting and FAQs

Common Issues and Solutions

  1. Sensor Not Detected:

    • Cause: Incorrect wiring or I²C address mismatch.
    • Solution: Verify the connections and ensure the I²C address matches the sensor's default (0x44).
  2. Inaccurate Readings:

    • Cause: Environmental factors such as condensation or dust.
    • Solution: Ensure the sensor is clean and placed in a suitable environment.
  3. No Data Output:

    • Cause: Missing pull-up resistors on the I²C lines.
    • Solution: Add 4.7 kΩ pull-up resistors to the SDA and SCL lines.

FAQs

Q: Can the RAK19007 operate at 5V?
A: No, the RAK19007 operates within a supply voltage range of 1.8V to 3.6V. Using 5V may damage the sensor.

Q: How do I extend the I²C bus for longer distances?
A: Use lower-value pull-up resistors (e.g., 2.2 kΩ) and shielded cables to reduce noise.

Q: Is the sensor waterproof?
A: No, the RAK19007 is not waterproof. Use a protective enclosure for outdoor applications.