
How to Use LUXEON-REBEL: Examples, Pinouts, and Specs

 Design with LUXEON-REBEL in Cirkit Designer
Introduction
The LUXEON-REBEL is a high-performance LED designed for a variety of lighting applications. It offers high luminous efficacy, excellent color quality, and robust performance, making it a versatile choice for demanding lighting needs. This LED is widely used in applications such as general illumination, automotive lighting, and specialty lighting, where efficiency and reliability are critical.
Explore Projects Built with LUXEON-REBEL
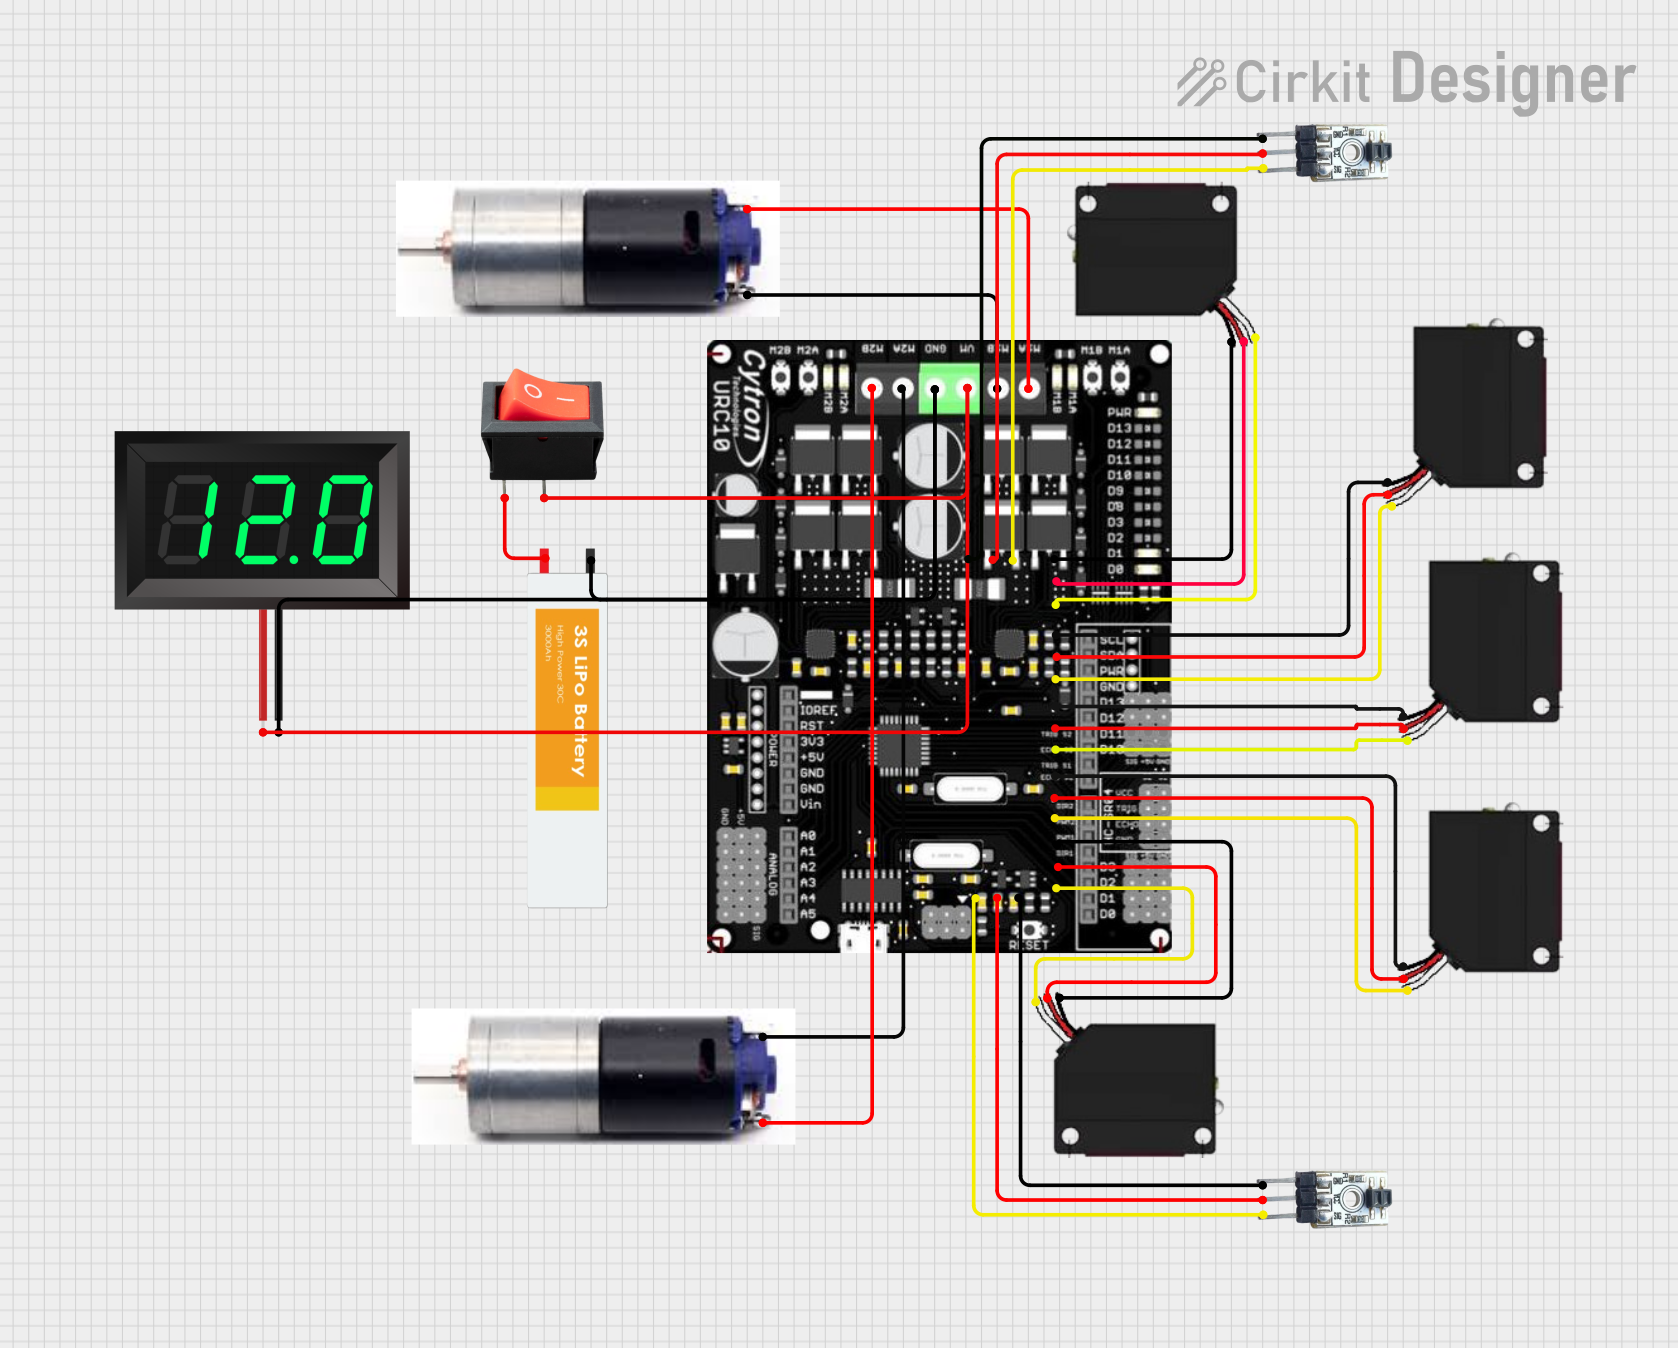 Open Project in Cirkit Designer
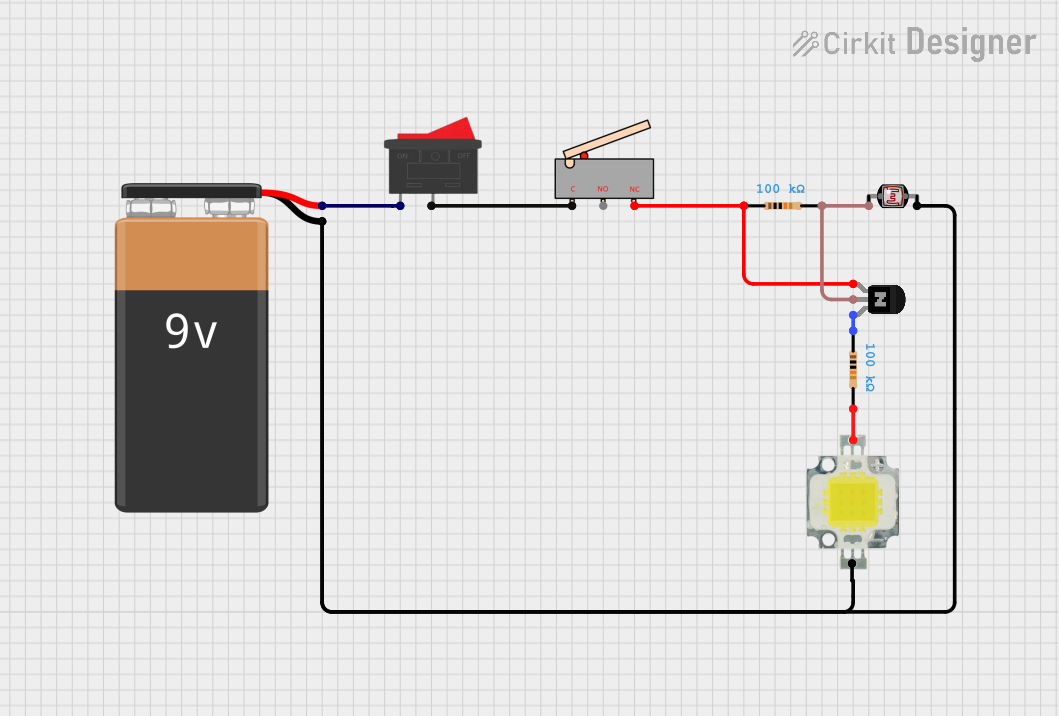 Open Project in Cirkit Designer
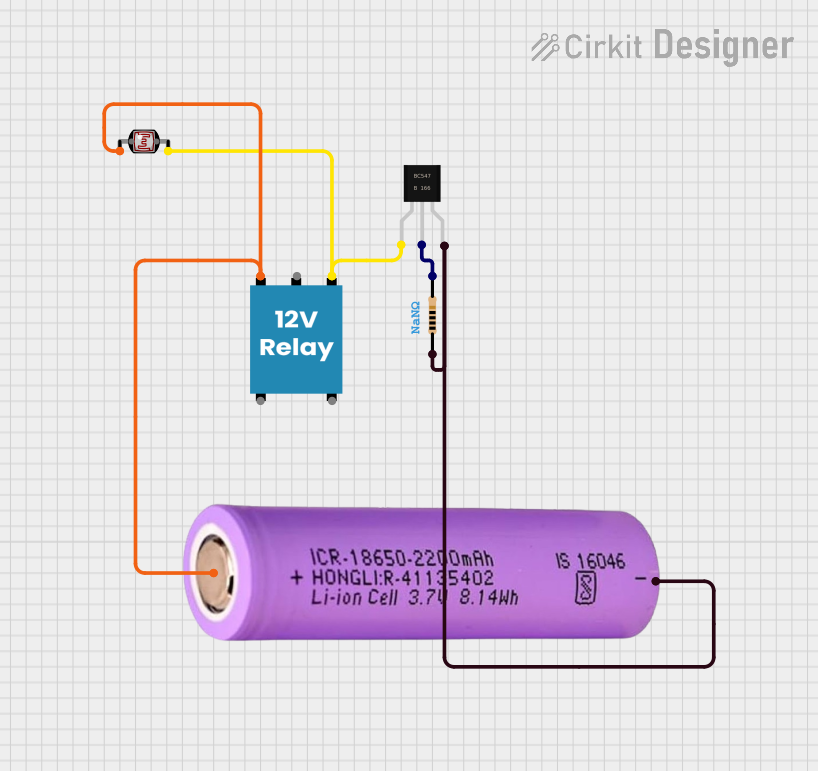 Open Project in Cirkit Designer
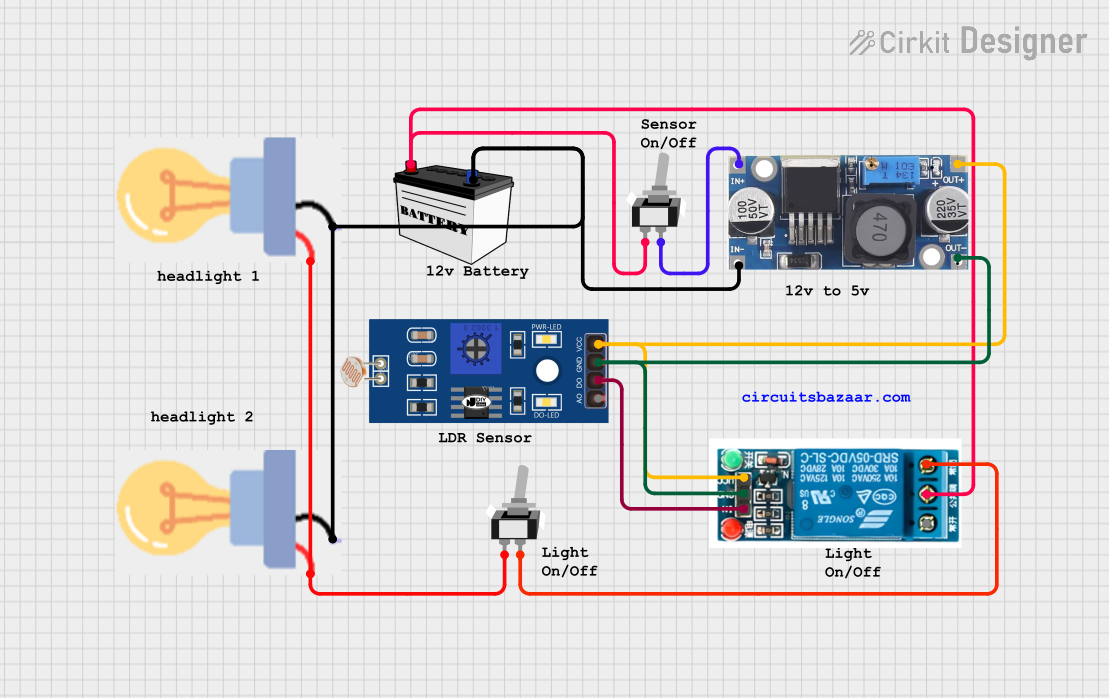 Open Project in Cirkit Designer
Explore Projects Built with LUXEON-REBEL
Open Project in Cirkit DesignerOpen Project in Cirkit DesignerOpen Project in Cirkit DesignerOpen Project in Cirkit DesignerTechnical Specifications
The following table outlines the key technical specifications of the LUXEON-REBEL LED:
| Parameter | Value |
|---|---|
| Forward Voltage (Vf) | 2.0V to 3.5V (depending on color variant) |
| Forward Current (If) | Up to 700mA (typical) |
| Maximum Power | 3W |
| Luminous Flux | Up to 300 lumens (depending on variant) |
| Color Temperature (CCT) | 2700K to 6500K (white variants) |
| Color Rendering Index | Up to 85 (white variants) |
| Thermal Resistance (Rθj-c) | 6°C/W |
| Operating Temperature | -40°C to +135°C |
| Viewing Angle | 120° |
Pin Configuration and Descriptions
The LUXEON-REBEL LED is a surface-mount device (SMD) with three primary connections:
| Pin | Name | Description |
|---|---|---|
| 1 | Anode (+) | Positive terminal for forward current flow |
| 2 | Cathode (-) | Negative terminal for forward current flow |
| 3 | Thermal Pad | Provides thermal dissipation; connect to PCB thermal pad for heat sinking |
Usage Instructions
How to Use the LUXEON-REBEL in a Circuit
- Power Supply: Use a constant current LED driver to power the LUXEON-REBEL. Ensure the driver matches the forward voltage and current requirements of the LED.
- Thermal Management: Proper heat dissipation is critical for optimal performance and longevity. Mount the LED on a metal-core PCB (MCPCB) or use a heatsink to manage heat effectively.
- Soldering: Use reflow soldering for mounting the LED. Follow the manufacturer's recommended soldering profile to avoid thermal damage.
- Polarity: Ensure correct polarity when connecting the LED. Reversing the polarity can damage the component.
Important Considerations and Best Practices
- Current Limiting: Always use a current-limiting resistor or a constant current driver to prevent overdriving the LED.
- Thermal Interface Material (TIM): Apply a thermal interface material between the LED and the heatsink to improve thermal conductivity.
- ESD Protection: Handle the LED with care to avoid electrostatic discharge (ESD) damage. Use ESD-safe tools and workstations.
- Optics: For specific beam shaping or diffusion, pair the LED with compatible secondary optics such as lenses or reflectors.
Example: Connecting LUXEON-REBEL to an Arduino UNO
Below is an example of how to control the LUXEON-REBEL LED using an Arduino UNO and a MOSFET for current regulation.
/*
  Example: Controlling LUXEON-REBEL LED with Arduino UNO
  This example uses PWM to dim the LED. A MOSFET is used to handle the high current
  required by the LED. Ensure proper heat dissipation for the LED and MOSFET.
*/

const int pwmPin = 9; // PWM pin connected to the MOSFET gate

void setup() {
  pinMode(pwmPin, OUTPUT); // Set the PWM pin as an output
}

void loop() {
  // Gradually increase brightness
  for (int brightness = 0; brightness <= 255; brightness++) {
    analogWrite(pwmPin, brightness); // Set PWM duty cycle
    delay(10); // Small delay for smooth transition
  }

  // Gradually decrease brightness
  for (int brightness = 255; brightness >= 0; brightness--) {
    analogWrite(pwmPin, brightness); // Set PWM duty cycle
    delay(10); // Small delay for smooth transition
  }
}
Note: Use a suitable MOSFET (e.g., IRLZ44N) that can handle the current requirements of the LUXEON-REBEL. Connect the MOSFET's source to ground, drain to the LED cathode, and the LED anode to the positive supply.
Troubleshooting and FAQs
Common Issues and Solutions
LED Does Not Light Up:
- Cause: Incorrect polarity or insufficient current.
- Solution: Verify the polarity of the connections and ensure the power supply provides the required current.
LED Overheats:
- Cause: Inadequate thermal management.
- Solution: Ensure the LED is mounted on a heatsink or MCPCB with proper thermal interface material.
Flickering or Dim Output:
- Cause: Unstable power supply or insufficient current.
- Solution: Use a constant current driver and check for loose connections.
ESD Damage:
- Cause: Improper handling of the LED.
- Solution: Use ESD-safe tools and handle the LED in an ESD-protected environment.
FAQs
Q: Can I power the LUXEON-REBEL directly from a battery?
A: No, it is recommended to use a constant current driver to ensure stable operation and prevent overcurrent damage.Q: What is the maximum current I can drive through the LED?
A: The typical maximum forward current is 700mA. Exceeding this value may damage the LED.Q: How do I choose a heatsink for the LED?
A: Select a heatsink with a thermal resistance low enough to maintain the LED junction temperature below its maximum rating, considering the power dissipation.Q: Can I use the LUXEON-REBEL for outdoor applications?
A: Yes, but ensure the LED is housed in a weatherproof enclosure and operates within its specified temperature range.
By following these guidelines and best practices, you can achieve optimal performance and longevity from your LUXEON-REBEL LED.