
How to Use SIM Socket: Examples, Pinouts, and Specs
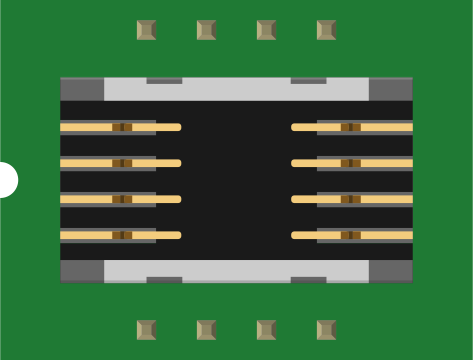
 Design with SIM Socket in Cirkit Designer
Introduction
The SIM Socket (Manufacturer: SparkFun, Part ID: PRT-00548) is a compact and reliable connector designed to hold a Subscriber Identity Module (SIM) card. This component enables mobile devices, such as GSM modules, IoT devices, and cellular-enabled systems, to connect to cellular networks for communication and data services. It is an essential component for projects requiring mobile connectivity, such as remote monitoring, GPS tracking, and SMS-based control systems.
Explore Projects Built with SIM Socket
 Open Project in Cirkit Designer
 Open Project in Cirkit Designer
 Open Project in Cirkit Designer
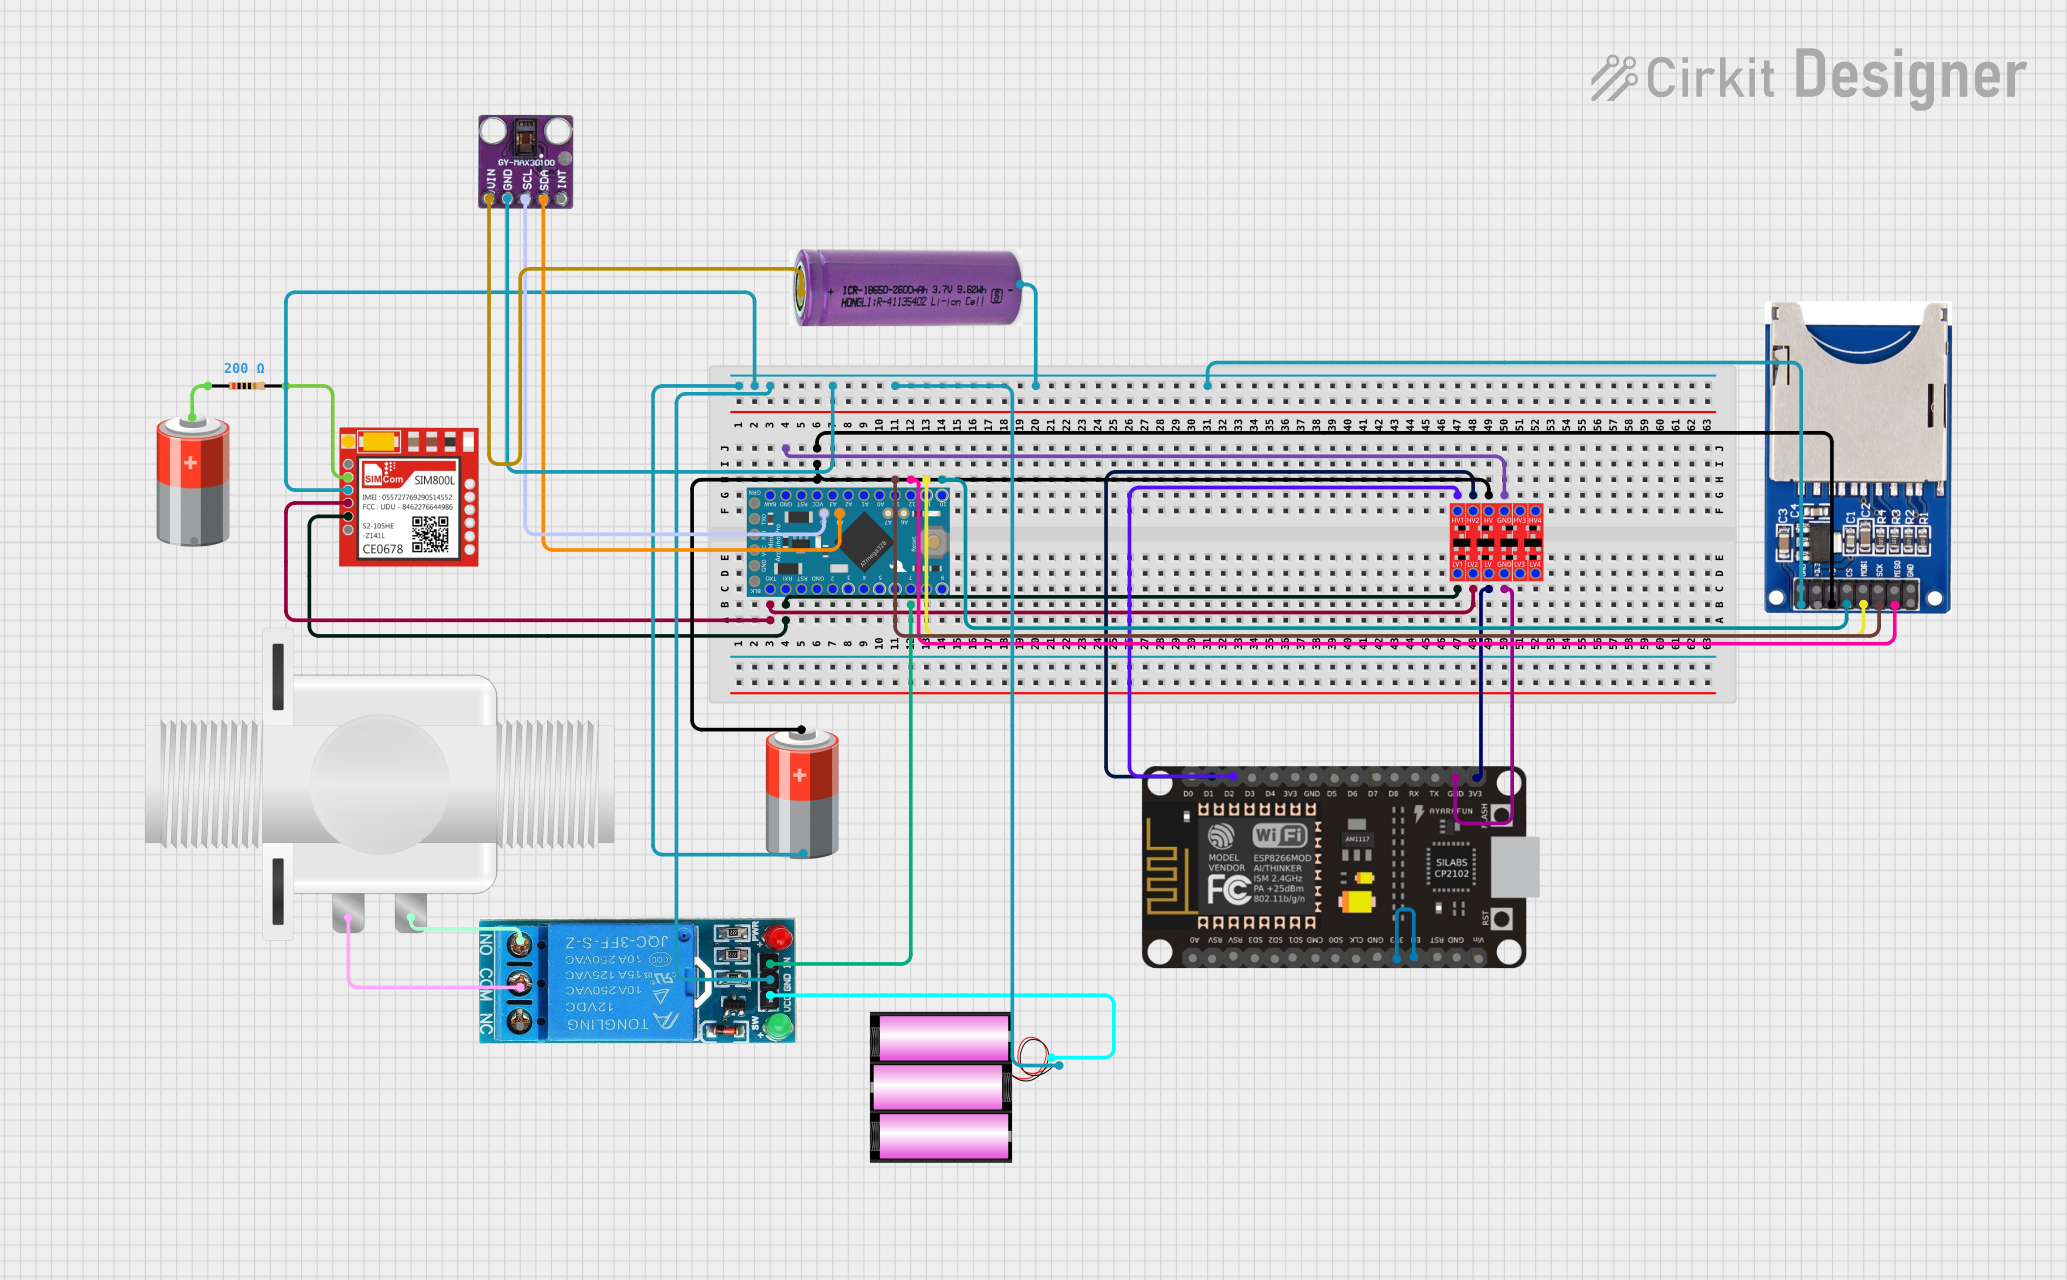 Open Project in Cirkit Designer
Explore Projects Built with SIM Socket
Open Project in Cirkit DesignerOpen Project in Cirkit DesignerOpen Project in Cirkit DesignerOpen Project in Cirkit DesignerCommon Applications
- GSM/GPRS modules for IoT devices
- Cellular communication in embedded systems
- GPS tracking devices
- Remote monitoring and control systems
- SMS-based automation projects
Technical Specifications
The SparkFun SIM Socket (PRT-00548) is designed to interface with standard SIM cards and provides a secure and reliable connection. Below are the key technical details:
General Specifications
| Parameter | Value |
|---|---|
| Manufacturer | SparkFun |
| Part ID | PRT-00548 |
| Supported SIM Card Type | Standard SIM (2FF) |
| Operating Voltage | 3.0V to 5.0V |
| Contact Material | Gold-plated contacts |
| Mounting Type | Surface Mount (SMD) |
| Dimensions | 25.0mm x 15.0mm x 2.5mm |
| Durability | 5,000 insertion/removal cycles |
Pin Configuration and Descriptions
The SIM socket typically has six contact pins that interface with the SIM card. Below is the pin configuration and description:
| Pin Number | Name | Description |
|---|---|---|
| 1 | VCC | Power supply for the SIM card (3.0V to 5.0V). |
| 2 | RST | Reset signal for the SIM card. Used to reset the card's internal circuitry. |
| 3 | CLK | Clock signal for communication with the SIM card. |
| 4 | GND | Ground connection. |
| 5 | VPP | Programming voltage (not commonly used in modern SIM cards). |
| 6 | I/O | Data input/output for communication with the SIM card. |
Usage Instructions
How to Use the SIM Socket in a Circuit
Mounting the SIM Socket:
- The SIM socket is designed for surface-mount applications. Ensure proper alignment on the PCB before soldering.
- Use a reflow soldering process for secure and reliable connections.
Connecting to a GSM Module:
- Connect the pins of the SIM socket to the corresponding pins on the GSM module:
- VCC to the module's power supply (3.0V to 5.0V).
- GND to the module's ground.
- I/O, CLK, and RST to the respective communication pins on the GSM module.
- Ensure proper decoupling capacitors are placed near the VCC pin to stabilize the power supply.
- Connect the pins of the SIM socket to the corresponding pins on the GSM module:
Inserting the SIM Card:
- Insert the SIM card into the socket with the gold contacts facing down and aligned with the socket's pins.
- Ensure the card is securely seated to avoid intermittent connections.
Interfacing with an Arduino UNO:
- The SIM socket can be used with GSM modules that interface with Arduino boards. Below is an example code snippet for sending an SMS using an Arduino UNO and a GSM module:
#include <SoftwareSerial.h>

// Define RX and TX pins for GSM module communication
SoftwareSerial gsmSerial(7, 8); // RX = pin 7, TX = pin 8

void setup() {
  // Initialize serial communication
  Serial.begin(9600); // For debugging
  gsmSerial.begin(9600); // For GSM module communication

  Serial.println("Initializing GSM module...");
  delay(1000);

  // Send AT command to check GSM module response
  gsmSerial.println("AT");
  delay(1000);

  // Set SMS text mode
  gsmSerial.println("AT+CMGF=1"); // Set SMS mode to text
  delay(1000);

  // Send SMS
  gsmSerial.println("AT+CMGS=\"+1234567890\""); // Replace with recipient's phone number
  delay(1000);
  gsmSerial.println("Hello from Arduino!"); // SMS content
  delay(1000);
  gsmSerial.write(26); // Send Ctrl+Z to indicate end of message
  delay(1000);

  Serial.println("SMS sent!");
}

void loop() {
  // No actions in loop
}
Important Considerations
- Ensure the SIM card is compatible with the socket (Standard SIM, 2FF size).
- Avoid excessive force when inserting or removing the SIM card to prevent damage.
- Use proper ESD protection when handling the SIM socket and SIM card.
- Verify the GSM module's voltage requirements to ensure compatibility with the SIM socket.
Troubleshooting and FAQs
Common Issues and Solutions
SIM Card Not Detected:
- Ensure the SIM card is properly seated in the socket.
- Check the connections between the SIM socket and the GSM module.
- Verify that the SIM card is active and not locked with a PIN.
Intermittent Connection:
- Inspect the solder joints for any cold or loose connections.
- Ensure the SIM card contacts are clean and free of debris.
No Response from GSM Module:
- Verify the power supply to the GSM module and SIM socket.
- Check the communication pins (I/O, CLK, RST) for proper connections.
SIM Card Orientation:
- Double-check the orientation of the SIM card. The gold contacts should face down and align with the socket's pins.
FAQs
Q: Can I use a micro or nano SIM card with this socket?
A: No, this socket is designed for standard SIM cards (2FF). However, you can use an adapter to fit smaller SIM cards.
Q: What is the maximum voltage the SIM socket can handle?
A: The SIM socket operates within a voltage range of 3.0V to 5.0V. Exceeding this range may damage the SIM card or socket.
Q: How many insertion/removal cycles can the socket handle?
A: The socket is rated for up to 5,000 insertion/removal cycles, ensuring long-term durability.
Q: Is the SIM socket compatible with all GSM modules?
A: The SIM socket is compatible with most GSM modules that support standard SIM cards and operate within the specified voltage range. Always check the module's datasheet for compatibility.