How to Use Solar Panel 60W: Examples, Pinouts, and Specs

 Design with Solar Panel 60W in Cirkit Designer
Introduction
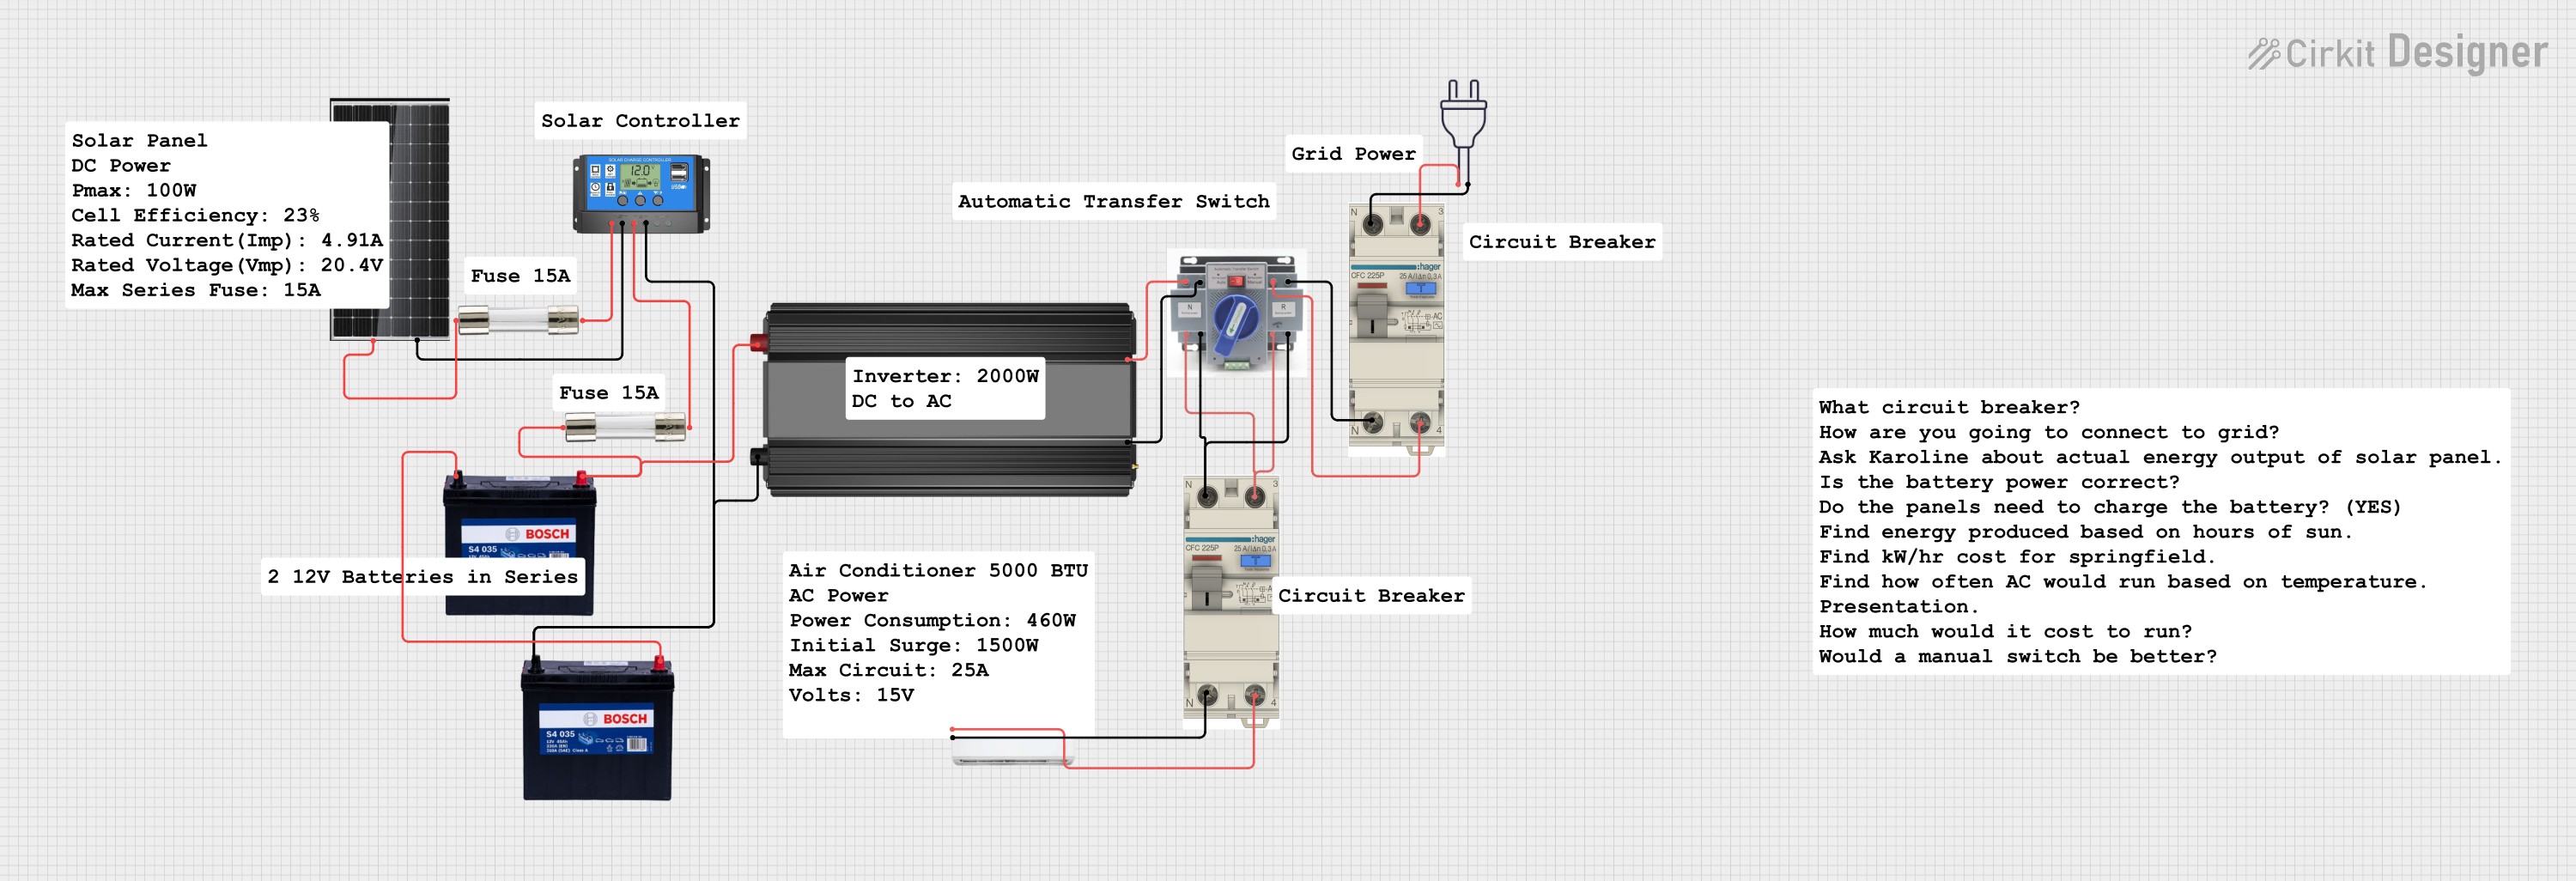
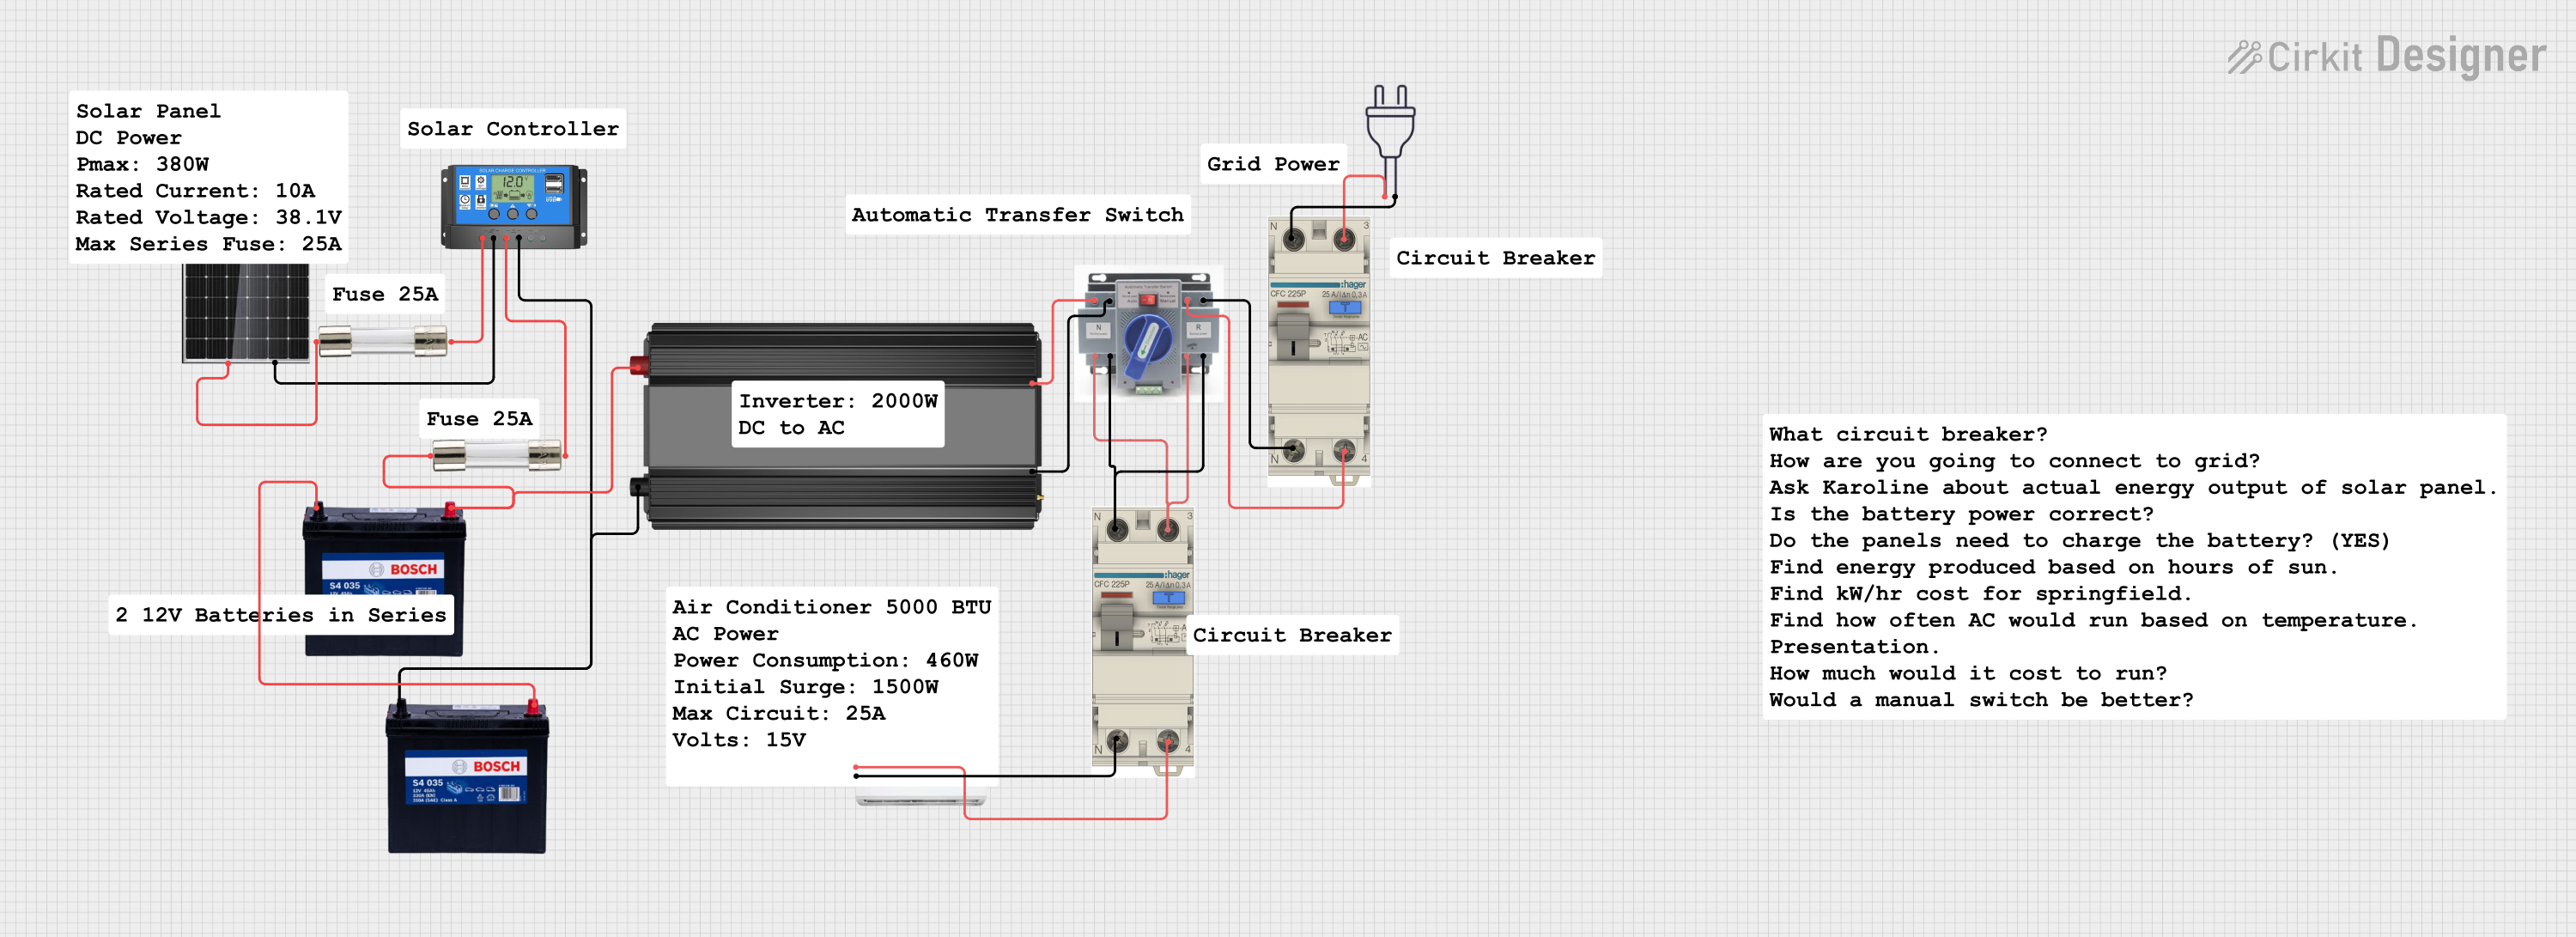
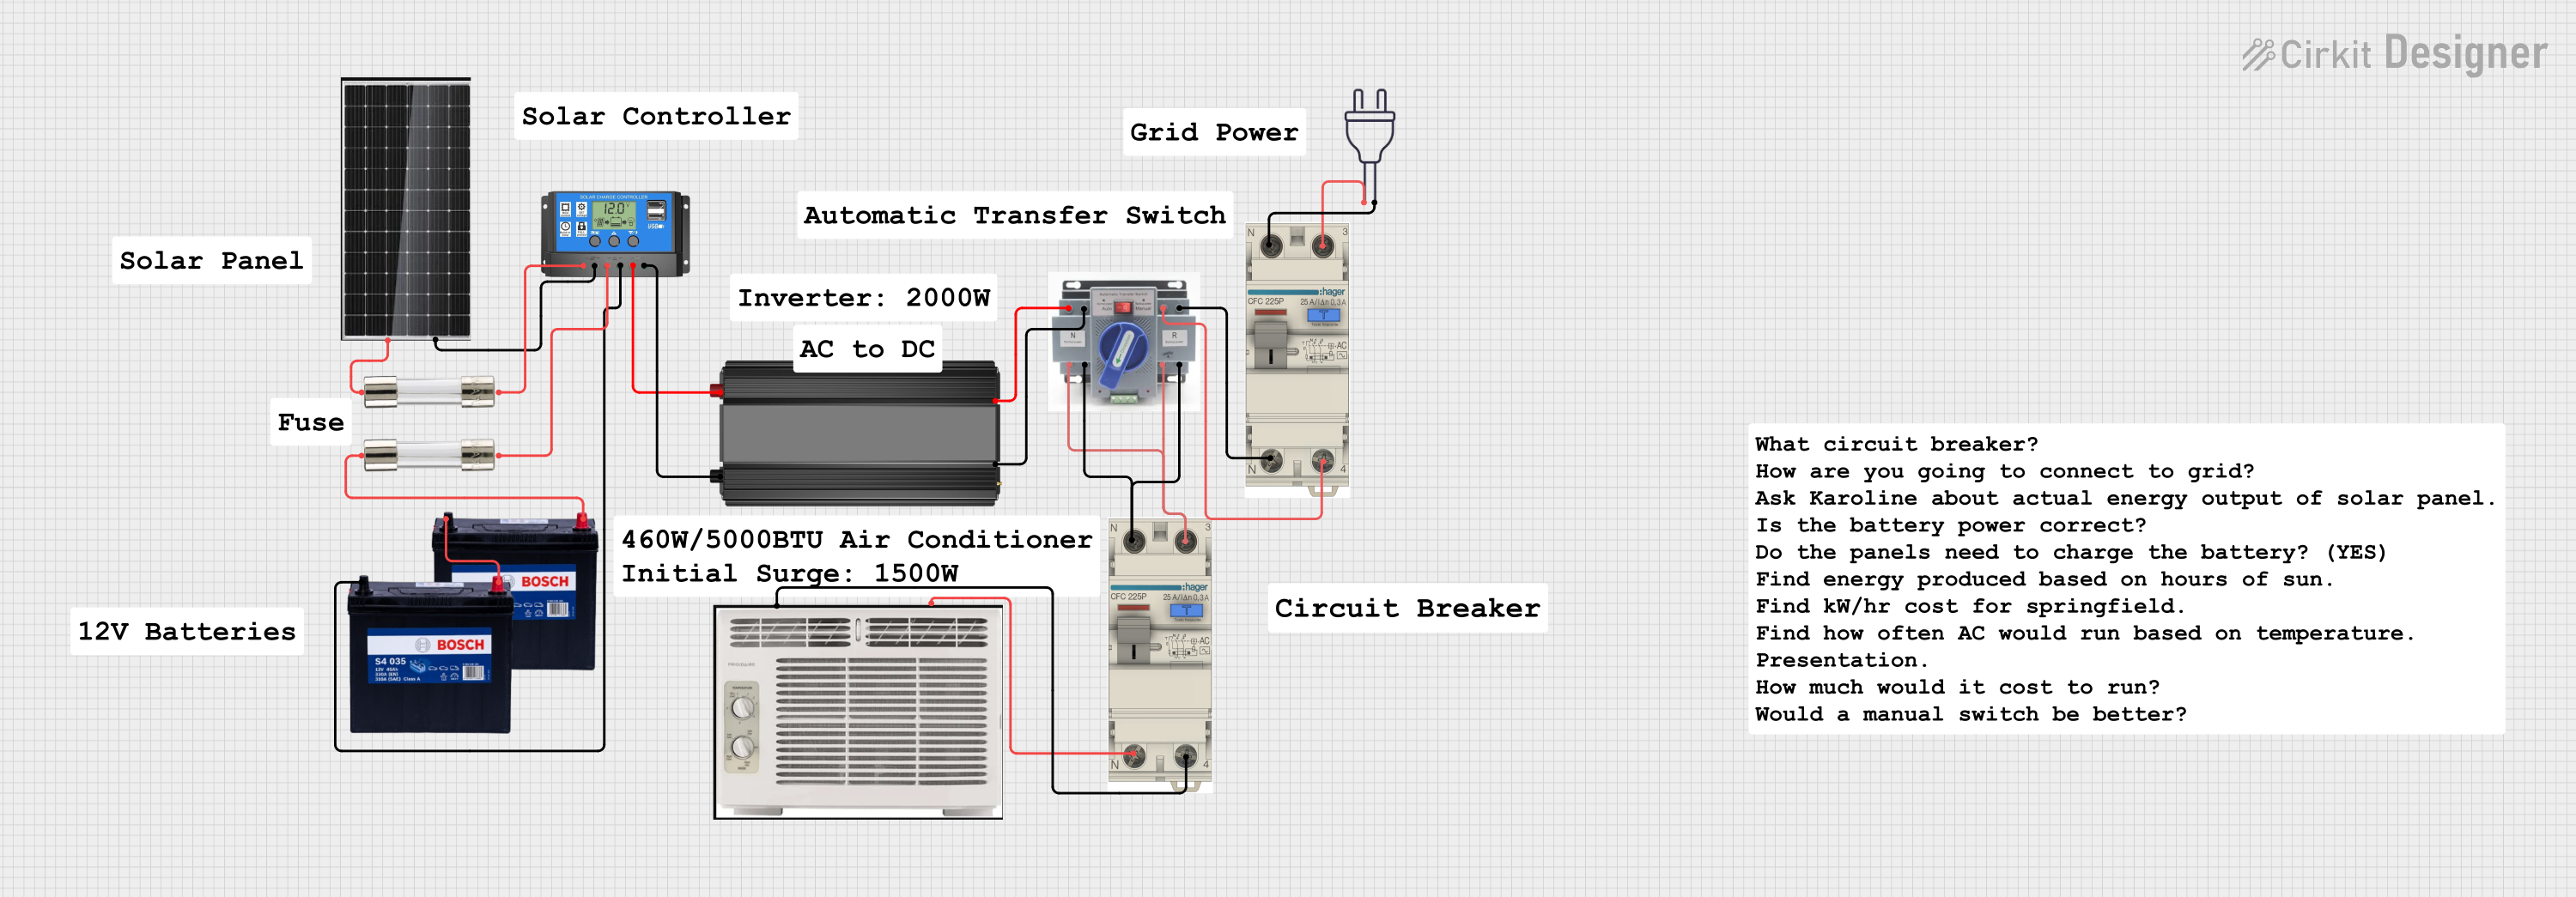
The Solar Panel 60W is a photovoltaic device designed to convert sunlight into electrical energy. With a maximum power output of 60 watts, this solar panel is ideal for small to medium-scale renewable energy systems. It is commonly used in off-grid setups, portable power systems, and battery charging applications. Its compact size and efficiency make it a popular choice for both residential and outdoor use.
Explore Projects Built with Solar Panel 60W

 Open Project in Cirkit Designer
 Open Project in Cirkit Designer
 Open Project in Cirkit Designer
 Open Project in Cirkit Designer
Explore Projects Built with Solar Panel 60W

 Open Project in Cirkit Designer
 Open Project in Cirkit Designer
 Open Project in Cirkit Designer
 Open Project in Cirkit Designer
Common Applications and Use Cases
- Charging 12V batteries for off-grid systems
- Powering small appliances and devices
- Portable solar generators
- Outdoor lighting systems
- Emergency backup power
Technical Specifications
Below are the key technical details of the Solar Panel 60W:
| Parameter | Value |
|---|---|
| Maximum Power (Pmax) | 60W |
| Voltage at Pmax (Vmp) | 18V |
| Current at Pmax (Imp) | 3.33A |
| Open Circuit Voltage (Voc) | 21.6V |
| Short Circuit Current (Isc) | 3.6A |
| Maximum System Voltage | 1000V DC |
| Operating Temperature | -40°C to +85°C |
| Dimensions | 670mm x 540mm x 30mm |
| Weight | 4.5kg |
| Connector Type | MC4 or compatible |
Pin Configuration and Descriptions
The Solar Panel 60W typically has two output terminals:
| Pin | Description | Notes |
|---|---|---|
| Positive (+) | Positive terminal | Connect to the positive input of the load or charge controller. |
| Negative (-) | Negative terminal | Connect to the negative input of the load or charge controller. |
Usage Instructions
How to Use the Solar Panel in a Circuit
- Positioning the Panel: Place the solar panel in direct sunlight for optimal performance. Ensure it is angled correctly based on your geographic location to maximize sunlight exposure.
- Connecting to a Charge Controller:
- Connect the positive terminal of the solar panel to the positive input of the charge controller.
- Connect the negative terminal of the solar panel to the negative input of the charge controller.
- Connecting to a Battery (if applicable):
- Use the charge controller to regulate the voltage and current before connecting to a 12V battery.
- Follow the charge controller's instructions for proper wiring.
- Powering a Load: Connect the load (e.g., lights, small appliances) to the output terminals of the charge controller or directly to the battery, depending on the setup.
Important Considerations and Best Practices
- Avoid Overloading: Ensure the connected load does not exceed the panel's maximum power output.
- Use a Charge Controller: Always use a charge controller to prevent overcharging or damaging the battery.
- Monitor Voltage and Current: Use a multimeter to verify the panel's output voltage and current before connecting it to a system.
- Weather Protection: While the panel is weather-resistant, avoid submerging it in water or exposing it to extreme conditions for prolonged periods.
- Series or Parallel Connections: For higher voltage or current requirements, multiple panels can be connected in series or parallel. Ensure compatibility with your system.
Example: Connecting to an Arduino UNO
The Solar Panel 60W can be used to power an Arduino UNO indirectly by charging a 12V battery and using a voltage regulator to step down the voltage to 5V. Below is an example code for reading a sensor powered by the solar panel system:
// Example Arduino code for reading a sensor powered by a solar panel system
// Ensure the solar panel charges a 12V battery, and use a 5V regulator for Arduino

const int sensorPin = A0; // Analog pin connected to the sensor
int sensorValue = 0;      // Variable to store the sensor reading

void setup() {
  Serial.begin(9600); // Initialize serial communication at 9600 baud
  pinMode(sensorPin, INPUT); // Set the sensor pin as input
}

void loop() {
  sensorValue = analogRead(sensorPin); // Read the sensor value
  Serial.print("Sensor Value: ");
  Serial.println(sensorValue); // Print the sensor value to the Serial Monitor
  delay(1000); // Wait for 1 second before the next reading
}
Troubleshooting and FAQs
Common Issues and Solutions
Low Power Output:
- Cause: Insufficient sunlight or shading on the panel.
- Solution: Ensure the panel is in direct sunlight and free from obstructions.
No Output Voltage:
- Cause: Loose or incorrect connections.
- Solution: Check all connections, ensuring the positive and negative terminals are correctly wired.
Overheating:
- Cause: Prolonged exposure to extreme heat.
- Solution: Ensure proper ventilation and avoid placing the panel in enclosed spaces.
Battery Not Charging:
- Cause: Faulty charge controller or incorrect wiring.
- Solution: Verify the charge controller's functionality and check the wiring.
FAQs
Can I connect the solar panel directly to a device?
- It is not recommended. Use a charge controller or voltage regulator to ensure safe operation.
How do I clean the solar panel?
- Use a soft cloth and water to remove dirt and debris. Avoid abrasive materials that could scratch the surface.
Can I use this panel indoors?
- The panel requires direct sunlight for optimal performance. Indoor use is not recommended unless under strong artificial light.
What happens if the panel is partially shaded?
- Partial shading can significantly reduce the panel's output. Position the panel to avoid shading for maximum efficiency.