
How to Use LilyPad Buzzer: Examples, Pinouts, and Specs
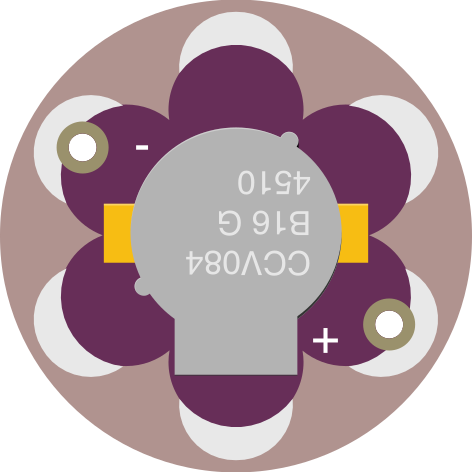
 Design with LilyPad Buzzer in Cirkit Designer
Introduction
The LilyPad Buzzer (Manufacturer Part ID: DEV-08463) is a small, lightweight, and sewable electronic component designed by SparkFun Electronics. It is part of the LilyPad series, which is specifically tailored for wearable electronics and e-textile projects. The buzzer produces sound when powered, making it ideal for applications requiring audio feedback, such as alarms, notifications, or interactive designs.
Explore Projects Built with LilyPad Buzzer
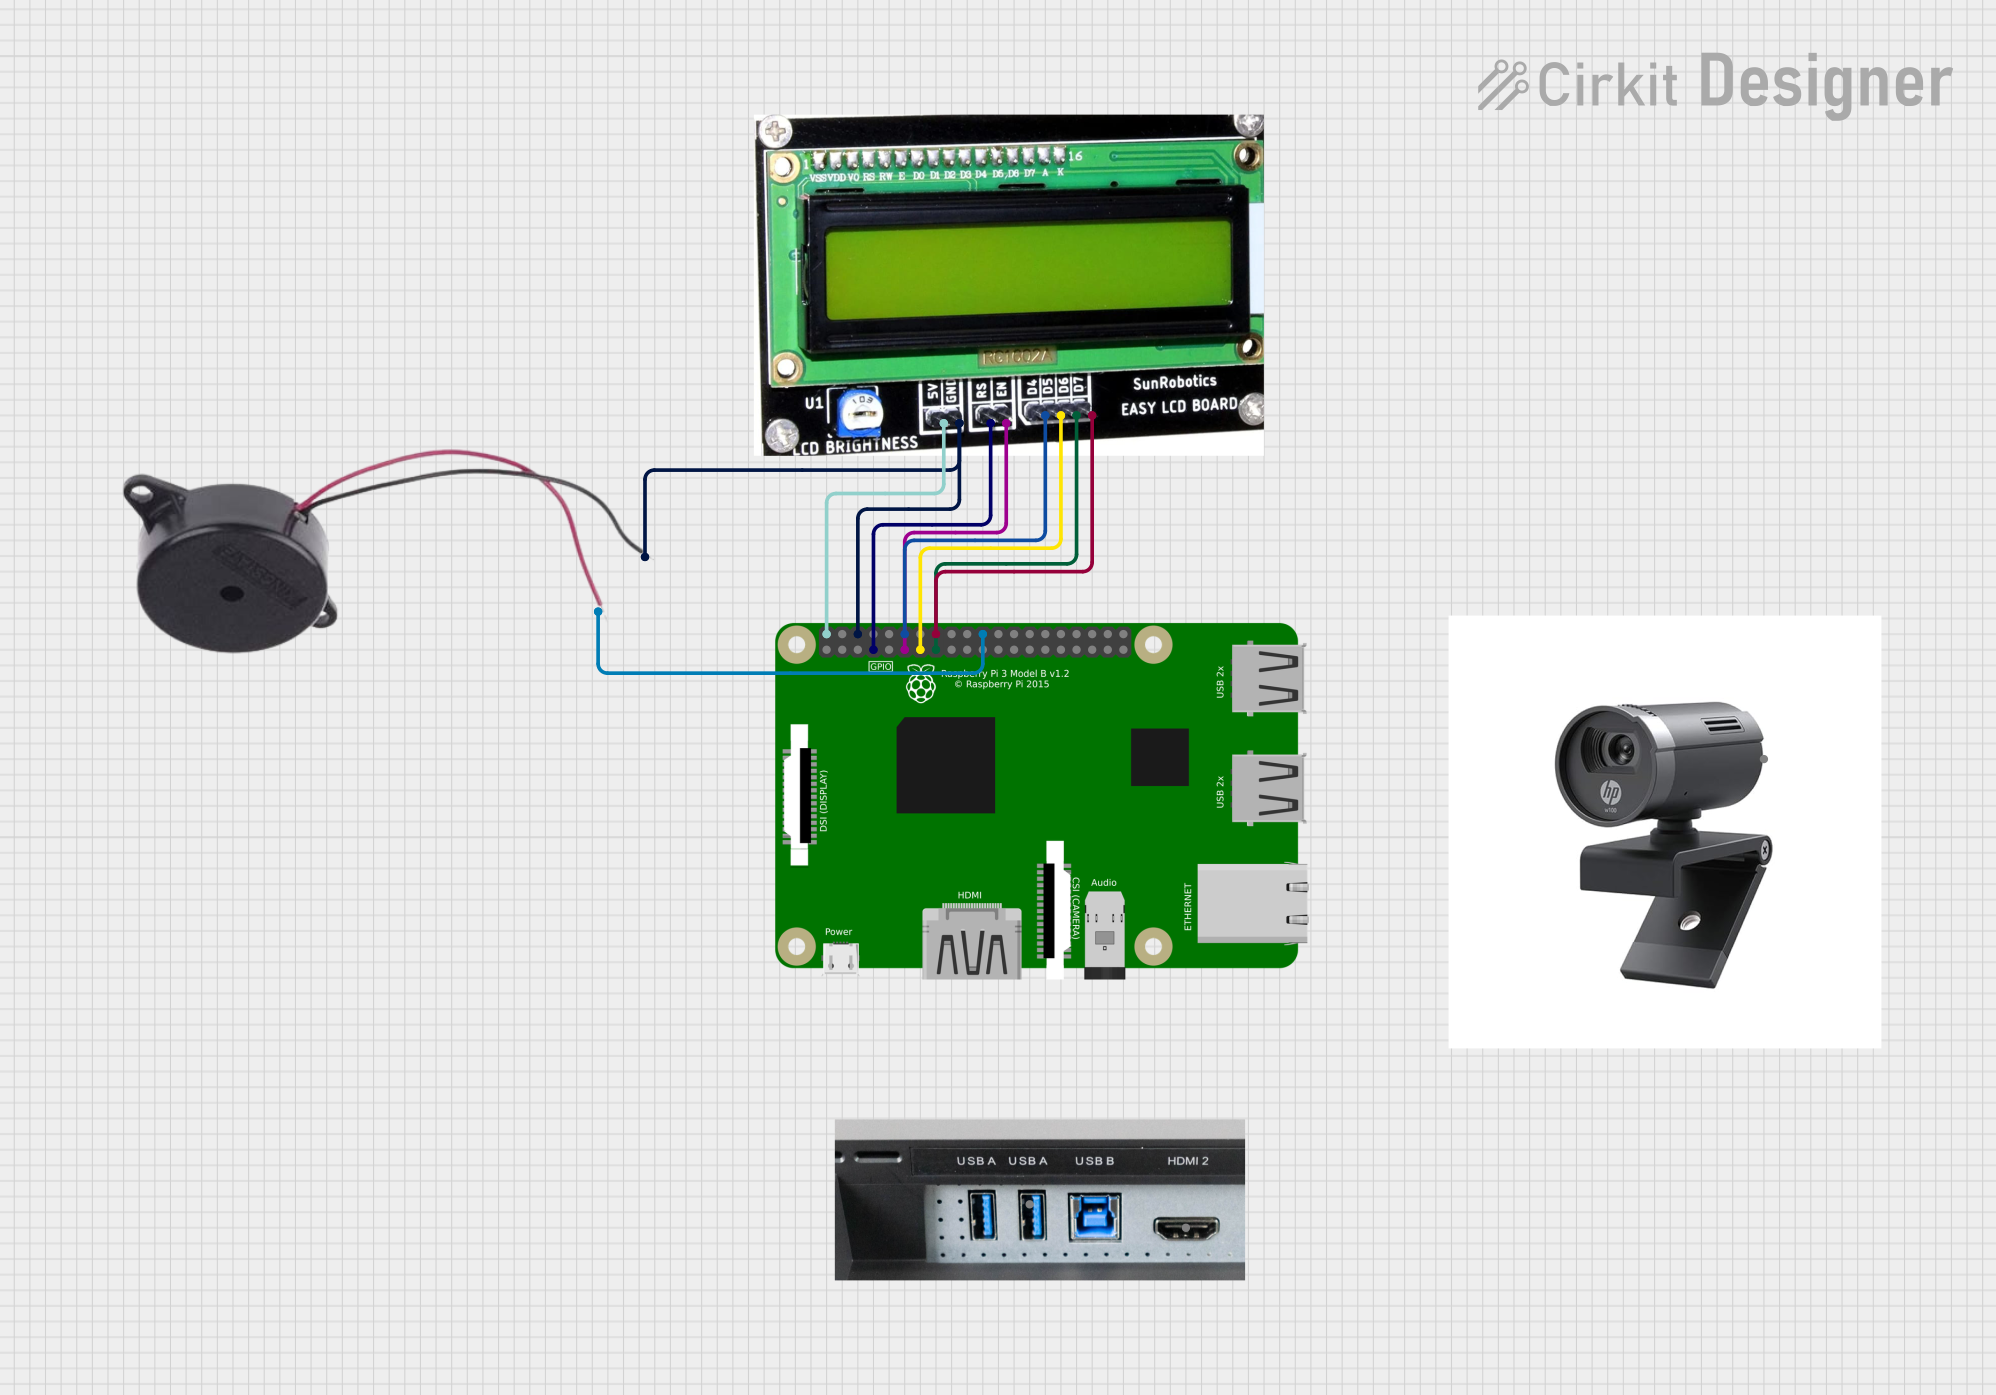 Open Project in Cirkit Designer
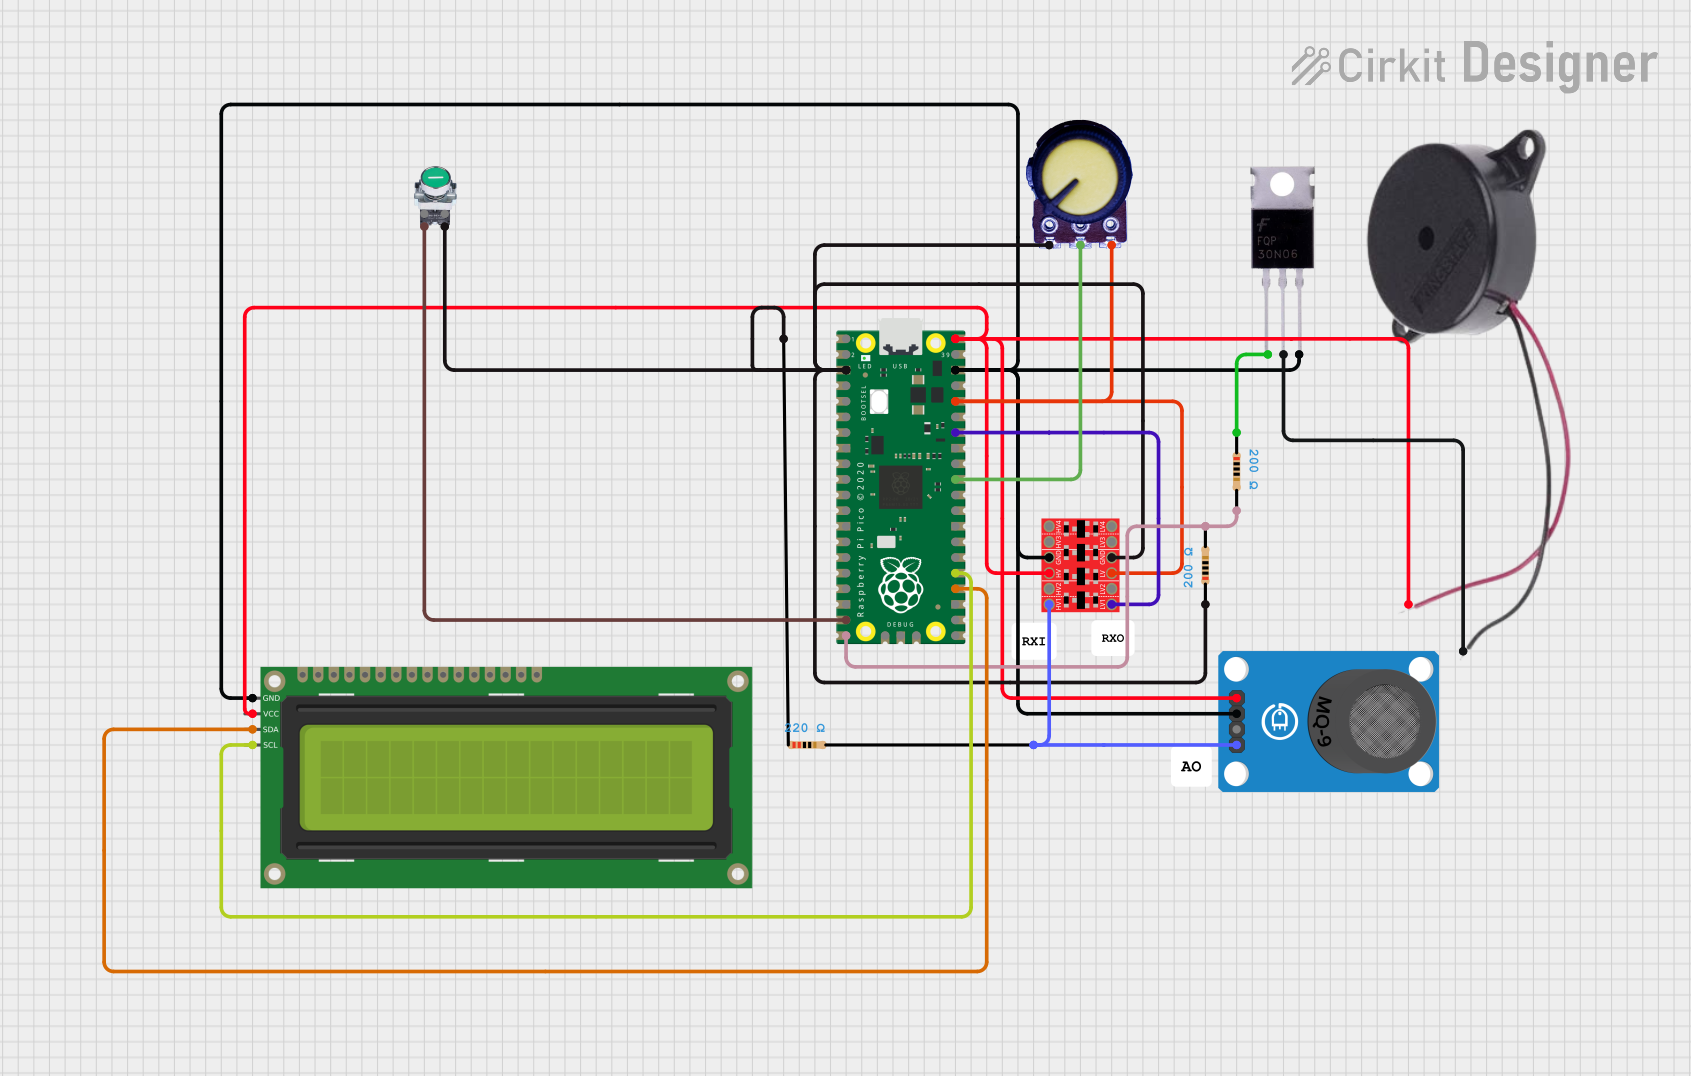 Open Project in Cirkit Designer
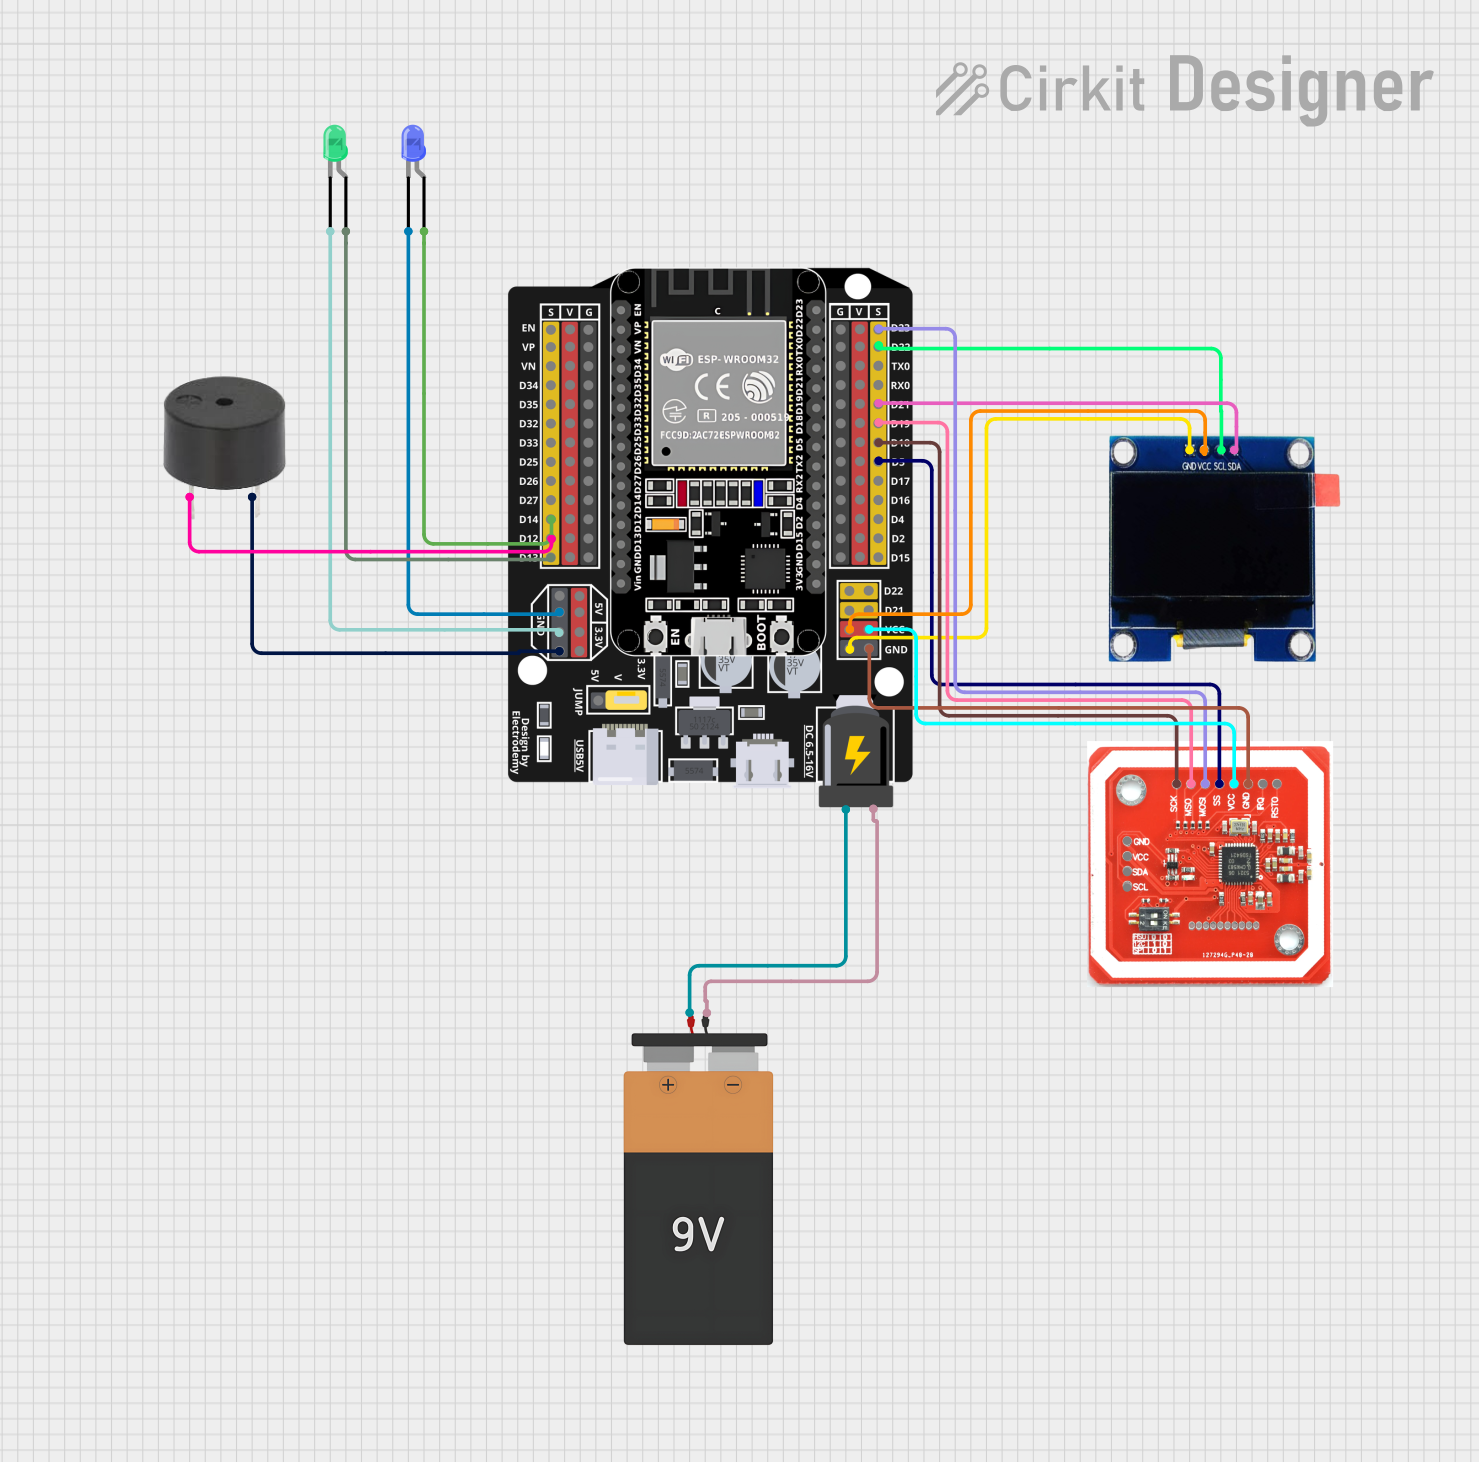 Open Project in Cirkit Designer
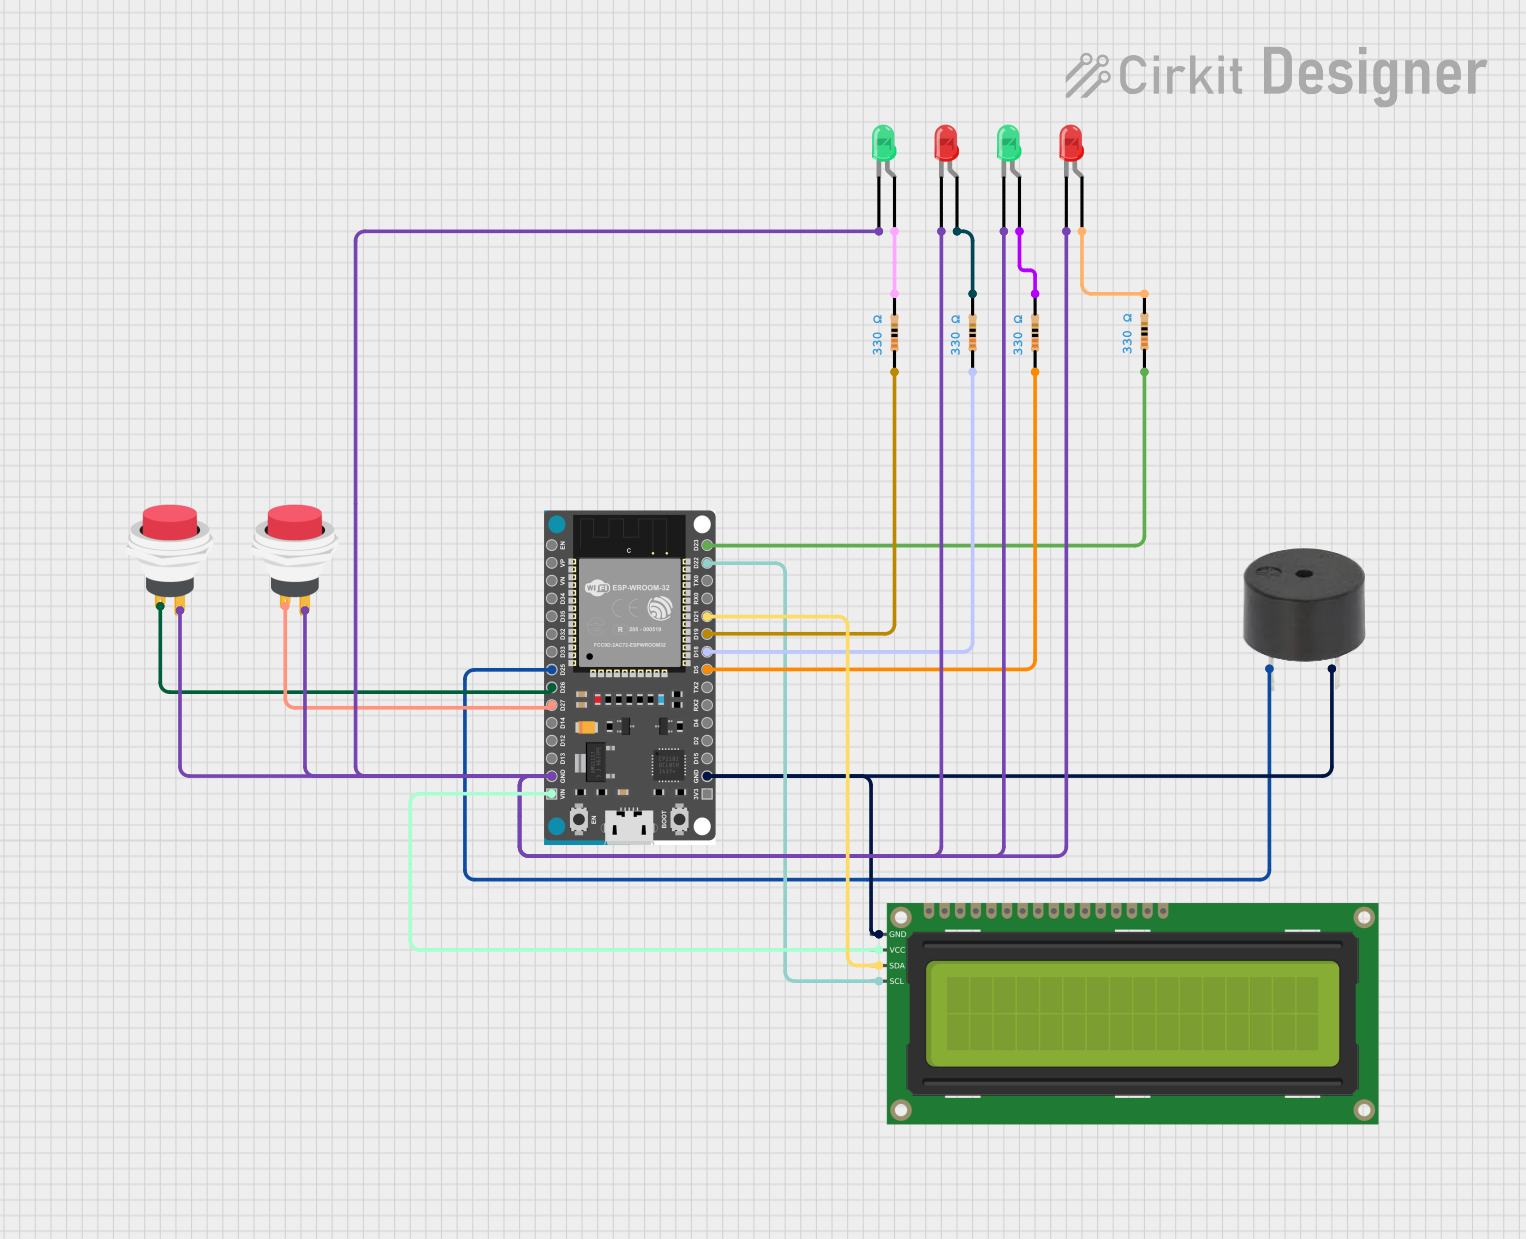 Open Project in Cirkit Designer
Explore Projects Built with LilyPad Buzzer
Open Project in Cirkit DesignerOpen Project in Cirkit DesignerOpen Project in Cirkit DesignerOpen Project in Cirkit DesignerCommon Applications and Use Cases
- Wearable electronics and e-textiles
- Audio feedback for interactive projects
- Alarms or notifications in compact designs
- Educational projects and prototyping
Technical Specifications
The LilyPad Buzzer is designed to be simple and efficient for wearable projects. Below are its key technical details:
Key Technical Details
| Parameter | Specification |
|---|---|
| Operating Voltage | 2.7V to 5.5V |
| Current Consumption | ~30mA at 5V |
| Sound Frequency | ~2kHz |
| Dimensions | 20mm diameter |
| Weight | ~1.5g |
| Mounting Style | Sewable with conductive thread |
Pin Configuration and Descriptions
The LilyPad Buzzer has two sewable connection pads:
| Pin Name | Description |
|---|---|
+ |
Positive terminal. Connect to the positive voltage supply (e.g., 3.3V or 5V). |
- |
Negative terminal. Connect to ground (GND). |
Usage Instructions
The LilyPad Buzzer is straightforward to use in circuits. Follow the steps below to integrate it into your project:
How to Use the LilyPad Buzzer in a Circuit
- Power the Buzzer: Connect the
+pad to a voltage source (2.7V to 5.5V) and the-pad to ground (GND). You can use conductive thread, wires, or alligator clips for connections. - Control the Sound: To produce sound, apply a square wave signal to the
+pad. This can be achieved using a microcontroller like an Arduino. - Sewing into Wearables: Use conductive thread to sew the buzzer onto fabric. Ensure the thread connections are tight and do not short-circuit.
Important Considerations and Best Practices
- Voltage Range: Do not exceed the maximum operating voltage of 5.5V to avoid damaging the buzzer.
- Placement: Position the buzzer securely on your wearable project to prevent movement or disconnection.
- Signal Control: For varying tones, use a microcontroller to generate different frequencies of square wave signals.
Example: Using the LilyPad Buzzer with Arduino UNO
Below is an example of how to connect and control the LilyPad Buzzer using an Arduino UNO:
Circuit Connections
- Connect the
+pad of the LilyPad Buzzer to Arduino pin 9. - Connect the
-pad of the LilyPad Buzzer to Arduino GND.
Arduino Code
/*
  Example code to control the LilyPad Buzzer with Arduino UNO.
  This code generates a simple tone on the buzzer.
*/

int buzzerPin = 9; // Pin connected to the LilyPad Buzzer

void setup() {
  pinMode(buzzerPin, OUTPUT); // Set the buzzer pin as an output
}

void loop() {
  tone(buzzerPin, 2000); // Generate a 2kHz tone
  delay(1000);           // Wait for 1 second
  noTone(buzzerPin);     // Stop the tone
  delay(1000);           // Wait for 1 second
}
Notes:
- Use the
tone()function to generate different frequencies for varying sounds. - The
noTone()function stops the sound output.
Troubleshooting and FAQs
Common Issues and Solutions
| Issue | Possible Cause | Solution |
|---|---|---|
| No sound from the buzzer | Incorrect wiring or loose connections | Verify connections to + and - pads. |
| Buzzer sounds weak or distorted | Insufficient voltage or current | Ensure the supply voltage is within 2.7V-5.5V. |
| Buzzer not responding to Arduino | Incorrect pin configuration in code | Check the pin number in the Arduino sketch. |
| Short circuit in wearable project | Conductive thread touching unintentionally | Ensure threads are insulated and do not overlap. |
FAQs
Can I use the LilyPad Buzzer without a microcontroller?
- Yes, you can connect it directly to a power source (e.g., a 3.3V or 5V battery) to produce a constant tone.
What type of sound does the buzzer produce?
- The buzzer produces a tone at approximately 2kHz when powered. You can vary the tone by applying different frequencies using a microcontroller.
Is the LilyPad Buzzer washable?
- The LilyPad Buzzer is not waterproof or washable. Remove it from your project before washing.
Can I use the LilyPad Buzzer with other LilyPad components?
- Yes, the LilyPad Buzzer is compatible with other LilyPad components, such as the LilyPad Arduino, for creating complex wearable projects.
By following this documentation, you can effectively integrate the LilyPad Buzzer into your wearable electronics projects and bring your designs to life with sound!