
Cirkit Designer
Your all-in-one circuit design IDE
Home /
Component Documentation
How to Use 25LC256: Examples, Pinouts, and Specs
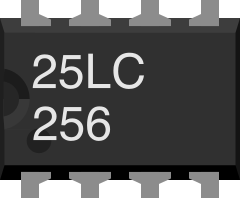
 Design with 25LC256 in Cirkit Designer
Introduction
The 25LC256 is a 256 Kbit (32 K x 8) serial EEPROM manufactured by Microchip Technology. It is designed for non-volatile data storage, meaning it retains stored data even when power is removed. The component communicates using the SPI (Serial Peripheral Interface) protocol, making it suitable for a wide range of applications requiring reliable and efficient data storage.
Explore Projects Built with 25LC256
Arduino Mega 2560-Based Wireless Joystick-Controlled Display with RTC
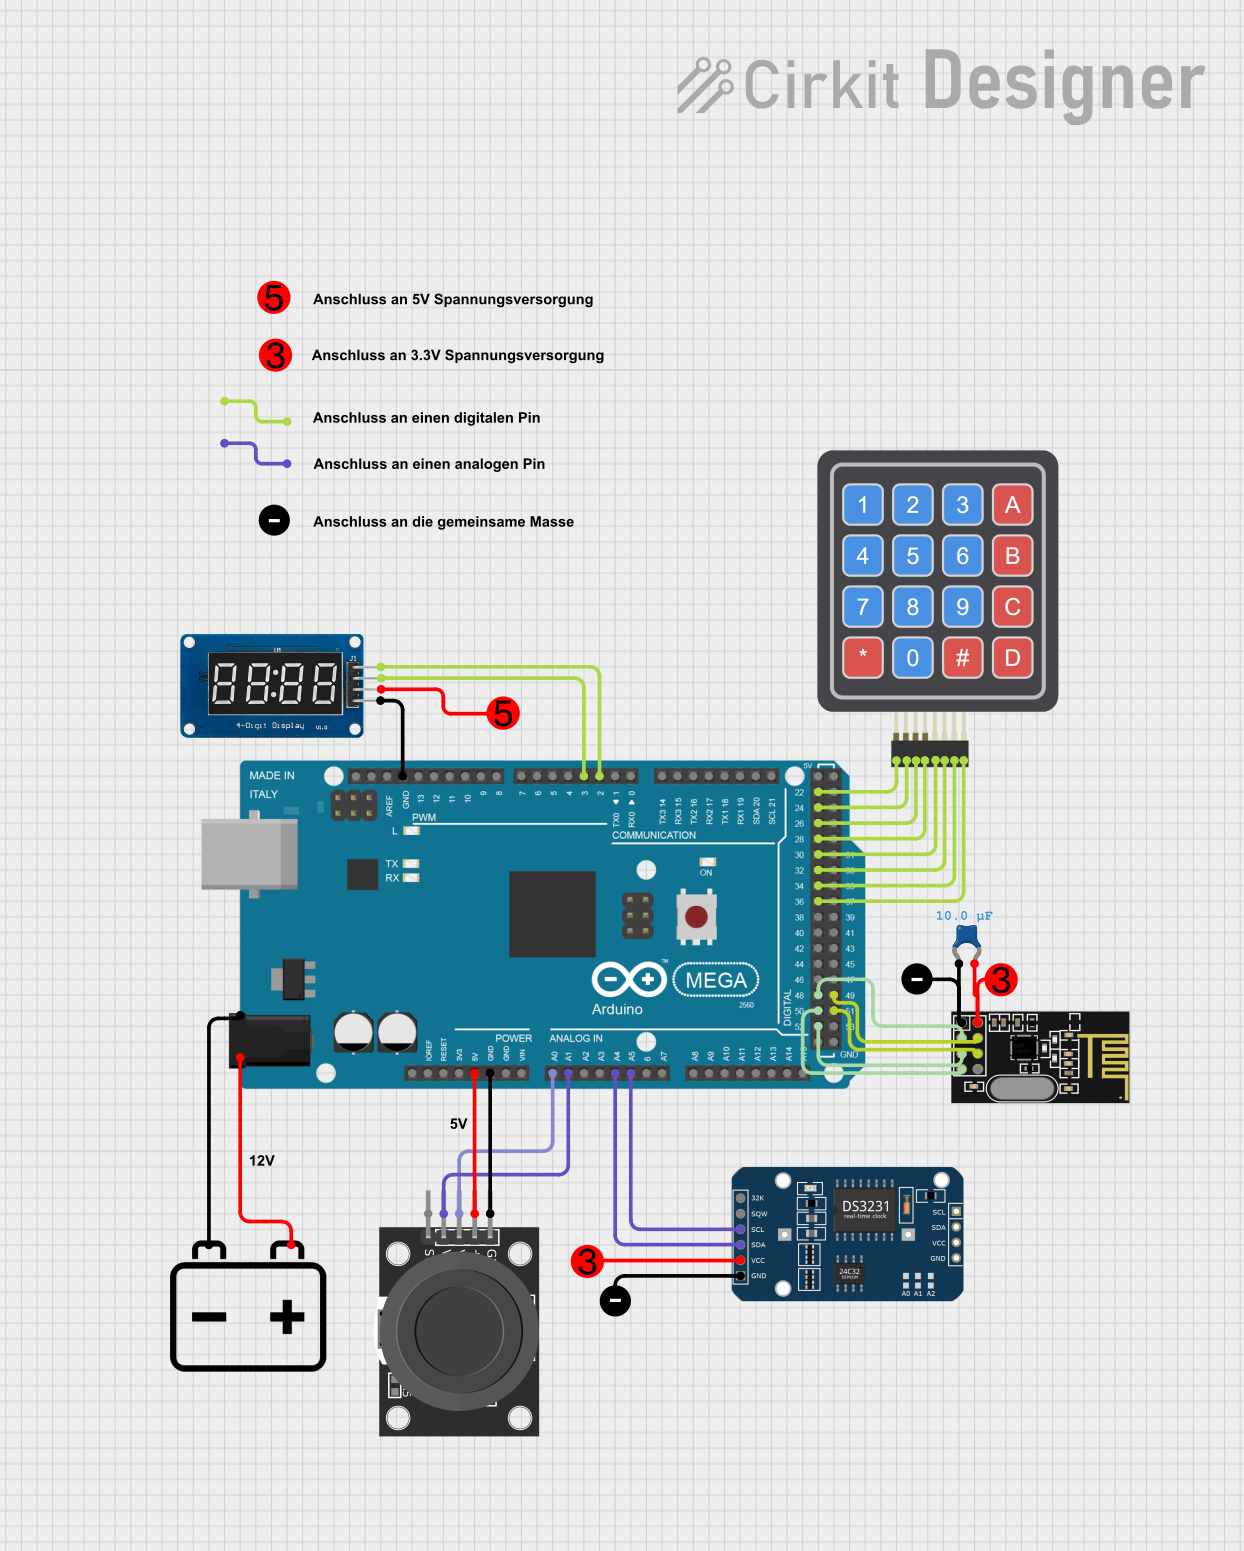
This circuit is a multi-functional embedded system using an Arduino Mega 2560 as the central controller. It interfaces with various peripherals including a DS3231 RTC for timekeeping, an NRF24L01 for wireless communication, a KY-023 joystick for user input, a 4x4 keypad for additional input, and a TM1637 display for output. The system is powered by a combination of 3.3V and 5V sources.
Open Project in Cirkit DesignerESP32-Based Wi-Fi Controlled LCD Display with Pushbutton Interface
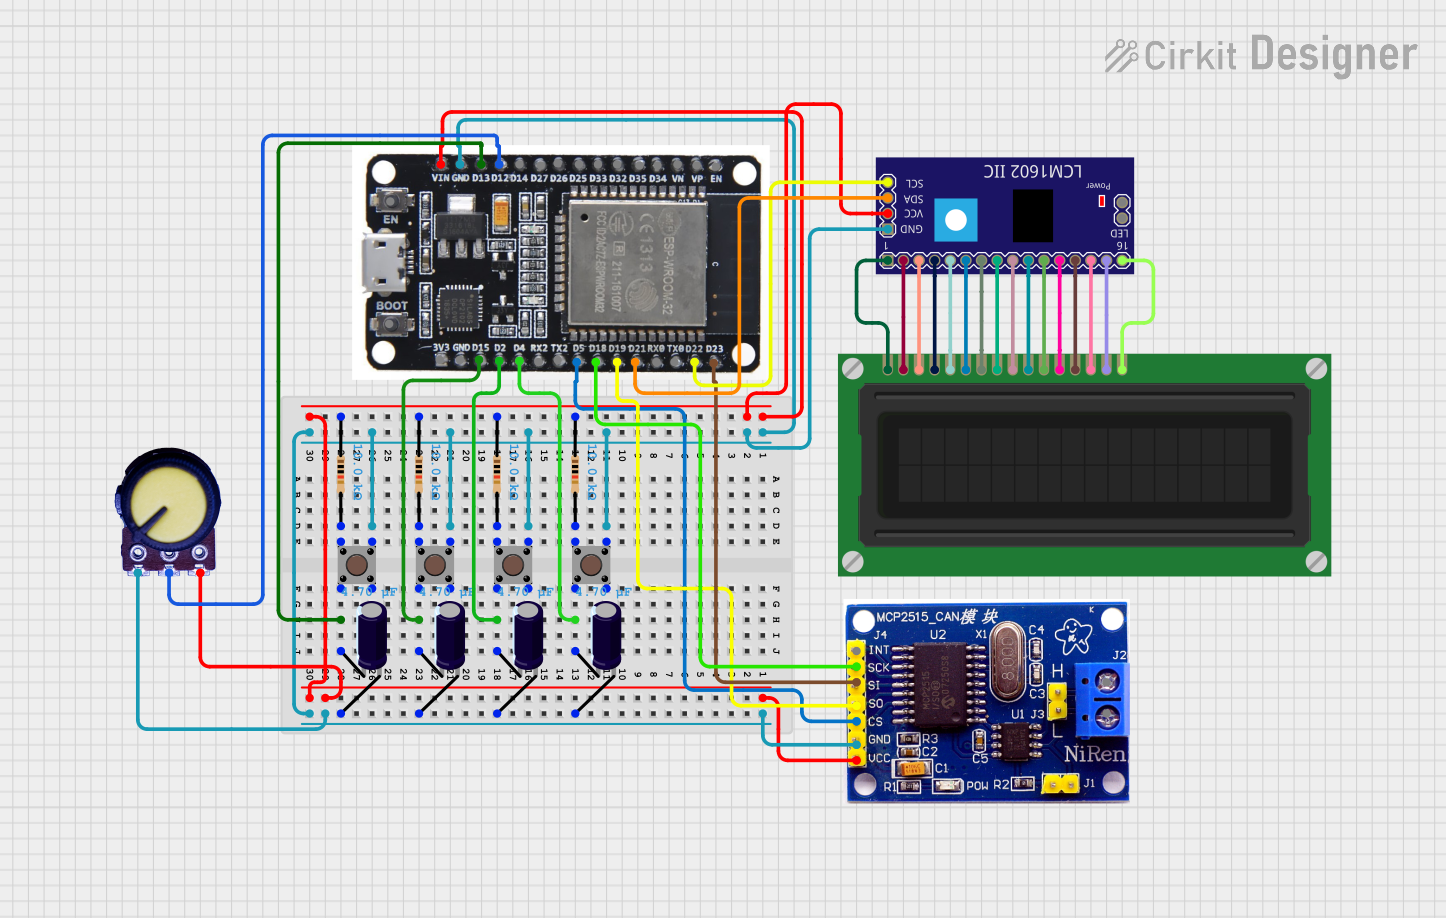
This circuit features an ESP32 microcontroller interfaced with an LCD display via an LCM1602 IIC module, and includes multiple pushbuttons and a potentiometer for user input. The ESP32 also communicates with an MCP2515 CAN controller, and the circuit is stabilized with several resistors and electrolytic capacitors.
Open Project in Cirkit DesignerESP32-Based NFC Attendance System with LCD Feedback
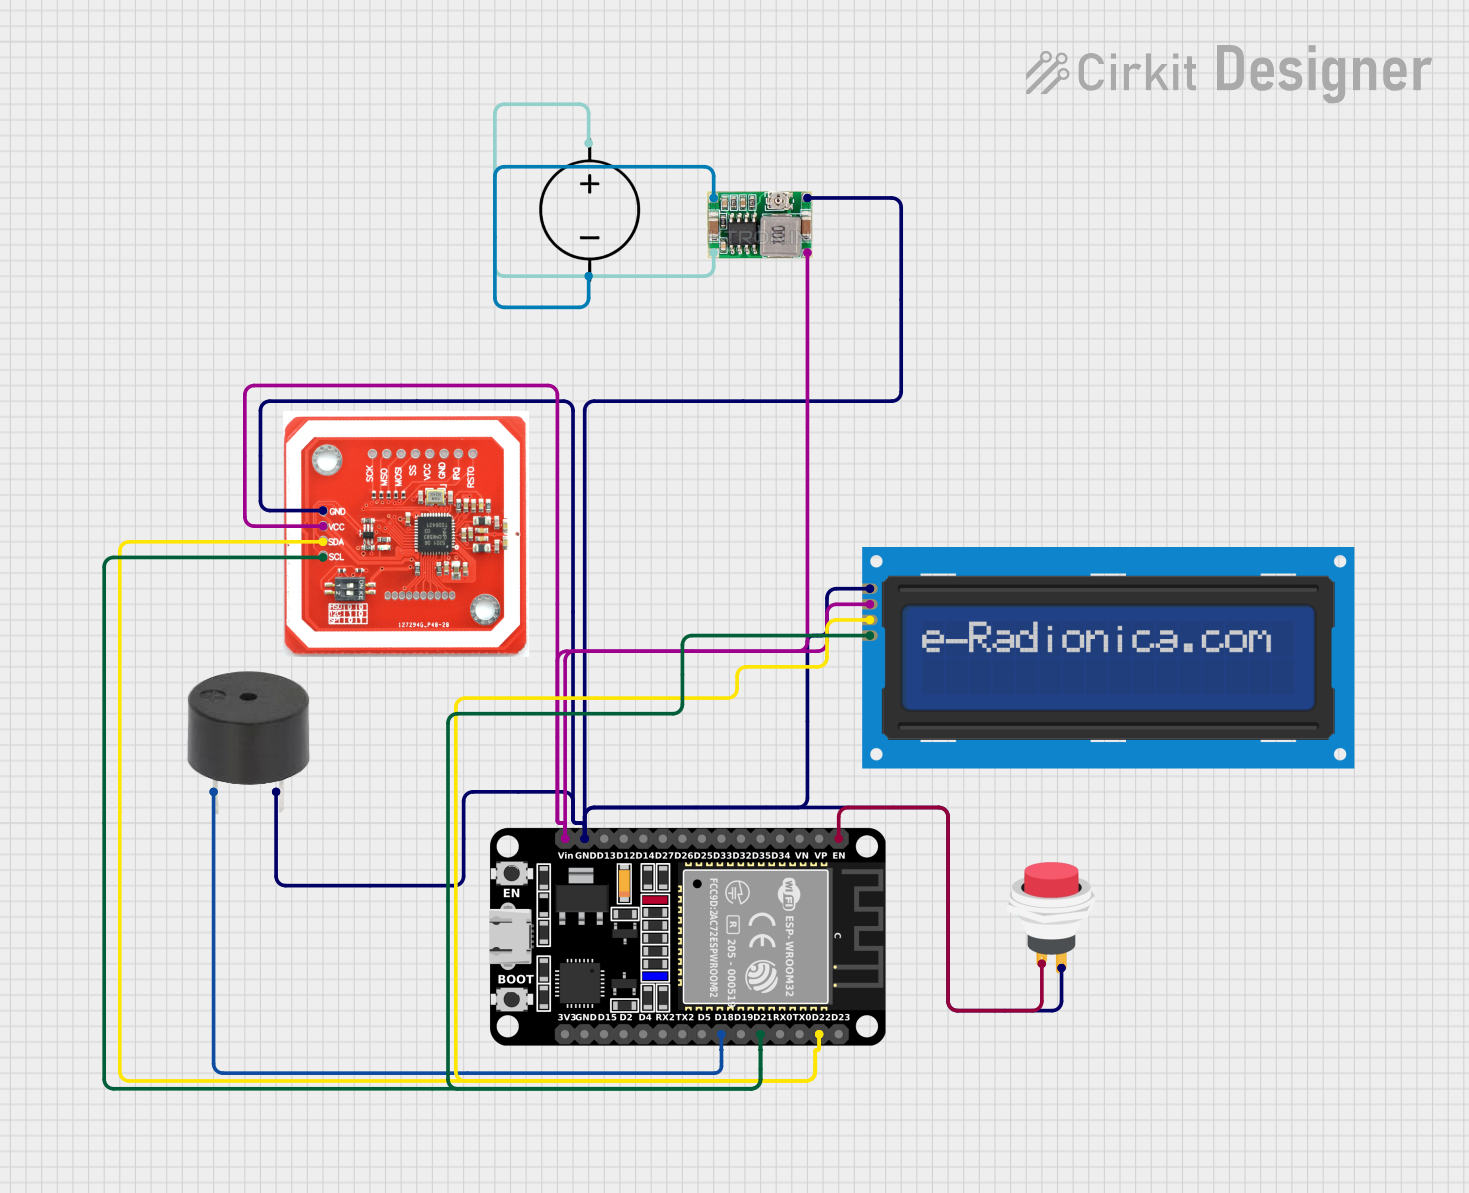
This circuit features an ESP32 microcontroller that interfaces with an LCD screen and an NFC/RFID reader, likely for the purpose of tracking and displaying student attendance or count. The LCD is used to show the number of students detected by the NFC/RFID reader, with a fixed count displayed on the second line. A buzzer is also connected to the ESP32, which could be used for audible notifications, and a push switch is included to control the power to the ESP32. Power regulation is managed by a Mini 360 Buck Converter connected to a DC power source.
Open Project in Cirkit DesignerArduino Mega 2560-Based Smart Home Control System with LCD Display and Flame Sensor
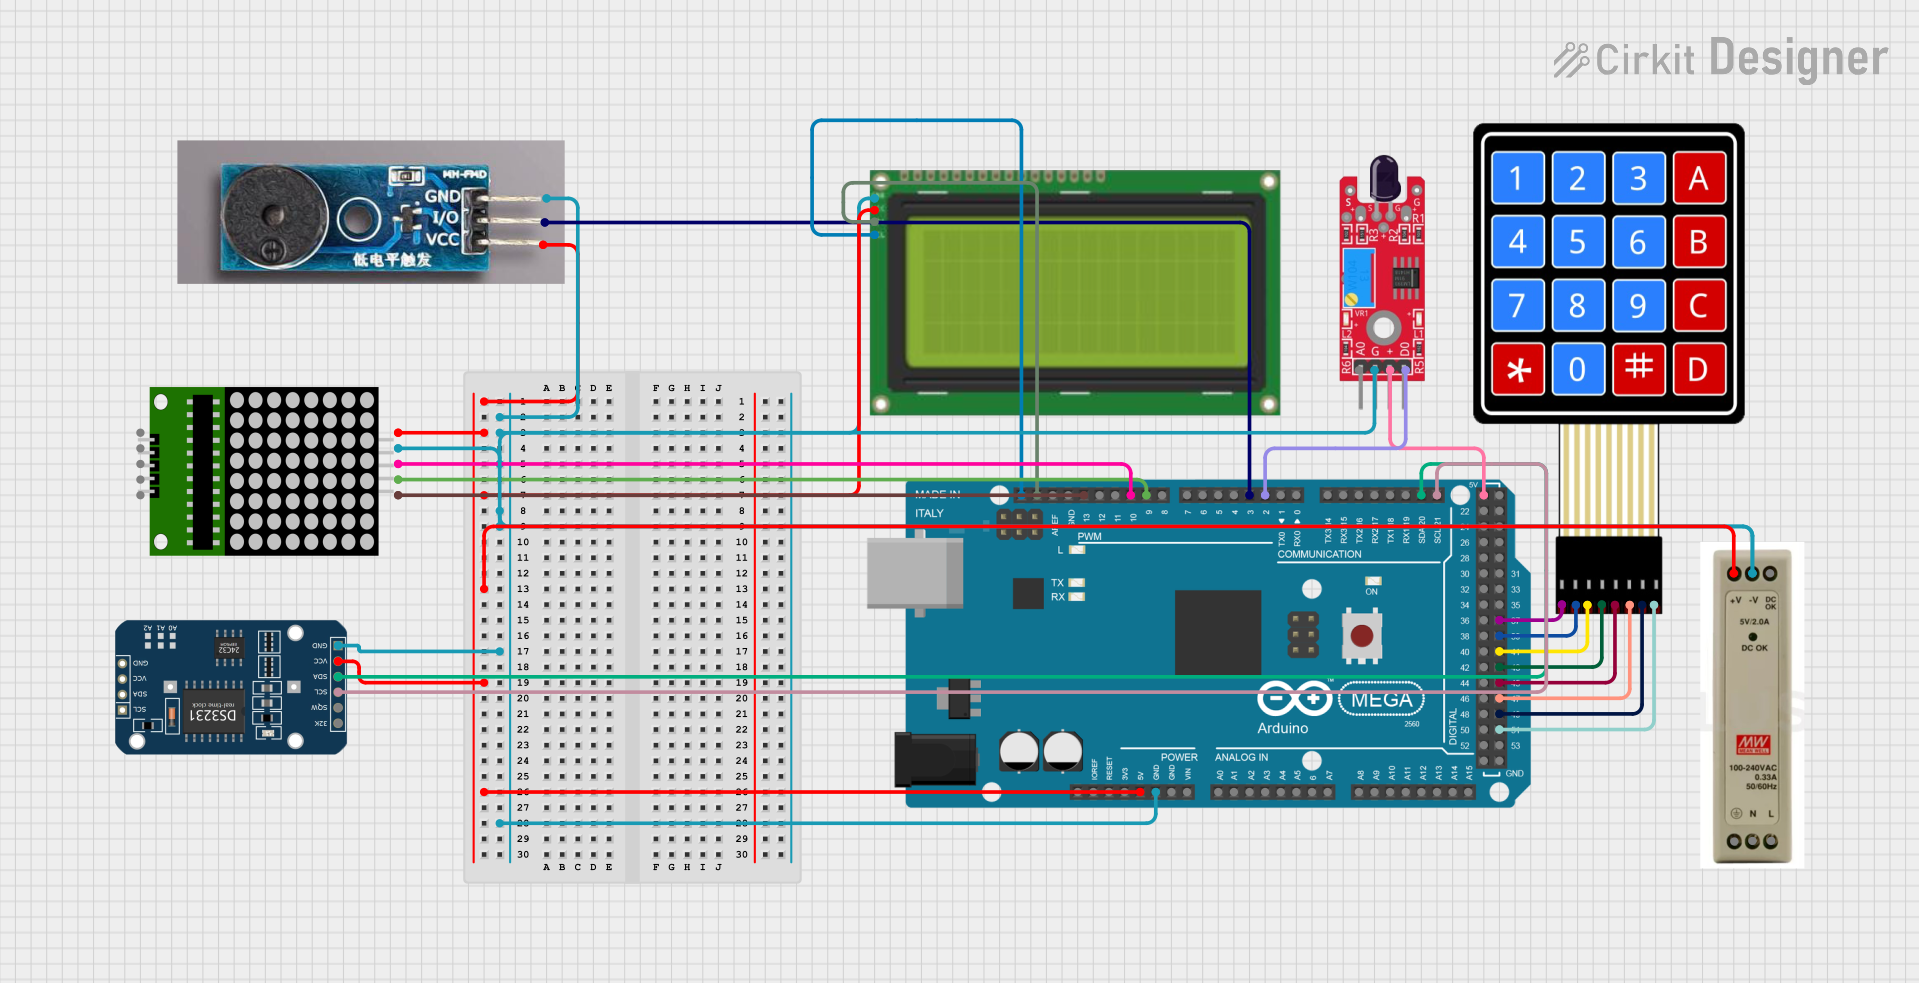
This circuit is a multi-functional embedded system featuring an Arduino Mega 2560 microcontroller that interfaces with a 4x4 membrane keypad, a 20x4 I2C LCD, an 8x8 LED matrix, a DS3231 RTC module, a passive buzzer, and a KY-026 flame sensor. The system is powered by a 5V PSU and is designed to provide real-time clock functionality, user input via the keypad, visual output on the LCD and LED matrix, and flame detection with an audible alert.
Open Project in Cirkit DesignerExplore Projects Built with 25LC256
Arduino Mega 2560-Based Wireless Joystick-Controlled Display with RTC
This circuit is a multi-functional embedded system using an Arduino Mega 2560 as the central controller. It interfaces with various peripherals including a DS3231 RTC for timekeeping, an NRF24L01 for wireless communication, a KY-023 joystick for user input, a 4x4 keypad for additional input, and a TM1637 display for output. The system is powered by a combination of 3.3V and 5V sources.
Open Project in Cirkit DesignerESP32-Based Wi-Fi Controlled LCD Display with Pushbutton Interface
This circuit features an ESP32 microcontroller interfaced with an LCD display via an LCM1602 IIC module, and includes multiple pushbuttons and a potentiometer for user input. The ESP32 also communicates with an MCP2515 CAN controller, and the circuit is stabilized with several resistors and electrolytic capacitors.
Open Project in Cirkit DesignerESP32-Based NFC Attendance System with LCD Feedback
This circuit features an ESP32 microcontroller that interfaces with an LCD screen and an NFC/RFID reader, likely for the purpose of tracking and displaying student attendance or count. The LCD is used to show the number of students detected by the NFC/RFID reader, with a fixed count displayed on the second line. A buzzer is also connected to the ESP32, which could be used for audible notifications, and a push switch is included to control the power to the ESP32. Power regulation is managed by a Mini 360 Buck Converter connected to a DC power source.
Open Project in Cirkit DesignerArduino Mega 2560-Based Smart Home Control System with LCD Display and Flame Sensor
This circuit is a multi-functional embedded system featuring an Arduino Mega 2560 microcontroller that interfaces with a 4x4 membrane keypad, a 20x4 I2C LCD, an 8x8 LED matrix, a DS3231 RTC module, a passive buzzer, and a KY-026 flame sensor. The system is powered by a 5V PSU and is designed to provide real-time clock functionality, user input via the keypad, visual output on the LCD and LED matrix, and flame detection with an audible alert.
Open Project in Cirkit DesignerCommon Applications and Use Cases
- Data logging in embedded systems
- Configuration and calibration data storage
- Firmware storage for microcontrollers
- Industrial automation systems
- Consumer electronics requiring non-volatile memory
Technical Specifications
The following table outlines the key technical details of the 25LC256:
| Parameter | Value |
|---|---|
| Memory Size | 256 Kbit (32 K x 8) |
| Interface Protocol | SPI (Serial Peripheral Interface) |
| Operating Voltage Range | 2.5V to 5.5V |
| Maximum Clock Frequency | 10 MHz (at 5.0V) |
| Write Cycle Time | 5 ms (typical) |
| Endurance | 1,000,000 write cycles (typical) |
| Data Retention | 200 years (typical) |
| Operating Temperature | -40°C to +85°C |
| Package Types | PDIP, SOIC, TSSOP, MSOP |
Pin Configuration and Descriptions
The 25LC256 is typically available in an 8-pin package. The pinout and descriptions are as follows:
| Pin | Name | Description |
|---|---|---|
| 1 | CS | Chip Select: Activates the device when pulled low. |
| 2 | SO | Serial Data Output: Outputs data to the SPI master. |
| 3 | WP | Write Protect: Disables write operations when pulled low. |
| 4 | GND | Ground: Connect to system ground. |
| 5 | SI | Serial Data Input: Receives data from the SPI master. |
| 6 | SCK | Serial Clock: Clock signal for SPI communication. |
| 7 | HOLD | Hold: Pauses communication without resetting the SPI bus when pulled low. |
| 8 | VCC | Power Supply: Connect to a voltage source within the operating range (2.5V-5.5V). |
Usage Instructions
How to Use the 25LC256 in a Circuit
- Power Supply: Connect the VCC pin to a stable power source (2.5V to 5.5V) and the GND pin to ground.
- SPI Connections:
- Connect the CS pin to a GPIO pin on the microcontroller to enable/disable the chip.
- Connect the SCK, SI, and SO pins to the corresponding SPI pins on the microcontroller.
- Optional Pins:
- If write protection is required, connect the WP pin to ground.
- If the hold feature is not used, connect the HOLD pin to VCC.
- Pull-Up Resistors: Use pull-up resistors on the CS, WP, and HOLD pins if necessary to ensure proper logic levels.
Important Considerations and Best Practices
- SPI Mode: The 25LC256 operates in SPI Mode 0 (CPOL = 0, CPHA = 0) or Mode 3 (CPOL = 1, CPHA = 1). Ensure the microcontroller is configured accordingly.
- Write Enable: Before writing data, send the Write Enable (WREN) instruction to enable write operations.
- Page Write: The device supports page writes of up to 64 bytes. Ensure data does not exceed the page boundary.
- Timing: Adhere to the timing requirements specified in the datasheet to avoid communication errors.
- Data Retention: Avoid exceeding the endurance limit of 1,000,000 write cycles to ensure reliable operation.
Example Code for Arduino UNO
Below is an example of interfacing the 25LC256 with an Arduino UNO to write and read data:
#include <SPI.h>

// Pin definitions
const int CS_PIN = 10; // Chip Select pin connected to Arduino pin 10

void setup() {
  Serial.begin(9600);
  SPI.begin(); // Initialize SPI
  pinMode(CS_PIN, OUTPUT);
  digitalWrite(CS_PIN, HIGH); // Ensure CS is high (inactive)
}

void loop() {
  // Example: Write and read a byte to/from address 0x0000
  writeEEPROM(0x0000, 0x42); // Write 0x42 to address 0x0000
  delay(10); // Wait for write cycle to complete
  byte data = readEEPROM(0x0000); // Read data from address 0x0000

  Serial.print("Read Data: 0x");
  Serial.println(data, HEX); // Print the read data
  delay(1000);
}

// Function to write a byte to the EEPROM
void writeEEPROM(unsigned int address, byte data) {
  digitalWrite(CS_PIN, LOW); // Select the EEPROM
  SPI.transfer(0x06); // Send Write Enable (WREN) command
  digitalWrite(CS_PIN, HIGH); // Deselect the EEPROM
  delay(1);

  digitalWrite(CS_PIN, LOW); // Select the EEPROM
  SPI.transfer(0x02); // Send Write command
  SPI.transfer((address >> 8) & 0xFF); // Send high byte of address
  SPI.transfer(address & 0xFF); // Send low byte of address
  SPI.transfer(data); // Send data byte
  digitalWrite(CS_PIN, HIGH); // Deselect the EEPROM
}

// Function to read a byte from the EEPROM
byte readEEPROM(unsigned int address) {
  digitalWrite(CS_PIN, LOW); // Select the EEPROM
  SPI.transfer(0x03); // Send Read command
  SPI.transfer((address >> 8) & 0xFF); // Send high byte of address
  SPI.transfer(address & 0xFF); // Send low byte of address
  byte data = SPI.transfer(0x00); // Read data byte
  digitalWrite(CS_PIN, HIGH); // Deselect the EEPROM
  return data;
}
Troubleshooting and FAQs
Common Issues
No Data Read/Write:
- Ensure the CS pin is correctly toggled during SPI communication.
- Verify the SPI clock frequency is within the supported range (up to 10 MHz at 5V).
- Check the power supply voltage and connections.
Write Operations Failing:
- Confirm the Write Enable (WREN) command is sent before attempting a write.
- Ensure the WP pin is not pulled low, as this disables write operations.
Corrupted Data:
- Avoid exceeding the 64-byte page boundary during page writes.
- Ensure proper timing and delays between operations.
Solutions and Tips
- Use a logic analyzer or oscilloscope to debug SPI signals if communication issues persist.
- Double-check the wiring and pin connections to ensure they match the pinout.
- Refer to the 25LC256 datasheet for detailed timing diagrams and additional information.