How to Use FX5U-32MR: Examples, Pinouts, and Specs
Introduction
The FX5U-32MR is a high-performance programmable logic controller (PLC) from Mitsubishi Electric. It features 32 input/output (I/O) points, high-speed processing capabilities, and built-in Ethernet connectivity, making it ideal for advanced automation applications. This PLC is designed to provide robust and reliable control for a wide range of industrial processes, from simple machine control to complex automation systems.
Explore Projects Built with FX5U-32MR


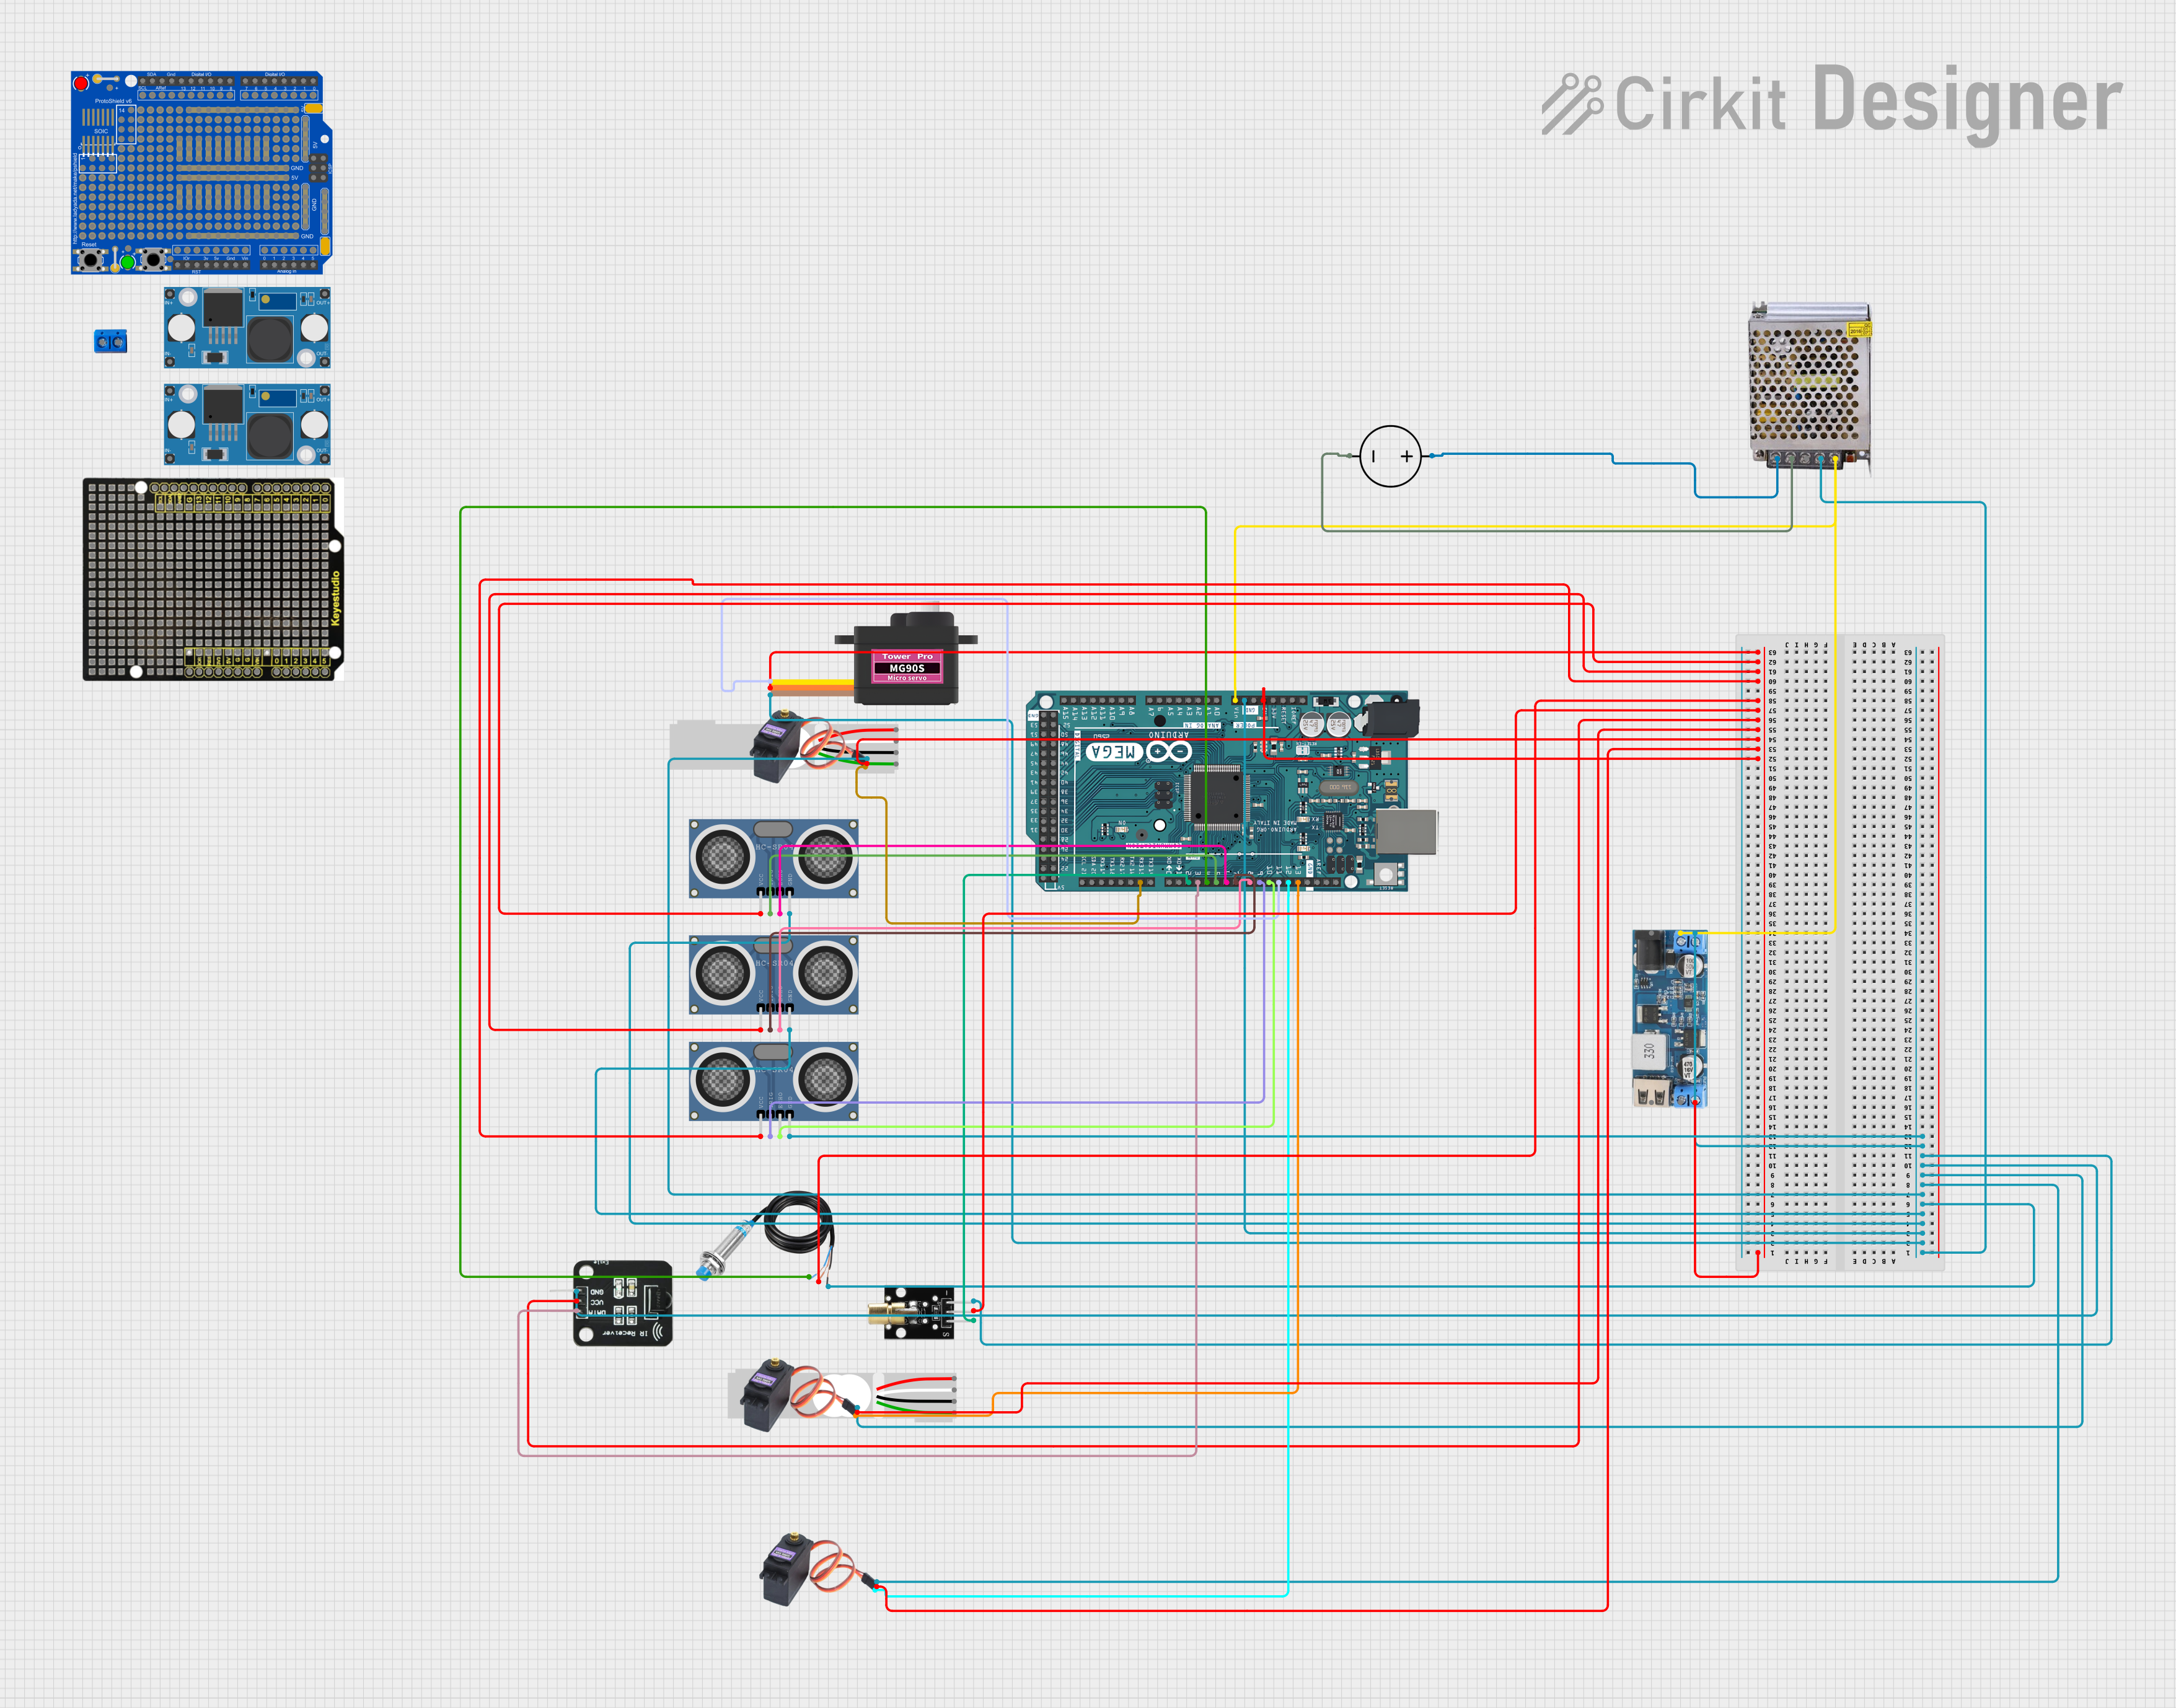
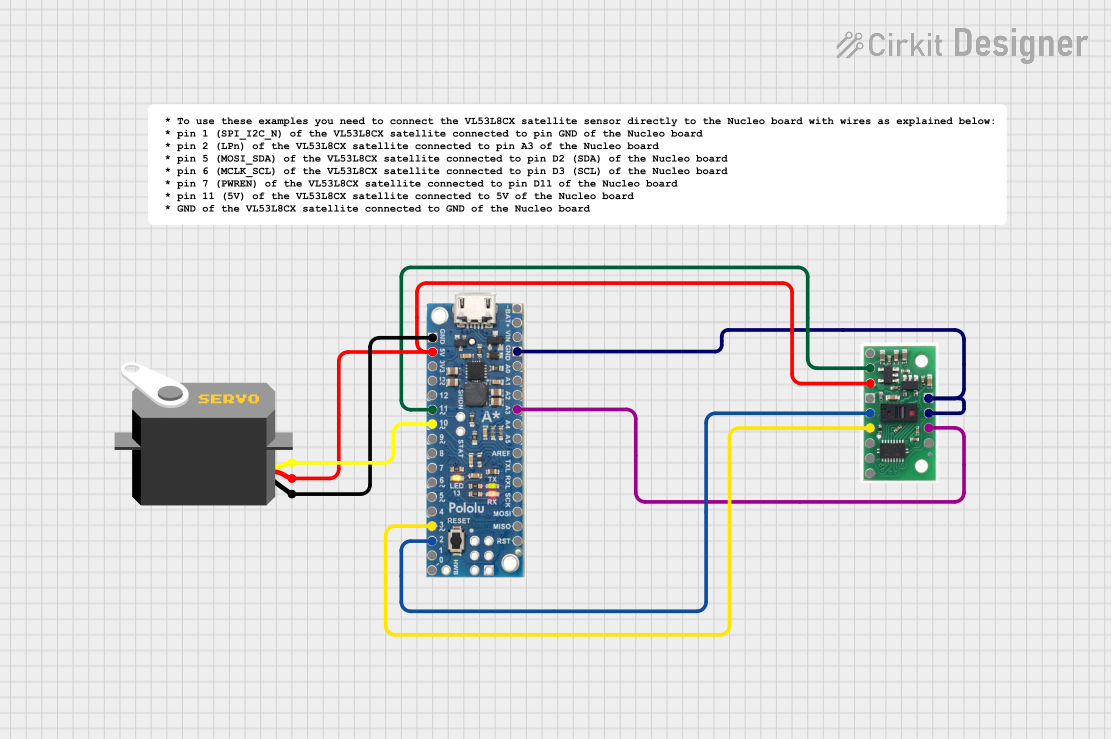
Explore Projects Built with FX5U-32MR
Common Applications and Use Cases
- Industrial Automation: Control of machinery and production lines.
- Building Automation: Management of HVAC, lighting, and security systems.
- Process Control: Monitoring and control of chemical, pharmaceutical, and food processing.
- Energy Management: Optimization of energy usage in industrial and commercial settings.
- Remote Monitoring: Real-time data acquisition and control over Ethernet.
Technical Specifications
Key Technical Details
| Specification | Value |
|---|---|
| Model Number | FX5U-32MR |
| Manufacturer | Mitsubishi Electric |
| I/O Points | 32 |
| Input Voltage | 24V DC |
| Output Voltage | 24V DC |
| Output Current | 0.5A per point |
| Processing Speed | 34 ns per instruction |
| Communication Ports | Ethernet, RS-485, USB |
| Memory Capacity | 64k steps |
| Power Consumption | 20W |
| Operating Temperature | 0°C to 55°C |
| Dimensions (W x H x D) | 90 x 90 x 86 mm |
| Weight | 0.6 kg |
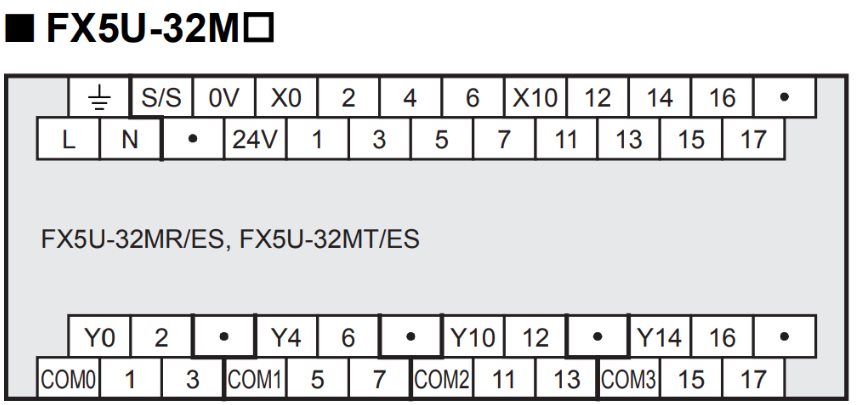
Pin Configuration and Descriptions
Input Pins
| Pin Number | Description | Voltage Level |
|---|---|---|
| X0 | Input 0 | 24V DC |
| X1 | Input 1 | 24V DC |
| X2 | Input 2 | 24V DC |
| X3 | Input 3 | 24V DC |
| X4 | Input 4 | 24V DC |
| X5 | Input 5 | 24V DC |
| X6 | Input 6 | 24V DC |
| X7 | Input 7 | 24V DC |
| X8 | Input 8 | 24V DC |
| X9 | Input 9 | 24V DC |
| X10 | Input 10 | 24V DC |
| X11 | Input 11 | 24V DC |
| X12 | Input 12 | 24V DC |
| X13 | Input 13 | 24V DC |
| X14 | Input 14 | 24V DC |
| X15 | Input 15 | 24V DC |
Output Pins
| Pin Number | Description | Voltage Level | Current Rating |
|---|---|---|---|
| Y0 | Output 0 | 24V DC | 0.5A |
| Y1 | Output 1 | 24V DC | 0.5A |
| Y2 | Output 2 | 24V DC | 0.5A |
| Y3 | Output 3 | 24V DC | 0.5A |
| Y4 | Output 4 | 24V DC | 0.5A |
| Y5 | Output 5 | 24V DC | 0.5A |
| Y6 | Output 6 | 24V DC | 0.5A |
| Y7 | Output 7 | 24V DC | 0.5A |
| Y8 | Output 8 | 24V DC | 0.5A |
| Y9 | Output 9 | 24V DC | 0.5A |
| Y10 | Output 10 | 24V DC | 0.5A |
| Y11 | Output 11 | 24V DC | 0.5A |
| Y12 | Output 12 | 24V DC | 0.5A |
| Y13 | Output 13 | 24V DC | 0.5A |
| Y14 | Output 14 | 24V DC | 0.5A |
| Y15 | Output 15 | 24V DC | 0.5A |
Usage Instructions
How to Use the FX5U-32MR in a Circuit
Power Supply:
- Connect a 24V DC power supply to the power input terminals of the FX5U-32MR.
- Ensure the power supply is capable of providing sufficient current for the PLC and connected devices.
Connecting Inputs:
- Connect sensors or switches to the input terminals (X0 to X15).
- Ensure the input devices operate at 24V DC.
Connecting Outputs:
- Connect actuators, relays, or other output devices to the output terminals (Y0 to Y15).
- Ensure the output devices are compatible with 24V DC and do not exceed the current rating of 0.5A per point.
Communication:
- Use the built-in Ethernet port for network communication and remote monitoring.
- Connect to a PC or HMI using the USB or RS-485 ports for programming and control.
Programming:
- Use Mitsubishi's GX Works3 software to create and upload programs to the FX5U-32MR.
- Follow the software's guidelines for creating ladder logic, structured text, or function block diagrams.
Important Considerations and Best Practices
- Power Supply: Ensure a stable and clean 24V DC power supply to avoid voltage fluctuations that could affect the PLC's performance.
- Wiring: Use proper wiring techniques to avoid electrical noise and interference. Keep input and output wiring separate and use shielded cables if necessary.
- Grounding: Properly ground the PLC and connected devices to prevent electrical noise and ensure safety.
- Environment: Install the PLC in a clean, dry, and well-ventilated environment. Avoid exposure to extreme temperatures, humidity, and corrosive substances.
- Maintenance: Regularly inspect and maintain the PLC and connected devices to ensure reliable operation.
Troubleshooting and FAQs
Common Issues and Solutions
PLC Not Powering On:
- Solution: Check the power supply connections and ensure the power supply is providing 24V DC. Verify that the power supply has sufficient current capacity.
Inputs Not Responding:
- Solution: Check the wiring and connections of the input devices. Ensure the input devices are operating at 24V DC and are properly connected to the input terminals.
Outputs Not Activating:
- Solution: Verify the wiring and connections of the output devices. Ensure the output devices are compatible with 24V DC and do not exceed the current rating of 0.5A per point.
Communication Issues:
- Solution: Check the Ethernet, USB, or RS-485 connections. Ensure the correct communication settings are configured in the PLC and the connected devices.
Program Not Running:
- Solution: Verify that the program has been correctly uploaded to the PLC using GX Works3. Check for any errors or warnings in the program and resolve them.
FAQs
Q1: Can the FX5U-32MR be used with an Arduino UNO?
- A1: The FX5U-32MR is a standalone PLC and is not typically used with an Arduino UNO. However, it can communicate with an Arduino UNO via RS-485 or Ethernet for data exchange and control.
Q2: What software is used to program the FX5U-32MR?
- A2: The FX5U-32MR is programmed using Mitsubishi's GX Works3 software, which supports ladder logic, structured text, and function block diagrams.
Q3: How can I update the firmware of the FX5U-32MR?
- A3: Firmware updates can be performed using the GX Works3 software. Follow the manufacturer's instructions for downloading and installing firmware updates.
Q4: What is the maximum number of I/O points that can be expanded?
- A4: The FX5U-32MR supports expansion modules, allowing for additional I/O points. Refer to the manufacturer's documentation for specific expansion capabilities and limitations.
Q5: Can the FX5U-32MR be used in safety-critical applications?
- A5: The FX5U-32MR is designed for general industrial automation and control. For safety-critical applications, additional safety measures and certifications may be required. Consult the manufacturer for guidance on using the PLC in safety-critical environments.
This documentation provides a comprehensive overview of the FX5U-32MR PLC, including its technical specifications, usage instructions, and troubleshooting tips. Whether you are a beginner or an experienced