Cirkit Designer Logo
Cirkit Designer
Your all-in-one circuit design IDE
Home / 
Component Documentation

How to Use 2 pin pluge: Examples, Pinouts, and Specs

Image of 2 pin pluge
Cirkit Designer LogoDesign with 2 pin pluge in Cirkit Designer

Introduction

A 2 pin plug is an electrical connector with two pins used to connect devices to a power source. It is commonly found in household appliances and electronics. This simple yet essential component ensures a secure and reliable connection to the power supply, making it a staple in various applications.

Explore Projects Built with 2 pin pluge

Use Cirkit Designer to design, explore, and prototype these projects online. Some projects support real-time simulation. Click "Open Project" to start designing instantly!
Dual 5V Power Supply Distribution Circuit with Toggle Switch Control
Image of rfdriver: A project utilizing 2 pin pluge in a practical application
This circuit consists of two 5V 5A power supplies connected to an AC wall plug point, providing DC output through a 12-way connector. The ground connections from both power supplies are interconnected and also connected to the ground pins of two toggle switches. The DC outputs from the power supplies are separately connected to different pins on the 12-way connector, with each power supply output being switchable via one of the toggle switches.
Cirkit Designer LogoOpen Project in Cirkit Designer
5-Pin Connector Synchronization Circuit
Image of UMB_Cable: A project utilizing 2 pin pluge in a practical application
This circuit consists of four 5-pin connectors, where two of the connectors are fully interconnected pin-to-pin. The purpose of this setup could be to create a parallel connection between the two 5-pin connectors, possibly for signal distribution or redundancy.
Cirkit Designer LogoOpen Project in Cirkit Designer
Pushbutton Interface with General Purpose I/O Plug
Image of Assista GP IO: A project utilizing 2 pin pluge in a practical application
This circuit consists of a General Purpose Input/Output (GPIO) plug connected to four pushbuttons. Each pushbutton is wired to a unique input pin on the GPIO plug, allowing the state of each button (pressed or not pressed) to be detected individually. The common terminals of the pushbuttons are interconnected and likely serve as a ground or reference voltage connection.
Cirkit Designer LogoOpen Project in Cirkit Designer
Raspberry Pi-Controlled Red LED Indicator
Image of ras1: A project utilizing 2 pin pluge in a practical application
This circuit consists of a Raspberry Pi 3B microcontroller connected to a two-pin red LED. The GPIO22 pin of the Raspberry Pi is connected to the anode of the LED, and one of the Raspberry Pi's GND pins is connected to the cathode of the LED. This setup allows the Raspberry Pi to control the LED, turning it on and off by toggling the GPIO22 pin.
Cirkit Designer LogoOpen Project in Cirkit Designer

Explore Projects Built with 2 pin pluge

Use Cirkit Designer to design, explore, and prototype these projects online. Some projects support real-time simulation. Click "Open Project" to start designing instantly!
Image of rfdriver: A project utilizing 2 pin pluge in a practical application
Dual 5V Power Supply Distribution Circuit with Toggle Switch Control
This circuit consists of two 5V 5A power supplies connected to an AC wall plug point, providing DC output through a 12-way connector. The ground connections from both power supplies are interconnected and also connected to the ground pins of two toggle switches. The DC outputs from the power supplies are separately connected to different pins on the 12-way connector, with each power supply output being switchable via one of the toggle switches.
Cirkit Designer LogoOpen Project in Cirkit Designer
Image of UMB_Cable: A project utilizing 2 pin pluge in a practical application
5-Pin Connector Synchronization Circuit
This circuit consists of four 5-pin connectors, where two of the connectors are fully interconnected pin-to-pin. The purpose of this setup could be to create a parallel connection between the two 5-pin connectors, possibly for signal distribution or redundancy.
Cirkit Designer LogoOpen Project in Cirkit Designer
Image of Assista GP IO: A project utilizing 2 pin pluge in a practical application
Pushbutton Interface with General Purpose I/O Plug
This circuit consists of a General Purpose Input/Output (GPIO) plug connected to four pushbuttons. Each pushbutton is wired to a unique input pin on the GPIO plug, allowing the state of each button (pressed or not pressed) to be detected individually. The common terminals of the pushbuttons are interconnected and likely serve as a ground or reference voltage connection.
Cirkit Designer LogoOpen Project in Cirkit Designer
Image of ras1: A project utilizing 2 pin pluge in a practical application
Raspberry Pi-Controlled Red LED Indicator
This circuit consists of a Raspberry Pi 3B microcontroller connected to a two-pin red LED. The GPIO22 pin of the Raspberry Pi is connected to the anode of the LED, and one of the Raspberry Pi's GND pins is connected to the cathode of the LED. This setup allows the Raspberry Pi to control the LED, turning it on and off by toggling the GPIO22 pin.
Cirkit Designer LogoOpen Project in Cirkit Designer

Common Applications and Use Cases

  • Household appliances (e.g., lamps, fans, toasters)
  • Consumer electronics (e.g., radios, chargers)
  • DIY electronics projects
  • Power adapters and extension cords

Technical Specifications

Key Technical Details

Parameter Value
Voltage Rating 110V - 240V AC
Current Rating Up to 10A
Power Rating Up to 2400W
Pin Material Brass or Copper
Insulation PVC or Rubber
Pin Spacing Standardized (varies by region)

Pin Configuration and Descriptions

Pin Number Description
Pin 1 Live (L)
Pin 2 Neutral (N)

Usage Instructions

How to Use the Component in a Circuit

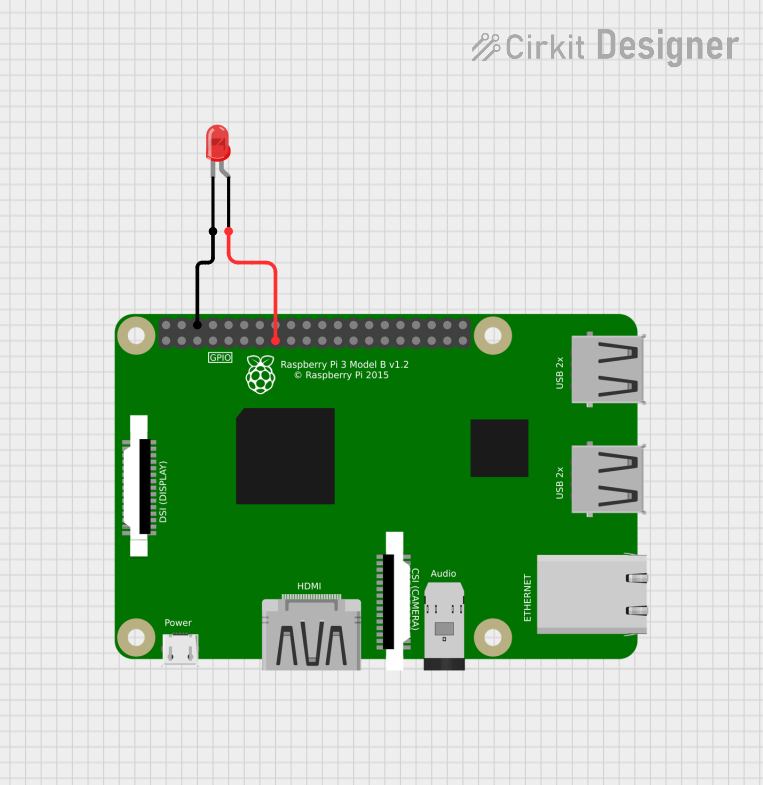
  1. Identify the Pins: Ensure you correctly identify the live (L) and neutral (N) pins.
  2. Connect to Power Source: Insert the 2 pin plug into a compatible power outlet.
  3. Wiring: If wiring the plug yourself, connect the live wire to Pin 1 and the neutral wire to Pin 2. Ensure all connections are secure and insulated.
  4. Testing: After wiring, test the connection with a multimeter to ensure proper voltage and current flow.

Important Considerations and Best Practices

  • Safety First: Always ensure the power is turned off before wiring or handling the plug.
  • Proper Insulation: Use appropriate insulation materials to prevent short circuits and electrical shocks.
  • Compatibility: Ensure the plug is compatible with the voltage and current ratings of your device.
  • Regular Inspection: Periodically check the plug and wiring for any signs of wear or damage.

Troubleshooting and FAQs

Common Issues Users Might Face

  1. No Power to Device

    • Solution: Check if the plug is securely inserted into the outlet. Verify the outlet is functioning by testing with another device.
  2. Sparks or Short Circuits

    • Solution: Ensure all connections are properly insulated. Check for any exposed wires or damaged insulation.
  3. Overheating

    • Solution: Verify the current rating of the plug matches the device's requirements. Avoid overloading the plug with high-power devices.

FAQs

Q: Can I use a 2 pin plug in a 3 pin socket? A: Yes, but ensure the socket is compatible and the device does not require grounding.

Q: How do I know which pin is live and which is neutral? A: Typically, the pins are marked or color-coded. Refer to the manufacturer's documentation for specific details.

Q: Is it safe to use a 2 pin plug for high-power appliances? A: Ensure the plug's current and power ratings match the appliance's requirements. For high-power devices, consider using a plug with a higher current rating.

Q: Can I replace a damaged 2 pin plug myself? A: Yes, but ensure you follow proper safety procedures and use appropriate tools and materials.

By following this documentation, users can effectively and safely utilize a 2 pin plug in various applications, ensuring reliable and secure connections to power sources.