Cirkit Designer LogoCirkit DesignerYour all-in-one circuit design IDE Launch Cirkit Designer App

How to Use 2P Breaker: Examples, Pinouts, and Specs

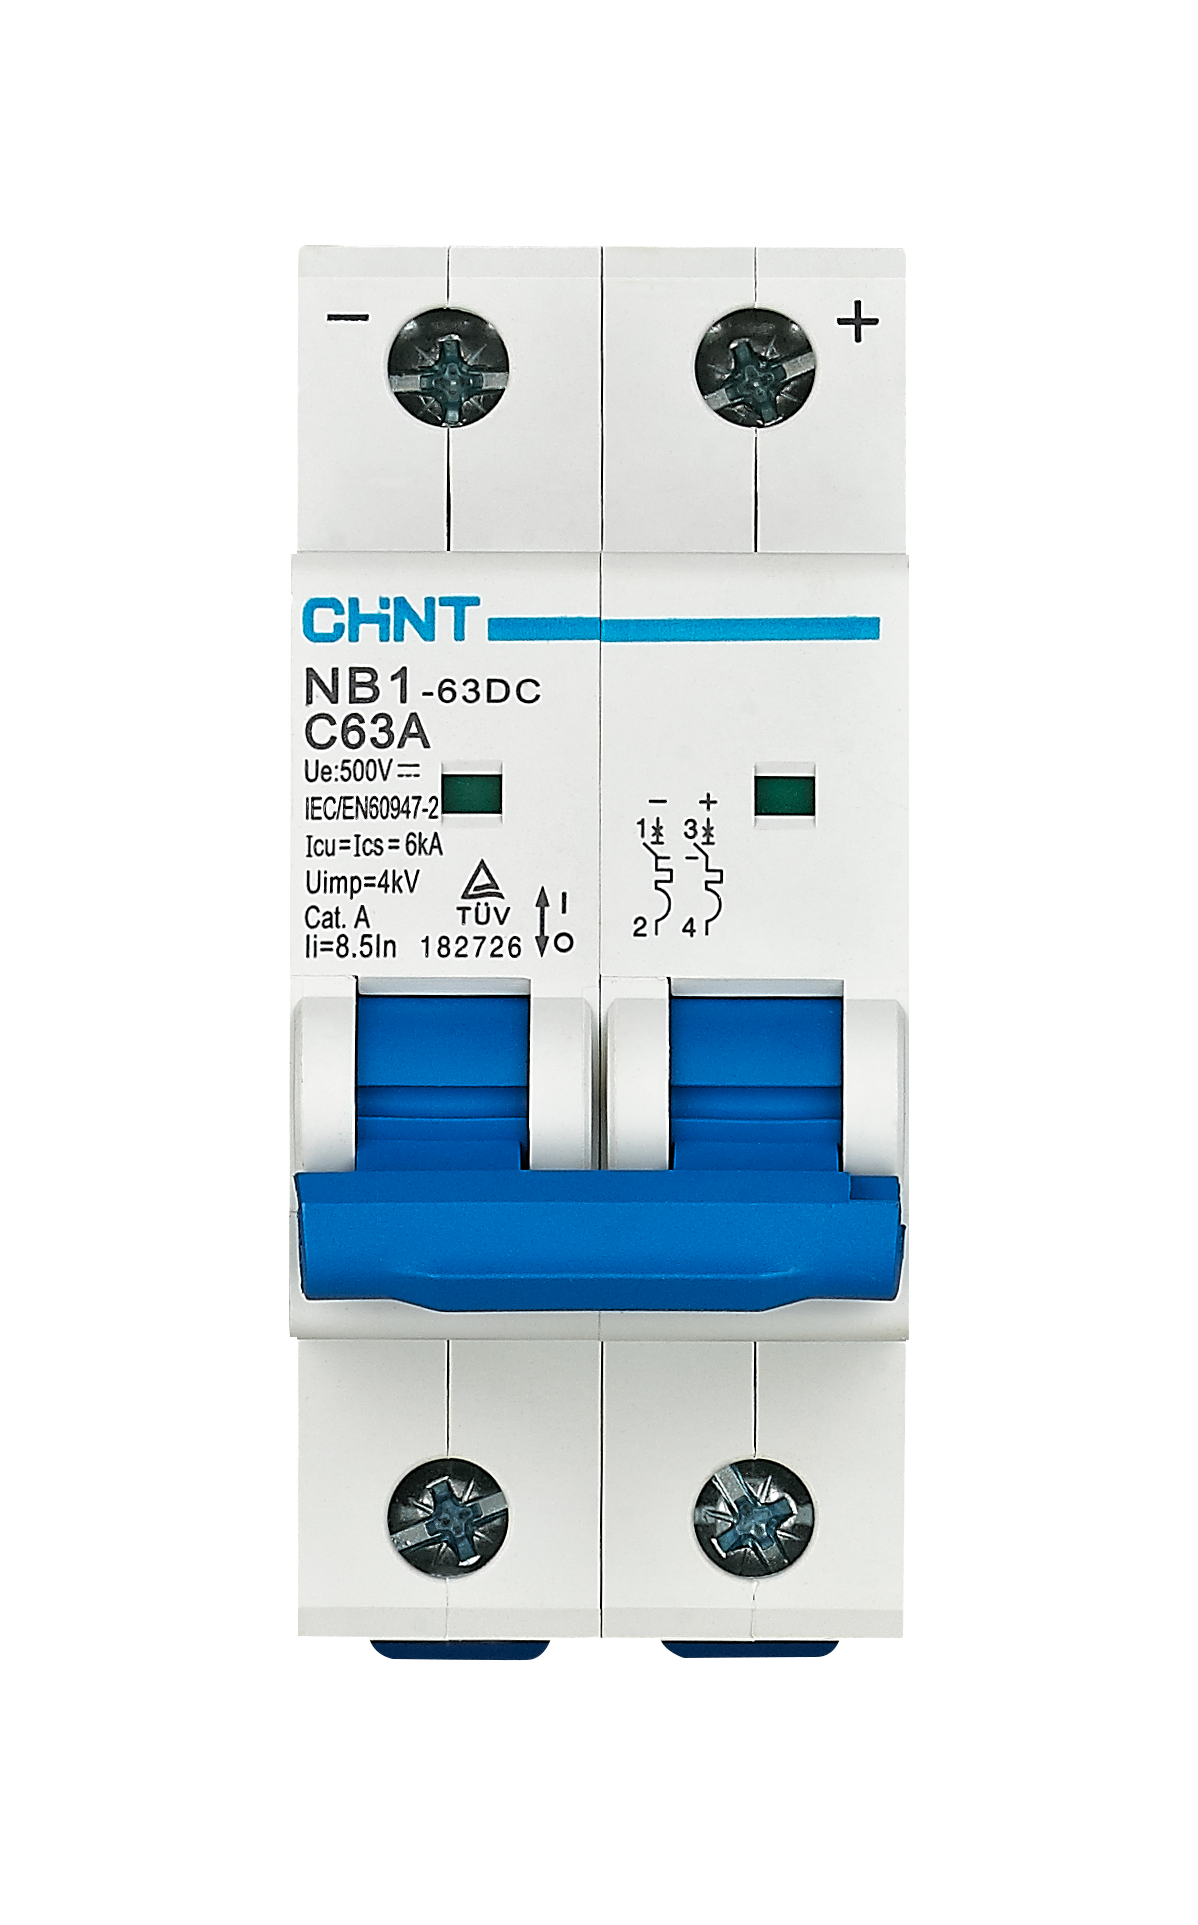
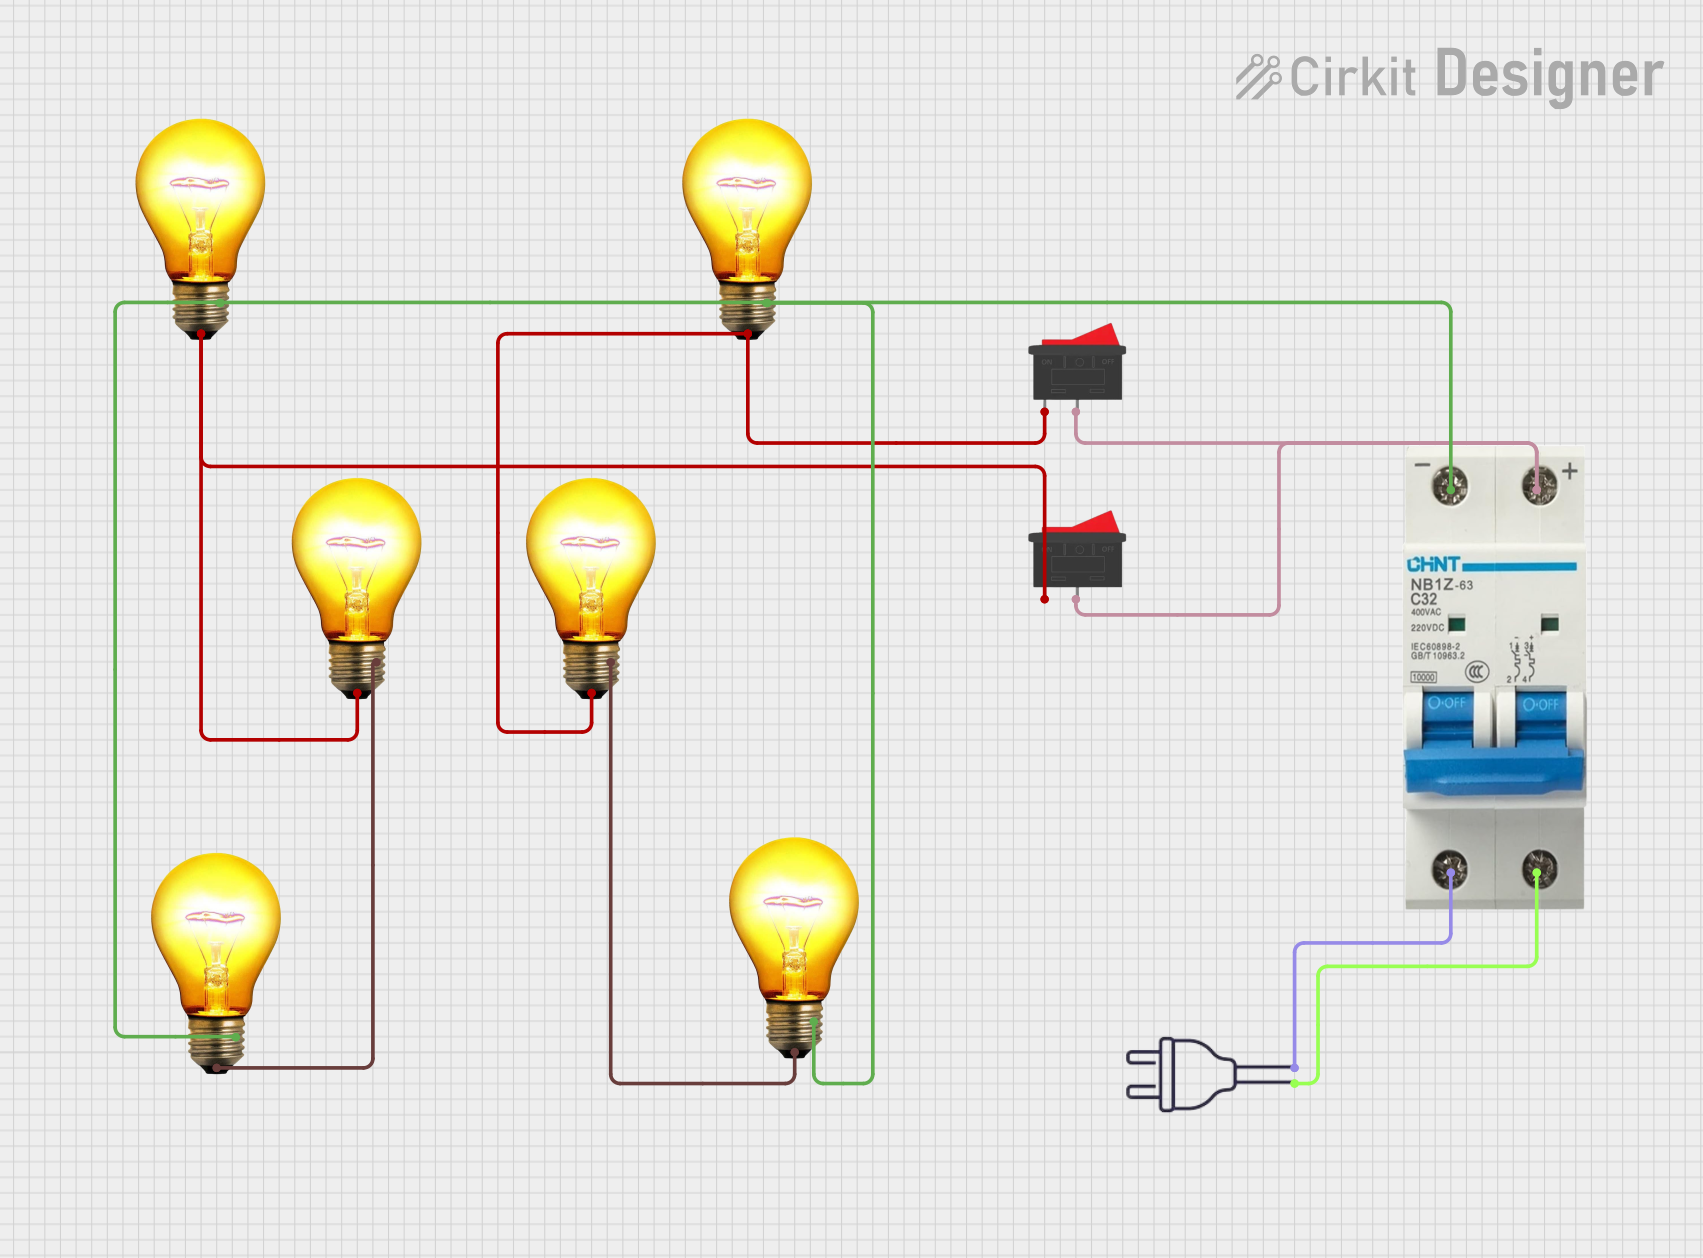
Image of 2P BreakerDesign with 2P Breaker in Cirkit Designer

Introduction

A 2-pole circuit breaker (commonly referred to as a 2P breaker) is an essential safety device designed to protect electrical circuits from overloads and short circuits. It is specifically engineered for dual-phase systems, where it can simultaneously disconnect power from both phases, ensuring comprehensive protection. The breaker automatically trips when it detects a fault, preventing damage to equipment and reducing the risk of electrical fires.

Explore Projects Built with 2P Breaker

Use Cirkit Designer to design, explore, and prototype these projects online. Some projects support real-time simulation. Click "Open Project" to start designing instantly!
Image of Industrial Power Distribution and Safety Control System: A project utilizing 2P Breaker in a practical application
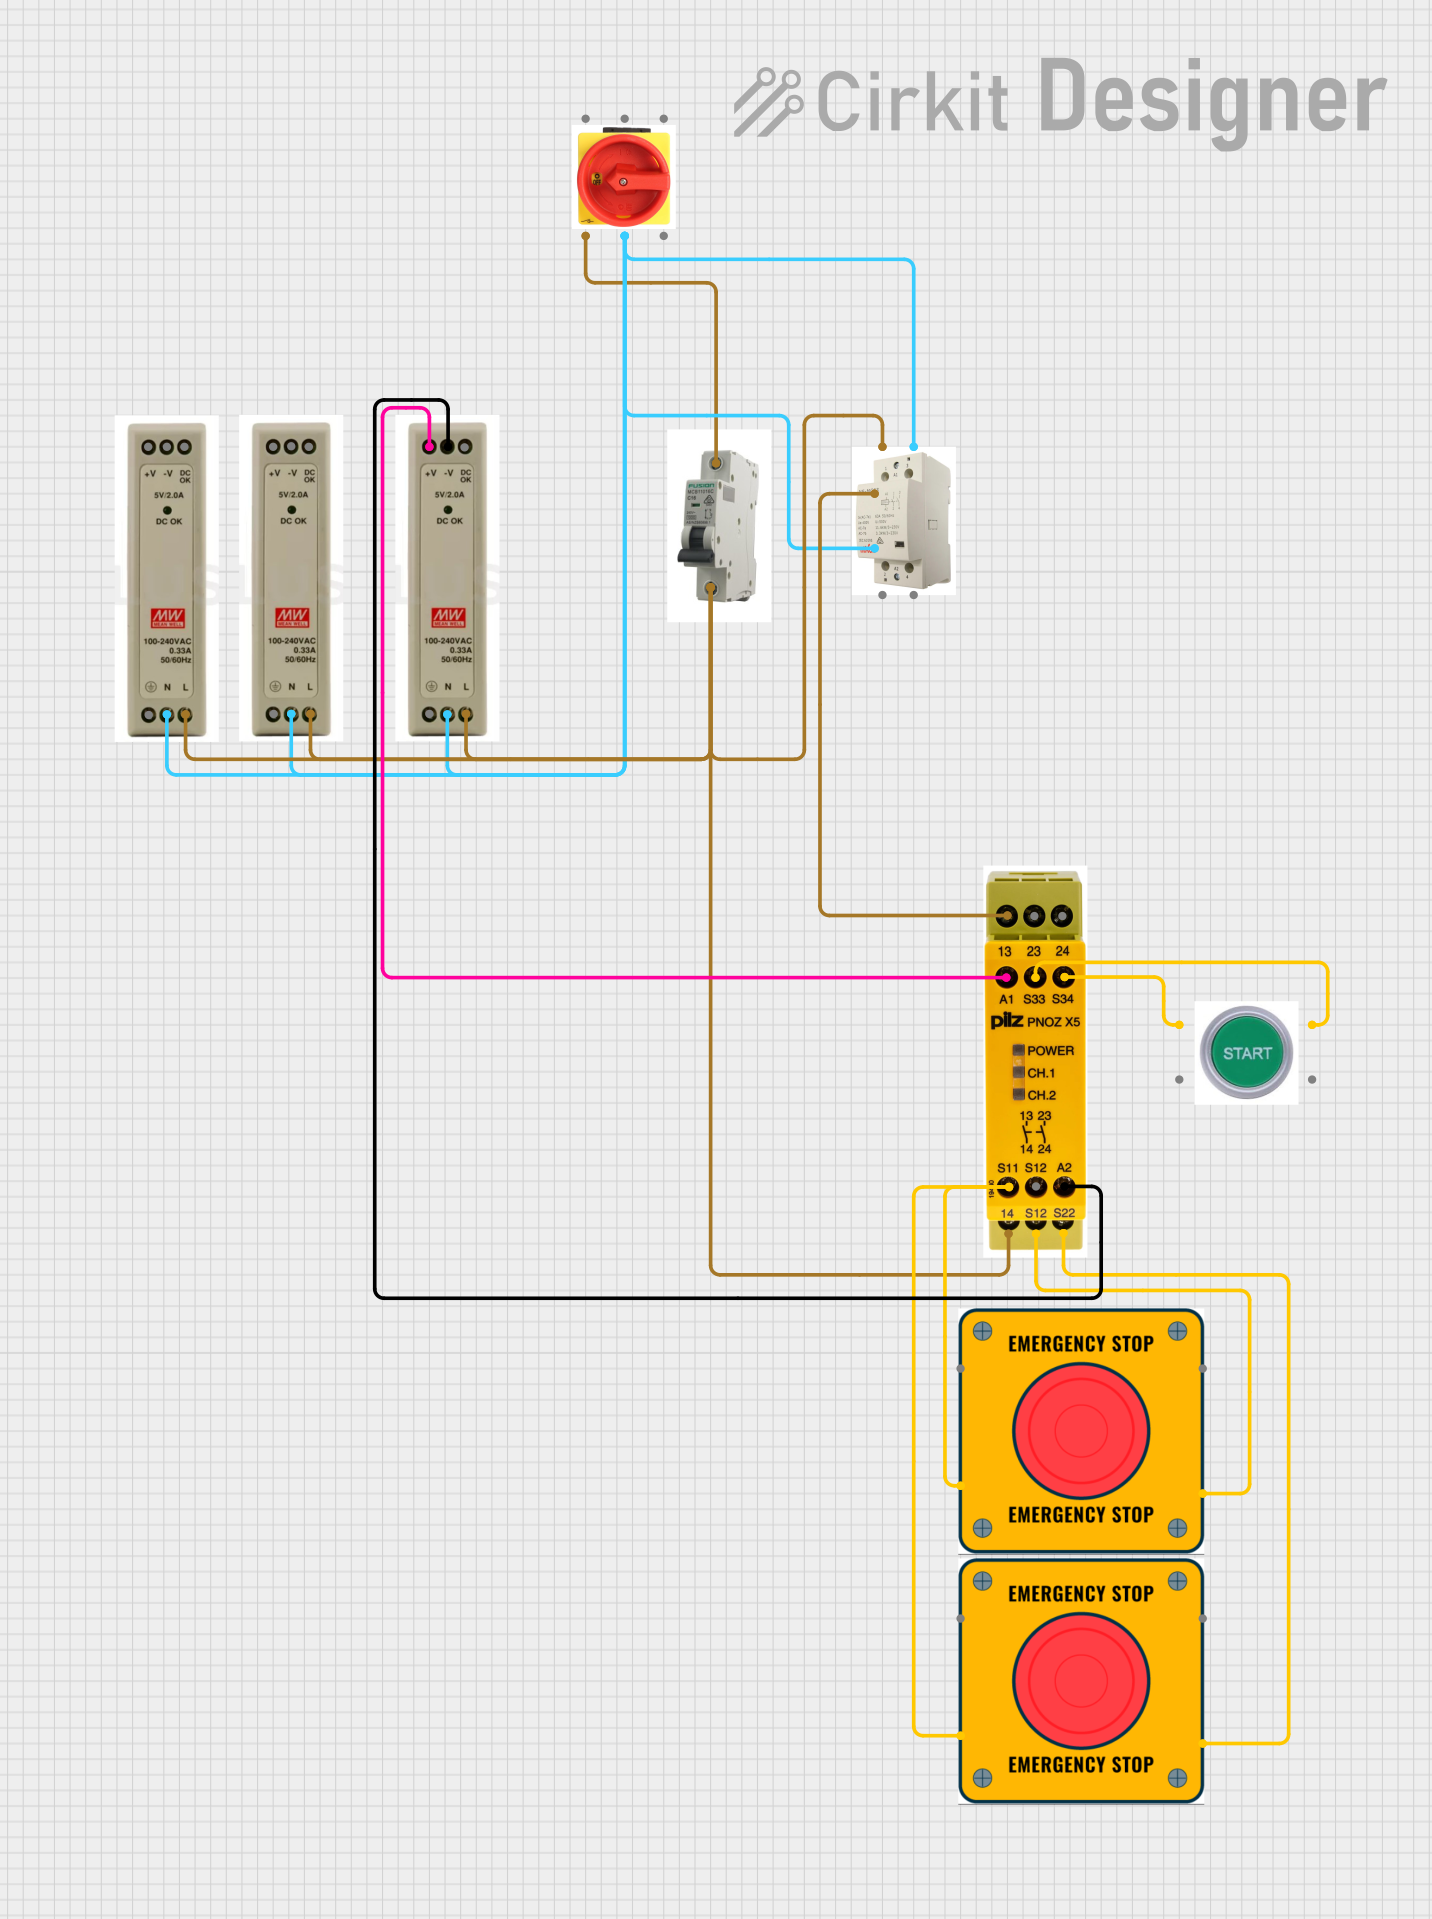
Industrial Power Distribution and Safety Control System

This circuit is designed for power distribution and safety control in an industrial setting. It features a main isolator and circuit breaker for power management, multiple PSUs for 5V, 12V, and 24V outputs, and a safety relay system that interfaces with E-stop buttons and a start switch to control a main contactor, ensuring safe operation and emergency power cut-off capabilities.

Open Project in Cirkit Designer
Image of Solar-Powered Environmental Monitoring System with Automatic Transfer Switch and ESP32 Control: A project utilizing 2P Breaker in a practical application
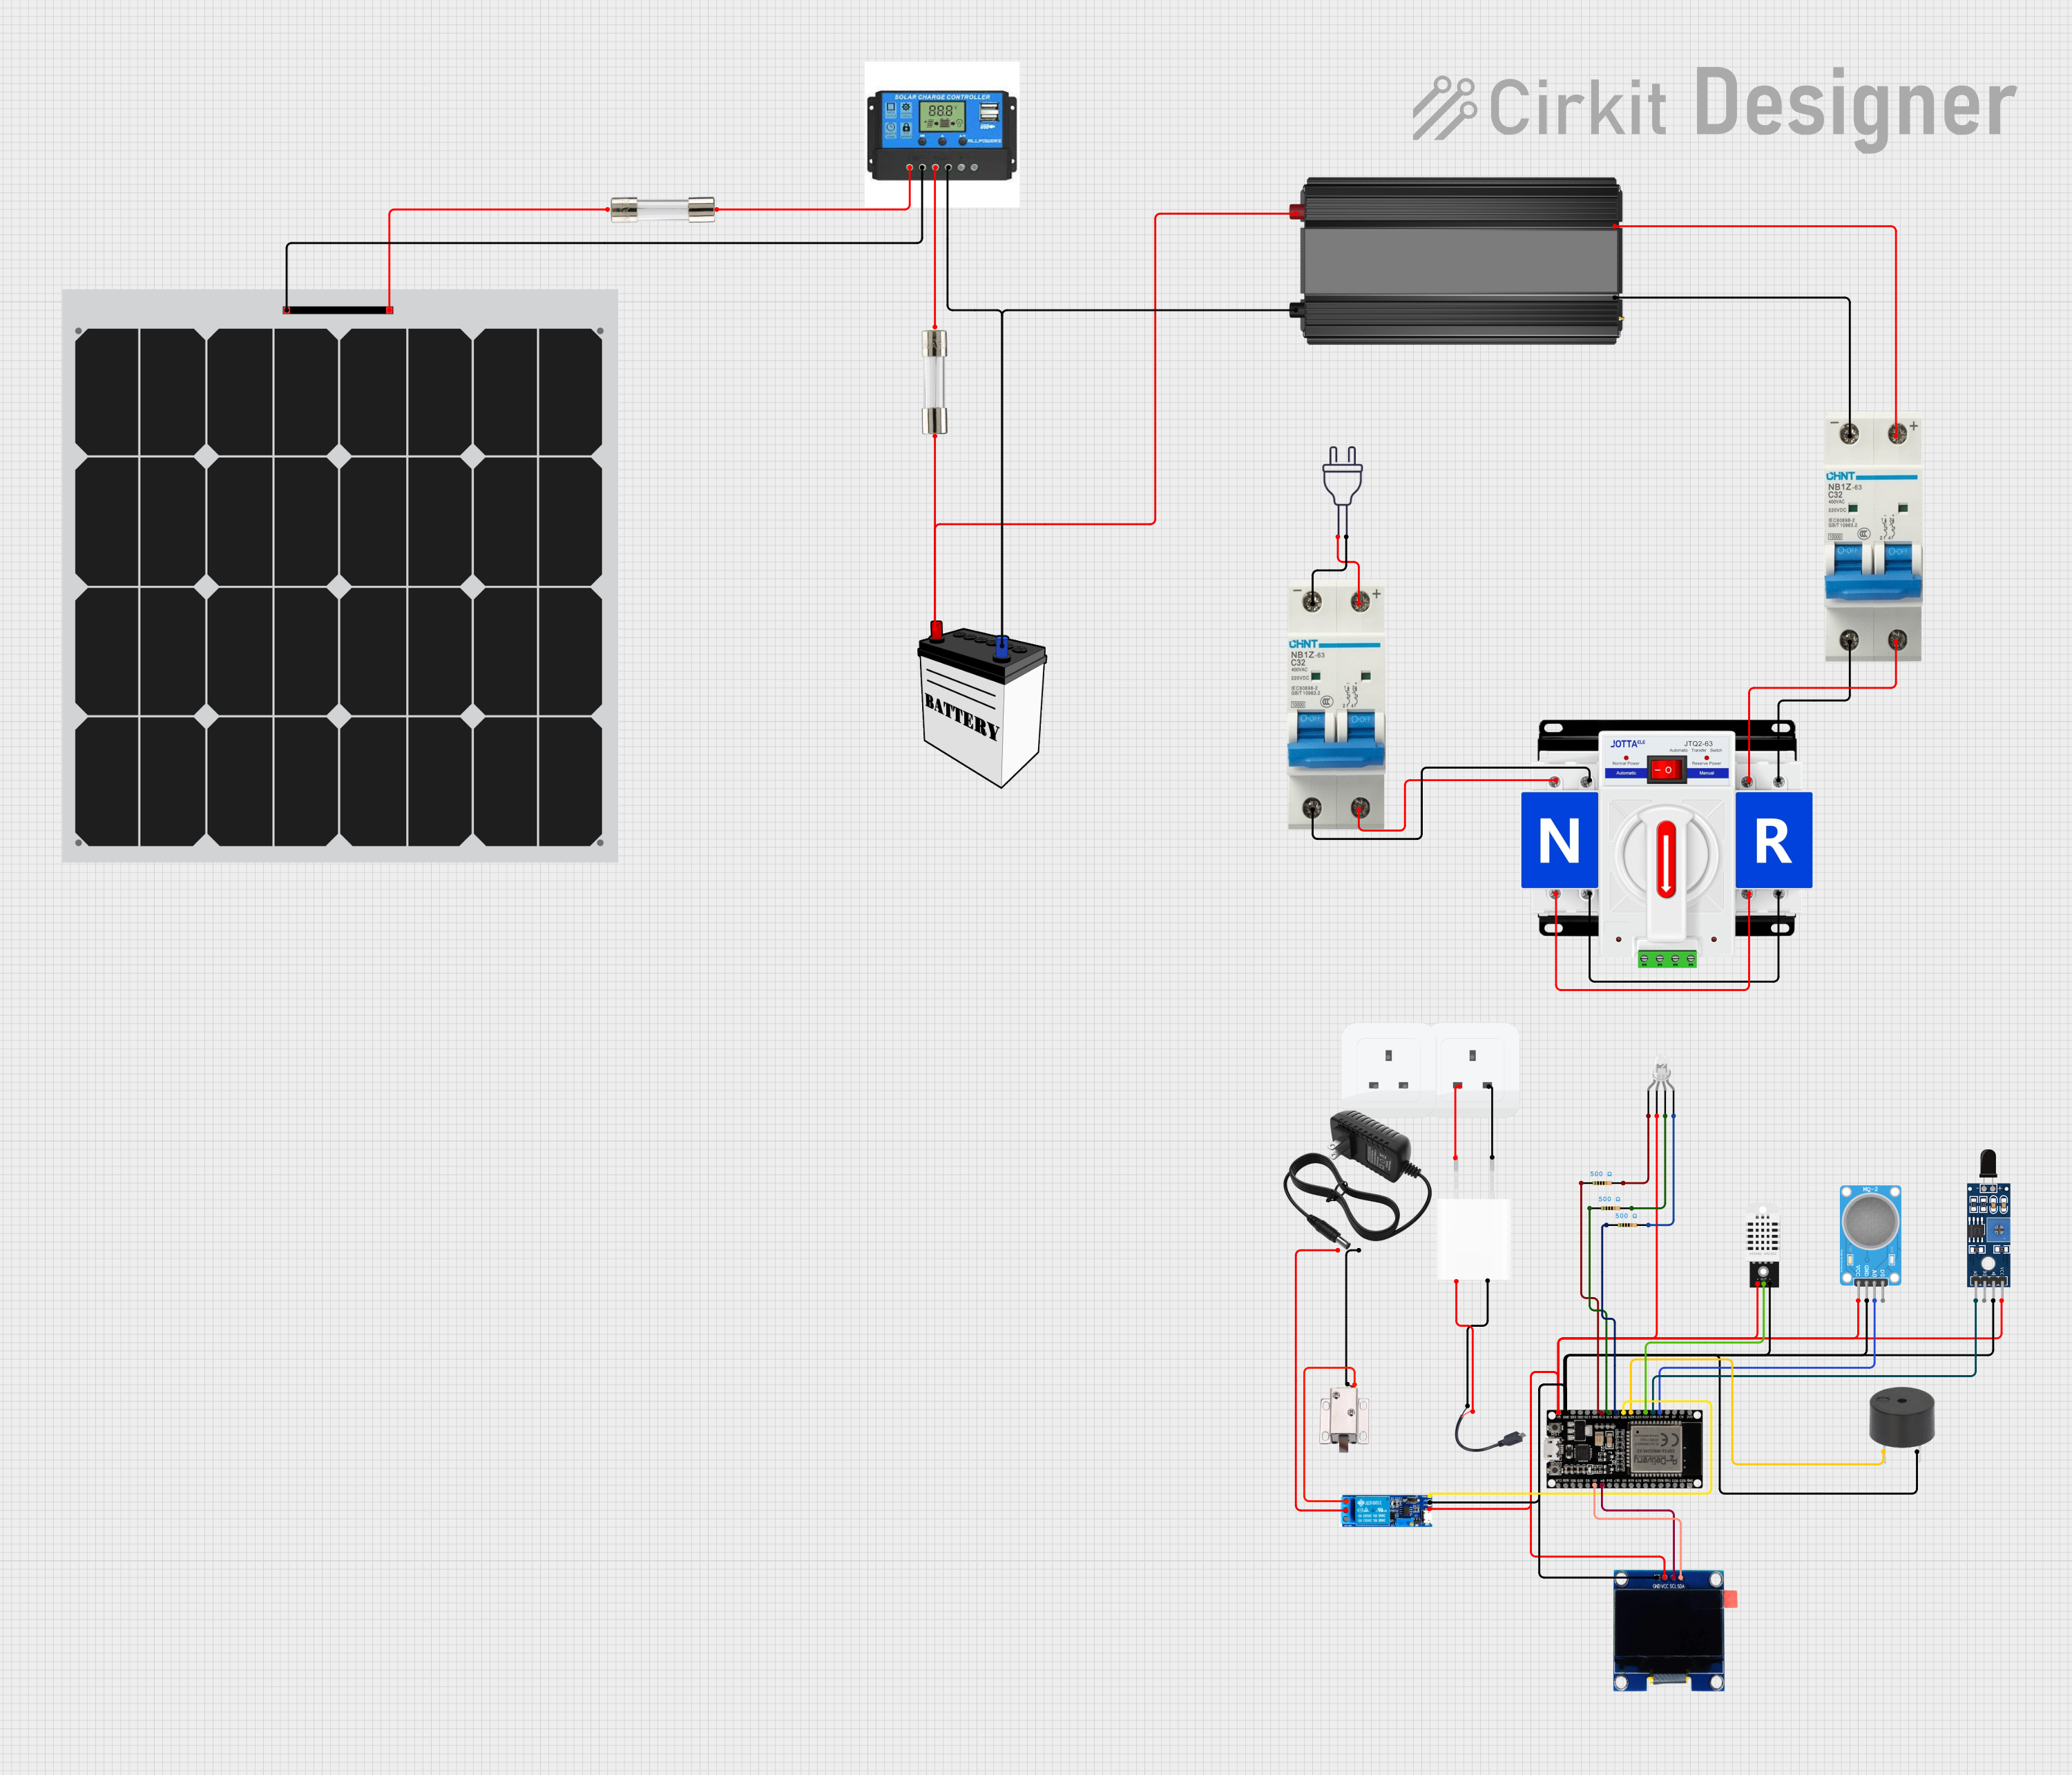
Solar-Powered Environmental Monitoring System with Automatic Transfer Switch and ESP32 Control

This circuit appears to be a solar power management system with dual power input capability, integrating a solar panel with a charge controller to manage charging a 12V battery and providing power through an inverter for AC loads. It includes safety features such as circuit breakers and fuses, and a dual power automatic transfer switch to alternate between solar and grid power. The system also incorporates an ESP32 microcontroller interfaced with various sensors (MQ-2, SHT113, DHT22), a buzzer for alerts, an OLED display for status output, and a relay module to control a 12V solenoid lock, with power regulation provided by a 5V adapter and resistors for LED current limiting.

Open Project in Cirkit Designer

Common Applications and Use Cases

Technical Specifications

Below are the key technical details and pin configuration for a standard 2P breaker:

Key Technical Details

Parameter Value/Range
Rated Voltage 120/240V AC (typical)
Rated Current 10A to 100A (varies by model)
Breaking Capacity 10kA to 25kA (depending on model)
Number of Poles 2
Trip Mechanism Thermal-magnetic
Operating Temperature -20°C to 70°C
Mounting Type DIN rail or panel-mounted
Compliance Standards IEC 60898, UL 489

Pin Configuration and Descriptions

Pin/Terminal Description
Line 1 (L1) Connects to the first phase of the power supply.
Line 2 (L2) Connects to the second phase of the power supply.
Load 1 Connects to the load for the first phase.
Load 2 Connects to the load for the second phase.

Usage Instructions

How to Use the 2P Breaker in a Circuit

  1. Determine the Load Requirements: Ensure the breaker’s rated current and voltage match the requirements of your circuit.
  2. Turn Off Power: Before installation, disconnect power to the circuit to avoid electrical shock.
  3. Connect the Breaker:
    • Connect the power supply lines to the Line 1 (L1) and Line 2 (L2) terminals.
    • Connect the load wires to the Load 1 and Load 2 terminals.
  4. Secure the Breaker: Mount the breaker onto a DIN rail or panel as per the installation requirements.
  5. Test the Circuit: After installation, restore power and test the breaker by manually tripping it to ensure proper operation.

Important Considerations and Best Practices

Example: Connecting a 2P Breaker to an Arduino-Controlled System

While a 2P breaker is not directly connected to an Arduino, it can be used to protect circuits that include Arduino-based systems. For example, if you are controlling a dual-phase motor with an Arduino, the 2P breaker can safeguard the motor and associated wiring.

// Example Arduino code for controlling a dual-phase motor via a relay
// Ensure the 2P breaker is installed to protect the motor circuit

const int relayPin = 7; // Pin connected to the relay module

void setup() {
  pinMode(relayPin, OUTPUT); // Set relay pin as output
  digitalWrite(relayPin, LOW); // Ensure relay is off at startup
}

void loop() {
  // Turn on the motor
  digitalWrite(relayPin, HIGH); // Activate relay to power the motor
  delay(5000); // Run motor for 5 seconds

  // Turn off the motor
  digitalWrite(relayPin, LOW); // Deactivate relay to cut power
  delay(5000); // Wait for 5 seconds before restarting
}

Note: The 2P breaker should be installed between the power source and the motor to protect against overloads or short circuits.

Troubleshooting and FAQs

Common Issues and Solutions

Issue Possible Cause Solution
Breaker trips frequently Overloaded circuit Reduce the load or use a higher-rated breaker.
Breaker does not trip during faults Faulty breaker or incorrect wiring Inspect wiring and replace the breaker if necessary.
Breaker feels hot to the touch Loose connections or overload Tighten connections and ensure the load is within limits.
Breaker will not reset Persistent fault in the circuit Identify and fix the fault before resetting.

FAQs

  1. Can I use a 2P breaker in a single-phase system?

    • No, a 2P breaker is designed for dual-phase systems. For single-phase systems, use a single-pole breaker.
  2. What happens if I exceed the breaker’s rated current?

    • The breaker will trip to protect the circuit. Repeated overloading can damage the breaker.
  3. How do I know if my breaker is faulty?

    • If the breaker does not trip during a fault or trips without any load, it may be faulty and should be replaced.
  4. Can I install a 2P breaker myself?

    • Installation should be performed by a qualified electrician to ensure safety and compliance with local electrical codes.