How to Use IRFZ44N: Examples, Pinouts, and Specs
Introduction
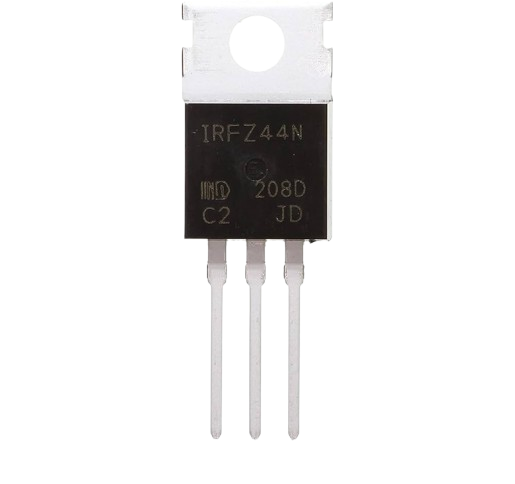
The IRFZ44N is a widely used N-channel power MOSFET transistor that offers high efficiency and fast switching speeds. It is designed to handle significant power levels and is commonly employed in applications such as DC-DC converters, power supplies, motor drivers, and switching applications where a high-speed transistor is required to control large amounts of current.
Explore Projects Built with IRFZ44N

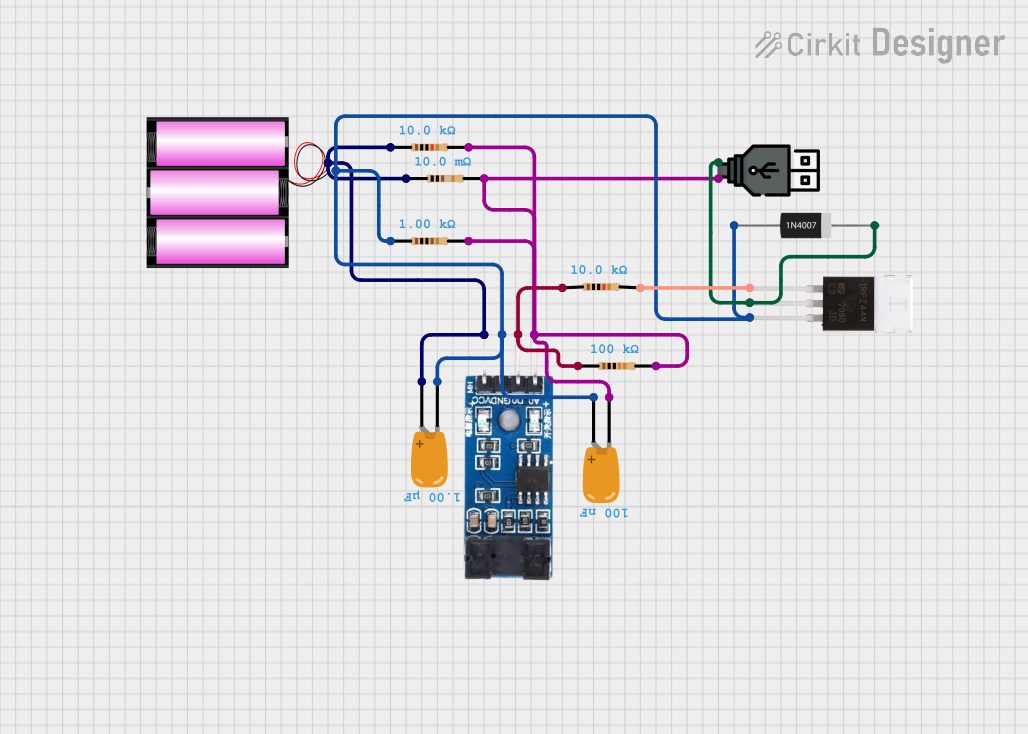
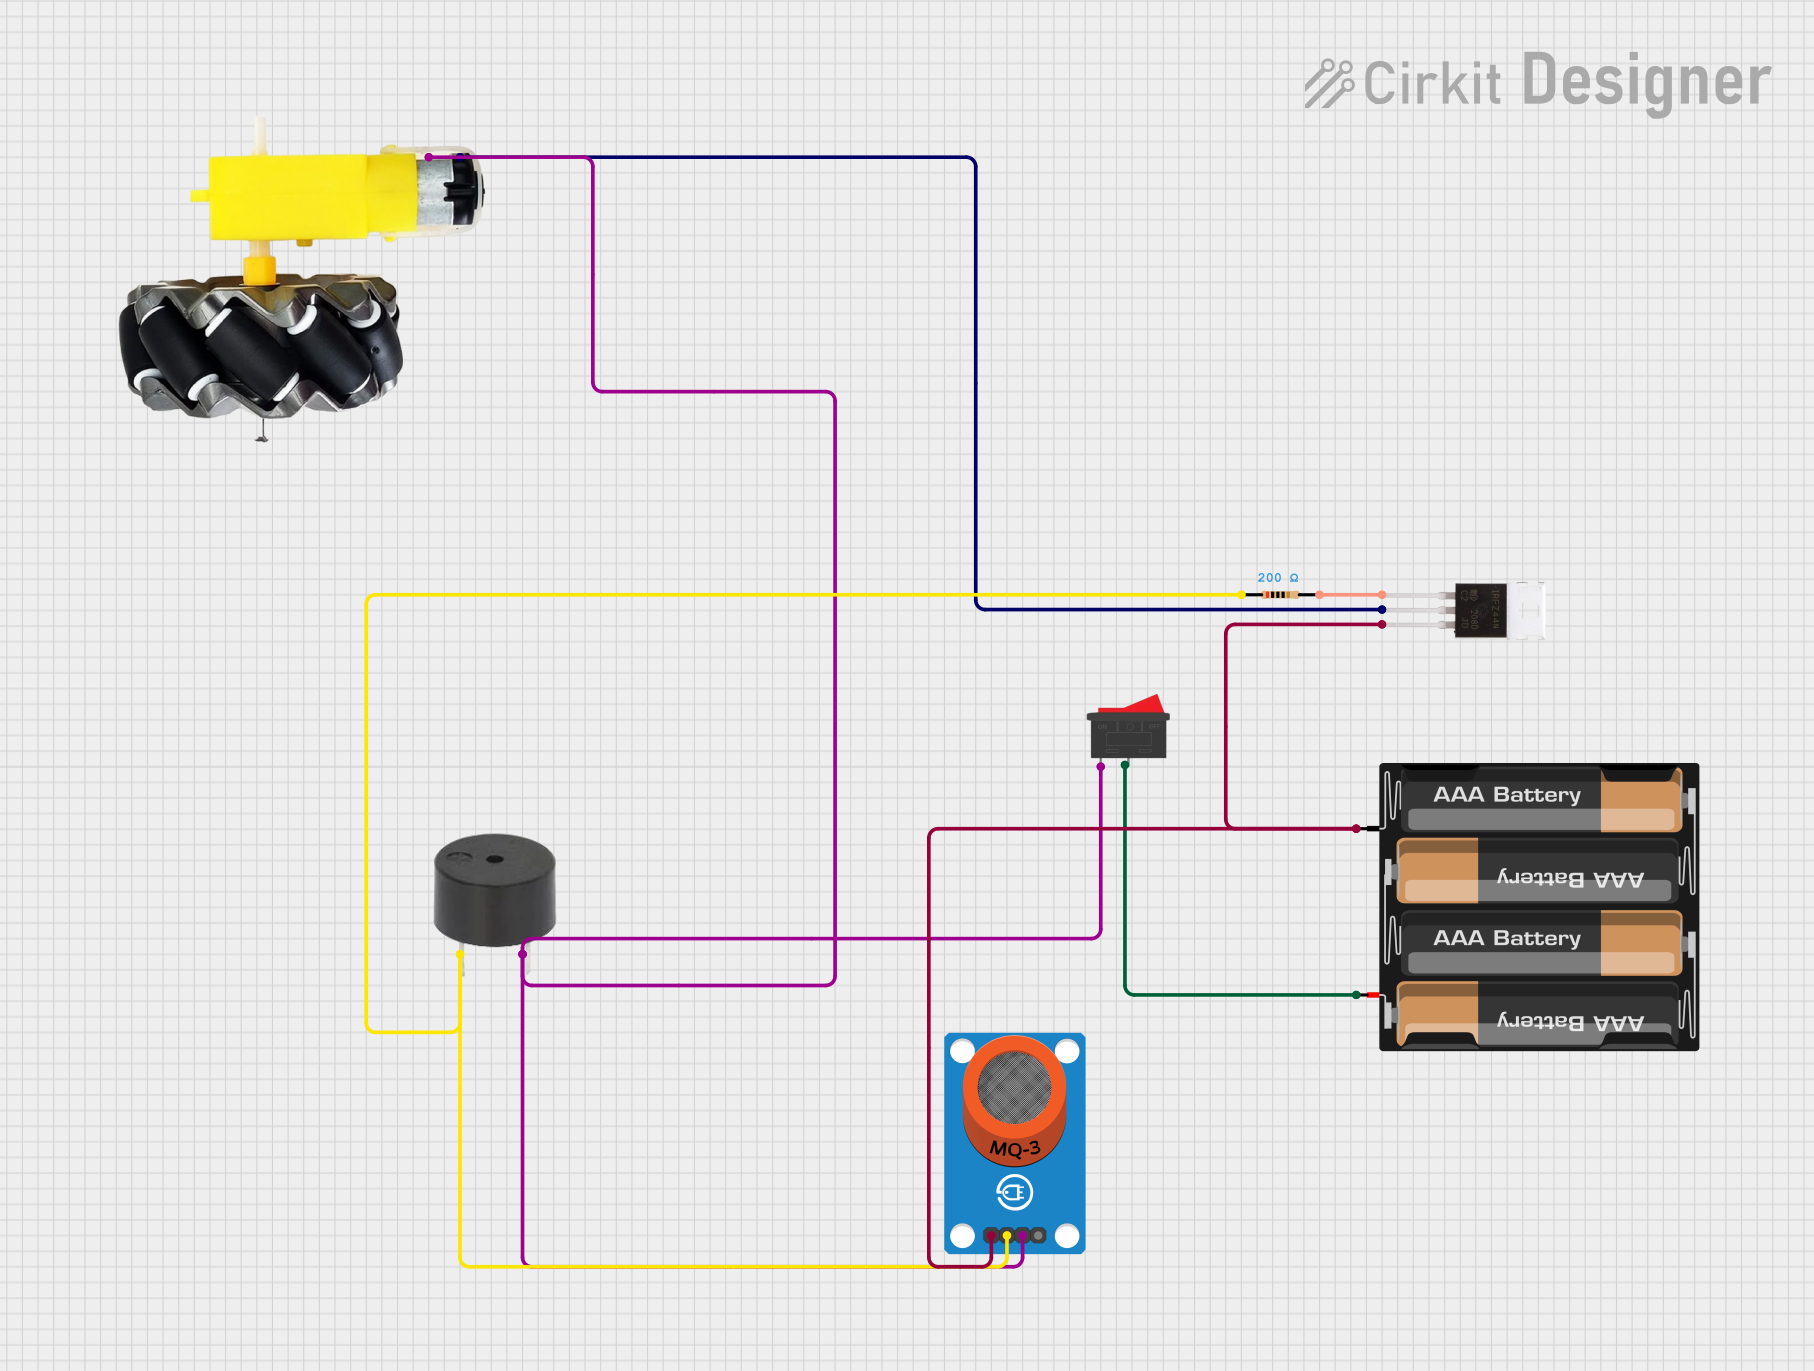
Explore Projects Built with IRFZ44N
Common Applications and Use Cases
- Switching power supplies
- Motor control circuits
- PWM (Pulse Width Modulation) applications
- Battery management systems
- Inverters and converters
Technical Specifications
The IRFZ44N is characterized by its ability to handle high currents and voltages with low on-resistance, providing efficient operation in various circuits.
Key Technical Details
- Drain-to-Source Voltage (Vdss): 55V
- Continuous Drain Current (Id): 49A
- Pulsed Drain Current (Idm): 160A
- Power Dissipation (Pd): 94W
- Gate-to-Source Voltage (Vgs): ±20V
- Rds(on) (Max): 17.5mΩ at Vgs = 10V
- Total Gate Charge (Qg): 67nC
Pin Configuration and Descriptions
| Pin Number | Name | Description |
|---|---|---|
| 1 | Gate | Controls the transistor's on/off state |
| 2 | Drain | Connected to the high potential side of the load |
| 3 | Source | Connected to the low potential side of the load |
Usage Instructions
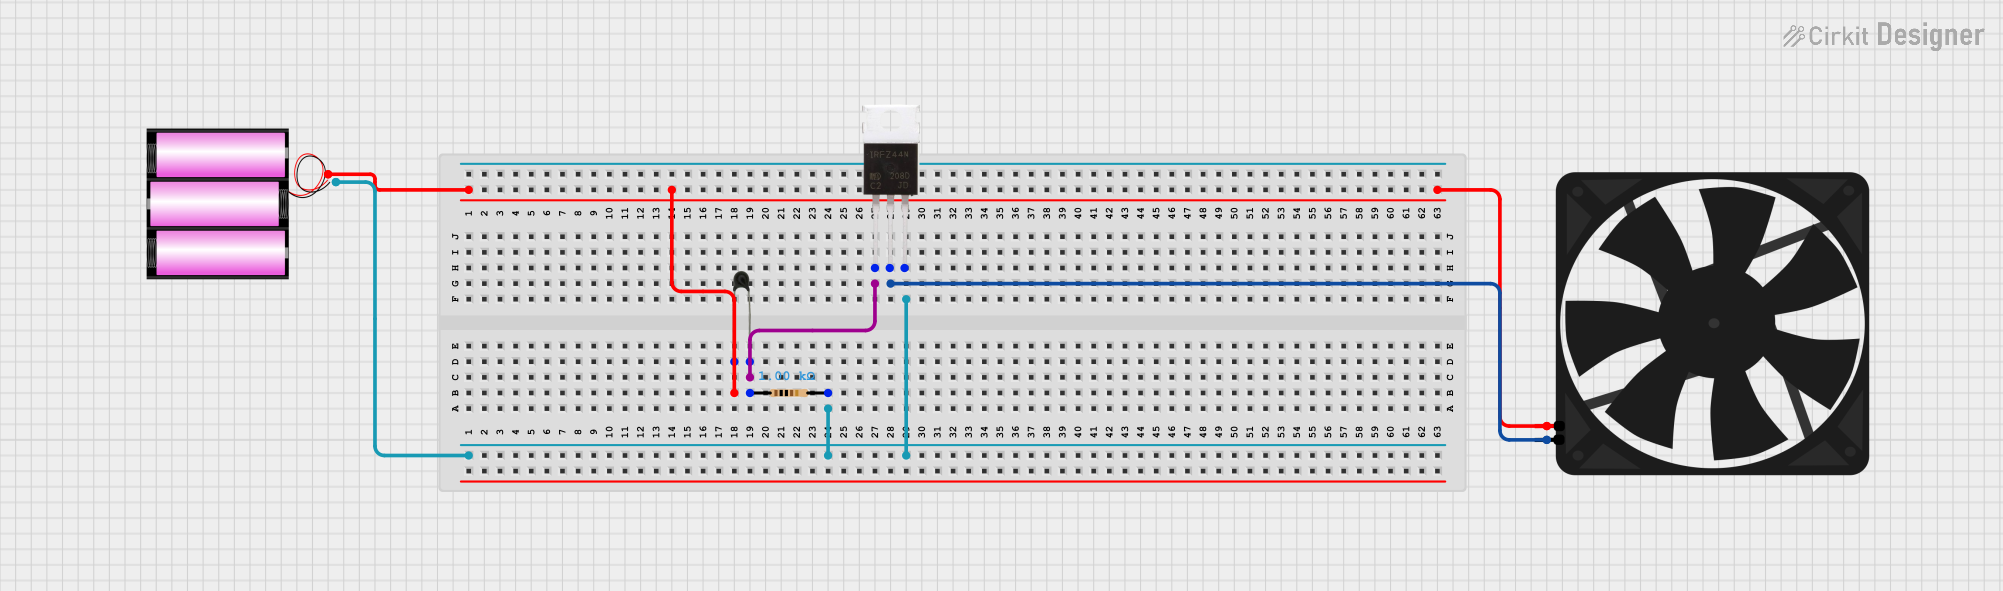
How to Use the IRFZ44N in a Circuit
Gate Drive: Apply a voltage between the gate and source pins to turn the MOSFET on. Ensure that this voltage does not exceed the Vgs rating.
Load Connection: Connect the load between the drain and the power supply. Ensure that the load does not draw more than the maximum continuous drain current.
Heat Management: Use a heatsink if the MOSFET is expected to dissipate significant power to prevent overheating.
Protection: Use a flyback diode when driving inductive loads to protect the MOSFET from voltage spikes.
Important Considerations and Best Practices
- Always check the maximum ratings of the MOSFET to prevent damage.
- Use a gate resistor to limit inrush current and dampen oscillations.
- Implement proper ESD precautions when handling the MOSFET.
- Ensure that the power supply does not exceed the maximum drain-to-source voltage.
Troubleshooting and FAQs
Common Issues Users Might Face
- Overheating: If the MOSFET is getting too hot, check the power dissipation and ensure adequate cooling.
- Unexpected Shutdown: This could be due to exceeding the maximum current or voltage ratings. Review the circuit parameters.
- No Switching: Ensure that the gate voltage is sufficient to fully turn on the MOSFET.
Solutions and Tips for Troubleshooting
- Heat Issues: Attach a larger heatsink or improve airflow around the MOSFET.
- Voltage/Current Issues: Double-check the circuit design to ensure that all components are within their safe operating area.
- Gate Drive Issues: Verify the gate drive circuitry is providing the correct voltage and current to the gate.
Example Code for Arduino UNO
The following example demonstrates how to use the IRFZ44N with an Arduino UNO to control a high-power LED.
// Define the pin connected to the gate of the MOSFET
const int mosfetGatePin = 3;

void setup() {
  // Set the MOSFET gate as an output
  pinMode(mosfetGatePin, OUTPUT);
}

void loop() {
  // Turn on the MOSFET by applying a high voltage to the gate
  digitalWrite(mosfetGatePin, HIGH);
  delay(1000); // Keep the LED on for 1 second

  // Turn off the MOSFET by applying a low voltage to the gate
  digitalWrite(mosfetGatePin, LOW);
  delay(1000); // Keep the LED off for 1 second
}
Note: When connecting the IRFZ44N to an Arduino, ensure that the gate threshold voltage is compatible with the Arduino's output voltage level to fully switch the MOSFET on. If necessary, use a gate driver circuit to achieve the required gate voltage.
This documentation provides a comprehensive overview of the IRFZ44N power MOSFET, ensuring users can effectively incorporate it into their electronic projects.