How to Use Arduino Leonardo (Rev3b): Examples, Pinouts, and Specs
Introduction
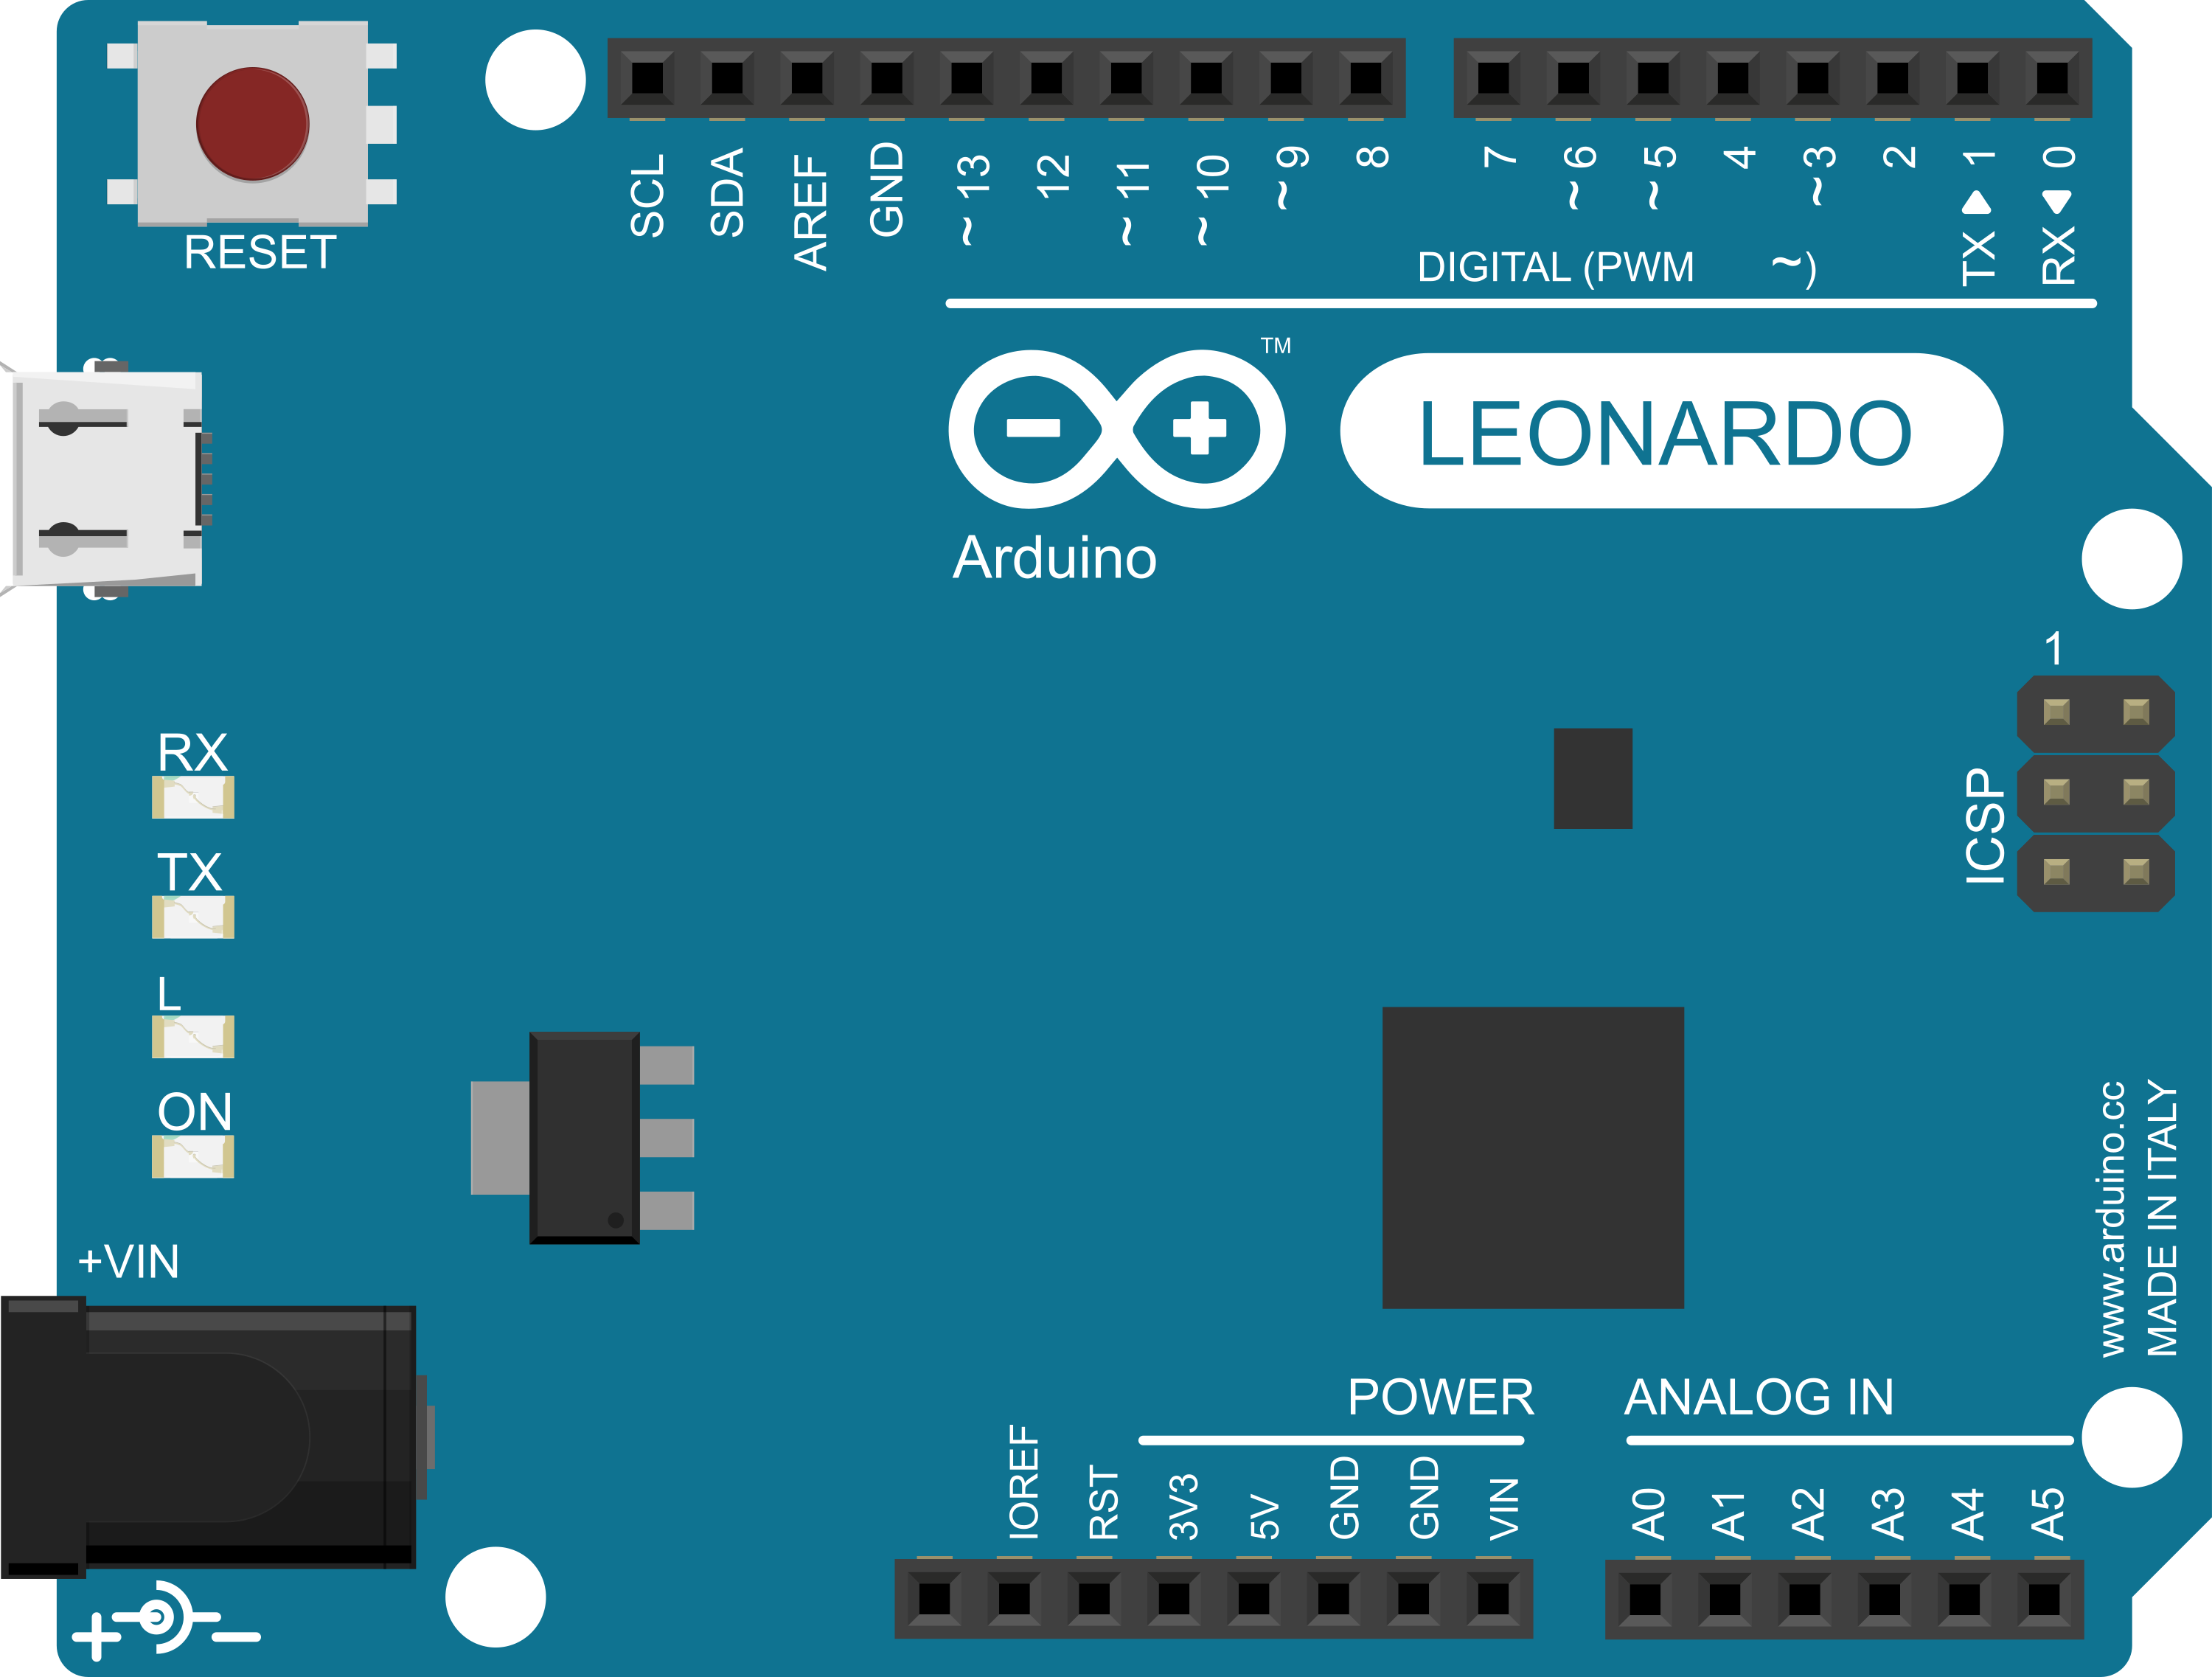
The Arduino Leonardo (Rev3b) is a versatile microcontroller board that is based on the ATmega32U4. Unlike other Arduino boards, the Leonardo has the advantage of having built-in USB communication, which allows it to emulate a computer keyboard, mouse, or MIDI device without the need for an additional USB-serial converter. This feature makes the Leonardo particularly suitable for projects that require human interface device (HID) capabilities or MIDI interfaces.
Common applications for the Arduino Leonardo include:
- DIY computer peripherals (keyboards, mice, game controllers)
- Musical instruments and MIDI controllers
- Educational tools and robotics
- Custom input devices for accessibility
- Prototyping and proof-of-concept designs
Explore Projects Built with Arduino Leonardo (Rev3b)
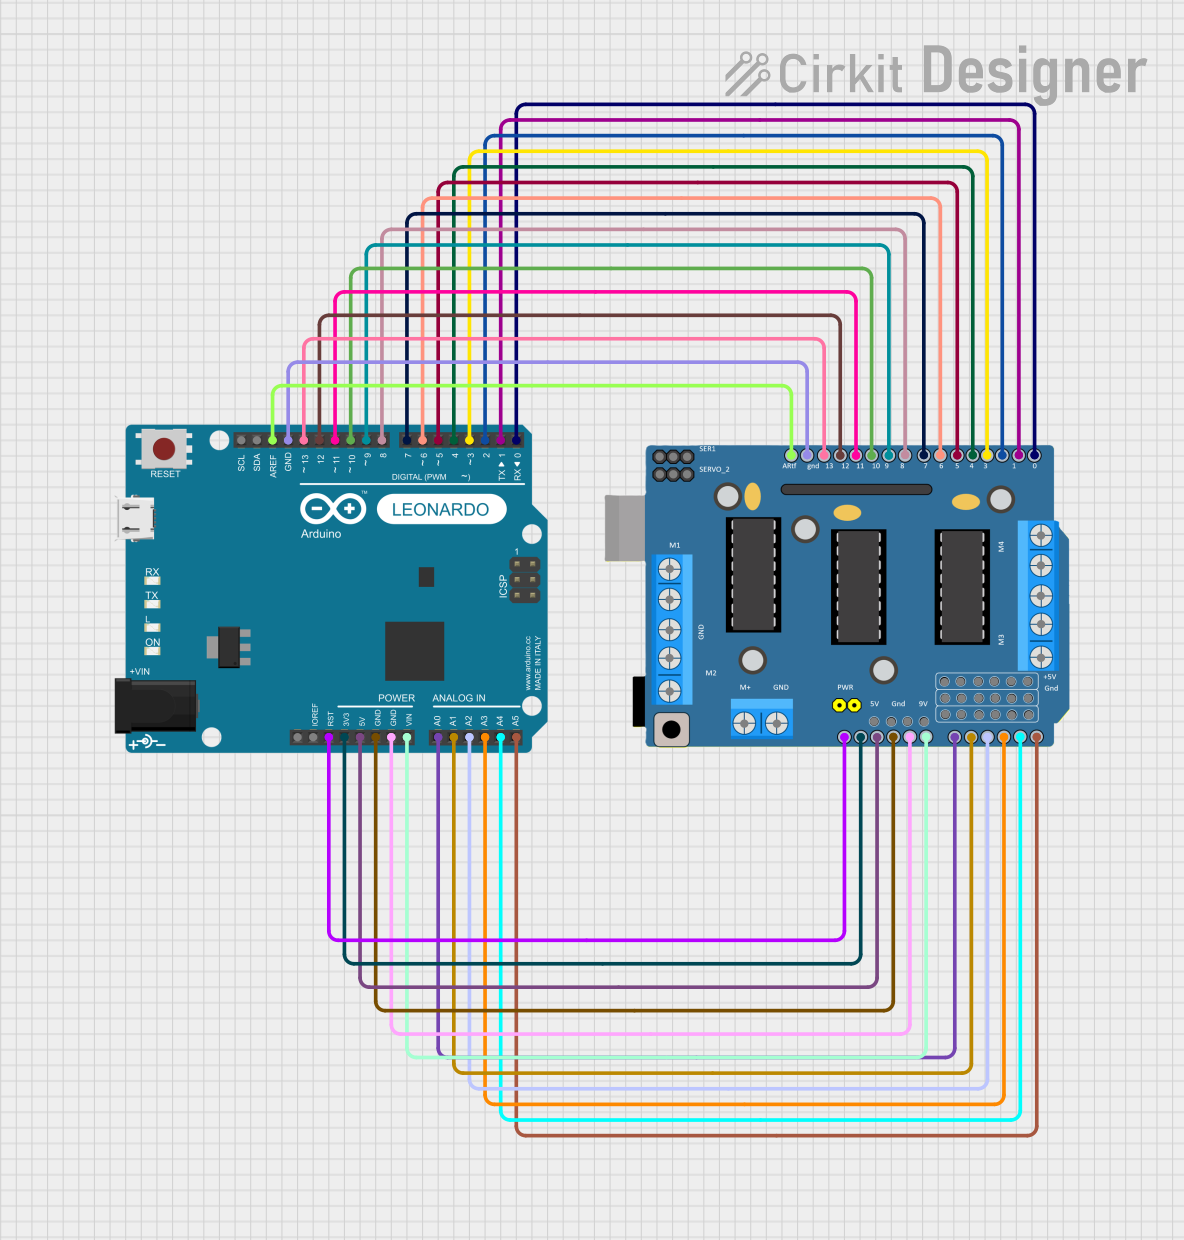
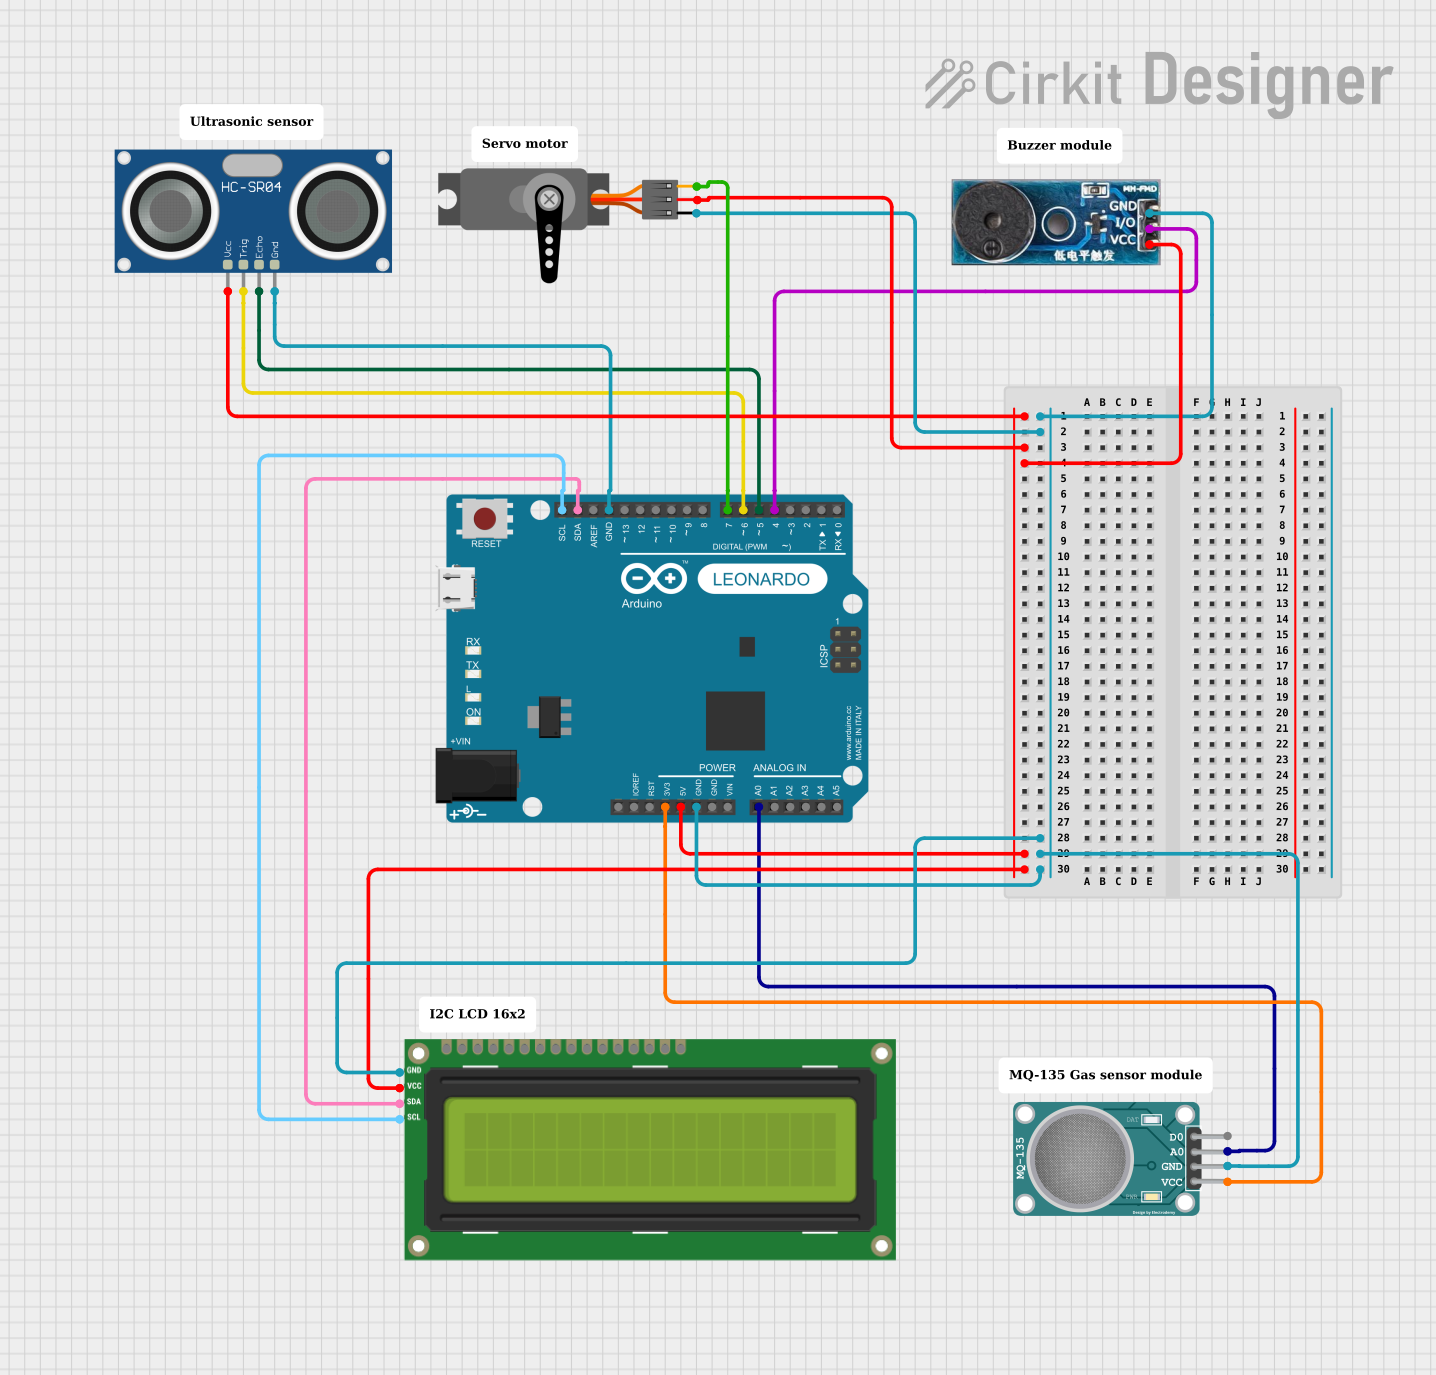
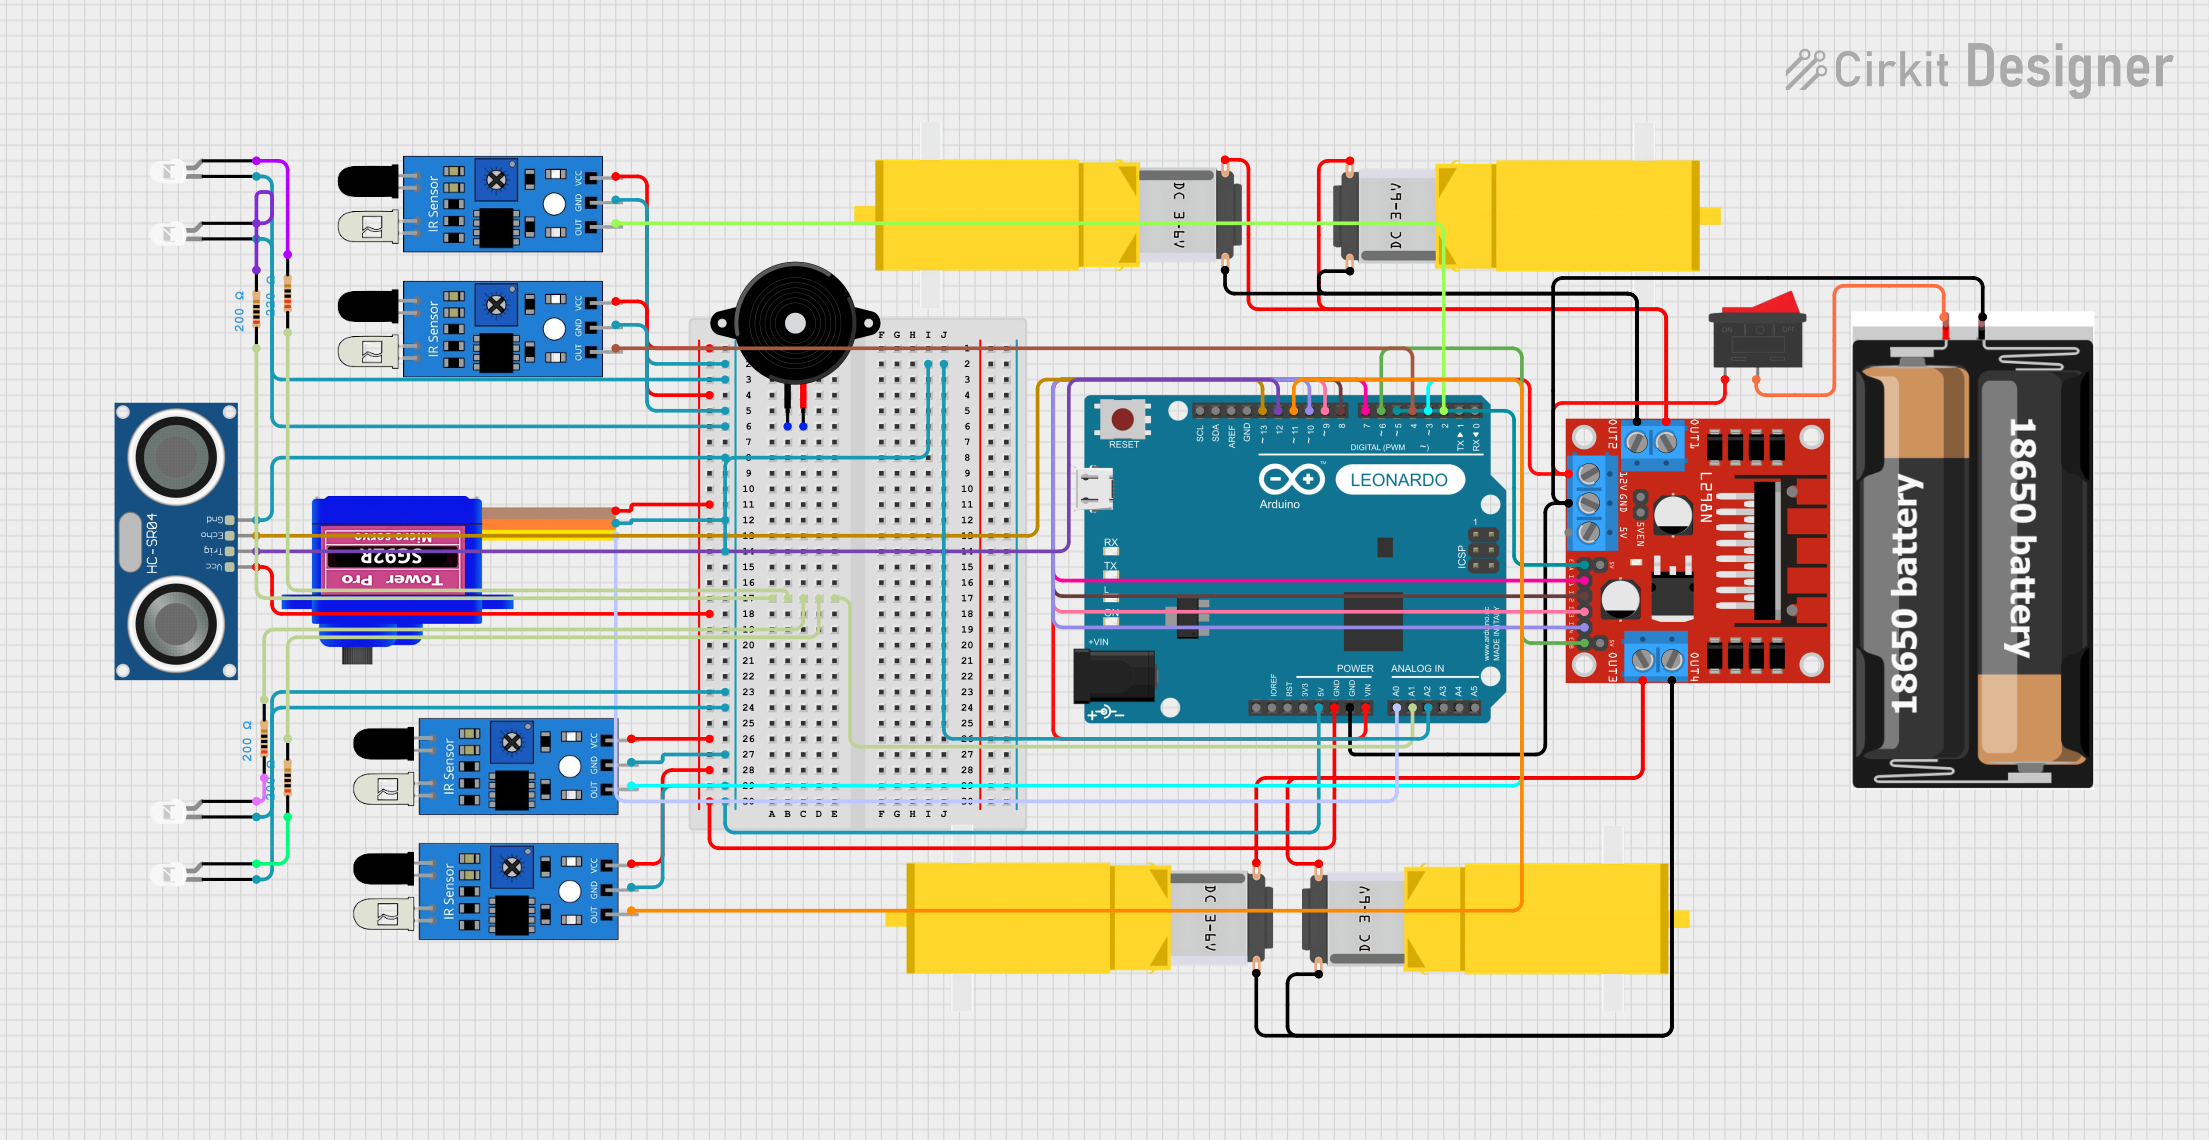
Explore Projects Built with Arduino Leonardo (Rev3b)
Technical Specifications
Key Technical Details
- Microcontroller: ATmega32U4
- Operating Voltage: 5V
- Input Voltage (recommended): 7-12V
- Input Voltage (limit): 6-20V
- Digital I/O Pins: 20 (of which 7 provide PWM output)
- Analog Input Pins: 12
- DC Current per I/O Pin: 40 mA
- DC Current for 3.3V Pin: 50 mA
- Flash Memory: 32 KB (ATmega32U4) of which 4 KB used by bootloader
- SRAM: 2.5 KB (ATmega32U4)
- EEPROM: 1 KB (ATmega32U4)
- Clock Speed: 16 MHz
- LED_BUILTIN: Pin 13
Pin Configuration and Descriptions
| Pin Number | Function | Description |
|---|---|---|
| 1-7 | Digital I/O | Digital pins, PWM available on pins 3, 5, 6, 9, 10, 11, 13 |
| 8-12 | Analog Input | Analog input pins, can also be used as digital I/O |
| 13 | LED_BUILTIN | Pin connected to the built-in LED, can be used as digital I/O |
| A0-A5 | Analog Input | Additional analog input pins, can also be used as digital I/O |
| A6-A11 | Analog Input | Analog input pins only (not available on headers) |
| RX/TX | Serial Comm. | Pins used for serial communication (0 and 1) |
| SDA/SCL | I2C Comm. | Pins for I2C communication (2 and 3) |
| AREF | Analog Ref. | Analog reference pin for ADC conversions |
| GND | Ground | Ground pins |
| RST | Reset | Reset pin, can be used to restart the microcontroller |
| 3.3V | Voltage Supply | 3.3V regulated output from onboard regulator |
| 5V | Voltage Supply | 5V regulated output from onboard regulator |
| VIN | Voltage Input | Input voltage to the Arduino board |
Usage Instructions
Integrating with a Circuit
To use the Arduino Leonardo in a circuit:
- Connect the board to a power source (7-12V recommended) via the VIN pin or the DC power jack.
- Connect the ground from your circuit to one of the GND pins on the Leonardo.
- Utilize the digital and analog pins to interface with sensors, actuators, and other components.
- If using PWM, connect the appropriate device to one of the PWM-enabled pins.
- For serial communication, use the RX and TX pins.
- For I2C communication, use the SDA and SCL pins.
Best Practices
- Always disconnect the Leonardo from power sources before making or altering connections.
- Use a current-limiting resistor with LEDs to prevent damage.
- Avoid supplying voltage higher than the pin's rating (5V for digital and analog pins).
- Ensure that the total current drawn from all I/O pins does not exceed the specified limit.
Example Code for Arduino Leonardo
Here is a simple example of how to blink the built-in LED on the Arduino Leonardo:
// Pin 13 has an LED connected on most Arduino boards.
int led = 13;

// The setup routine runs once when you press reset:
void setup() {
  // Initialize the digital pin as an output.
  pinMode(led, OUTPUT);
}

// The loop routine runs over and over again forever:
void loop() {
  digitalWrite(led, HIGH);   // Turn the LED on (HIGH is the voltage level)
  delay(1000);               // Wait for a second
  digitalWrite(led, LOW);    // Turn the LED off by making the voltage LOW
  delay(1000);               // Wait for a second
}
This code will blink the built-in LED on and off every second. It's a great starting point for testing your Arduino Leonardo and ensuring it's functioning correctly.
Troubleshooting and FAQs
Common Issues
- Leonardo not recognized by computer: Ensure the board is properly connected via USB and the correct drivers are installed.
- Sketch not uploading: Check the selected board and port in the Arduino IDE. Press the reset button on the board and try uploading again.
- Unexpected behavior in circuits: Verify all connections, ensure power supply is within recommended limits, and check that components are not drawing too much current.
Solutions and Tips
- If the Leonardo is not recognized, try a different USB cable or port and ensure the board is selected in the Arduino IDE.
- For issues with uploading, ensure no other programs are using the same COM port.
- Use external power supplies for high-current devices to avoid overloading the board's voltage regulators.
FAQs
Q: Can the Leonardo be used as a USB host? A: No, the Leonardo functions as a USB device, not a host.
Q: How do I reset the Leonardo? A: Briefly press the reset button on the board.
Q: Is the Leonardo compatible with all Arduino shields? A: Most shields designed for the Uno will work with the Leonardo, but check for compatibility, especially regarding pin usage and layout.
For further assistance, consult the Arduino forums and the extensive community resources available online.