How to Use GOTECK 2PCS 5g Mini Servo, Micro Full Metal Gear Digital Servo: Examples, Pinouts, and Specs
Introduction
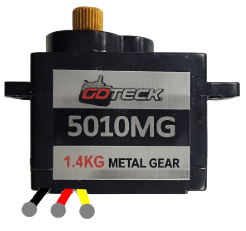
The GOTECK 5g Mini Servo is a compact, lightweight, and high-performance digital servo designed for precision control in small-scale applications. Featuring full metal gears, this servo offers durability and reliability, making it ideal for projects requiring precise motion control in tight spaces. Its digital control system ensures accurate positioning and smooth operation.
Explore Projects Built with GOTECK 2PCS 5g Mini Servo, Micro Full Metal Gear Digital Servo

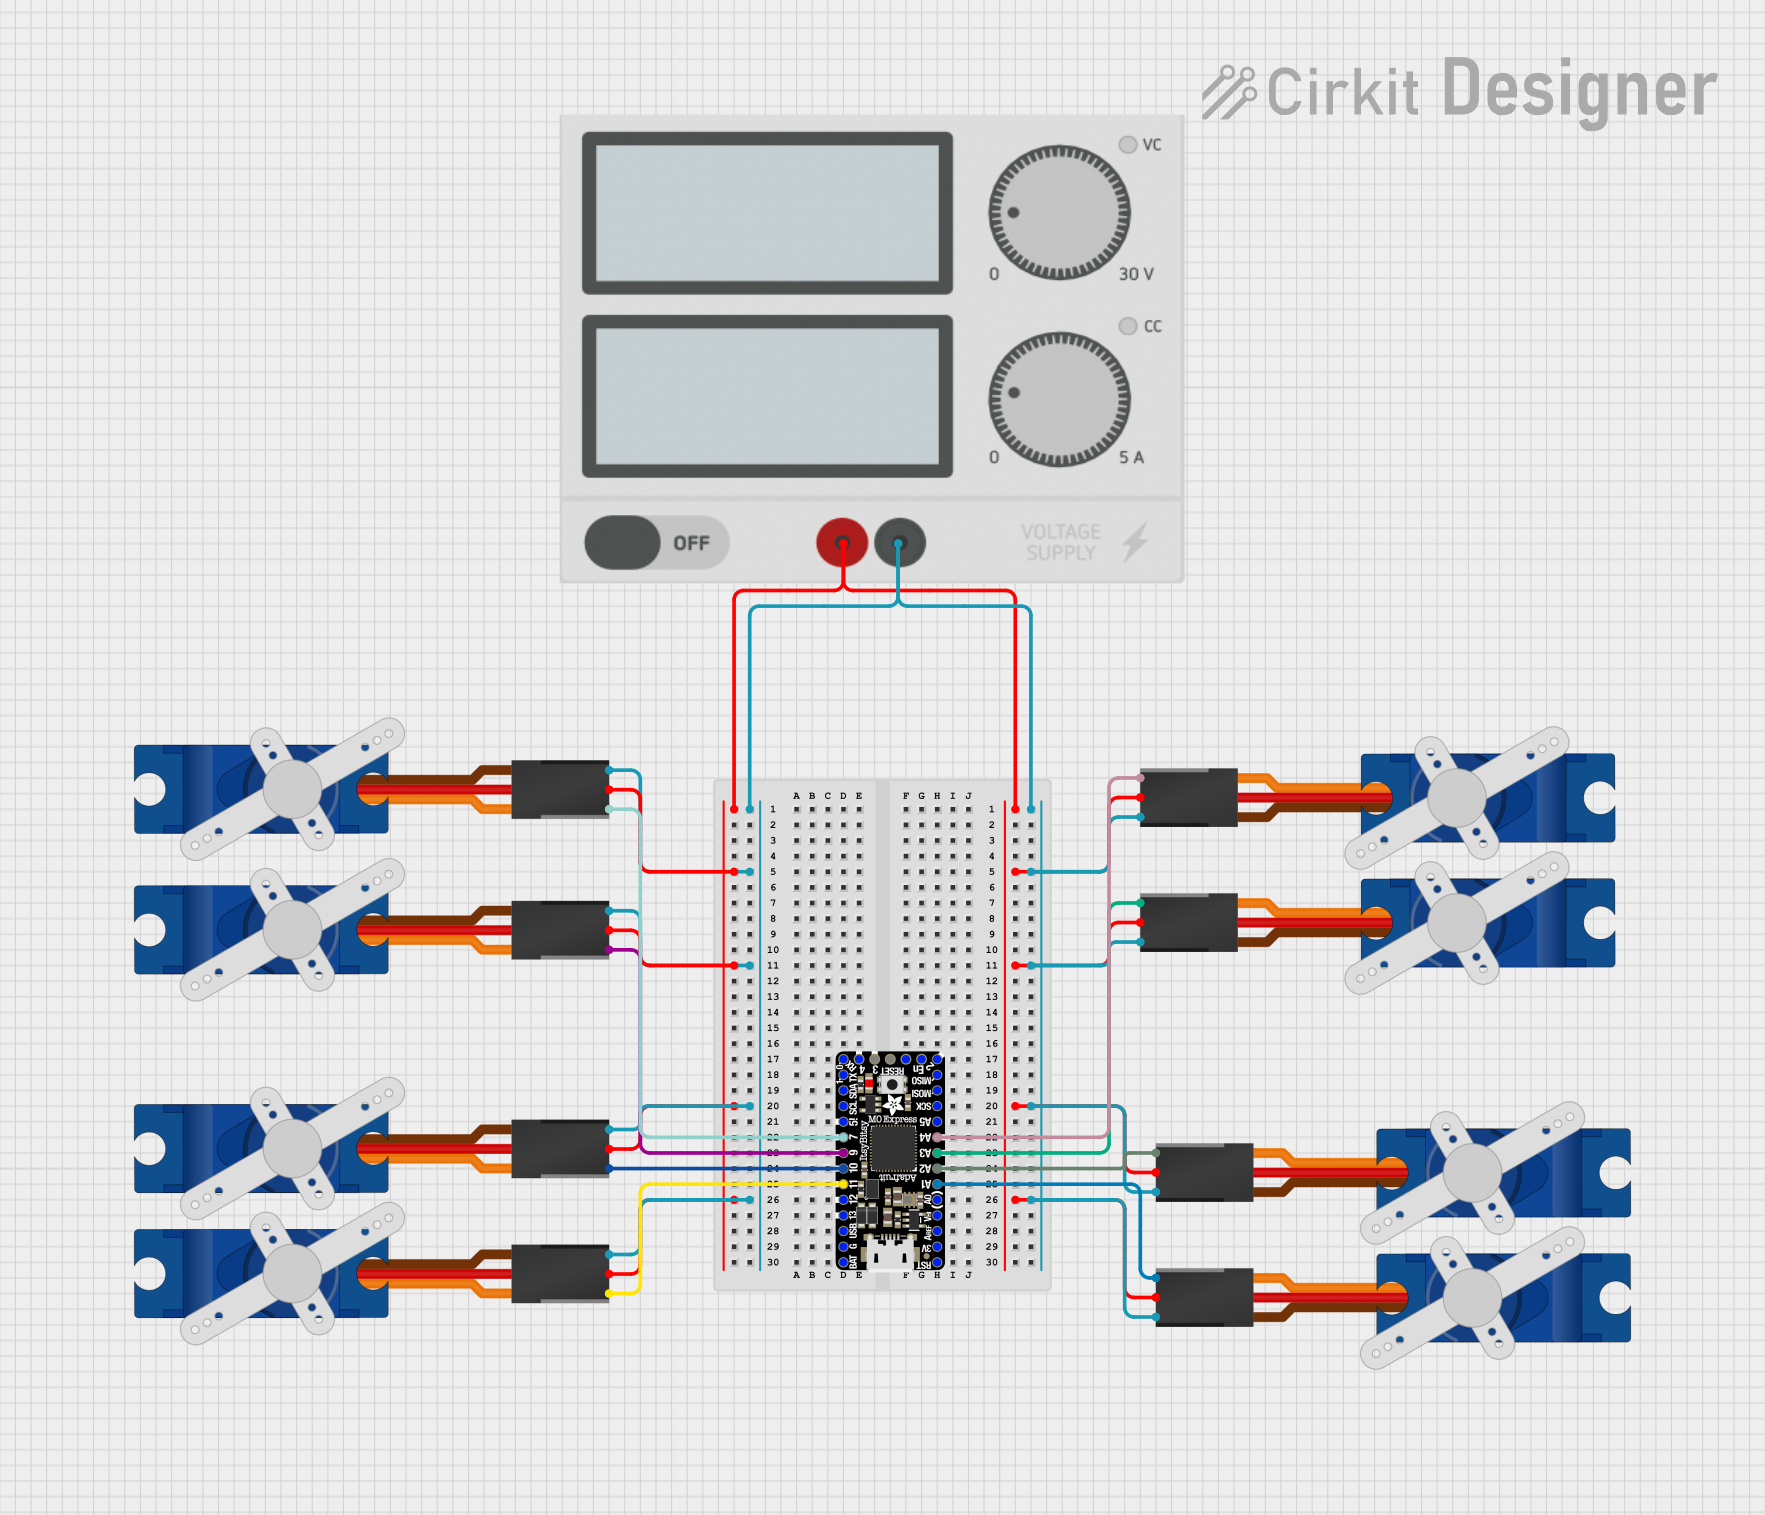
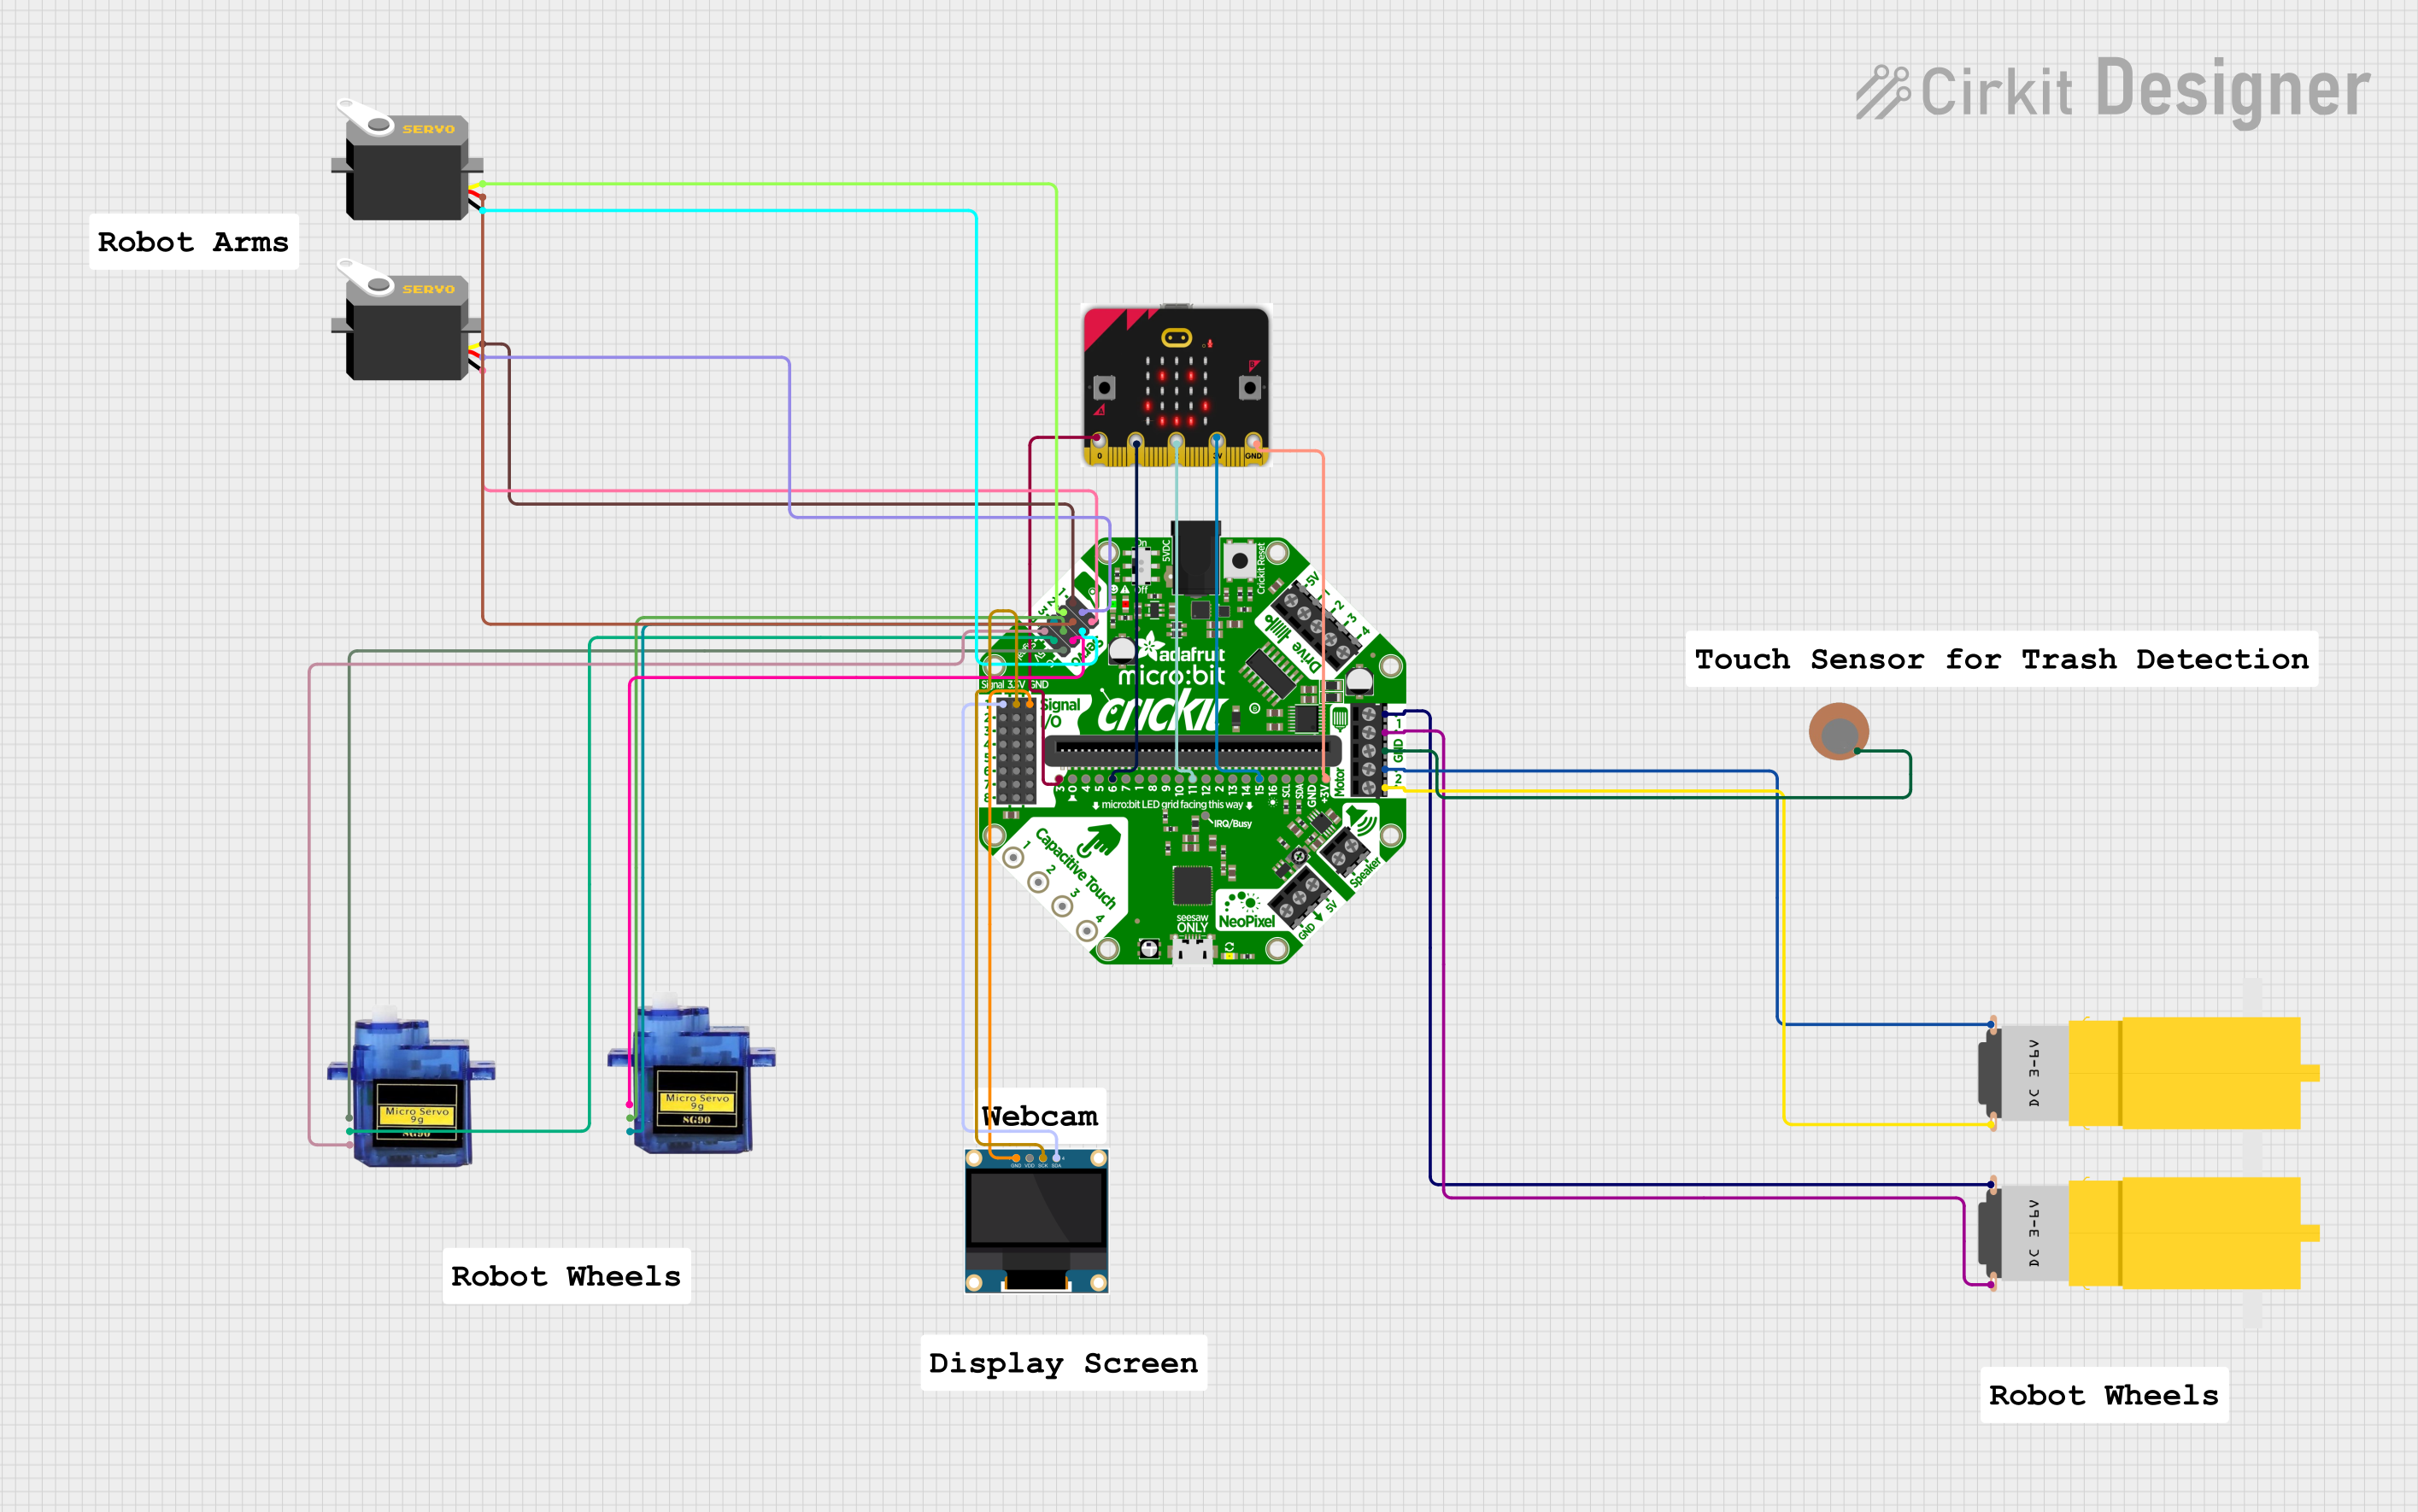
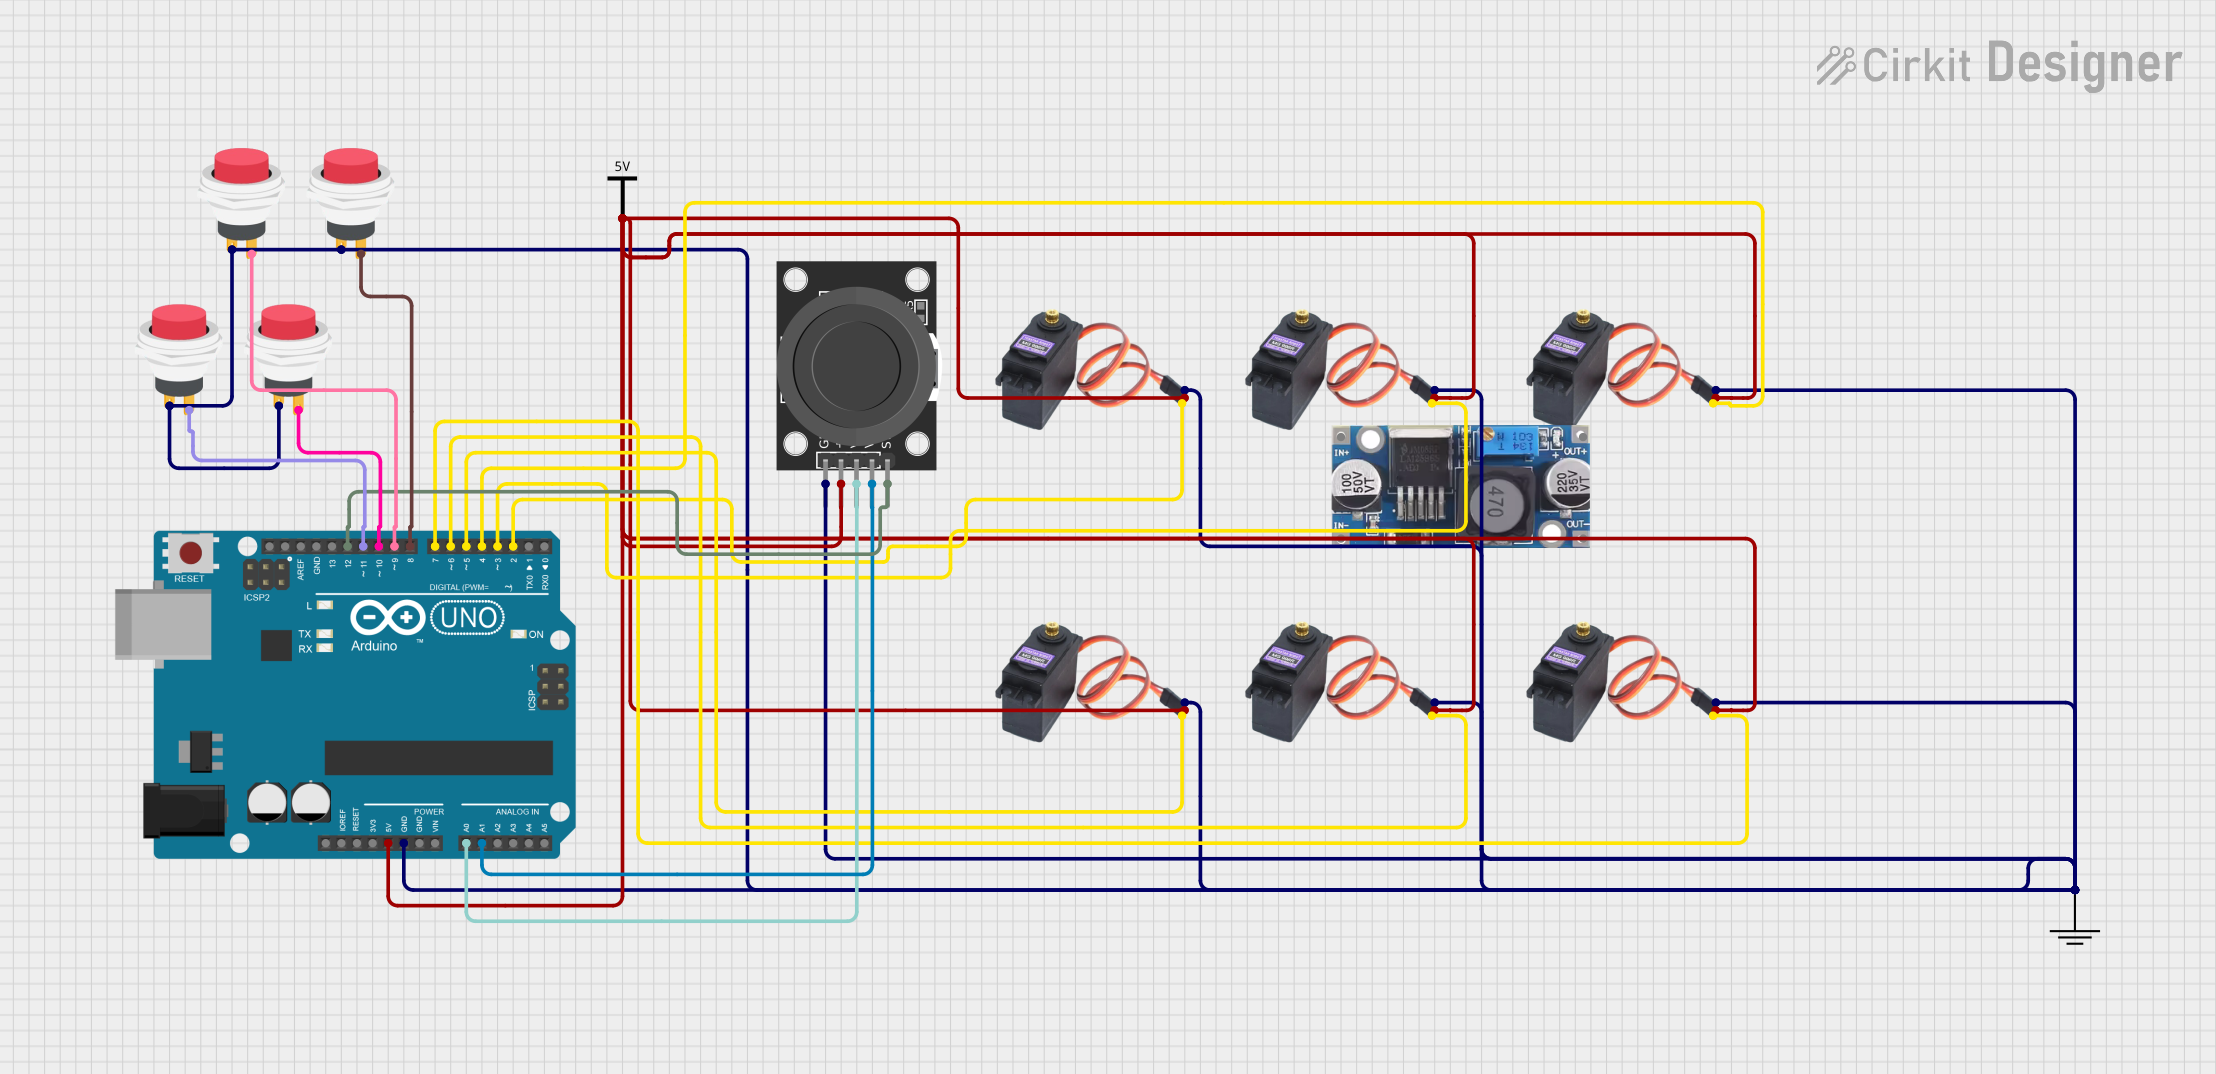
Explore Projects Built with GOTECK 2PCS 5g Mini Servo, Micro Full Metal Gear Digital Servo
Common Applications and Use Cases
- RC (Radio-Controlled) vehicles, planes, and boats
- Robotics and automation projects
- DIY electronics and Arduino-based projects
- Small-scale mechatronics systems
- Educational and prototyping purposes
Technical Specifications
The following table outlines the key technical details of the GOTECK 5g Mini Servo:
| Parameter | Specification |
|---|---|
| Operating Voltage | 4.8V to 6.0V |
| Stall Torque | 0.8 kg·cm @ 4.8V, 1.0 kg·cm @ 6.0V |
| Operating Speed | 0.10 sec/60° @ 4.8V, 0.08 sec/60° @ 6.0V |
| Weight | 5g |
| Gear Material | Full Metal |
| Control Signal | PWM (Pulse Width Modulation) |
| PWM Pulse Range | 500 µs to 2500 µs |
| Operating Angle | 0° to 180° |
| Connector Type | 3-pin JR/Futaba compatible |
| Dimensions | 20mm x 8mm x 20mm |
Pin Configuration and Descriptions
The GOTECK 5g Mini Servo has a standard 3-pin connector. The pinout is as follows:
| Pin | Wire Color | Description |
|---|---|---|
| 1 | Brown | Ground (GND) |
| 2 | Red | Power (VCC) |
| 3 | Orange | Signal (PWM input) |
Usage Instructions
How to Use the Component in a Circuit
- Power Connection: Connect the red wire to a 5V or 6V power source, depending on your desired torque and speed. Ensure the power supply can provide sufficient current (at least 500mA per servo).
- Ground Connection: Connect the brown wire to the ground (GND) of your circuit.
- Signal Connection: Connect the orange wire to the PWM output pin of your microcontroller (e.g., Arduino, Raspberry Pi).
Important Considerations and Best Practices
- Power Supply: Use a stable power source to avoid voltage drops, which can cause erratic servo behavior.
- PWM Signal: Ensure the PWM signal is within the specified range (500 µs to 2500 µs) to avoid damaging the servo.
- Mechanical Load: Avoid overloading the servo beyond its torque rating to prevent overheating or gear damage.
- Mounting: Secure the servo properly to minimize vibrations and ensure accurate motion.
Example: Connecting to an Arduino UNO
Below is an example of how to control the GOTECK 5g Mini Servo using an Arduino UNO:
#include <Servo.h> // Include the Servo library

Servo myServo; // Create a Servo object

void setup() {
  myServo.attach(9); // Attach the servo to pin 9 on the Arduino
}

void loop() {
  myServo.write(0); // Move the servo to 0 degrees
  delay(1000);      // Wait for 1 second

  myServo.write(90); // Move the servo to 90 degrees
  delay(1000);       // Wait for 1 second

  myServo.write(180); // Move the servo to 180 degrees
  delay(1000);        // Wait for 1 second
}
Notes:
- The
Servolibrary is included with the Arduino IDE by default. - Adjust the delay values or angles as needed for your application.
Troubleshooting and FAQs
Common Issues and Solutions
Servo Not Moving:
- Cause: Incorrect wiring or insufficient power supply.
- Solution: Double-check the connections and ensure the power supply meets the voltage and current requirements.
Erratic or Jittery Movement:
- Cause: Noise in the PWM signal or unstable power supply.
- Solution: Use a decoupling capacitor (e.g., 100 µF) across the power and ground lines to stabilize the voltage.
Overheating:
- Cause: Excessive mechanical load or prolonged operation at high torque.
- Solution: Reduce the load on the servo or allow it to cool down periodically.
Limited Range of Motion:
- Cause: PWM signal out of range or mechanical obstruction.
- Solution: Ensure the PWM signal is within the 500 µs to 2500 µs range and check for physical obstructions.
FAQs
Q: Can I use this servo with a 3.3V microcontroller?
A: Yes, but you must provide a separate 5V or 6V power source for the servo. Connect the ground of the microcontroller and the servo power supply together.
Q: What is the maximum current draw of this servo?
A: The maximum current draw is approximately 500mA under stall conditions. Ensure your power supply can handle this.
Q: Can I control multiple servos with one Arduino?
A: Yes, you can control multiple servos using different PWM pins. However, ensure your power supply can handle the combined current draw of all servos.
Q: Is this servo waterproof?
A: No, the GOTECK 5g Mini Servo is not waterproof. Avoid exposing it to water or moisture.