
How to Use Led Strip 5V COB: Examples, Pinouts, and Specs

 Design with Led Strip 5V COB in Cirkit Designer
Introduction
The LED Strip 5V COB (Manufacturer: Generic, Part ID: led5vcob) is a flexible strip of LED lights designed for efficient and uniform illumination. Utilizing Chip-on-Board (COB) technology, this LED strip offers high brightness, seamless light distribution, and energy efficiency. It operates on a 5V DC power supply, making it ideal for low-voltage applications.
Explore Projects Built with Led Strip 5V COB
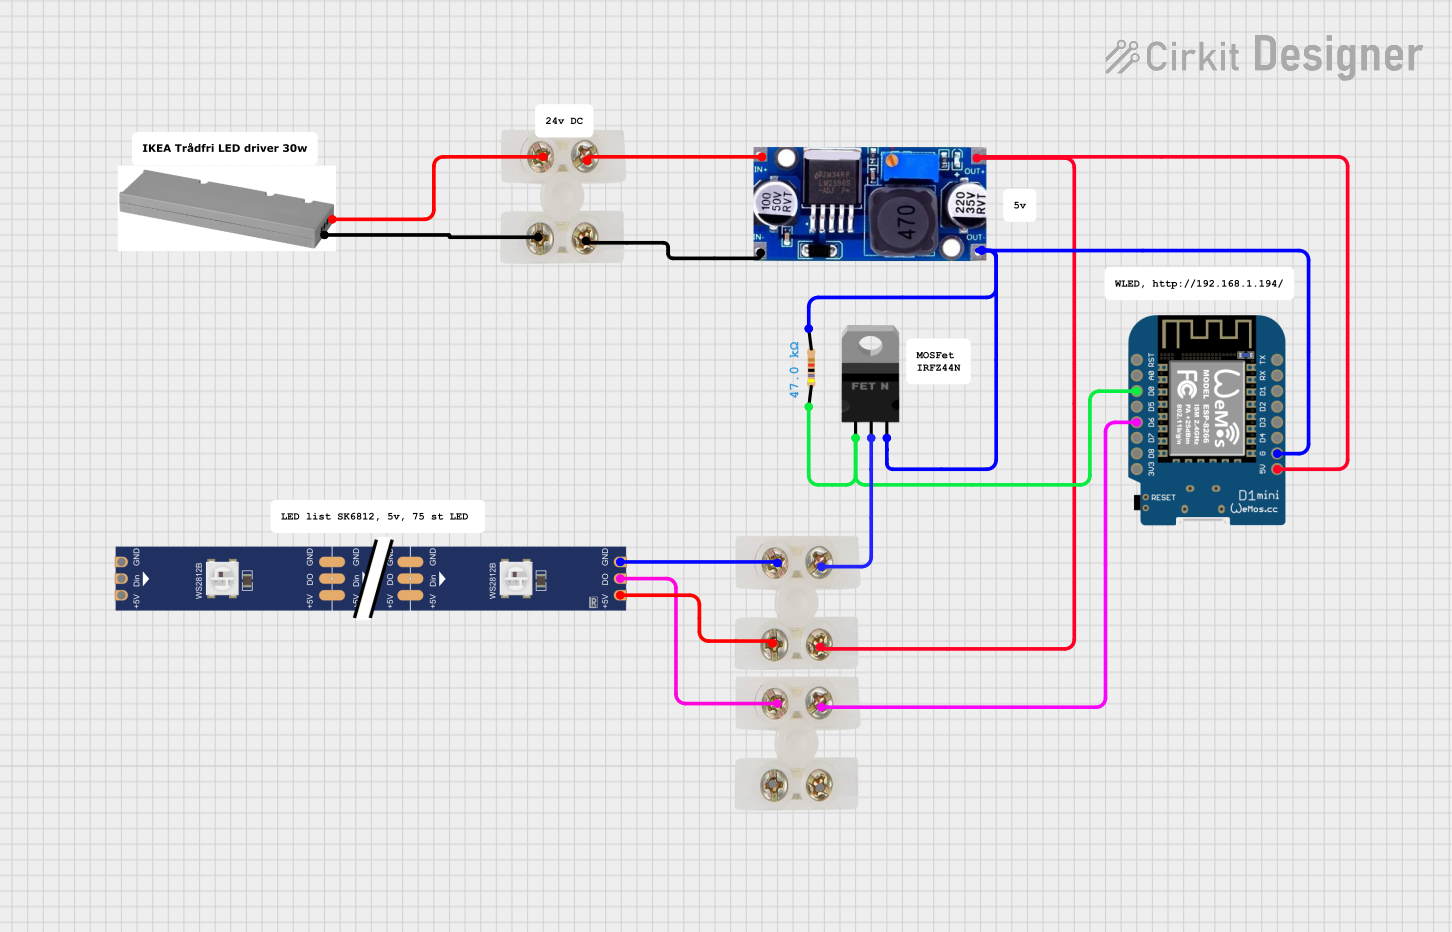 Open Project in Cirkit Designer
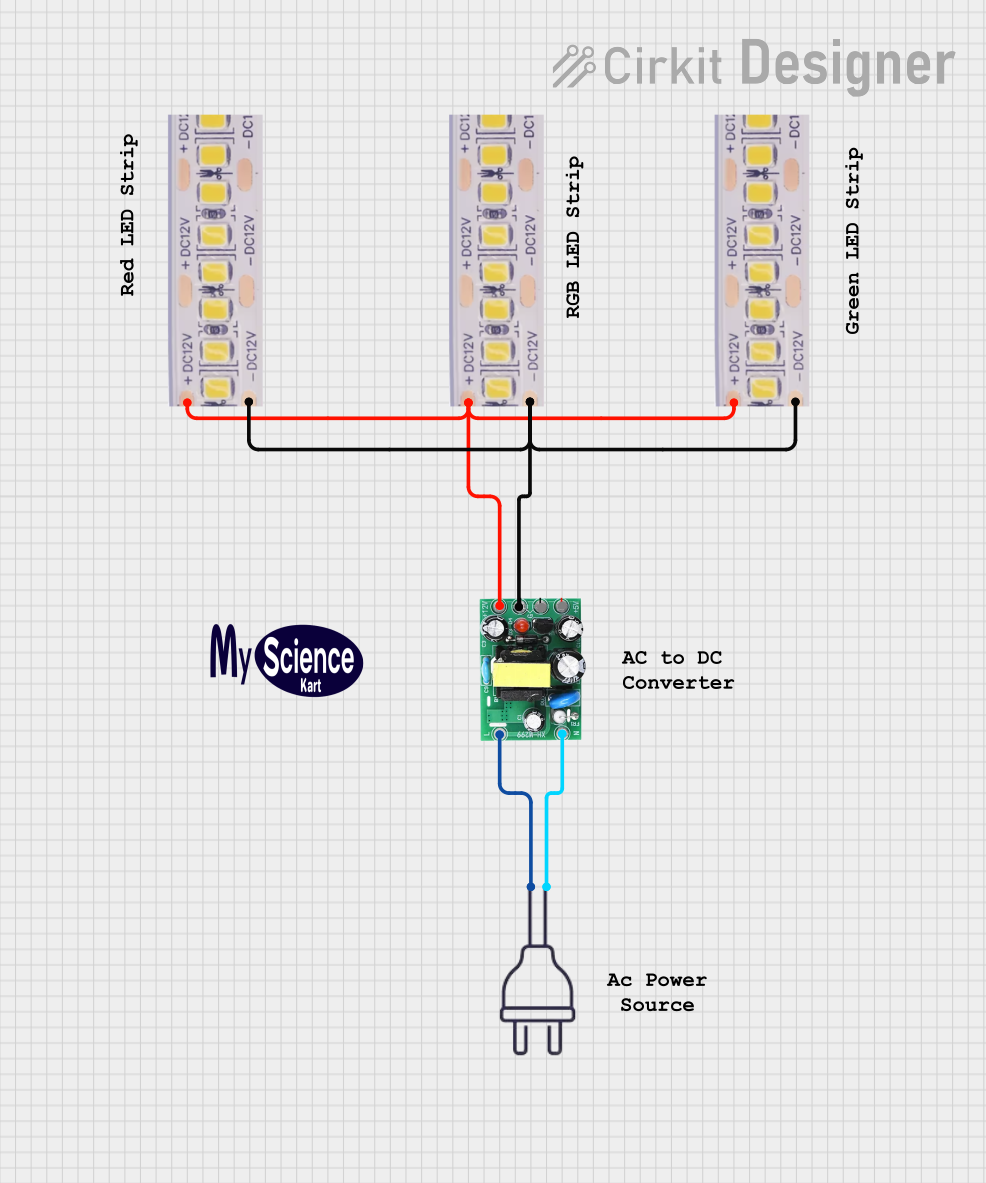 Open Project in Cirkit Designer
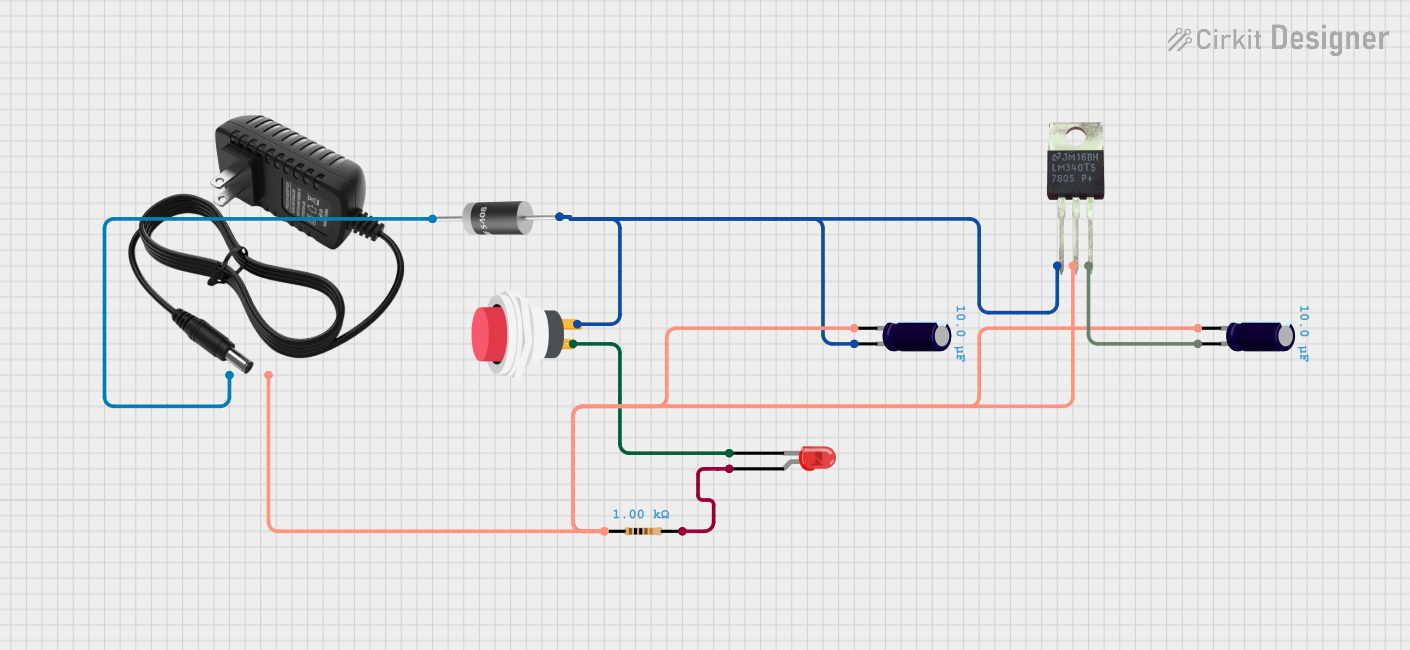 Open Project in Cirkit Designer
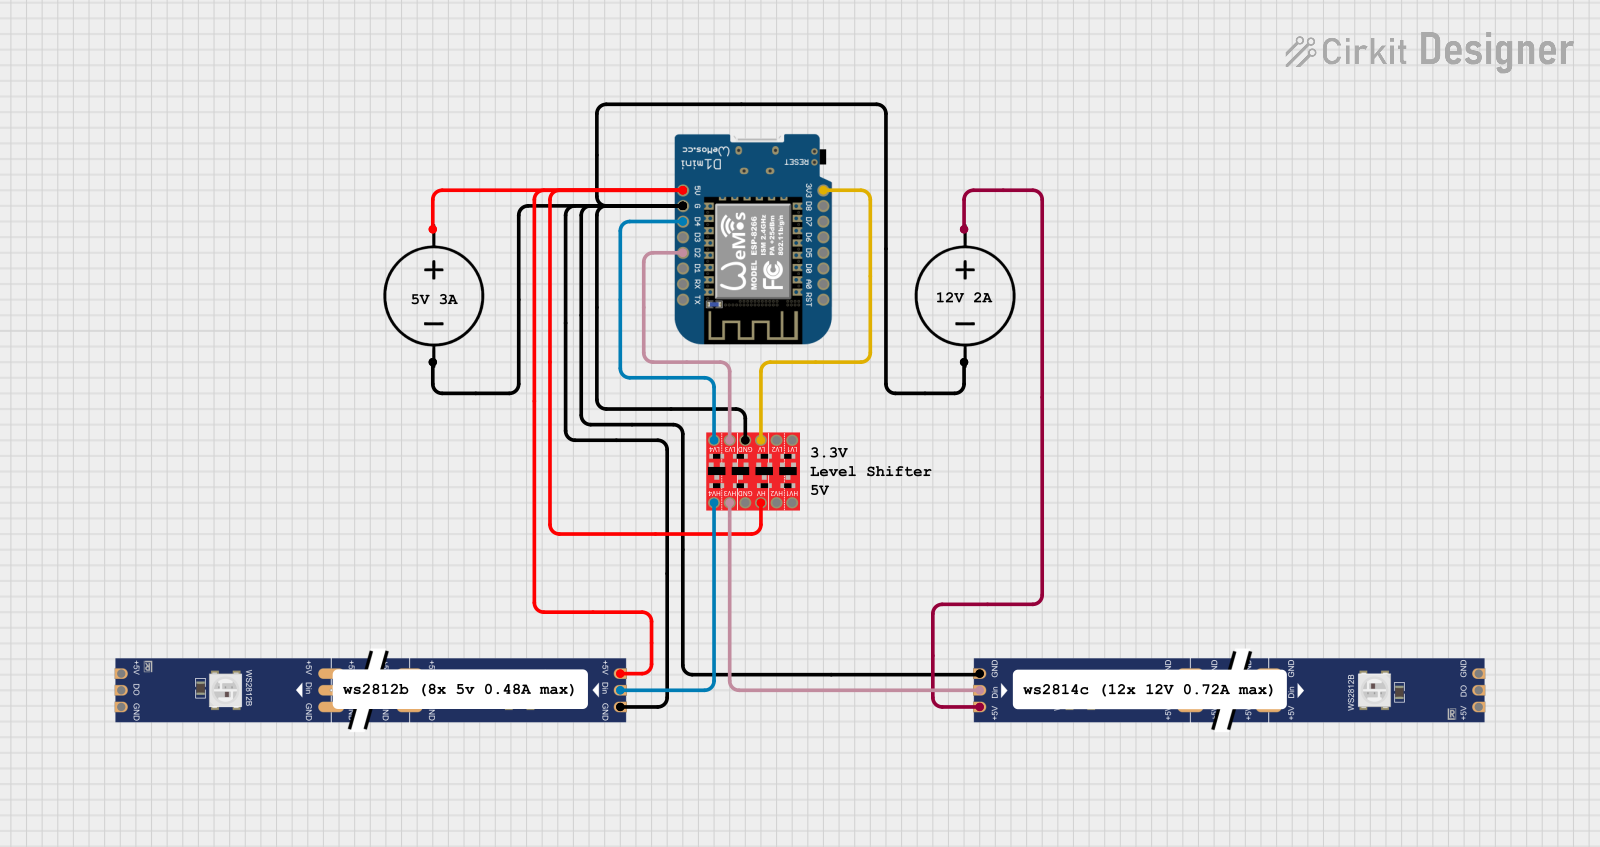 Open Project in Cirkit Designer
Explore Projects Built with Led Strip 5V COB
Open Project in Cirkit DesignerOpen Project in Cirkit DesignerOpen Project in Cirkit DesignerOpen Project in Cirkit DesignerCommon Applications and Use Cases
- Home and Office Lighting: Accent lighting, under-cabinet lighting, and decorative illumination.
- DIY Projects: Custom lighting for furniture, shelves, or art installations.
- Automotive: Interior car lighting or ambient lighting.
- Photography and Videography: Soft, uniform lighting for shoots.
- Signage and Displays: Backlighting for signs or display boards.
Technical Specifications
Key Technical Details
| Parameter | Specification |
|---|---|
| Operating Voltage | 5V DC |
| Power Consumption | ~10W per meter (varies by model) |
| LED Type | Chip-on-Board (COB) |
| LED Density | 320-528 LEDs per meter |
| Color Temperature | 2700K-6500K (varies by model) |
| Brightness | ~1000-2000 lumens per meter |
| Beam Angle | 180° |
| Strip Width | ~8mm-10mm |
| Waterproof Rating | IP20 (non-waterproof) or IP65 (waterproof) |
| Lifespan | ~30,000-50,000 hours |
Pin Configuration and Descriptions
The LED Strip 5V COB typically has two main connections:
| Pin Name | Description |
|---|---|
| V+ | Positive terminal (5V DC input) |
| GND | Ground terminal (negative terminal) |
For addressable COB LED strips, additional pins may be present for data input/output. Refer to the specific datasheet for such models.
Usage Instructions
How to Use the Component in a Circuit
- Power Supply: Connect the V+ pin to a 5V DC power source and the GND pin to the ground of the same power source. Ensure the power supply can handle the current draw of the LED strip (e.g., a 2-meter strip consuming 20W requires a 5V, 4A power supply).
- Cutting the Strip: The strip can be cut at marked intervals (usually every 2-5 cm). Ensure cuts are made at designated points to avoid damaging the circuit.
- Connecting Sections: Use soldering or compatible connectors to join sections of the strip. Match the V+ and GND terminals correctly.
- Mounting: Use the adhesive backing (if available) or mounting clips to secure the strip to the desired surface.
Important Considerations and Best Practices
- Voltage Drop: For longer strips (e.g., >2 meters), voltage drop may occur. Use power injection at multiple points to maintain brightness.
- Heat Dissipation: Ensure proper ventilation or use an aluminum channel for heat dissipation, especially for high-power strips.
- Polarity: Always connect the strip with the correct polarity. Reversing the connections may damage the LEDs.
- Waterproofing: If using an IP65-rated strip outdoors, ensure the connections are sealed with waterproof materials.
Example: Controlling the LED Strip with Arduino UNO
For non-addressable LED strips, the Arduino can control the strip using a transistor or MOSFET as a switch. Below is an example circuit and code:
Circuit Setup
- Connect the V+ pin of the LED strip to the 5V power supply.
- Connect the GND pin of the LED strip to the source pin of an N-channel MOSFET (e.g., IRF540N).
- Connect the drain pin of the MOSFET to the ground of the power supply.
- Connect the gate pin of the MOSFET to a PWM-capable pin on the Arduino (e.g., Pin 9) through a 220-ohm resistor.
- Connect the Arduino GND to the power supply GND.
Arduino Code
// LED Strip 5V COB Control with Arduino UNO
// This code uses PWM to adjust the brightness of the LED strip.

#define LED_PIN 9  // PWM-capable pin connected to the MOSFET gate

void setup() {
  pinMode(LED_PIN, OUTPUT);  // Set the LED pin as an output
}

void loop() {
  // Gradually increase brightness
  for (int brightness = 0; brightness <= 255; brightness++) {
    analogWrite(LED_PIN, brightness);  // Set PWM duty cycle
    delay(10);  // Small delay for smooth transition
  }

  // Gradually decrease brightness
  for (int brightness = 255; brightness >= 0; brightness--) {
    analogWrite(LED_PIN, brightness);  // Set PWM duty cycle
    delay(10);  // Small delay for smooth transition
  }
}
Troubleshooting and FAQs
Common Issues Users Might Face
LED Strip Not Lighting Up:
- Cause: Incorrect wiring or insufficient power supply.
- Solution: Double-check the connections and ensure the power supply meets the current requirements.
Uneven Brightness Along the Strip:
- Cause: Voltage drop over long strips.
- Solution: Use power injection at multiple points along the strip.
Overheating:
- Cause: Poor heat dissipation or overdriving the LEDs.
- Solution: Use an aluminum channel for heat dissipation and ensure the power supply voltage is stable at 5V.
Flickering:
- Cause: Insufficient power supply or loose connections.
- Solution: Use a higher-capacity power supply and secure all connections.
Solutions and Tips for Troubleshooting
- Use a multimeter to verify voltage at different points along the strip.
- If using an Arduino, ensure the PWM pin is functioning correctly by testing with a simple LED.
- For waterproof strips, inspect for damage to the protective coating that may cause short circuits.
This documentation provides a comprehensive guide to understanding, using, and troubleshooting the LED Strip 5V COB. Whether you're a hobbyist or a professional, this versatile component can bring your lighting projects to life!