Cirkit Designer LogoCirkit DesignerYour all-in-one circuit design IDE Launch Cirkit Designer App

How to Use Waveshare Sim7000G: Examples, Pinouts, and Specs

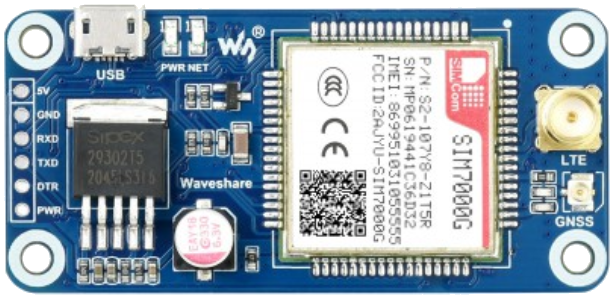
Image of Waveshare Sim7000GDesign with Waveshare Sim7000G in Cirkit Designer

Introduction

The Waveshare Sim7000G is a GSM/GPRS/NB-IoT module designed for cellular communication in IoT applications. Manufactured by Waveshare, this versatile module supports multiple frequency bands and offers features such as GPS positioning, making it ideal for remote monitoring, asset tracking, smart metering, and other IoT use cases. Its compact design and low power consumption make it a popular choice for battery-powered devices.

Explore Projects Built with Waveshare Sim7000G

Use Cirkit Designer to design, explore, and prototype these projects online. Some projects support real-time simulation. Click "Open Project" to start designing instantly!
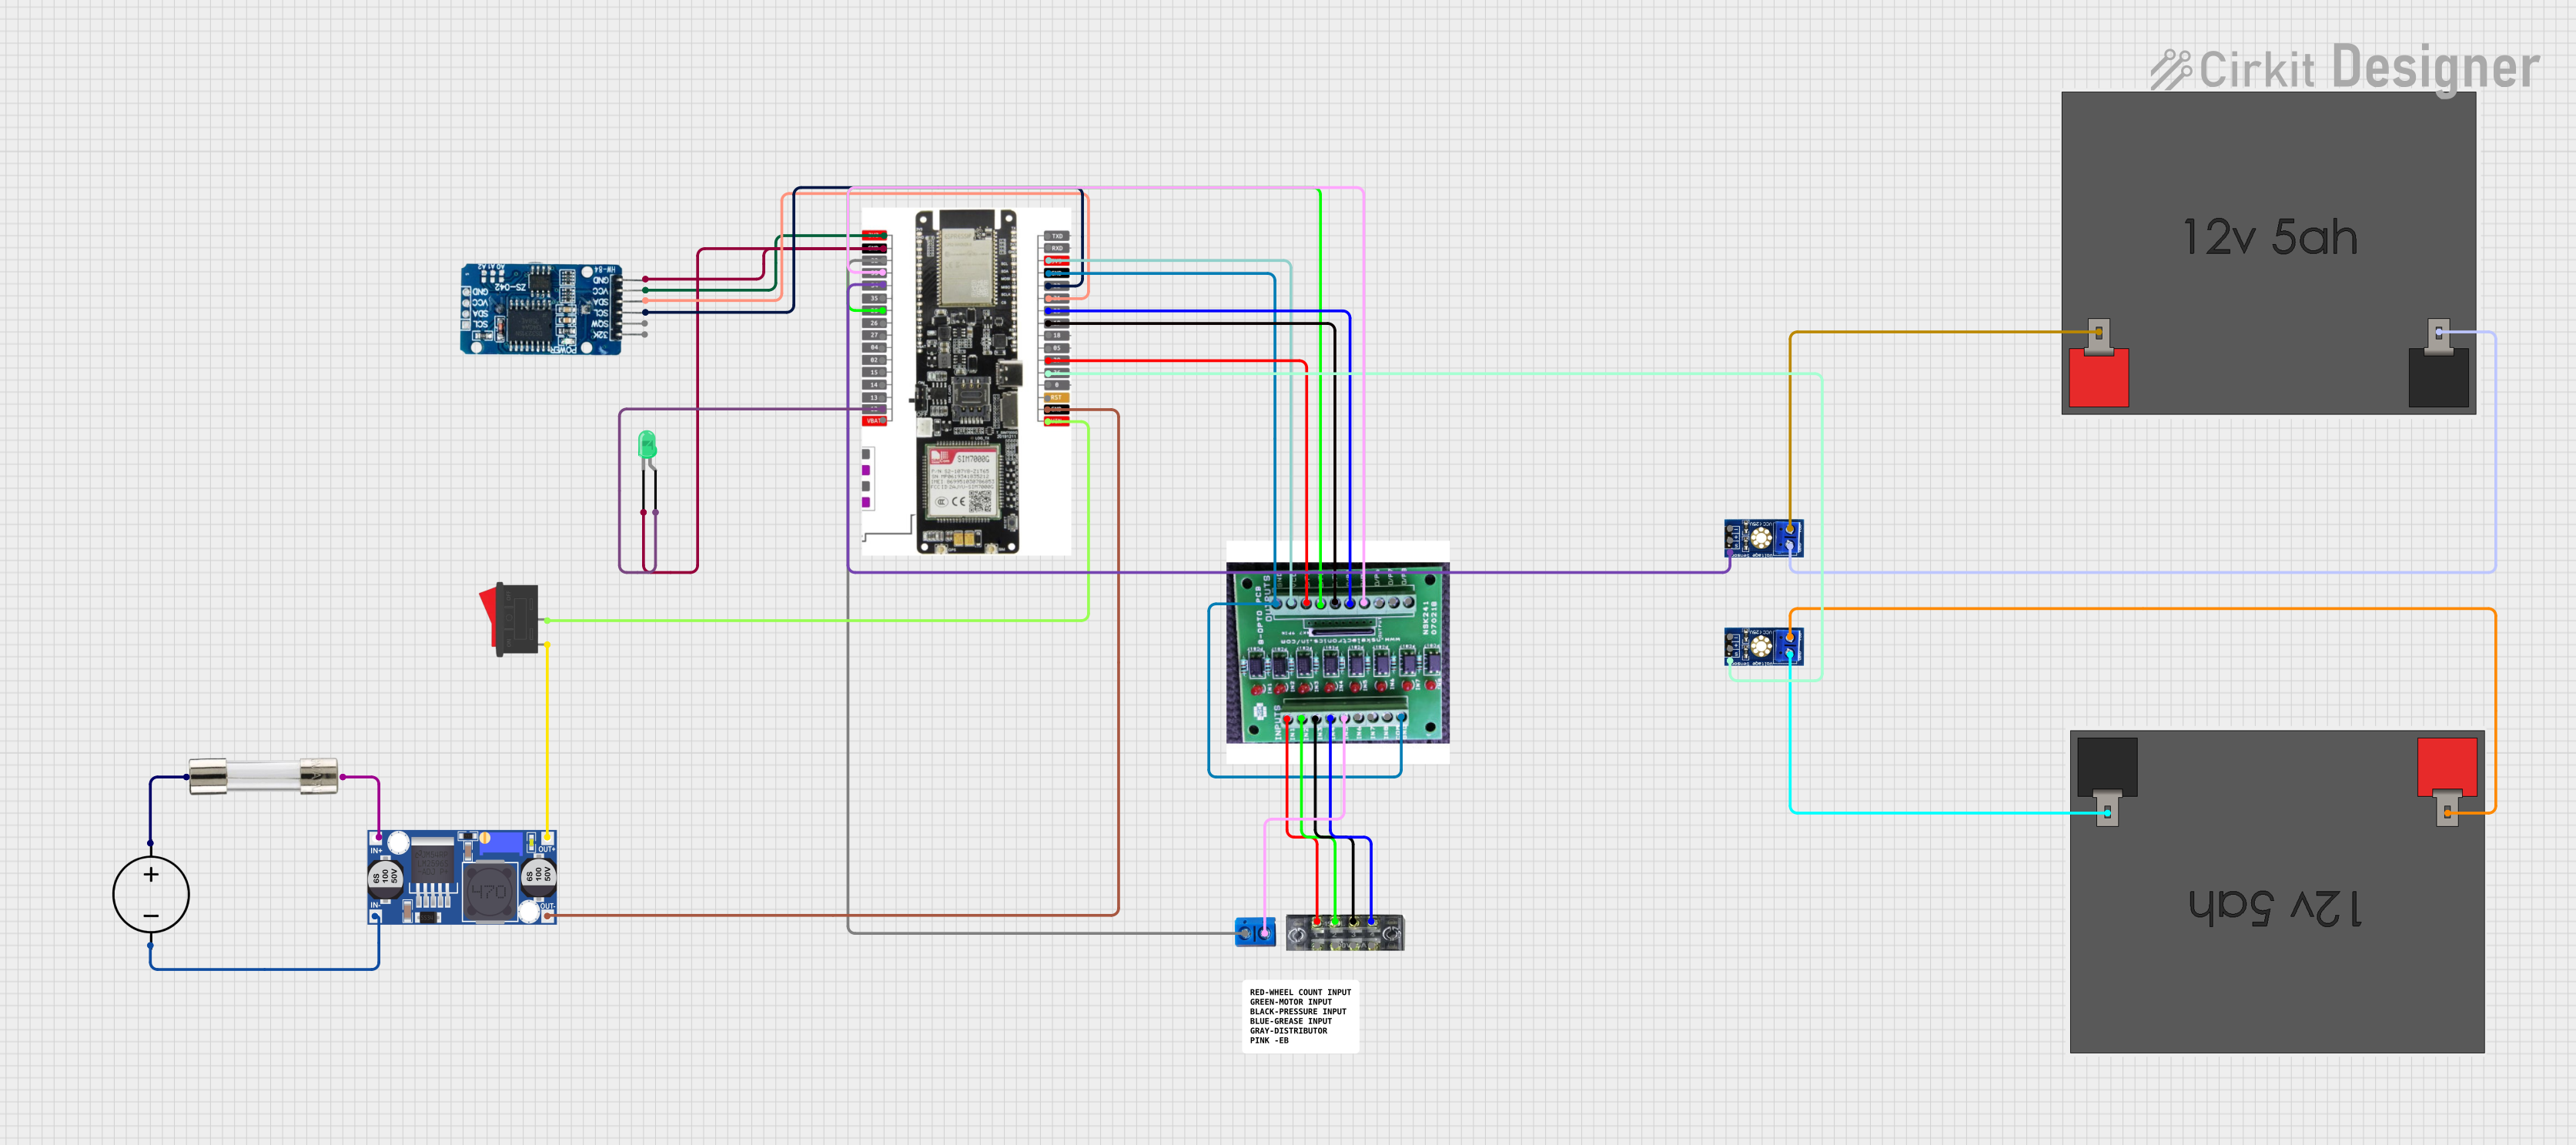
Image of Cellular-Enabled IoT Device with Real-Time Clock and Power Management: A project utilizing Waveshare Sim7000G in a practical application

Cellular-Enabled IoT Device with Real-Time Clock and Power Management

This circuit features a LilyGo-SIM7000G module for cellular communication and GPS functionality, interfaced with an RTC DS3231 for real-time clock capabilities. It includes voltage sensing through two voltage sensor modules, and uses an 8-channel opto-coupler for isolating different parts of the circuit. Power management is handled by a buck converter connected to a DC power source and batteries, with a fuse for protection and a rocker switch for on/off control. Additionally, there's an LED for indication purposes.

Open Project in Cirkit Designer
Image of Arduino Mega 2560 Based Security System with Fingerprint Authentication and SMS Alerts: A project utilizing Waveshare Sim7000G in a practical application
Arduino Mega 2560 Based Security System with Fingerprint Authentication and SMS Alerts

This circuit features an Arduino Mega 2560 microcontroller interfaced with a SIM800L GSM module, two fingerprint scanners, an I2C LCD display, an IR sensor, and a piezo buzzer. Power management is handled by a PowerBoost 1000 Basic Pad USB, a TP4056 charging module, and a Li-ion 18650 battery, with an option to use a Mini AC-DC 110V-230V to 5V 700mA module for direct power supply. The primary functionality appears to be a security system with GSM communication capabilities, biometric access control, and visual/audible feedback.

Open Project in Cirkit Designer

Common Applications

Technical Specifications

Key Technical Details

Parameter Value
Manufacturer Waveshare
Part ID Sim7000G
Communication Protocols GSM, GPRS, NB-IoT, LTE Cat-M1
GPS Support Yes
Operating Voltage 3.4V to 4.2V
Power Consumption Idle: ~1.2mA (NB-IoT mode), Active: ~300mA (GPRS mode)
Frequency Bands GSM: 850/900/1800/1900 MHz, LTE: B1/B2/B3/B4/B5/B8/B12/B13/B18/B19
Operating Temperature -40°C to +85°C
Dimensions 30mm x 30mm

Pin Configuration and Descriptions

The Sim7000G module has a standard pinout for interfacing with microcontrollers and other devices. Below is the pin configuration:

Pin Number Pin Name Description
1 VCC Power supply input (3.4V to 4.2V)
2 GND Ground connection
3 TXD UART Transmit Data
4 RXD UART Receive Data
5 PWRKEY Power-on key (active low)
6 NET_STATUS Network status indicator
7 RST Reset pin (active low)
8 GPS_TXD GPS UART Transmit Data
9 GPS_RXD GPS UART Receive Data
10 ADC Analog-to-Digital Converter input
11 SIM_DET SIM card detection pin
12 DTR Data Terminal Ready (used for sleep mode control)

Usage Instructions

How to Use the Sim7000G in a Circuit

  1. Power Supply: Connect the VCC pin to a stable 3.7V power source and GND to ground. Ensure the power supply can handle peak currents of up to 2A during transmission.
  2. UART Communication: Connect the TXD and RXD pins to the UART pins of your microcontroller (e.g., Arduino UNO). Use a logic level converter if your microcontroller operates at 5V logic.
  3. Power On: Pull the PWRKEY pin low for at least 1 second to power on the module.
  4. Antenna Connection: Attach a compatible GSM/LTE antenna to the module for proper signal reception.
  5. SIM Card: Insert a micro-SIM card into the SIM card slot. Ensure the SIM card is activated and has a data plan.
  6. GPS Functionality: If GPS is required, connect the GPS_TXD and GPS_RXD pins to the microcontroller's UART pins and attach a GPS antenna.

Important Considerations

Example Code for Arduino UNO

Below is an example of how to send an SMS using the Sim7000G module with an Arduino UNO:

#include <SoftwareSerial.h>

// Define RX and TX pins for SoftwareSerial
SoftwareSerial sim7000G(7, 8); // RX = Pin 7, TX = Pin 8

void setup() {
  // Initialize serial communication
  Serial.begin(9600); // For debugging
  sim7000G.begin(9600); // For Sim7000G communication

  // Power on the module
  pinMode(9, OUTPUT); // PWRKEY connected to Pin 9
  digitalWrite(9, LOW); // Pull PWRKEY low
  delay(1000); // Wait for 1 second
  digitalWrite(9, HIGH); // Release PWRKEY

  // Wait for the module to initialize
  delay(5000);

  // Send AT commands to configure the module
  sendCommand("AT"); // Check communication
  sendCommand("AT+CMGF=1"); // Set SMS mode to text
  sendCommand("AT+CMGS=\"+1234567890\""); // Replace with recipient's phone number
  sim7000G.print("Hello from Sim7000G!"); // SMS content
  sim7000G.write(26); // Send Ctrl+Z to send the SMS
}

void loop() {
  // Check for responses from the module
  if (sim7000G.available()) {
    Serial.write(sim7000G.read());
  }
}

// Function to send AT commands
void sendCommand(String command) {
  sim7000G.println(command);
  delay(1000); // Wait for the module to process the command
}

Notes:

Troubleshooting and FAQs

Common Issues and Solutions

  1. Module Not Powering On

    • Ensure the PWRKEY pin is pulled low for at least 1 second.
    • Verify the power supply voltage is within the 3.4V to 4.2V range.
    • Check for loose connections or insufficient current supply.
  2. No Network Connection

    • Confirm the SIM card is properly inserted and activated.
    • Check the antenna connection and placement.
    • Use the AT+CSQ command to check signal strength. A value above 10 is recommended.
  3. GPS Not Working

    • Ensure the GPS antenna is connected and placed in an open area with a clear view of the sky.
    • Use the AT+CGNSPWR=1 command to enable GPS functionality.
  4. AT Commands Not Responding

    • Verify the UART connections and baud rate settings.
    • Check if the module is powered on and initialized.

FAQs