Cirkit Designer LogoCirkit DesignerYour all-in-one circuit design IDE Launch Cirkit Designer App

How to Use Barometer: Examples, Pinouts, and Specs

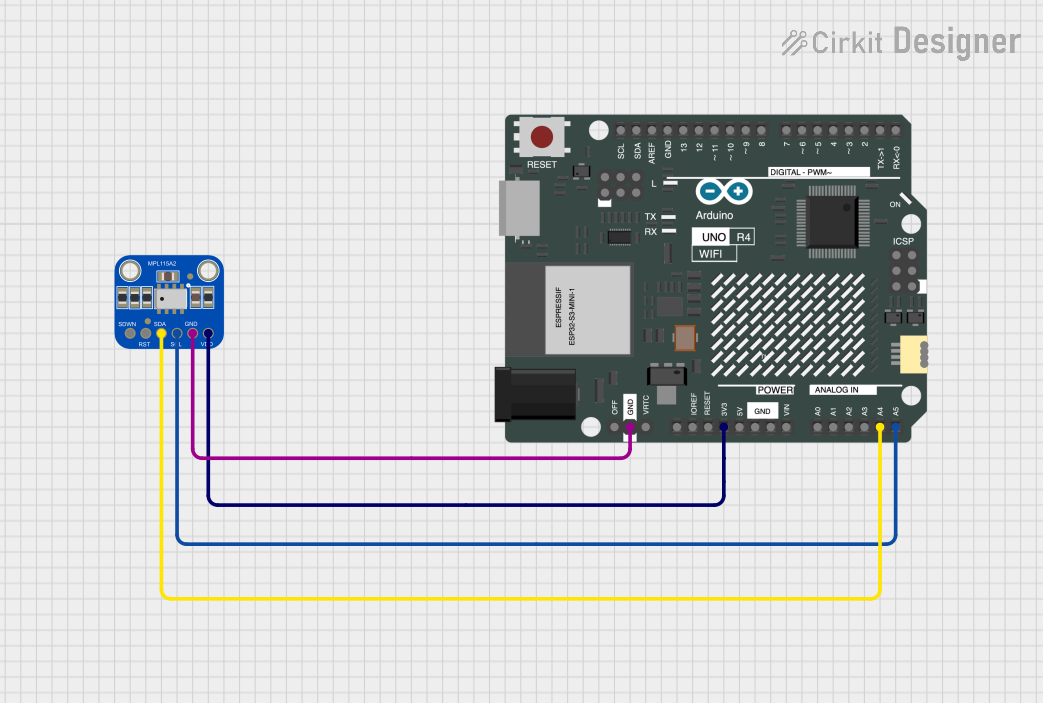
Image of BarometerDesign with Barometer in Cirkit Designer

Introduction

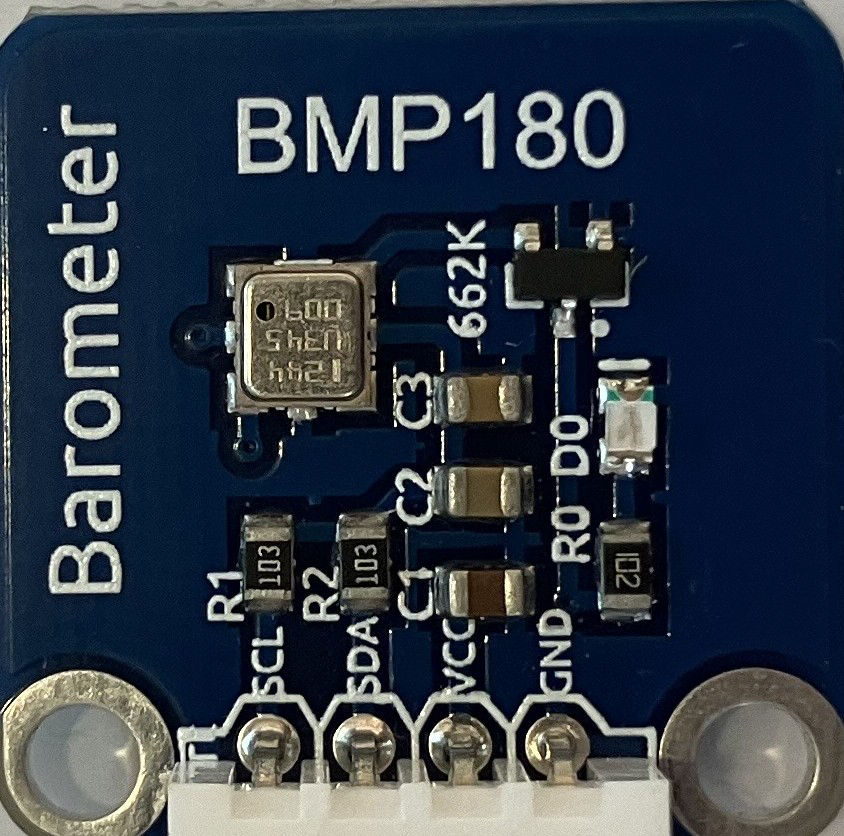
The BMP180, manufactured by SunFounder, is a high-precision digital barometer sensor designed to measure atmospheric pressure. It is widely used in weather monitoring, altitude determination, and environmental sensing applications. The BMP180 is compact, energy-efficient, and communicates via the I2C protocol, making it ideal for integration into microcontroller-based projects.

Explore Projects Built with Barometer

Use Cirkit Designer to design, explore, and prototype these projects online. Some projects support real-time simulation. Click "Open Project" to start designing instantly!
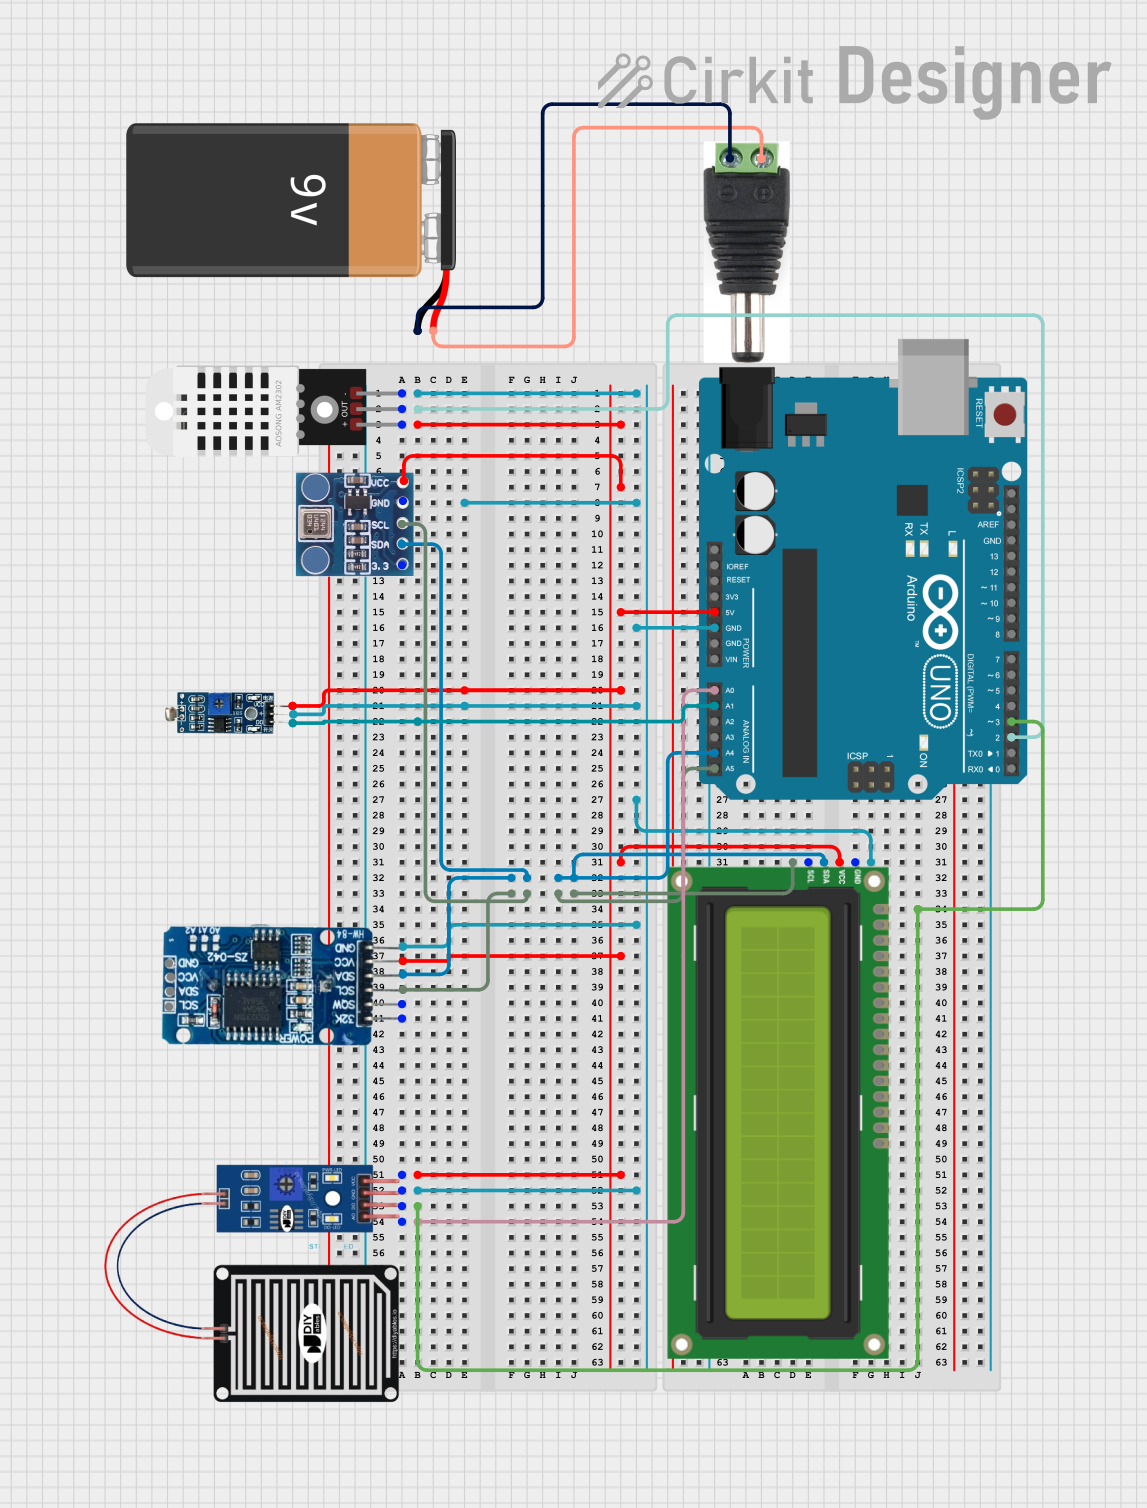
Image of Arduino UNO Based Weather Station with I2C Sensors and LCD Display: A project utilizing Barometer in a practical application

Arduino UNO Based Weather Station with I2C Sensors and LCD Display

This circuit is a weather station that measures temperature, humidity, atmospheric pressure, and light intensity. It uses an Arduino UNO as the central microcontroller, interfacing with a DHT22 sensor for temperature and humidity, a BMP180 sensor for pressure, an RTC DS3231 for real-time clock functionality, an LDR module for light intensity, and a rain sensor. The data from these sensors is displayed on an I2C LCD 16x2 screen, and the system is powered by a 9V battery connected through a 2.1mm Male connector.

Open Project in Cirkit Designer
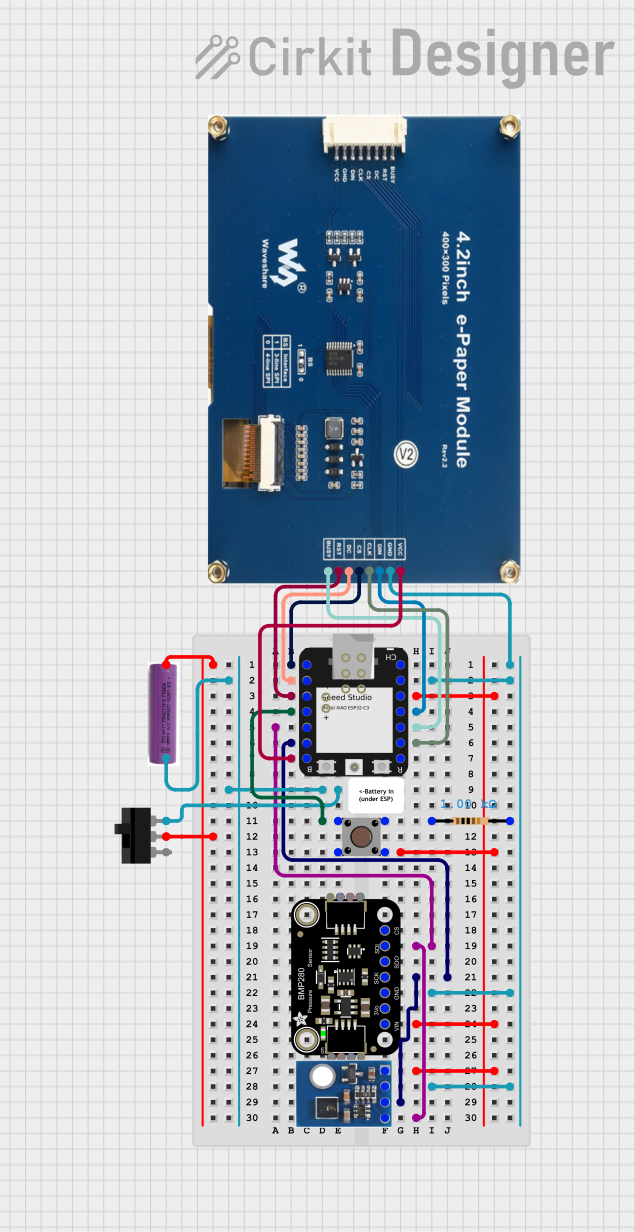
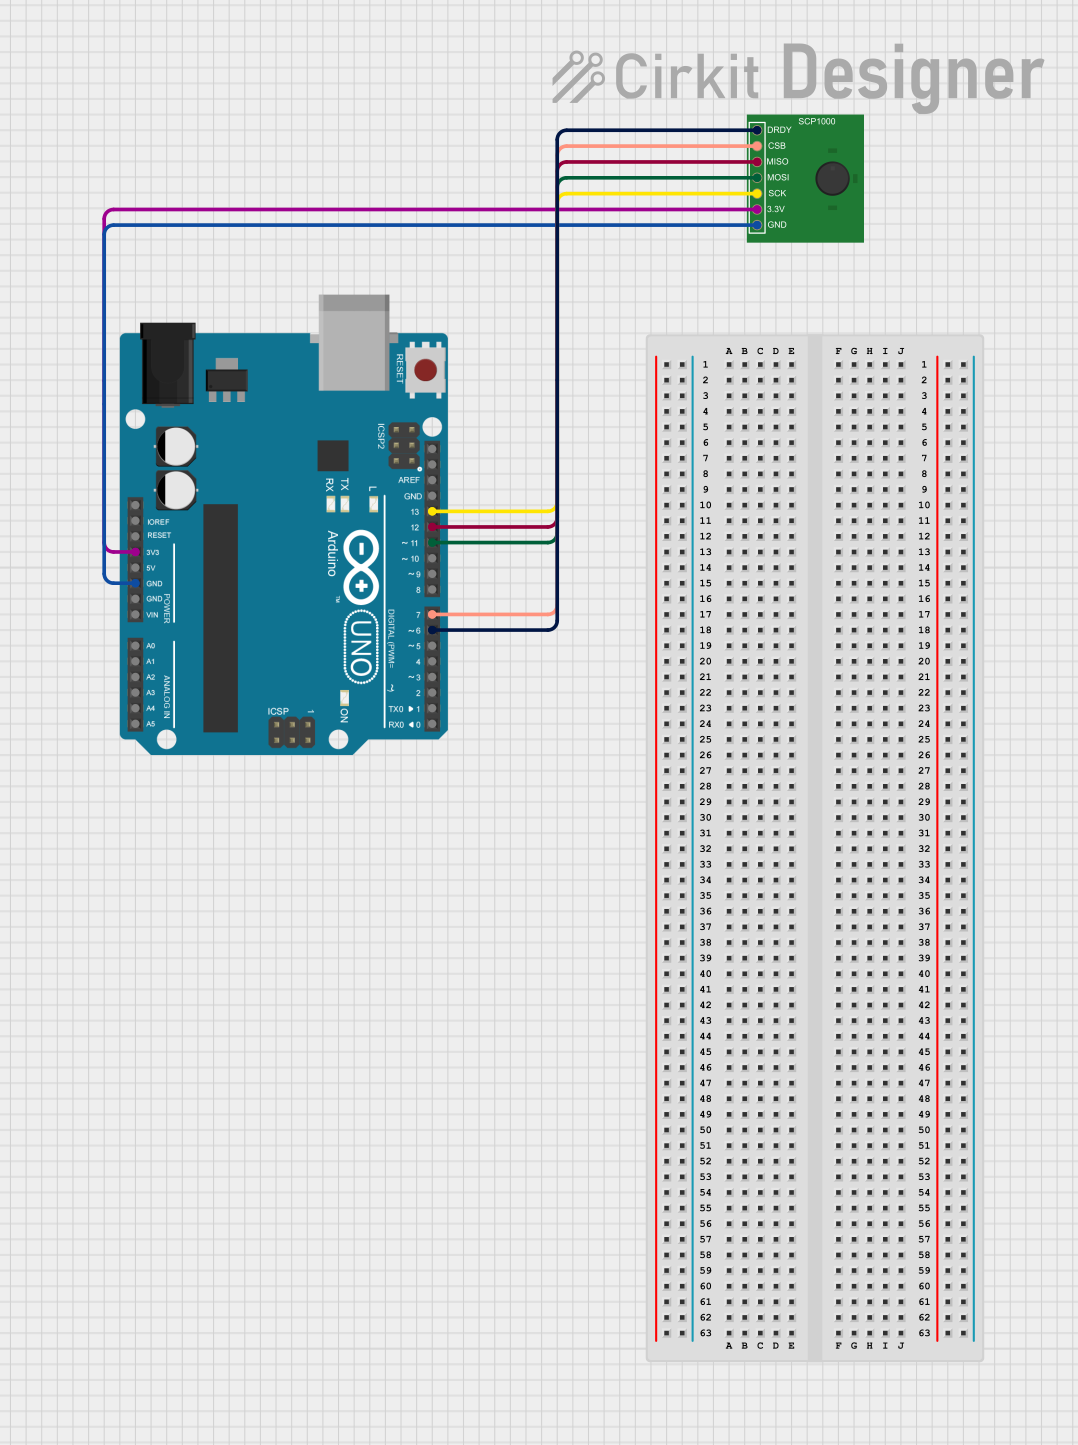
Image of Arduino UNO and SCP1000 Barometric Pressure Sensor Data Logger: A project utilizing Barometer in a practical application
Arduino UNO and SCP1000 Barometric Pressure Sensor Data Logger

This circuit connects an Arduino UNO to a Barometric Pressure Sensor (SCP1000) for the purpose of measuring atmospheric pressure and temperature. The Arduino communicates with the sensor using the SPI protocol, with dedicated connections for data ready (DRDY), chip select (CSB), MISO, MOSI, and SCK signals. The embedded code on the Arduino configures the sensor, reads the pressure and temperature data when available, and outputs the readings through the serial interface.

Open Project in Cirkit Designer

Common Applications and Use Cases

Technical Specifications

The BMP180 is a versatile sensor with the following key technical details:

Parameter Value
Operating Voltage 1.8V to 3.6V
Typical Operating Voltage 3.3V
Operating Current 12 µA (typical)
Communication Protocol I2C
Pressure Range 300 hPa to 1100 hPa
Pressure Resolution 0.01 hPa
Temperature Range -40°C to +85°C
Temperature Resolution 0.1°C
Dimensions 3.6mm x 3.8mm x 0.93mm

Pin Configuration and Descriptions

The BMP180 has four pins, as described in the table below:

Pin Name Pin Number Description
VCC 1 Power supply pin (1.8V to 3.6V, typically 3.3V)
GND 2 Ground pin
SDA 3 I2C data line for communication
SCL 4 I2C clock line for communication

Usage Instructions

How to Use the BMP180 in a Circuit

  1. Power the Sensor: Connect the VCC pin to a 3.3V power source and the GND pin to ground.
  2. I2C Communication: Connect the SDA and SCL pins to the corresponding I2C pins on your microcontroller. For an Arduino UNO:
    • Connect SDA to A4.
    • Connect SCL to A5.
  3. Pull-Up Resistors: Ensure that the I2C lines (SDA and SCL) have pull-up resistors (typically 4.7kΩ) if not already included in your setup.
  4. Install Libraries: Use the Adafruit BMP085/BMP180 library for Arduino to simplify communication and data retrieval.

Important Considerations and Best Practices

Example Code for Arduino UNO

Below is an example Arduino sketch to read pressure and temperature data from the BMP180:

#include <Wire.h>
#include <Adafruit_Sensor.h>
#include <Adafruit_BMP085_U.h>

// Create an instance of the BMP180 sensor
Adafruit_BMP085_Unified bmp = Adafruit_BMP085_Unified(10085);

void setup() {
  Serial.begin(9600); // Initialize serial communication at 9600 baud
  if (!bmp.begin()) {
    // Check if the sensor is connected and initialized
    Serial.println("Could not find a valid BMP180 sensor, check wiring!");
    while (1); // Halt the program if the sensor is not detected
  }
}

void loop() {
  sensors_event_t event;
  bmp.getEvent(&event); // Get pressure data from the sensor

  if (event.pressure) {
    // Print pressure in hPa
    Serial.print("Pressure: ");
    Serial.print(event.pressure);
    Serial.println(" hPa");

    // Get and print temperature
    float temperature;
    bmp.getTemperature(&temperature);
    Serial.print("Temperature: ");
    Serial.print(temperature);
    Serial.println(" °C");
  } else {
    Serial.println("Sensor error: No pressure data available.");
  }

  delay(2000); // Wait 2 seconds before the next reading
}

Troubleshooting and FAQs

Common Issues and Solutions

  1. Sensor Not Detected

    • Cause: Incorrect wiring or I2C address mismatch.
    • Solution: Double-check the connections and ensure SDA and SCL are connected to the correct pins. Verify the I2C address in the library matches the sensor's default address (0x77).
  2. Inaccurate Readings

    • Cause: Environmental factors or improper placement.
    • Solution: Place the sensor away from heat sources and ensure it is in a stable environment. Adjust for altitude if necessary.
  3. No Data Output

    • Cause: Missing or incorrect library installation.
    • Solution: Install the Adafruit BMP085/BMP180 library from the Arduino Library Manager.

FAQs

By following this documentation, you can effectively integrate the SunFounder BMP180 barometer into your projects for accurate pressure and temperature measurements.