
How to Use lift ir sensor : Examples, Pinouts, and Specs
 Design with lift ir sensor in Cirkit Designer
Introduction
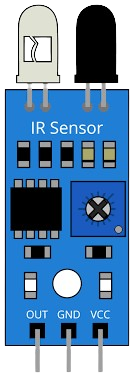
The Lift IR Sensor is an infrared-based sensor designed to detect the presence of objects or people near a lift (elevator). It operates by emitting infrared light and measuring the reflected signal to determine if an object is present. This sensor is widely used in lift systems to enhance safety, prevent door closures when objects are detected, and improve automation in elevator operations.
Explore Projects Built with lift ir sensor
 Open Project in Cirkit Designer
 Open Project in Cirkit Designer
 Open Project in Cirkit Designer
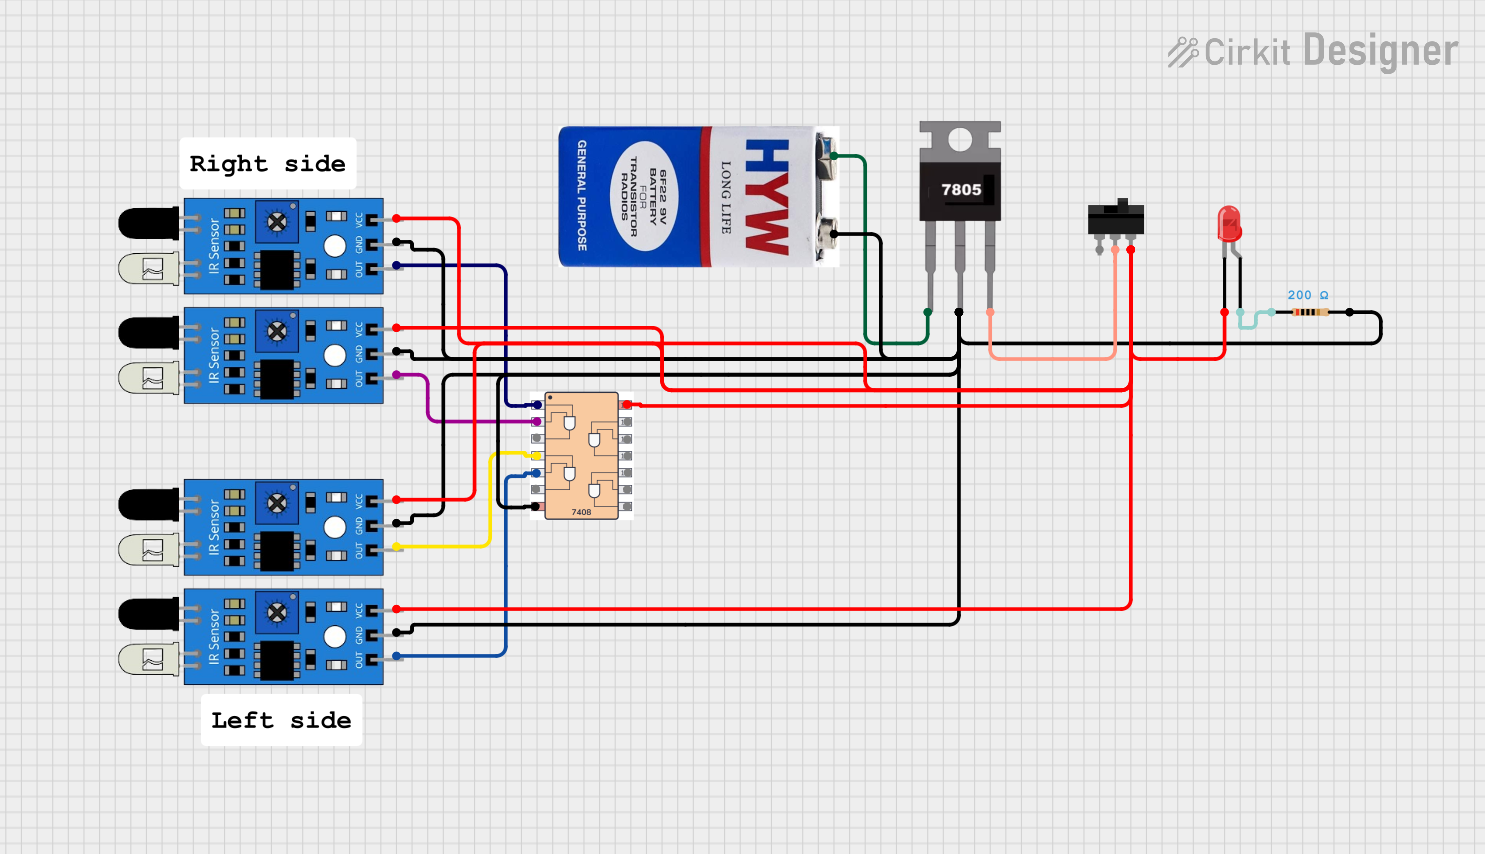 Open Project in Cirkit Designer
Explore Projects Built with lift ir sensor
Open Project in Cirkit DesignerOpen Project in Cirkit DesignerOpen Project in Cirkit DesignerOpen Project in Cirkit DesignerCommon Applications and Use Cases
- Detecting the presence of passengers near or inside a lift.
- Preventing lift doors from closing when an obstruction is detected.
- Enhancing safety in automated lift systems.
- Object detection in other proximity-based applications.
Technical Specifications
The Lift IR Sensor is designed for reliable and efficient operation in various environments. Below are its key technical details:
| Parameter | Specification |
|---|---|
| Operating Voltage | 3.3V to 5V DC |
| Operating Current | 20mA (typical) |
| Detection Range | 2 cm to 30 cm (adjustable) |
| Output Type | Digital (High/Low) |
| Infrared Wavelength | 940 nm |
| Response Time | < 2 ms |
| Operating Temperature | -10°C to 50°C |
| Dimensions | Varies by model (e.g., 30mm x 15mm) |
Pin Configuration and Descriptions
The Lift IR Sensor typically has three pins for interfacing:
| Pin | Name | Description |
|---|---|---|
| 1 | VCC | Power supply pin. Connect to 3.3V or 5V DC. |
| 2 | GND | Ground pin. Connect to the ground of the circuit. |
| 3 | OUT | Digital output pin. Outputs HIGH (1) when no object is detected, LOW (0) when an object is detected. |
Usage Instructions
How to Use the Lift IR Sensor in a Circuit
- Power the Sensor: Connect the VCC pin to a 3.3V or 5V DC power source and the GND pin to the ground of your circuit.
- Connect the Output: Connect the OUT pin to a digital input pin of your microcontroller or directly to an external circuit for further processing.
- Adjust the Detection Range: Use the onboard potentiometer (if available) to adjust the detection range according to your application requirements.
- Test the Sensor: Place an object within the detection range and observe the output signal. The OUT pin will go LOW when an object is detected.
Important Considerations and Best Practices
- Avoid Direct Sunlight: Infrared sensors can be affected by strong ambient light. Ensure the sensor is shielded from direct sunlight or other strong IR sources.
- Stable Power Supply: Use a stable power source to avoid false detections caused by voltage fluctuations.
- Mounting Position: Install the sensor at an appropriate height and angle to ensure accurate detection.
- Debounce the Output: If using the sensor with a microcontroller, implement software debouncing to filter out noise or rapid changes in the output signal.
Example: Connecting to an Arduino UNO
Below is an example of how to connect and use the Lift IR Sensor with an Arduino UNO:
Circuit Connections
- VCC: Connect to the 5V pin of the Arduino.
- GND: Connect to the GND pin of the Arduino.
- OUT: Connect to digital pin 2 of the Arduino.
Arduino Code
// Lift IR Sensor Example with Arduino UNO
// This code reads the sensor output and prints the detection status to the Serial Monitor.

const int sensorPin = 2; // Digital pin connected to the OUT pin of the sensor
int sensorState = 0;     // Variable to store the sensor state

void setup() {
  pinMode(sensorPin, INPUT); // Set the sensor pin as input
  Serial.begin(9600);        // Initialize serial communication at 9600 baud
}

void loop() {
  sensorState = digitalRead(sensorPin); // Read the sensor output

  if (sensorState == LOW) {
    // Object detected
    Serial.println("Object detected!");
  } else {
    // No object detected
    Serial.println("No object detected.");
  }

  delay(500); // Wait for 500ms before the next reading
}
Troubleshooting and FAQs
Common Issues and Solutions
Sensor Not Detecting Objects
- Cause: Incorrect wiring or insufficient power supply.
- Solution: Double-check the wiring and ensure the sensor is powered with the correct voltage.
False Detections
- Cause: Ambient light interference or unstable power supply.
- Solution: Shield the sensor from strong light sources and use a stable power source.
Output Signal is Always HIGH
- Cause: Detection range not properly adjusted.
- Solution: Adjust the potentiometer to set the desired detection range.
Output Signal is Always LOW
- Cause: Sensor is damaged or obstructed.
- Solution: Inspect the sensor for physical damage and ensure the detection path is clear.
FAQs
Q1: Can the Lift IR Sensor detect transparent objects?
A1: The sensor may have difficulty detecting transparent objects like glass due to low IR reflection. Use additional sensors for such applications.
Q2: What is the maximum detection range of the sensor?
A2: The detection range is typically adjustable between 2 cm and 30 cm, depending on the model.
Q3: Can I use the sensor with a 3.3V microcontroller?
A3: Yes, the sensor is compatible with both 3.3V and 5V systems.
Q4: How do I clean the sensor?
A4: Use a soft, dry cloth to clean the sensor lens. Avoid using water or harsh chemicals.
This concludes the documentation for the Lift IR Sensor. Follow the guidelines above for optimal performance and reliability.