
How to Use Small 6V Solar Panel: Examples, Pinouts, and Specs
 Design with Small 6V Solar Panel in Cirkit Designer
Introduction
The Small 6V Solar Panel is a compact and efficient device designed to convert sunlight into electrical energy. It is ideal for small-scale applications such as charging batteries, powering low-energy devices, or serving as a renewable energy source for DIY electronics projects. Its lightweight and portable design make it suitable for both indoor and outdoor use.
Explore Projects Built with Small 6V Solar Panel
 Open Project in Cirkit Designer
 Open Project in Cirkit Designer
 Open Project in Cirkit Designer
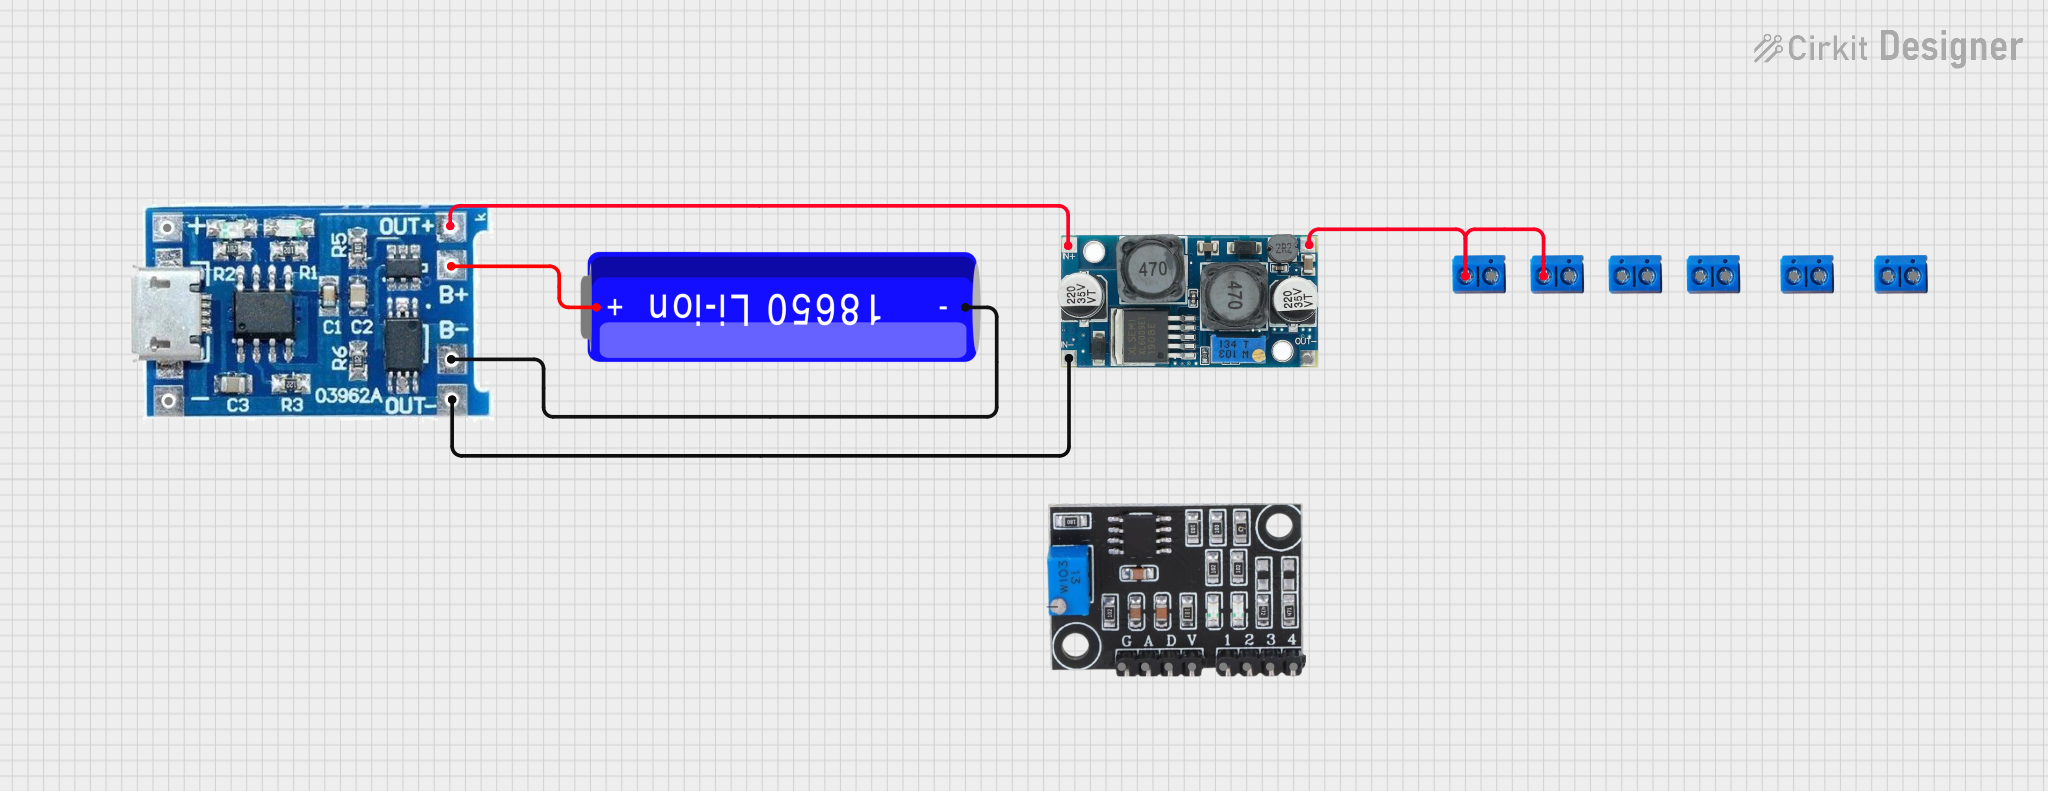 Open Project in Cirkit Designer
Explore Projects Built with Small 6V Solar Panel
Open Project in Cirkit DesignerOpen Project in Cirkit DesignerOpen Project in Cirkit DesignerOpen Project in Cirkit DesignerCommon Applications
- Charging small rechargeable batteries (e.g., AA, AAA, or Li-ion cells)
- Powering low-energy devices like LED lights or small fans
- Providing energy for Arduino or Raspberry Pi projects
- Educational and experimental setups for learning about solar energy
- Emergency backup power for small devices
Technical Specifications
Below are the key technical details of the Small 6V Solar Panel:
| Parameter | Value |
|---|---|
| Rated Voltage | 6V |
| Rated Current | 160mA (typical) |
| Maximum Power Output | 0.96W |
| Open Circuit Voltage | 7.2V |
| Short Circuit Current | 180mA |
| Dimensions | 110mm x 60mm x 3mm |
| Weight | ~30g |
| Material | Polycrystalline or Monocrystalline Silicon |
| Operating Temperature | -20°C to 60°C |
Pin Configuration and Descriptions
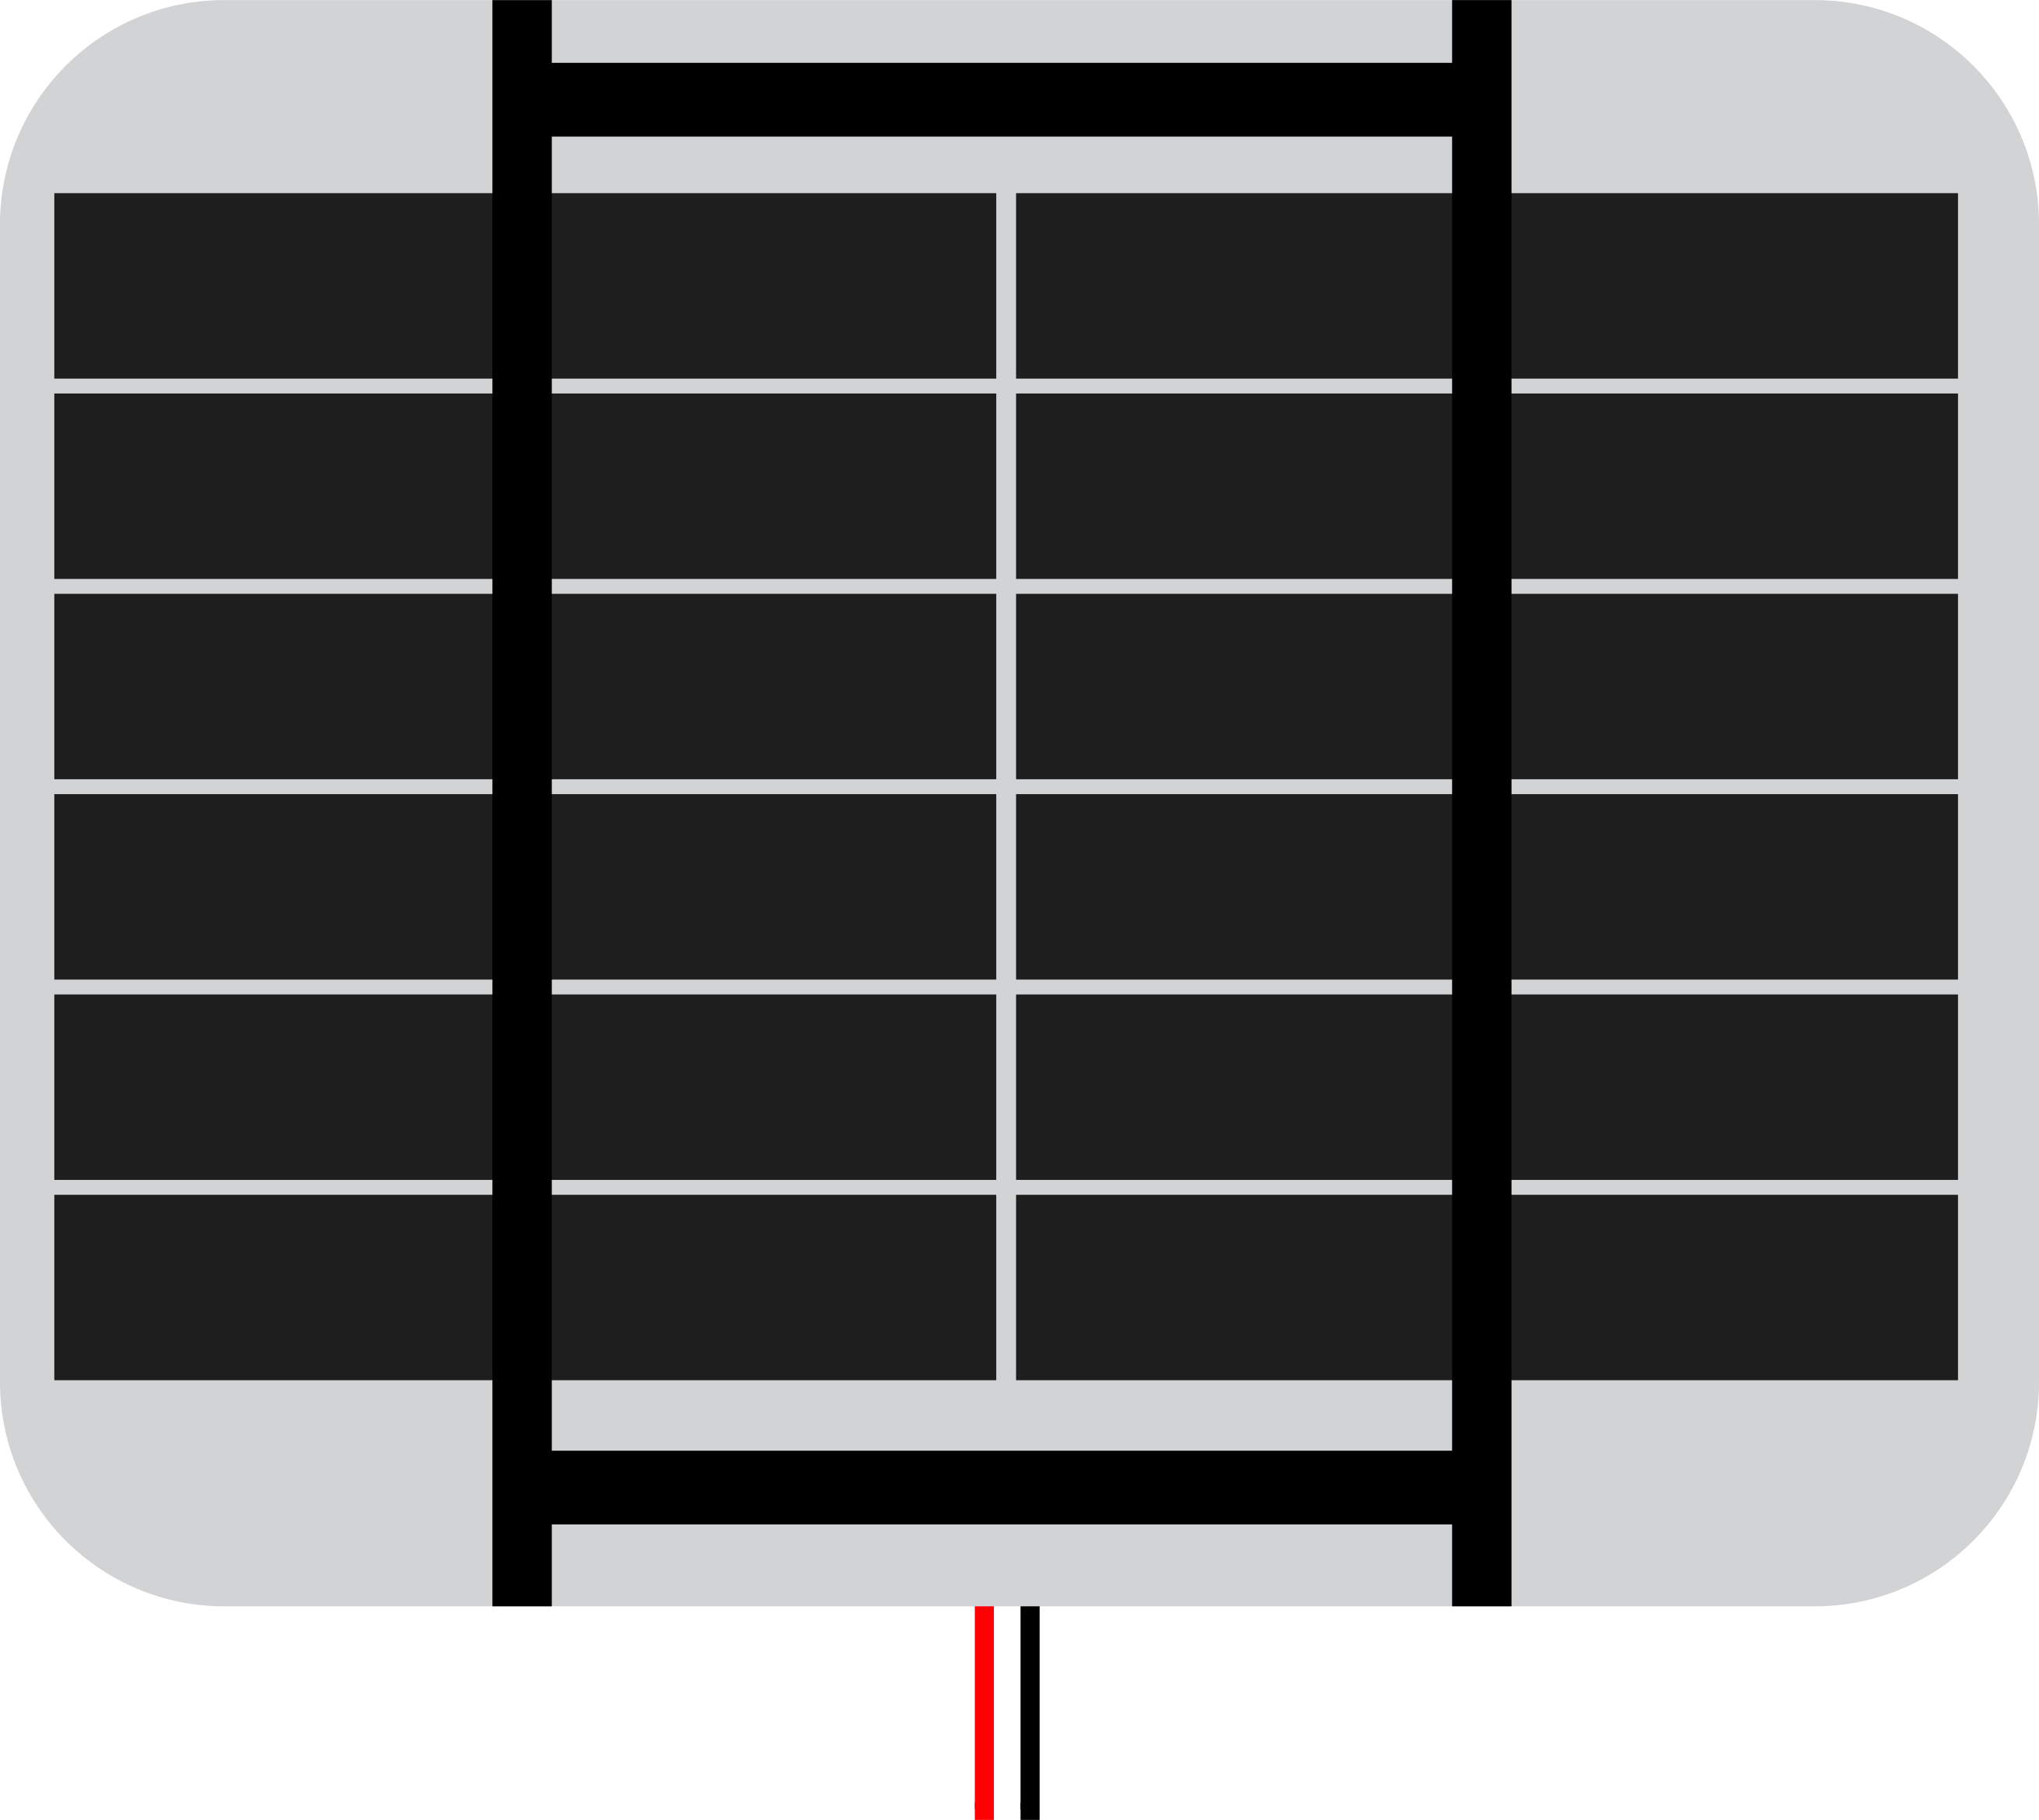
The Small 6V Solar Panel typically has two output terminals:
| Pin | Description |
|---|---|
| Positive (+) | Positive terminal for output voltage |
| Negative (-) | Negative terminal for output voltage |
These terminals are usually marked on the back of the panel or on the connecting wires.
Usage Instructions
How to Use the Small 6V Solar Panel in a Circuit
- Positioning the Panel: Place the solar panel in direct sunlight for optimal performance. Ensure there are no obstructions like shadows or dirt on the panel surface.
- Connecting the Terminals:
- Connect the positive terminal of the solar panel to the positive input of your circuit or battery.
- Connect the negative terminal to the negative input.
- Using a Voltage Regulator (Optional): If your circuit requires a stable voltage lower than 6V, use a voltage regulator (e.g., LM7805 for 5V output).
- Charging a Battery: When charging a battery, use a charge controller to prevent overcharging and to ensure safe operation.
- Powering an Arduino UNO: The solar panel can be used to power an Arduino UNO via a 5V voltage regulator or by charging a battery that powers the Arduino.
Important Considerations
- Sunlight Intensity: The output voltage and current depend on the intensity of sunlight. Ensure the panel is exposed to sufficient sunlight for optimal performance.
- Load Matching: Ensure the connected load does not exceed the panel's maximum power output (0.96W).
- Reverse Current Protection: Use a diode (e.g., 1N5819 Schottky diode) in series with the positive terminal to prevent reverse current flow when the panel is not generating power.
- Weather Protection: While the panel is designed for outdoor use, ensure it is protected from extreme weather conditions to prolong its lifespan.
Example: Powering an Arduino UNO
Below is an example of how to use the Small 6V Solar Panel to power an Arduino UNO via a rechargeable battery and a voltage regulator.
Circuit Components:
- Small 6V Solar Panel
- 3.7V Li-ion Battery
- TP4056 Li-ion Battery Charger Module
- MT3608 DC-DC Boost Converter (to step up voltage to 5V)
- Arduino UNO
Wiring Diagram:
- Connect the solar panel's positive and negative terminals to the input of the TP4056 module.
- Connect the Li-ion battery to the battery terminals of the TP4056 module.
- Connect the output of the TP4056 module to the input of the MT3608 boost converter.
- Adjust the MT3608 output to 5V and connect it to the Arduino UNO's 5V and GND pins.
Sample Arduino Code:
// Example code to blink an LED using Arduino UNO powered by the solar panel
// Ensure the solar panel is connected to the Arduino via a battery and regulator

void setup() {
  pinMode(13, OUTPUT); // Set pin 13 as an output pin for the onboard LED
}

void loop() {
  digitalWrite(13, HIGH); // Turn the LED on
  delay(1000);            // Wait for 1 second
  digitalWrite(13, LOW);  // Turn the LED off
  delay(1000);            // Wait for 1 second
}
Troubleshooting and FAQs
Common Issues and Solutions
Low or No Output Voltage:
- Ensure the panel is in direct sunlight and not shaded.
- Check for dirt or debris on the panel surface and clean it with a soft cloth.
- Verify the connections to ensure they are secure and correct.
Overheating:
- Avoid placing the panel in extremely high-temperature environments.
- Ensure proper ventilation around the panel.
Battery Not Charging:
- Check the charge controller or voltage regulator for proper operation.
- Ensure the battery is compatible with the panel's output voltage and current.
Fluctuating Output:
- Use a capacitor across the output terminals to smooth out voltage fluctuations.
- Ensure the panel is not partially shaded, as this can cause inconsistent output.
FAQs
Q: Can I use the solar panel indoors?
A: The panel can generate power indoors under strong artificial light, but the output will be significantly lower compared to direct sunlight.
Q: Do I need a charge controller for small batteries?
A: Yes, a charge controller is recommended to prevent overcharging and to protect the battery.
Q: Can I connect multiple panels together?
A: Yes, you can connect panels in series to increase voltage or in parallel to increase current. Ensure the total output matches your circuit requirements.
Q: Is the panel waterproof?
A: Most small solar panels are weather-resistant but not fully waterproof. Protect the panel from prolonged exposure to water for better durability.