Cirkit Designer Logo
Cirkit Designer
Your all-in-one circuit design IDE
Home / 
Component Documentation

How to Use Soil Moisture Sensor: Examples, Pinouts, and Specs

Image of Soil Moisture Sensor
Cirkit Designer LogoDesign with Soil Moisture Sensor in Cirkit Designer

Introduction

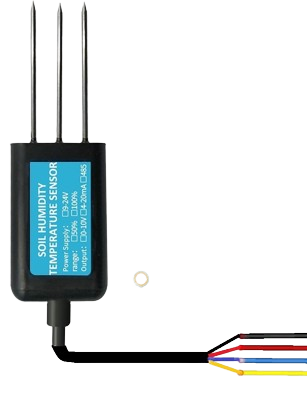
A Soil Moisture Sensor is an electronic device designed to measure the volumetric water content within the soil. This sensor is crucial for agricultural applications, landscaping, indoor and outdoor gardening, and environmental monitoring. By providing accurate moisture readings, it enables users to make informed decisions about watering schedules, thus promoting healthy plant growth and efficient water usage.

Explore Projects Built with Soil Moisture Sensor

Use Cirkit Designer to design, explore, and prototype these projects online. Some projects support real-time simulation. Click "Open Project" to start designing instantly!
Arduino-Controlled Soil Moisture Sensing and Water Pump System
Image of SachetBhaiya: A project utilizing Soil Moisture Sensor in a practical application
This circuit is designed to monitor soil moisture levels using a SparkFun Soil Moisture Sensor connected to a Soil Moisture Module, which interfaces with an Arduino Nano microcontroller. The Arduino reads the analog moisture level and can control a water pump via a relay module based on the moisture data. The system is powered by an 18650 Li-Ion battery, and the relay ensures that the pump is activated only when the soil moisture falls below a certain threshold, as determined by the Arduino's programmed logic.
Cirkit Designer LogoOpen Project in Cirkit Designer
Arduino UNO-Based Smart Soil Moisture Monitoring System with LCD Display and Automatic Water Pump Control
Image of Sistem Penyiraman Otomatis: A project utilizing Soil Moisture Sensor in a practical application
This circuit is an automated soil moisture monitoring and irrigation system. It uses an Arduino UNO to read data from a capacitive soil moisture sensor and display the moisture level on a 16x2 I2C LCD. Based on the moisture level, the Arduino controls three LEDs (green, yellow, red) to indicate the soil status and activates a relay to power a water pump for irrigation when needed.
Cirkit Designer LogoOpen Project in Cirkit Designer
Wi-Fi Enabled Soil Moisture Monitoring System with NodeMCU and Soil Moisture Sensor
Image of soil moisture sensor with Node MCU: A project utilizing Soil Moisture Sensor in a practical application
This circuit is a soil moisture monitoring system that uses a soil moisture sensor connected to a Soil Moisture Module, which in turn interfaces with a NodeMCU V3 ESP8266 microcontroller. The system is powered by a 12V power supply regulated through a buck converter, and it reads soil moisture levels, converting them to a percentage and transmitting the data via the microcontroller.
Cirkit Designer LogoOpen Project in Cirkit Designer
Arduino Nano-Based Smart Soil Monitoring System with Wi-Fi Connectivity
Image of SOIL IoT: A project utilizing Soil Moisture Sensor in a practical application
This circuit is a smart soil monitoring system that uses an Arduino Nano to collect data from various sensors, including a DHT22 for temperature and humidity, a SparkFun Soil Moisture Sensor, an NPK Soil Sensor, a TDS Sensor, and an Adafruit MS8607 PHT Sensor. The data is transmitted wirelessly via an ESP8266 WiFi module, and the system is powered by two 18650 Li-ion batteries.
Cirkit Designer LogoOpen Project in Cirkit Designer

Explore Projects Built with Soil Moisture Sensor

Use Cirkit Designer to design, explore, and prototype these projects online. Some projects support real-time simulation. Click "Open Project" to start designing instantly!
Image of SachetBhaiya: A project utilizing Soil Moisture Sensor in a practical application
Arduino-Controlled Soil Moisture Sensing and Water Pump System
This circuit is designed to monitor soil moisture levels using a SparkFun Soil Moisture Sensor connected to a Soil Moisture Module, which interfaces with an Arduino Nano microcontroller. The Arduino reads the analog moisture level and can control a water pump via a relay module based on the moisture data. The system is powered by an 18650 Li-Ion battery, and the relay ensures that the pump is activated only when the soil moisture falls below a certain threshold, as determined by the Arduino's programmed logic.
Cirkit Designer LogoOpen Project in Cirkit Designer
Image of Sistem Penyiraman Otomatis: A project utilizing Soil Moisture Sensor in a practical application
Arduino UNO-Based Smart Soil Moisture Monitoring System with LCD Display and Automatic Water Pump Control
This circuit is an automated soil moisture monitoring and irrigation system. It uses an Arduino UNO to read data from a capacitive soil moisture sensor and display the moisture level on a 16x2 I2C LCD. Based on the moisture level, the Arduino controls three LEDs (green, yellow, red) to indicate the soil status and activates a relay to power a water pump for irrigation when needed.
Cirkit Designer LogoOpen Project in Cirkit Designer
Image of soil moisture sensor with Node MCU: A project utilizing Soil Moisture Sensor in a practical application
Wi-Fi Enabled Soil Moisture Monitoring System with NodeMCU and Soil Moisture Sensor
This circuit is a soil moisture monitoring system that uses a soil moisture sensor connected to a Soil Moisture Module, which in turn interfaces with a NodeMCU V3 ESP8266 microcontroller. The system is powered by a 12V power supply regulated through a buck converter, and it reads soil moisture levels, converting them to a percentage and transmitting the data via the microcontroller.
Cirkit Designer LogoOpen Project in Cirkit Designer
Image of SOIL IoT: A project utilizing Soil Moisture Sensor in a practical application
Arduino Nano-Based Smart Soil Monitoring System with Wi-Fi Connectivity
This circuit is a smart soil monitoring system that uses an Arduino Nano to collect data from various sensors, including a DHT22 for temperature and humidity, a SparkFun Soil Moisture Sensor, an NPK Soil Sensor, a TDS Sensor, and an Adafruit MS8607 PHT Sensor. The data is transmitted wirelessly via an ESP8266 WiFi module, and the system is powered by two 18650 Li-ion batteries.
Cirkit Designer LogoOpen Project in Cirkit Designer

Common Applications and Use Cases

  • Automated irrigation systems
  • Monitoring plant watering levels for gardening
  • Environmental science experiments
  • Drought alert systems

Technical Specifications

Key Technical Details

  • Operating Voltage: Typically 3.3V to 5V
  • Current Consumption: 10-20mA
  • Output: Analog (0-3V) and Digital (Threshold set by onboard potentiometer)
  • Sensing Area: Typically 1-2 inches

Pin Configuration and Descriptions

Pin Name Description
VCC Power supply (3.3V to 5V)
GND Ground connection
AOUT Analog output signal
DOUT Digital output signal

Usage Instructions

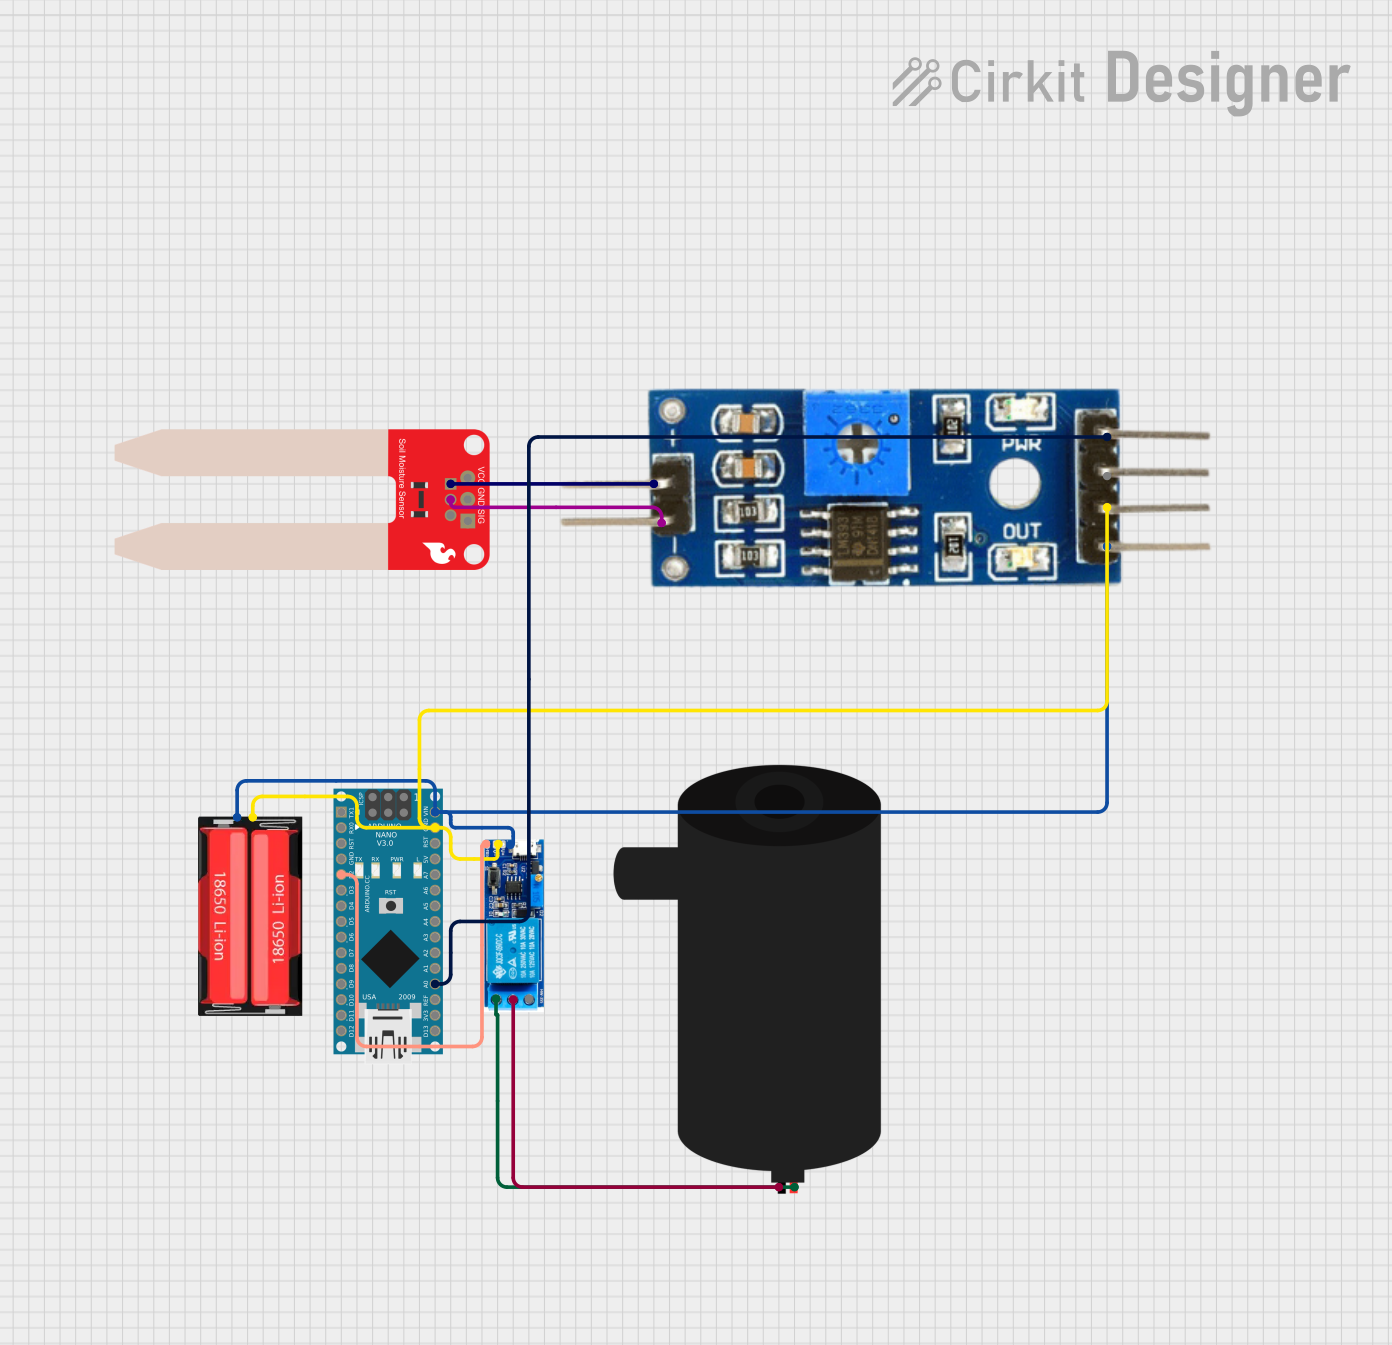
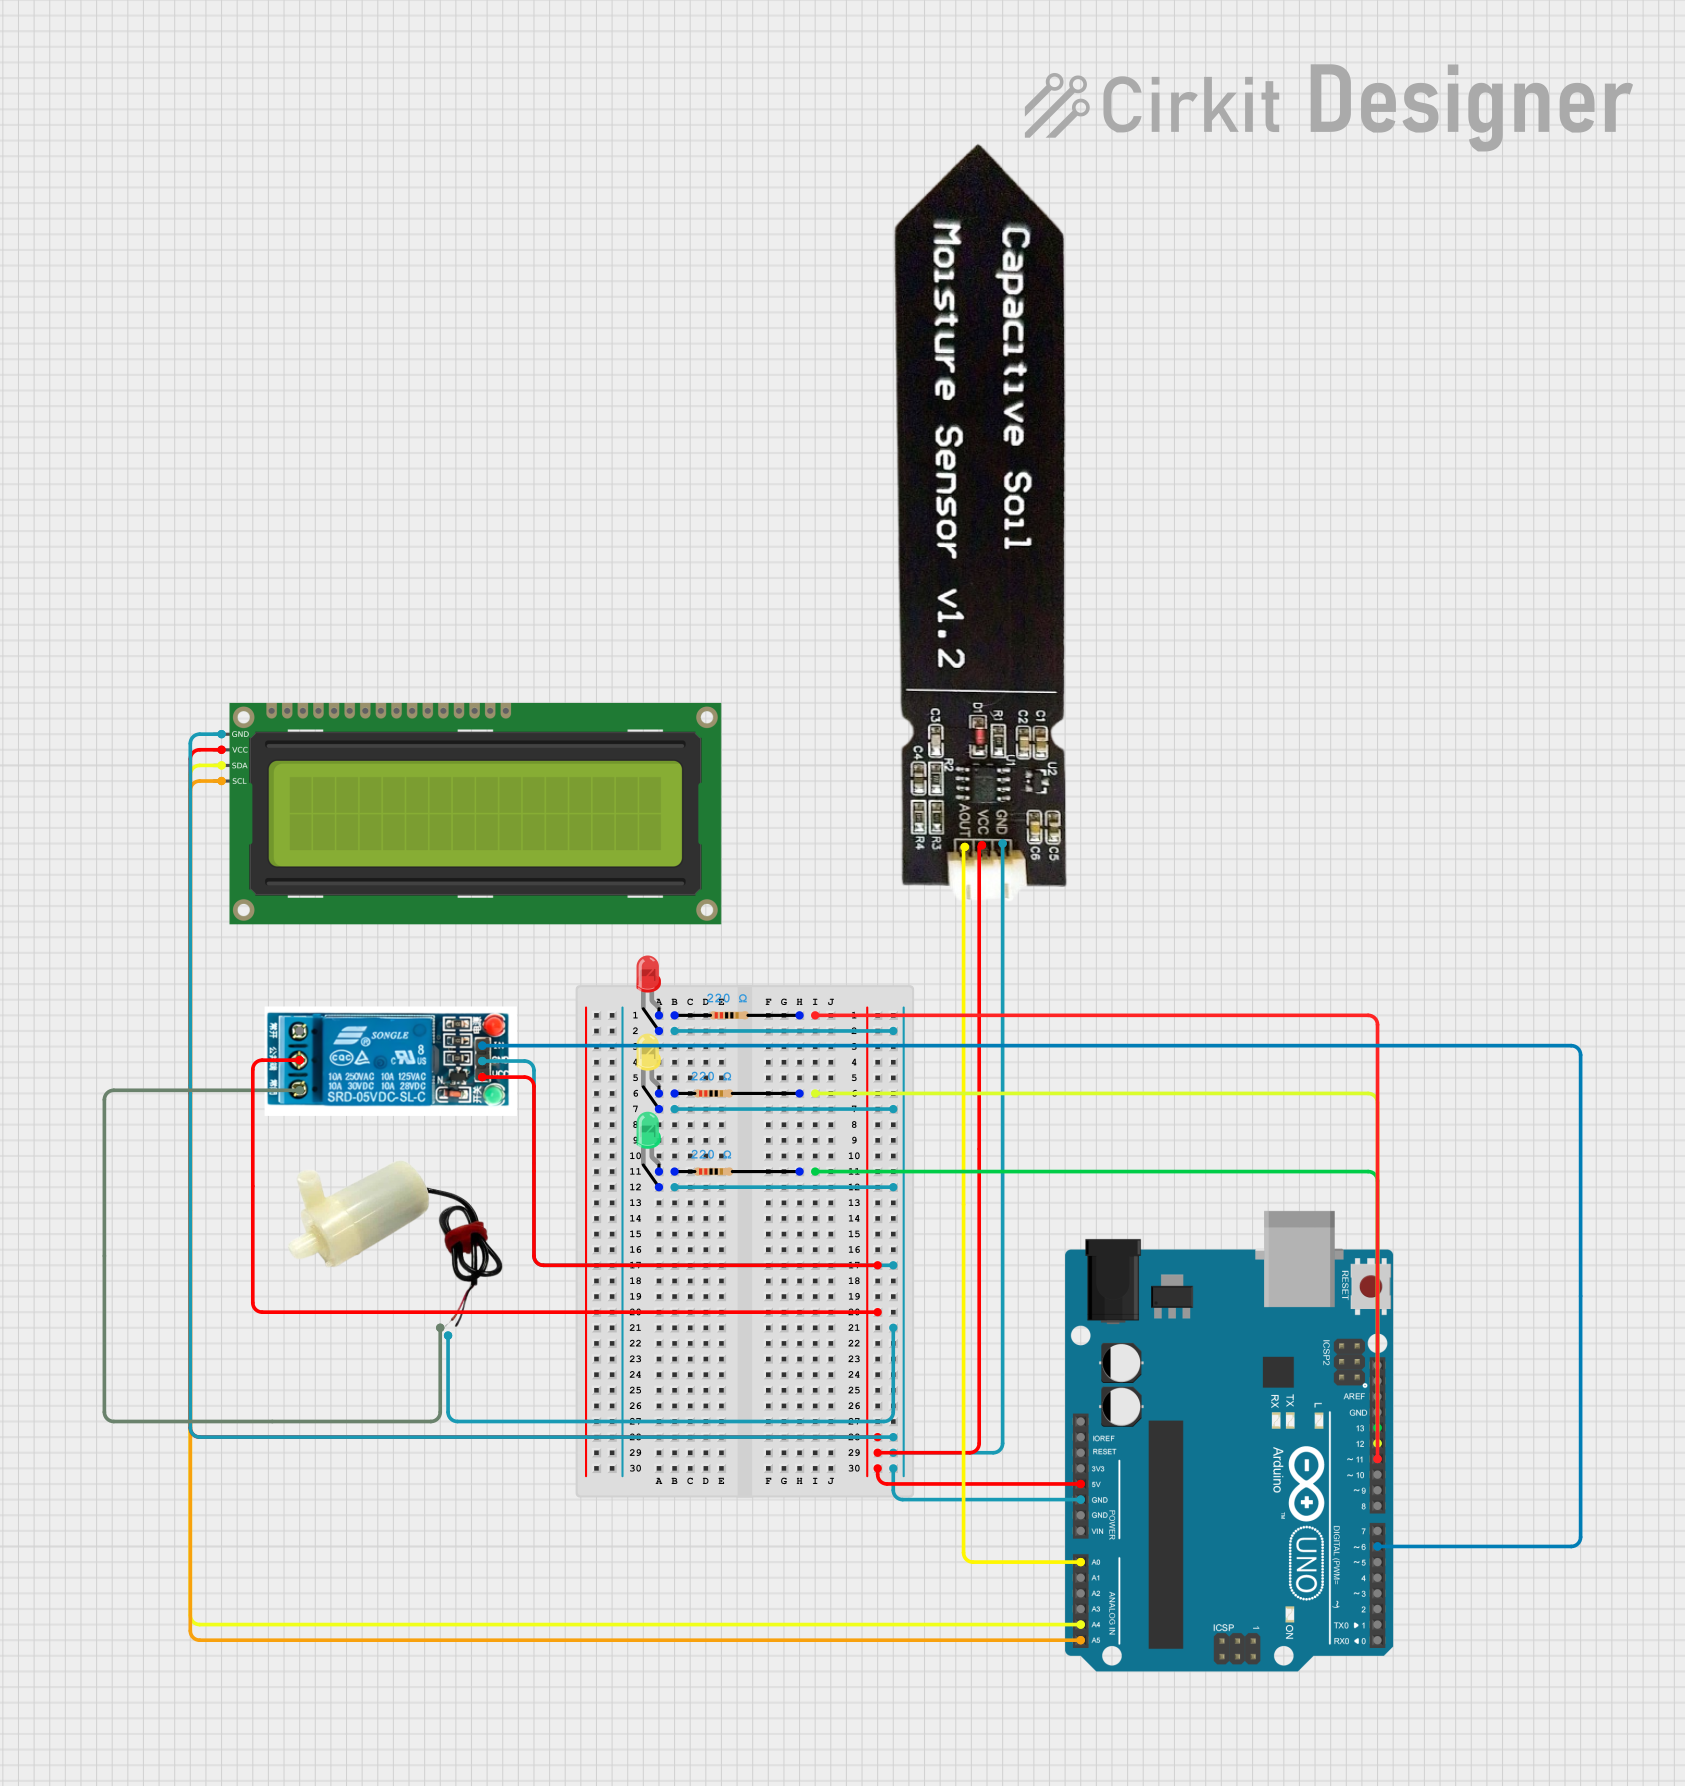
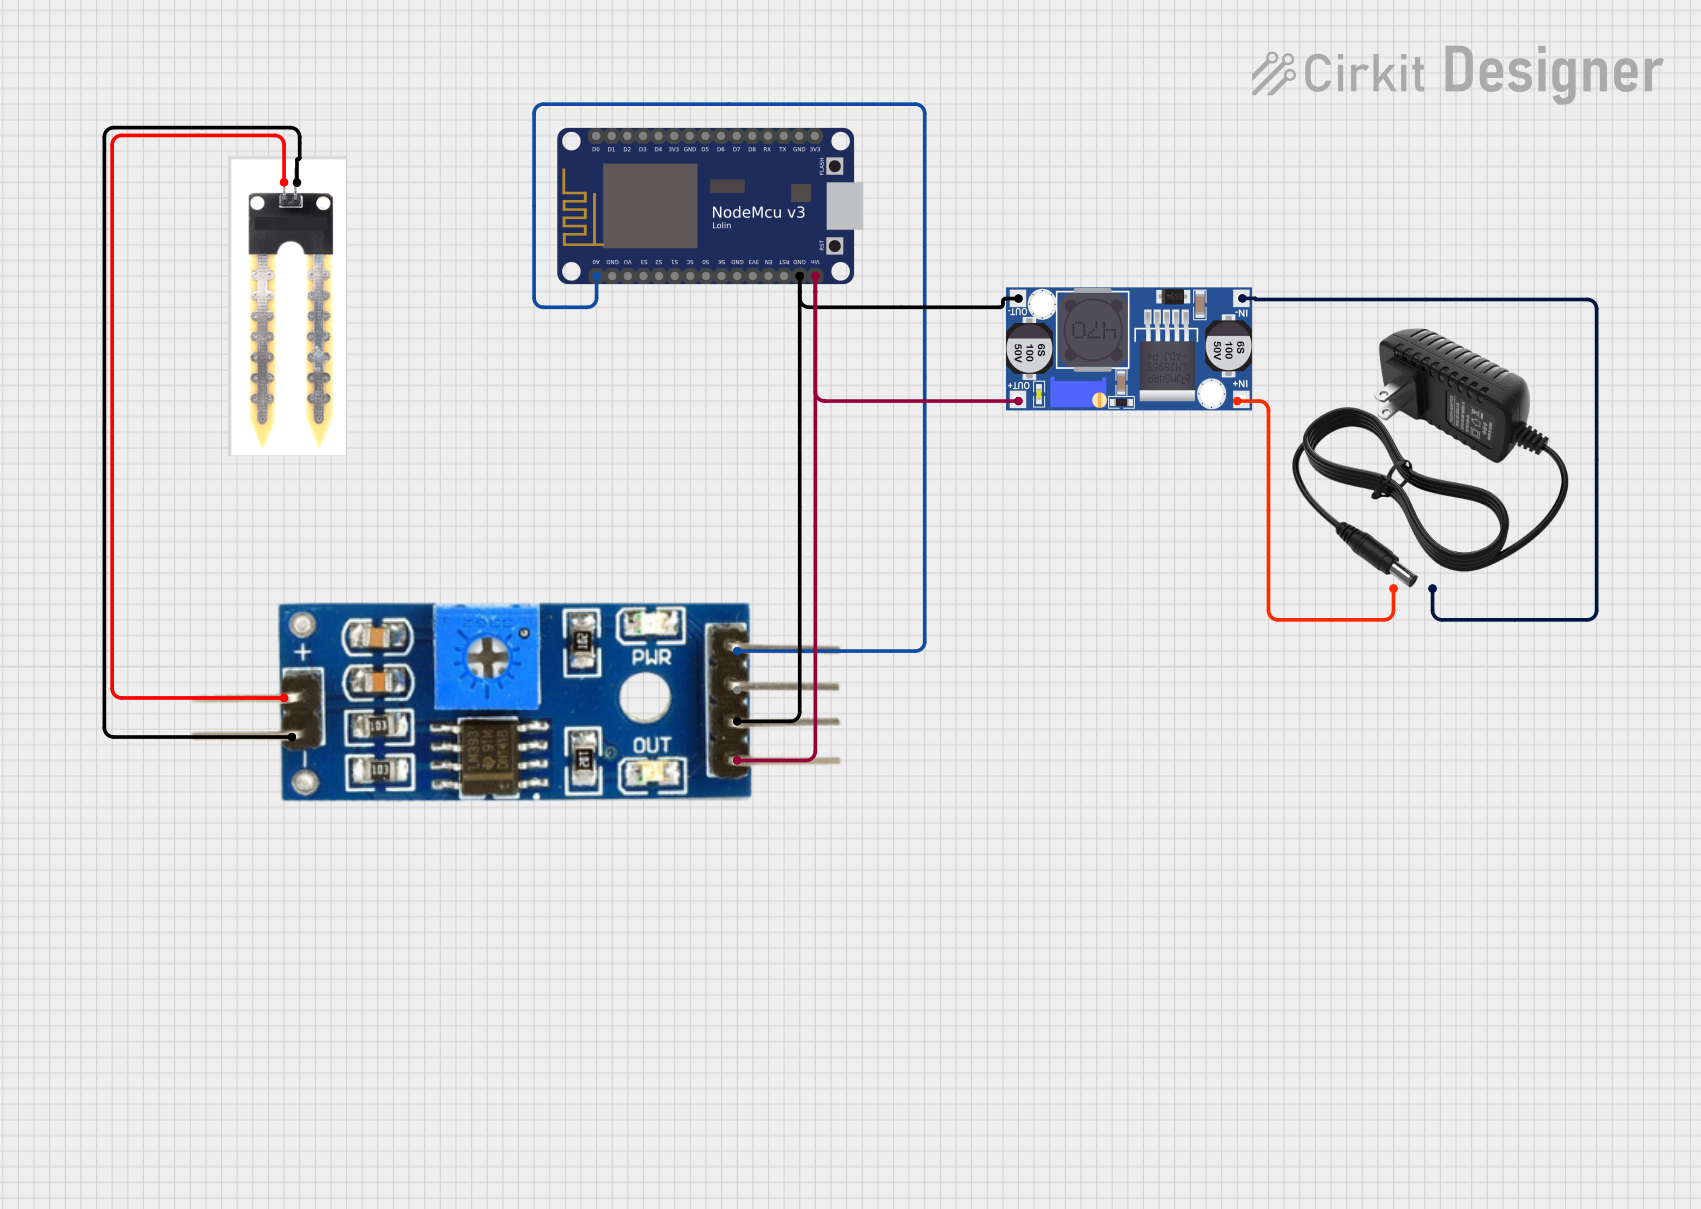
How to Use the Component in a Circuit

  1. Power Connection: Connect the VCC pin to the power supply (3.3V or 5V) and the GND pin to the ground of the power source.
  2. Output Connection: Connect the AOUT pin to an analog input pin on your microcontroller to read the analog moisture level. For digital output, connect the DOUT pin to a digital input pin.
  3. Adjusting Sensitivity: Turn the onboard potentiometer to adjust the threshold for the digital output. Clockwise increases sensitivity, counterclockwise decreases it.

Important Considerations and Best Practices

  • Avoid submerging the sensor completely in water or wet soil for extended periods to prevent corrosion.
  • Calibrate the sensor by checking the output in both dry and wet soil conditions.
  • Use a pull-up resistor if the digital output is unstable.
  • Keep the sensor clean and dry when not in use.

Example Code for Arduino UNO

// Define the sensor pin
const int MOISTURE_SENSOR_PIN = A0; // Analog input pin that the sensor is attached to

void setup() {
  Serial.begin(9600); // Initialize serial communication at 9600 bits per second
}

void loop() {
  // Read the value from the sensor
  int sensorValue = analogRead(MOISTURE_SENSOR_PIN);
  // Convert the analog reading (which goes from 0 - 1023) to a voltage (0 - 5V)
  float voltage = sensorValue * (5.0 / 1023.0);
  // Print out the value you read
  Serial.println(voltage);
  delay(1000); // Delay in between reads for stability
}

Troubleshooting and FAQs

Common Issues Users Might Face

  • Inconsistent Readings: Fluctuations in sensor readings can be due to loose connections or corrosion on the sensor probes.
  • Sensor Corrosion: Prolonged exposure to moisture can lead to corrosion, affecting the sensor's accuracy.

Solutions and Tips for Troubleshooting

  • Ensure all connections are secure and free from corrosion.
  • If the sensor is not responding, check the power supply and ensure it is within the specified voltage range.
  • Clean the sensor probes with distilled water and dry them before use.
  • Replace the sensor if corrosion is significant or if it has been used extensively in wet conditions.

FAQs

Q: Can the sensor be left in the soil permanently? A: It is not recommended to leave the sensor in the soil permanently as it can lead to corrosion. Remove it when not in use.

Q: How do I know if my sensor is calibrated correctly? A: Test the sensor in known dry and wet soil conditions and adjust the threshold potentiometer accordingly.

Q: Is the sensor waterproof? A: The sensor probe is water-resistant but the electronic components are not waterproof. Avoid exposing the entire sensor to water.

Q: Can the sensor be used with a 3.3V system? A: Yes, the sensor can typically operate at 3.3V, but check the specific model's datasheet to confirm.