
How to Use KY036: Examples, Pinouts, and Specs
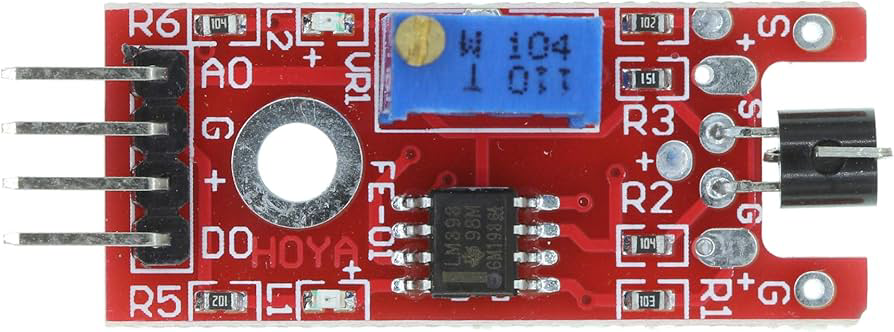
 Design with KY036 in Cirkit Designer
Introduction
The KY036 is a sound sensor module designed to detect sound levels and convert them into an analog voltage output. It features a built-in microphone and a comparator circuit, making it suitable for both analog and digital sound detection. The module is widely used in applications such as voice-activated systems, sound level monitoring, and noise detection in smart home or IoT projects. Its compact design and ease of use make it a popular choice for hobbyists and professionals alike.
Explore Projects Built with KY036
 Open Project in Cirkit Designer
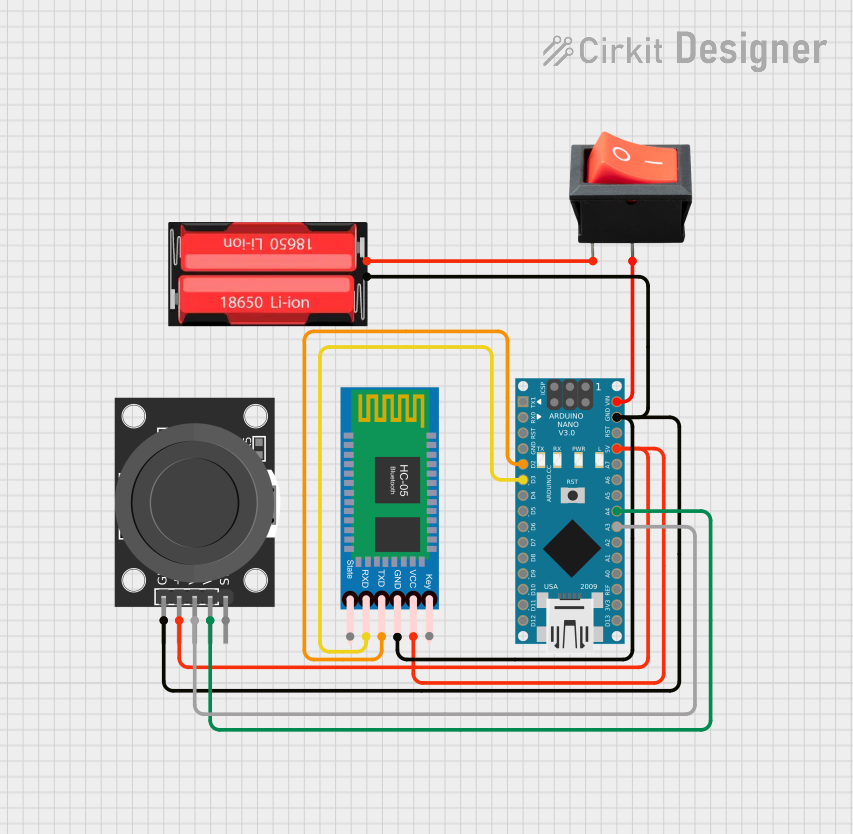 Open Project in Cirkit Designer
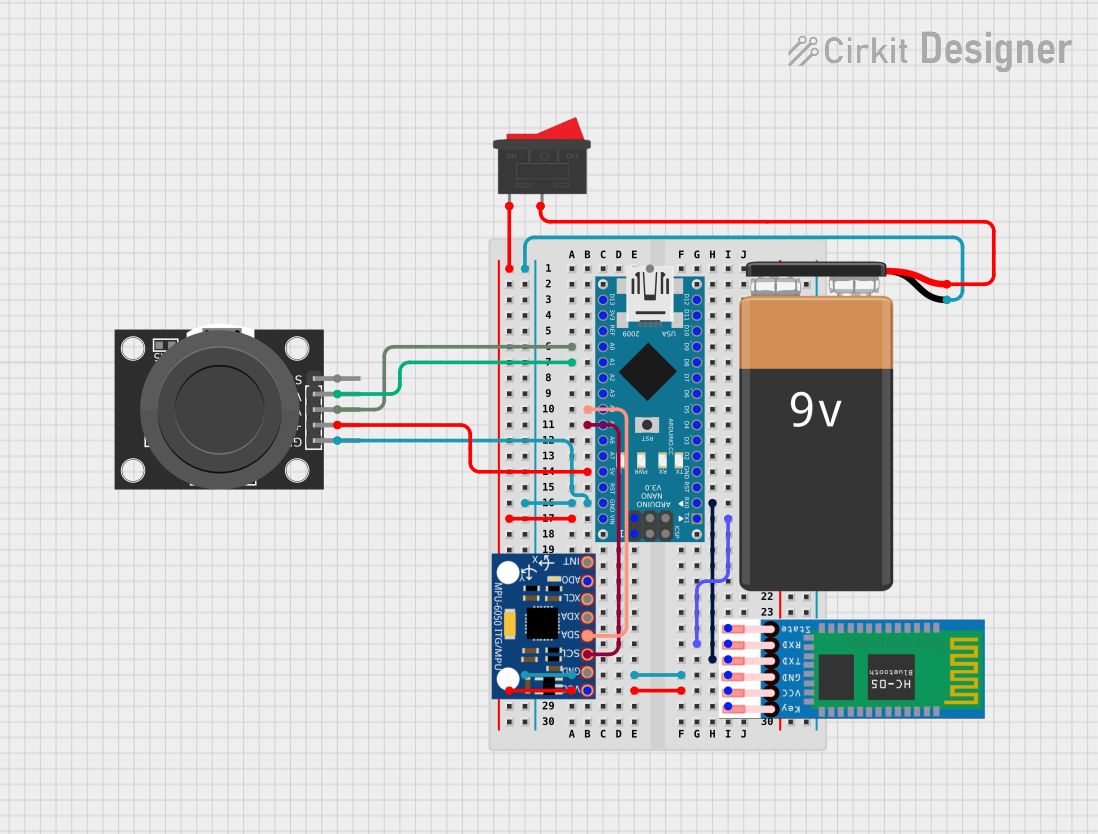 Open Project in Cirkit Designer
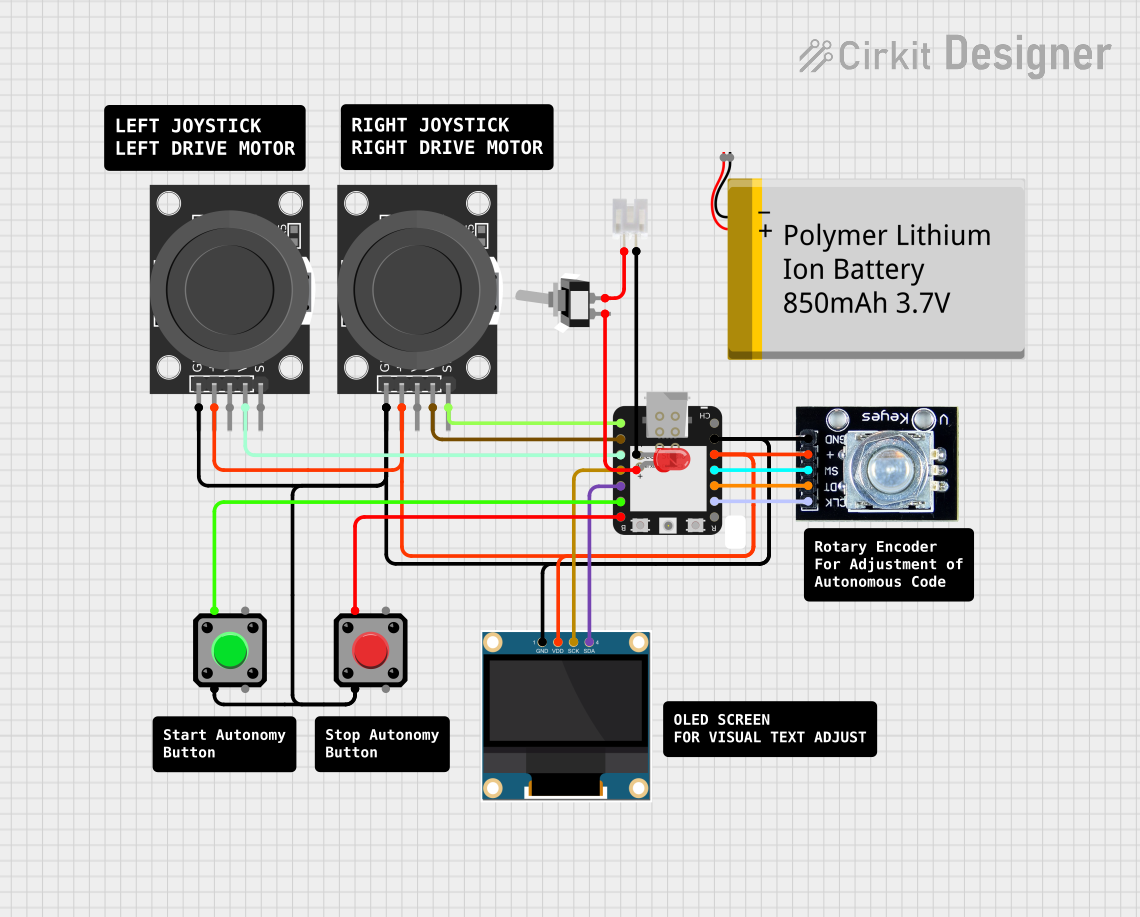 Open Project in Cirkit Designer
Explore Projects Built with KY036
Open Project in Cirkit DesignerOpen Project in Cirkit DesignerOpen Project in Cirkit DesignerOpen Project in Cirkit DesignerTechnical Specifications
- Operating Voltage: 3.3V to 5V DC
- Output Types:
- Analog Output (AO): Provides a continuous voltage proportional to the detected sound level.
- Digital Output (DO): Outputs a HIGH or LOW signal based on a user-defined threshold.
- Sensitivity Adjustment: Potentiometer for setting the digital output threshold.
- Microphone Type: Electret condenser microphone.
- Dimensions: 38mm x 15mm x 13mm (L x W x H).
Pin Configuration and Descriptions
| Pin Name | Pin Type | Description |
|---|---|---|
| AO | Analog Out | Outputs an analog voltage proportional to the detected sound level. |
| DO | Digital Out | Outputs HIGH or LOW based on the sound level and the threshold setting. |
| GND | Ground | Connect to the ground of the power supply. |
| VCC | Power | Connect to a 3.3V or 5V DC power supply. |
Usage Instructions
How to Use the KY036 in a Circuit
- Power the Module: Connect the
VCCpin to a 3.3V or 5V power source and theGNDpin to ground. - Connect Outputs:
- For analog sound level monitoring, connect the
AOpin to an analog input pin on your microcontroller. - For digital sound detection, connect the
DOpin to a digital input pin.
- For analog sound level monitoring, connect the
- Adjust Sensitivity: Use the onboard potentiometer to set the threshold for the digital output. Turning the potentiometer clockwise increases sensitivity, while turning it counterclockwise decreases sensitivity.
- Read Outputs:
- The
AOpin provides a continuous voltage that can be read using an ADC (Analog-to-Digital Converter). - The
DOpin outputs HIGH when the sound level exceeds the threshold and LOW otherwise.
- The
Important Considerations and Best Practices
- Noise Isolation: Place the KY036 module away from high-frequency noise sources to avoid interference.
- Power Supply: Ensure a stable power supply to prevent erratic behavior.
- Threshold Adjustment: Fine-tune the potentiometer for optimal performance in your specific environment.
- Microphone Orientation: Position the microphone towards the sound source for better detection.
Example: Connecting KY036 to Arduino UNO
Below is an example of how to use the KY036 with an Arduino UNO to read both analog and digital outputs:
// KY036 Sound Sensor Example with Arduino UNO
// Reads analog sound level and detects sound threshold using digital output.

const int analogPin = A0; // KY036 AO pin connected to Arduino A0
const int digitalPin = 2; // KY036 DO pin connected to Arduino digital pin 2
int soundLevel = 0;       // Variable to store analog sound level
int soundDetected = 0;    // Variable to store digital output state

void setup() {
  pinMode(digitalPin, INPUT); // Set digital pin as input
  Serial.begin(9600);         // Initialize serial communication
}

void loop() {
  // Read analog sound level
  soundLevel = analogRead(analogPin);

  // Read digital output state
  soundDetected = digitalRead(digitalPin);

  // Print sound level and detection status to Serial Monitor
  Serial.print("Analog Sound Level: ");
  Serial.print(soundLevel);
  Serial.print(" | Sound Detected: ");
  Serial.println(soundDetected ? "YES" : "NO");

  delay(500); // Delay for readability
}
Troubleshooting and FAQs
Common Issues
No Output from AO or DO:
- Ensure the module is powered correctly (check VCC and GND connections).
- Verify that the microphone is not obstructed or damaged.
- Adjust the potentiometer to ensure the threshold is appropriate for your environment.
Erratic Digital Output (DO):
- Check for noise or interference from nearby components.
- Use a decoupling capacitor (e.g., 0.1µF) across the power supply pins to stabilize the voltage.
Low Sensitivity:
- Increase the sensitivity by turning the potentiometer clockwise.
- Ensure the microphone is oriented towards the sound source.
FAQs
Q: Can the KY036 detect specific frequencies (e.g., voice or music)?
A: The KY036 is a general-purpose sound sensor and does not have frequency filtering capabilities. For frequency-specific detection, additional signal processing is required.
Q: Can I use the KY036 with a 3.3V microcontroller?
A: Yes, the KY036 operates at both 3.3V and 5V, making it compatible with most microcontrollers.
Q: How do I know if the potentiometer is set correctly?
A: Monitor the DO pin output while adjusting the potentiometer. When the sound level exceeds the threshold, the DO pin will output HIGH.
By following this documentation, you can effectively integrate the KY036 sound sensor module into your projects for reliable sound detection and monitoring.