How to Use MX-5 NA Window Switch: Examples, Pinouts, and Specs
Introduction
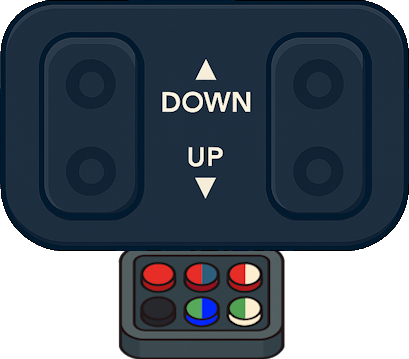
The MX-5 NA Window Switch, manufactured by Mazda, is a control switch designed specifically for the Mazda MX-5 NA model. This component allows the driver and passengers to conveniently operate the electric windows, enabling them to raise or lower the windows with ease. It is a durable and reliable part, engineered to integrate seamlessly with the vehicle's electrical system.
Explore Projects Built with MX-5 NA Window Switch


Explore Projects Built with MX-5 NA Window Switch
Common Applications and Use Cases
- Primary Use: Controlling the electric windows in the Mazda MX-5 NA model.
- Replacement Part: Used as a replacement for a faulty or worn-out window switch.
- Restoration Projects: Essential for restoring the functionality of electric windows in classic MX-5 NA vehicles.
- Customization: Can be used in custom projects involving retrofitting or modifying the vehicle's interior.
Technical Specifications
The MX-5 NA Window Switch is a simple yet robust component. Below are its key technical details:
Key Technical Details
- Manufacturer: Mazda
- Model Compatibility: Mazda MX-5 NA (1989–1997)
- Voltage Rating: 12V DC (vehicle standard)
- Current Rating: Up to 10A
- Switch Type: Rocker switch with dual-direction control (up/down)
- Connector Type: 6-pin connector
- Material: High-durability plastic housing with metal contacts
- Dimensions: Approximately 50mm x 30mm x 20mm
Pin Configuration and Descriptions
The MX-5 NA Window Switch features a 6-pin connector. The pinout is as follows:
| Pin Number | Description | Function |
|---|---|---|
| 1 | Power Input (+12V) | Supplies power to the switch. |
| 2 | Ground (-) | Provides ground connection. |
| 3 | Left Window Motor (Up) | Controls upward movement of the left window. |
| 4 | Left Window Motor (Down) | Controls downward movement of the left window. |
| 5 | Right Window Motor (Up) | Controls upward movement of the right window. |
| 6 | Right Window Motor (Down) | Controls downward movement of the right window. |
Usage Instructions
How to Use the Component in a Circuit
- Identify the Connector Pins: Refer to the pin configuration table above to identify the correct pins for power, ground, and motor connections.
- Connect Power and Ground:
- Connect Pin 1 to the vehicle's 12V power supply.
- Connect Pin 2 to the vehicle's ground.
- Connect to Window Motors:
- Connect Pins 3 and 4 to the left window motor.
- Connect Pins 5 and 6 to the right window motor.
- Test the Switch:
- Press the switch in the "up" direction to raise the windows.
- Press the switch in the "down" direction to lower the windows.
Important Considerations and Best Practices
- Polarity: Ensure correct polarity when connecting power and ground to avoid damage to the switch or vehicle wiring.
- Fuse Protection: Use an appropriate fuse (e.g., 10A) in the power line to protect the circuit from overcurrent.
- Secure Connections: Ensure all connections are secure to prevent intermittent operation or electrical faults.
- Avoid Overloading: Do not exceed the current rating of the switch (10A) to prevent overheating or failure.
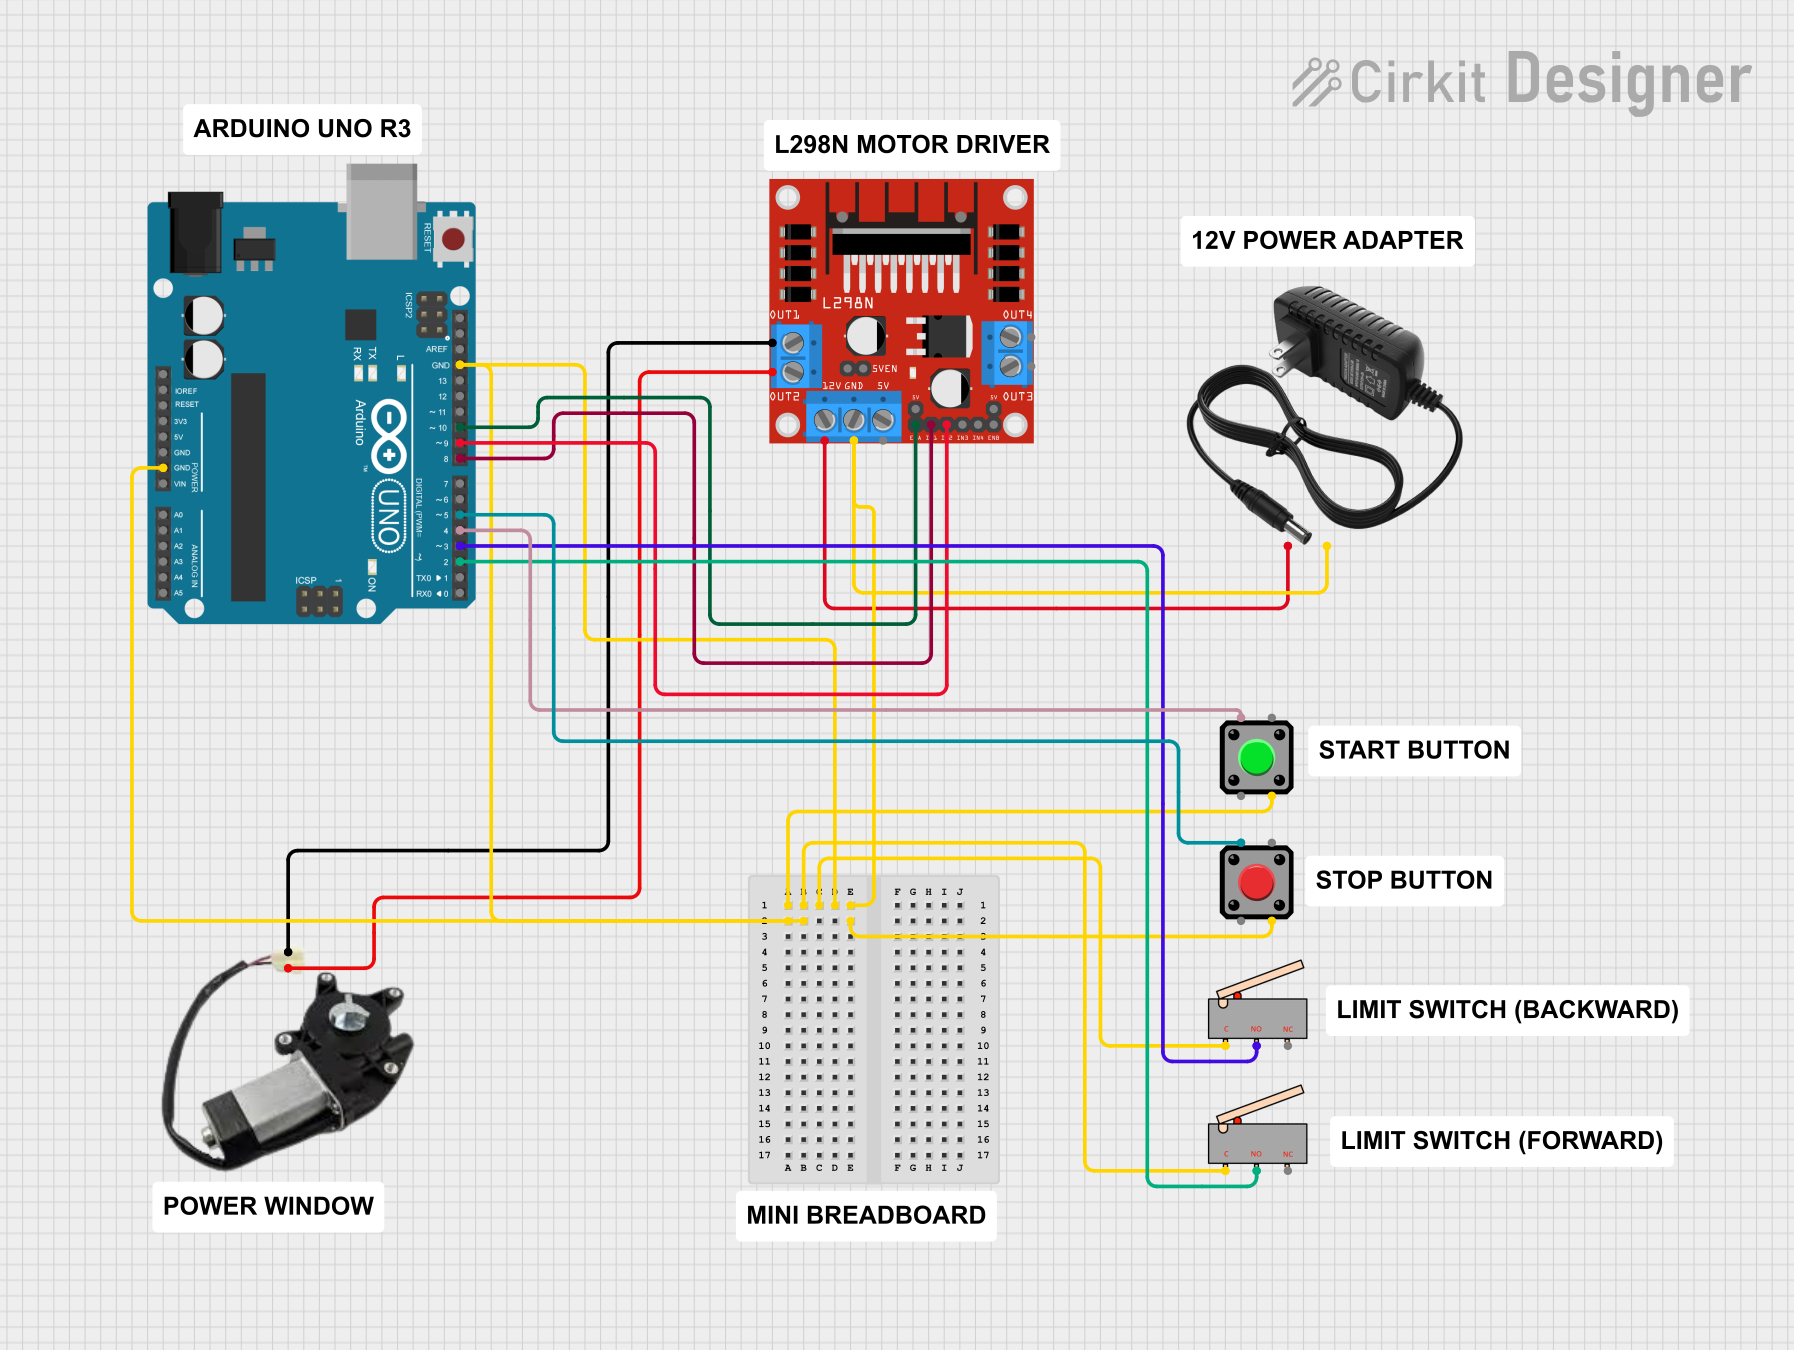
Arduino Integration Example
While the MX-5 NA Window Switch is primarily designed for automotive use, it can be integrated into custom projects using an Arduino. Below is an example of how to read the switch state using an Arduino UNO:
// Define pin assignments for the switch
const int leftUpPin = 2;    // Pin connected to Left Window Up
const int leftDownPin = 3;  // Pin connected to Left Window Down
const int rightUpPin = 4;   // Pin connected to Right Window Up
const int rightDownPin = 5; // Pin connected to Right Window Down

void setup() {
  // Set switch pins as inputs
  pinMode(leftUpPin, INPUT);
  pinMode(leftDownPin, INPUT);
  pinMode(rightUpPin, INPUT);
  pinMode(rightDownPin, INPUT);

  // Initialize serial communication for debugging
  Serial.begin(9600);
}

void loop() {
  // Read the state of each switch pin
  int leftUpState = digitalRead(leftUpPin);
  int leftDownState = digitalRead(leftDownPin);
  int rightUpState = digitalRead(rightUpPin);
  int rightDownState = digitalRead(rightDownPin);

  // Print the switch states to the Serial Monitor
  Serial.print("Left Up: ");
  Serial.print(leftUpState);
  Serial.print(" | Left Down: ");
  Serial.print(leftDownState);
  Serial.print(" | Right Up: ");
  Serial.print(rightUpState);
  Serial.print(" | Right Down: ");
  Serial.println(rightDownState);

  // Add a small delay to avoid flooding the Serial Monitor
  delay(500);
}
Troubleshooting and FAQs
Common Issues Users Might Face
Switch Does Not Respond:
- Cause: Loose or incorrect wiring.
- Solution: Verify all connections and ensure proper pin assignments.
Windows Move in the Wrong Direction:
- Cause: Motor wires are reversed.
- Solution: Swap the motor connections for the affected window.
Intermittent Operation:
- Cause: Dirty or worn-out switch contacts.
- Solution: Clean the contacts with electrical contact cleaner or replace the switch.
No Power to the Switch:
- Cause: Blown fuse or disconnected power line.
- Solution: Check the fuse and power connections.
Solutions and Tips for Troubleshooting
- Use a Multimeter: Check for continuity and proper voltage at the switch pins.
- Inspect the Connector: Ensure the 6-pin connector is free of corrosion or damage.
- Test the Motor: If the switch is functional but the windows do not move, test the window motor separately.
By following this documentation, users can effectively install, use, and troubleshoot the MX-5 NA Window Switch in their Mazda MX-5 NA or custom projects.