How to Use Arduino 33 IOT: Examples, Pinouts, and Specs
Introduction
The Arduino 33 IoT is a powerful microcontroller board based on the ESP32, specifically designed for Internet of Things (IoT) applications. It features built-in Wi-Fi and Bluetooth connectivity, making it ideal for wireless communication and smart device integration. With multiple GPIO pins and compatibility with various sensors and modules, the Arduino 33 IoT is a versatile choice for both hobbyists and professionals.
Explore Projects Built with Arduino 33 IOT

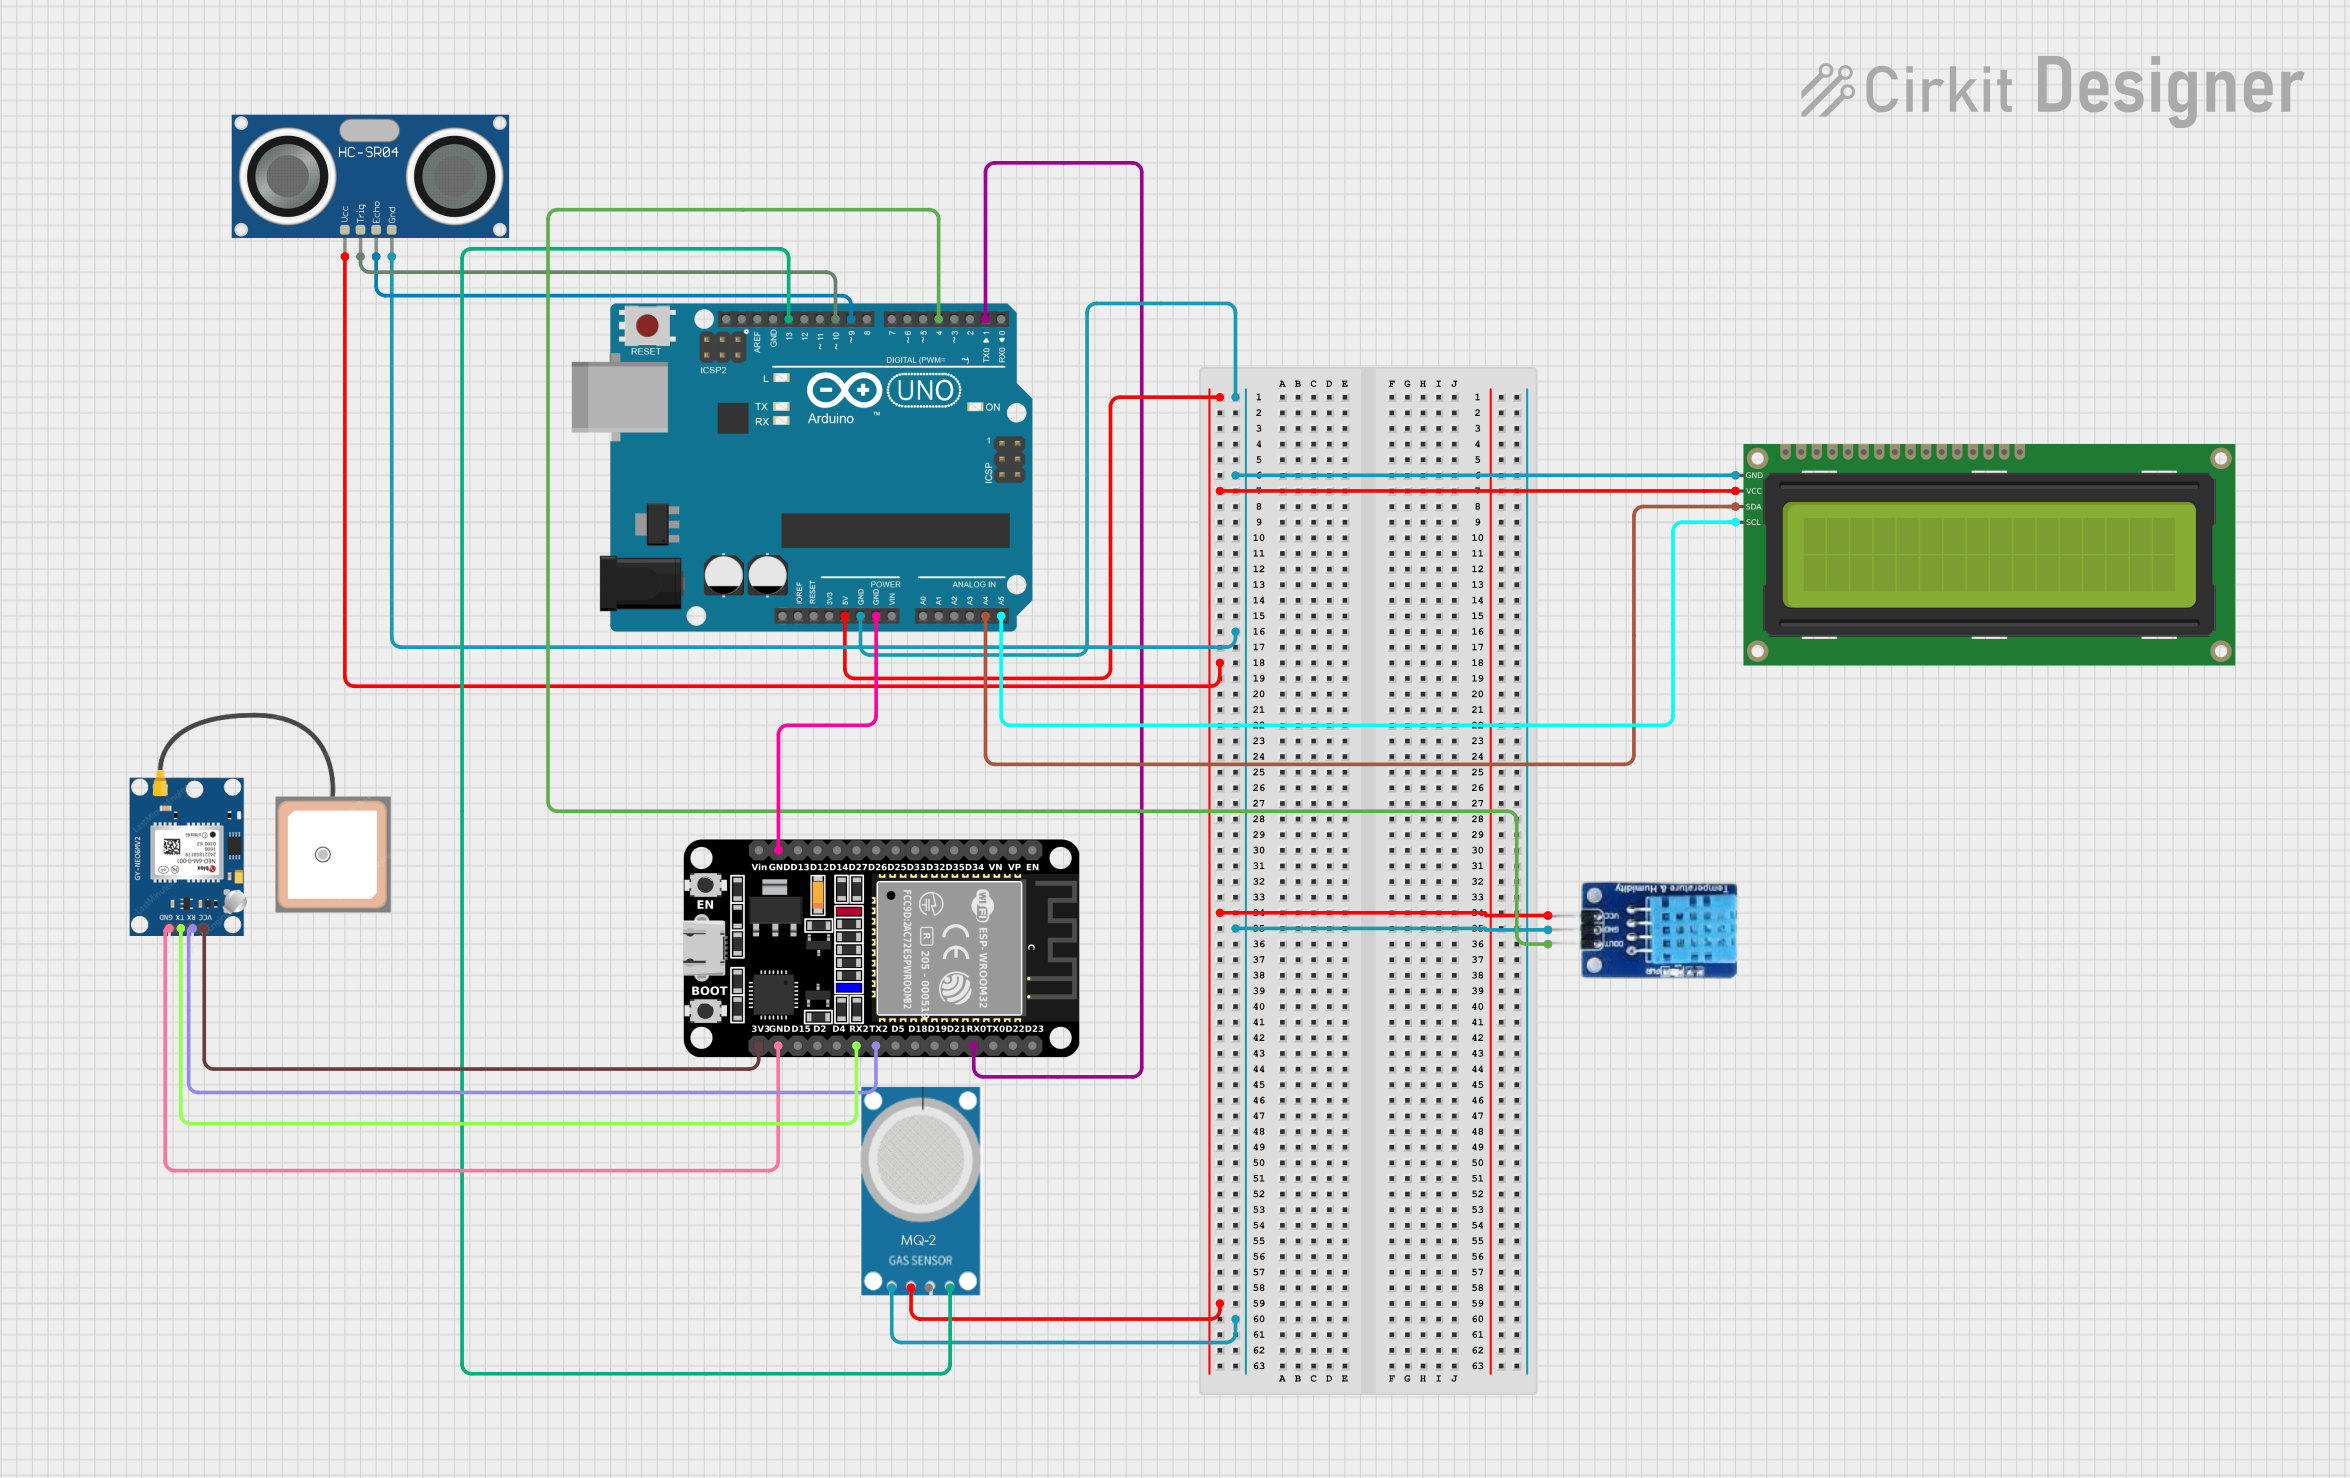
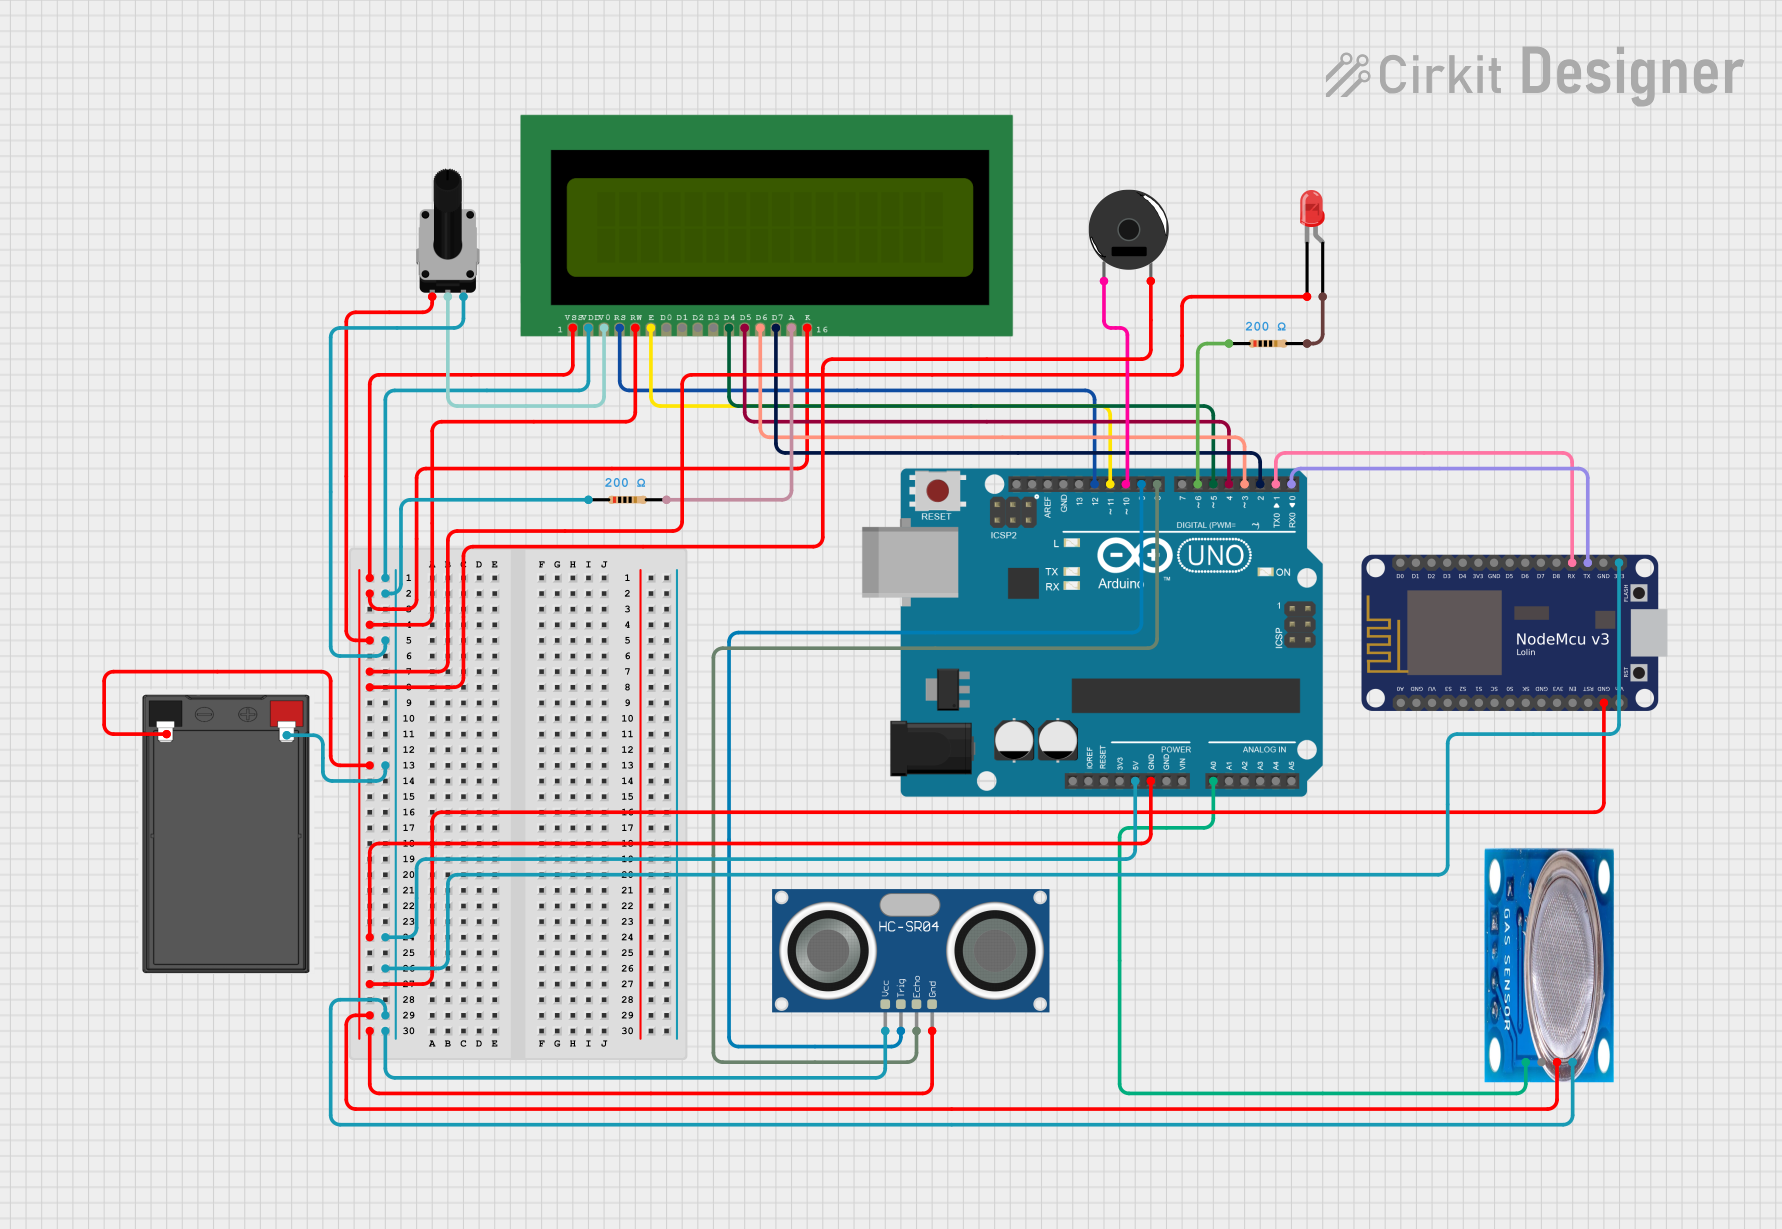
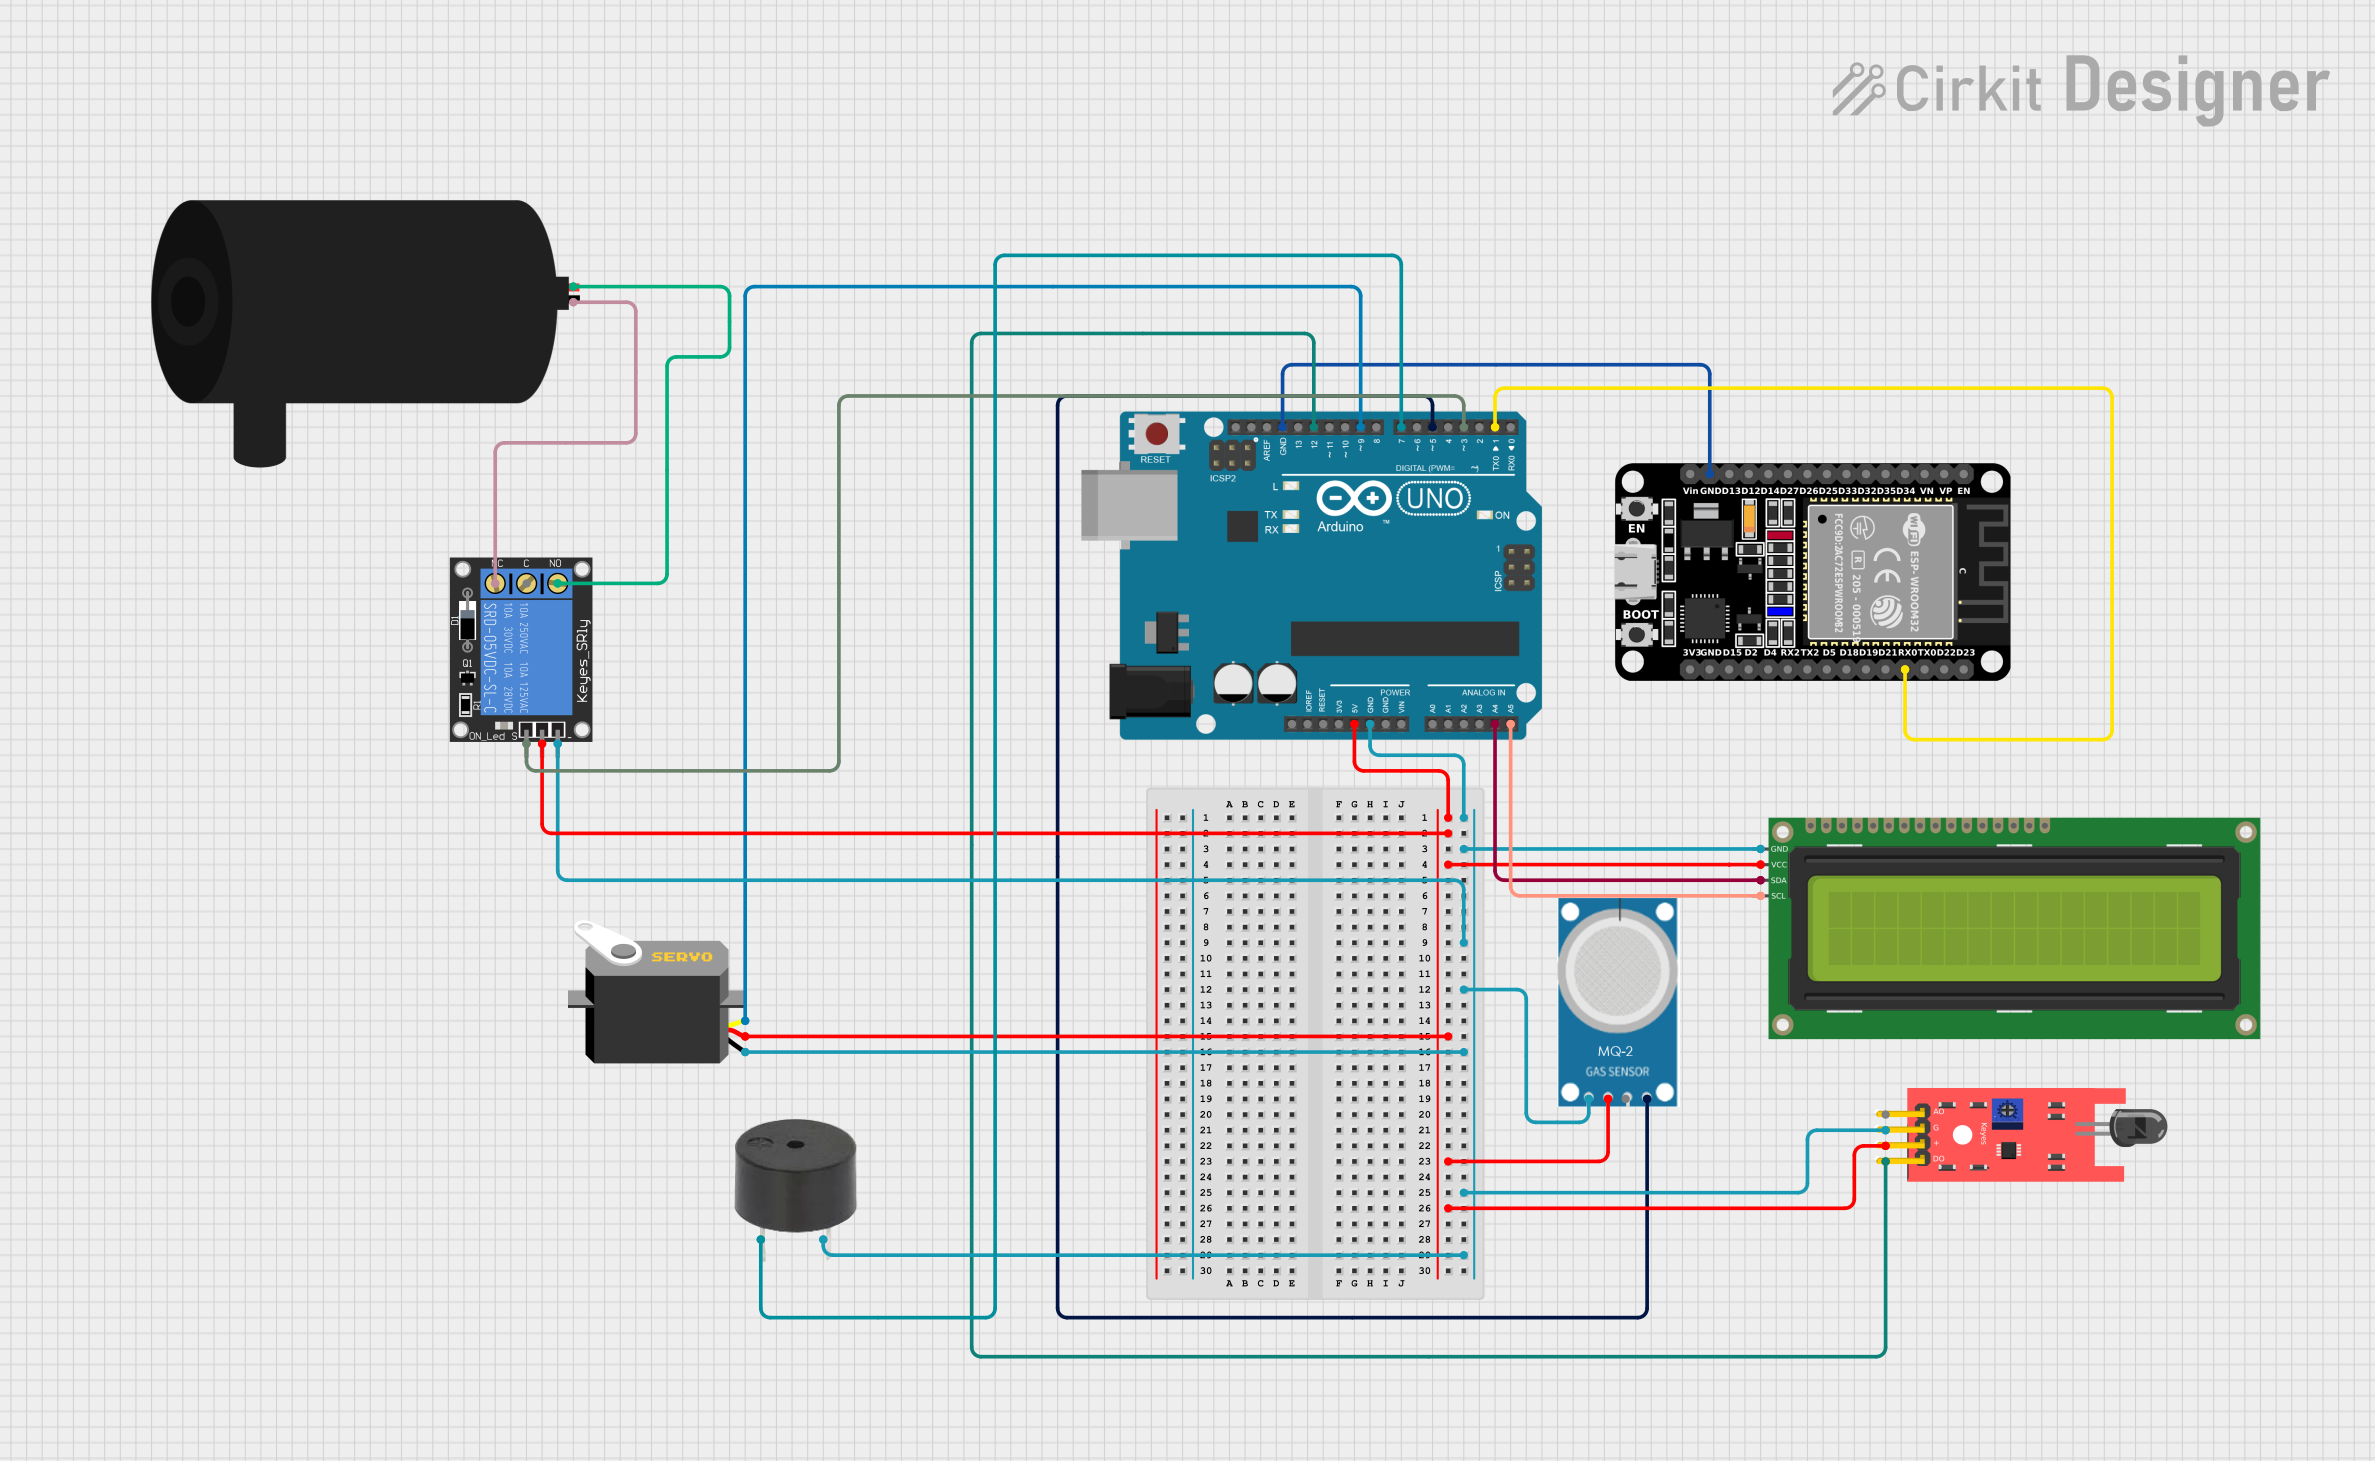
Explore Projects Built with Arduino 33 IOT
Common Applications and Use Cases
- Smart home automation systems
- Remote monitoring and control
- IoT-enabled wearables
- Environmental sensing and data logging
- Wireless communication between devices
- Prototyping connected devices
Technical Specifications
The Arduino 33 IoT offers a range of features and capabilities to support IoT projects. Below are the key technical details:
Key Technical Details
| Specification | Value |
|---|---|
| Microcontroller | ESP32 |
| Operating Voltage | 3.3V |
| Input Voltage (VIN) | 5V |
| Digital I/O Pins | 14 |
| PWM Pins | 11 |
| Analog Input Pins | 6 |
| Flash Memory | 4MB |
| SRAM | 520KB |
| Connectivity | Wi-Fi 802.11 b/g/n, Bluetooth 4.2 |
| Clock Speed | 240 MHz |
| Communication Interfaces | UART, SPI, I2C |
| Dimensions | 68.6mm x 25.4mm |
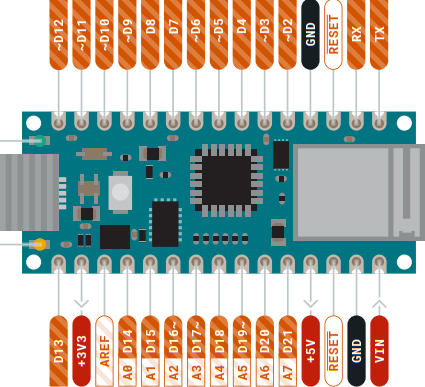
Pin Configuration and Descriptions
The Arduino 33 IoT has a variety of pins for different functionalities. Below is the pinout description:
| Pin Number | Pin Name | Functionality |
|---|---|---|
| 1 | VIN | Input voltage (5V) for powering the board |
| 2 | GND | Ground |
| 3 | 3.3V | 3.3V output for powering external devices |
| 4-17 | GPIO Pins | General-purpose input/output pins |
| 18 | AREF | Analog reference voltage |
| 19-24 | Analog In | Analog input pins (A0-A5) |
| 25 | TX | UART Transmit |
| 26 | RX | UART Receive |
| 27 | SDA | I2C Data Line |
| 28 | SCL | I2C Clock Line |
Usage Instructions
The Arduino 33 IoT is easy to use and can be programmed using the Arduino IDE. Below are the steps to get started and some best practices for using the board effectively.
How to Use the Component in a Circuit
- Power the Board: Connect the Arduino 33 IoT to your computer via a USB cable or supply 5V to the VIN pin.
- Install the Arduino IDE: Download and install the Arduino IDE from the official Arduino website.
- Select the Board: In the Arduino IDE, go to
Tools > Board > Boards Manager, search for "Arduino 33 IoT," and install the necessary package. - Connect Sensors/Modules: Use the GPIO pins to connect sensors, actuators, or other modules. Ensure proper voltage levels (3.3V logic).
- Write and Upload Code: Write your program in the Arduino IDE, select the correct COM port, and upload the code to the board.
Important Considerations and Best Practices
- Voltage Levels: The Arduino 33 IoT operates at 3.3V logic. Avoid connecting 5V signals directly to the GPIO pins.
- Wi-Fi and Bluetooth: Ensure a stable power supply when using wireless communication to avoid connectivity issues.
- Pin Usage: Refer to the pinout diagram to avoid conflicts when using multiple peripherals.
- Heat Management: The ESP32 can get warm during operation. Ensure proper ventilation if used in enclosed spaces.
Example Code for Arduino 33 IoT with Wi-Fi
Below is an example of how to connect the Arduino 33 IoT to a Wi-Fi network and send data to a server:
#include <WiFi.h> // Include the Wi-Fi library

const char* ssid = "Your_SSID";       // Replace with your Wi-Fi network name
const char* password = "Your_Password"; // Replace with your Wi-Fi password

void setup() {
  Serial.begin(115200); // Initialize serial communication
  delay(1000);

  // Connect to Wi-Fi
  Serial.print("Connecting to Wi-Fi");
  WiFi.begin(ssid, password);
  while (WiFi.status() != WL_CONNECTED) {
    delay(500);
    Serial.print(".");
  }
  Serial.println("\nConnected to Wi-Fi!");
}

void loop() {
  // Example: Print the IP address
  Serial.print("IP Address: ");
  Serial.println(WiFi.localIP());
  delay(5000); // Wait for 5 seconds before repeating
}
Troubleshooting and FAQs
Common Issues Users Might Face
Wi-Fi Connection Fails:
- Cause: Incorrect SSID or password.
- Solution: Double-check the Wi-Fi credentials in your code.
Board Not Recognized by Arduino IDE:
- Cause: Missing board package or incorrect COM port.
- Solution: Install the correct board package and select the appropriate COM port.
GPIO Pins Not Working:
- Cause: Incorrect voltage levels or pin conflicts.
- Solution: Ensure the connected devices operate at 3.3V logic and check for pin conflicts.
Code Upload Fails:
- Cause: Incorrect board or port selection.
- Solution: Verify the board and port settings in the Arduino IDE.
Solutions and Tips for Troubleshooting
- Use the Serial Monitor to debug your code and check for errors.
- Ensure the USB cable is functional and supports data transfer.
- Update the Arduino IDE and board package to the latest version.
- Refer to the official Arduino 33 IoT documentation for advanced troubleshooting.
By following this documentation, you can effectively use the Arduino 33 IoT for a wide range of IoT applications. Happy prototyping!