How to Use Voice Playback Module: Examples, Pinouts, and Specs
Introduction
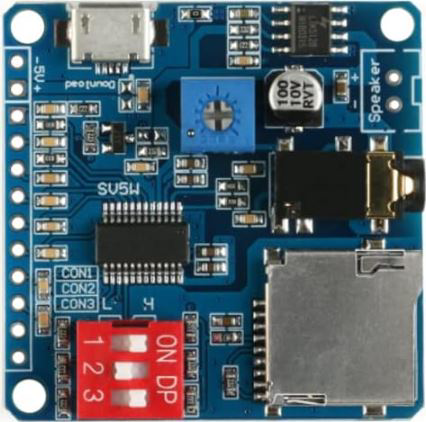
The PEMENOL Voice Playback Module (Part ID: 11) is a versatile device designed to store and play back audio recordings. It is commonly used in applications such as toys, alarms, interactive devices, and other systems requiring sound output. This module provides a simple and efficient way to add audio functionality to your projects, making it ideal for hobbyists, educators, and professionals alike.
Explore Projects Built with Voice Playback Module


Explore Projects Built with Voice Playback Module
Technical Specifications
The PEMENOL Voice Playback Module is equipped with the following technical features:
Key Specifications
- Manufacturer Part ID: 11
- Operating Voltage: 3.3V to 5V DC
- Current Consumption: < 50mA (during playback)
- Audio Format: WAV or AD4
- Storage Capacity: Up to 8MB (via onboard flash memory or external storage)
- Playback Modes: Single playback, loop playback, and trigger-based playback
- Output: Mono audio output (speaker or headphone)
- Control Interface: GPIO pins or serial communication
- Dimensions: 30mm x 20mm x 5mm
Pin Configuration and Descriptions
The module features a set of pins for power, control, and audio output. Below is the pinout table:
| Pin Name | Description |
|---|---|
| VCC | Power input (3.3V to 5V DC). |
| GND | Ground connection. |
| SPK+ | Positive terminal for speaker output. |
| SPK- | Negative terminal for speaker output. |
| TX | Serial communication transmit pin (used for UART control). |
| RX | Serial communication receive pin (used for UART control). |
| PLAYE | Trigger pin for playback (active low). |
| NEXT | Trigger pin to skip to the next audio file (active low). |
| PREV | Trigger pin to go back to the previous audio file (active low). |
| VOL+ | Trigger pin to increase volume (active low). |
| VOL- | Trigger pin to decrease volume (active low). |
Usage Instructions
How to Use the Component in a Circuit
- Power the Module: Connect the VCC pin to a 3.3V or 5V DC power source and the GND pin to ground.
- Connect Audio Output: Attach a speaker to the SPK+ and SPK- pins. Ensure the speaker impedance matches the module's specifications (typically 8Ω).
- Control Playback: Use GPIO pins from a microcontroller (e.g., Arduino UNO) to control playback, volume, and track selection via the PLAYE, NEXT, PREV, VOL+, and VOL- pins. Alternatively, use UART communication for more advanced control.
- Load Audio Files: Store audio files in the supported format (WAV or AD4) onto the module's flash memory or an external storage device. Ensure file names and formats comply with the module's requirements.
Important Considerations and Best Practices
- Power Supply: Use a stable power source to avoid noise or distortion in audio playback.
- Speaker Selection: Use a speaker with the recommended impedance (8Ω) and power rating to prevent damage to the module.
- Debounce Input Signals: If using mechanical switches to trigger playback, debounce the signals to avoid erratic behavior.
- Volume Control: Adjust the volume carefully to avoid overdriving the speaker or causing distortion.
- UART Communication: When using UART, ensure the baud rate matches the module's default setting (typically 9600 bps).
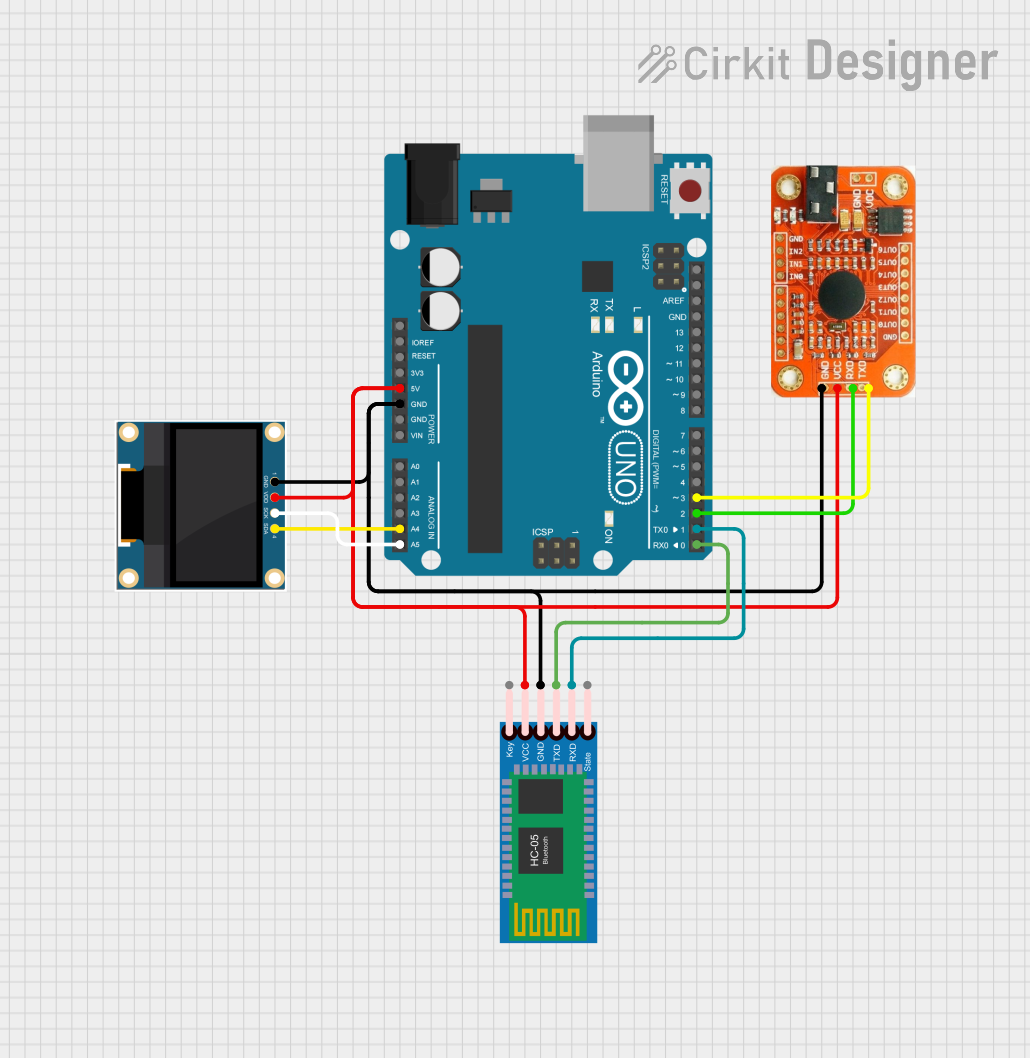
Example: Connecting to an Arduino UNO
Below is an example of how to control the module using an Arduino UNO:
// Example code to control PEMENOL Voice Playback Module with Arduino UNO

// Define pin connections
#define PLAYE_PIN 2  // Pin connected to PLAYE (playback trigger)
#define NEXT_PIN 3   // Pin connected to NEXT (next track trigger)
#define VOL_UP_PIN 4 // Pin connected to VOL+ (volume up trigger)

void setup() {
  // Set pin modes
  pinMode(PLAYE_PIN, OUTPUT);
  pinMode(NEXT_PIN, OUTPUT);
  pinMode(VOL_UP_PIN, OUTPUT);

  // Initialize pins to HIGH (inactive state)
  digitalWrite(PLAYE_PIN, HIGH);
  digitalWrite(NEXT_PIN, HIGH);
  digitalWrite(VOL_UP_PIN, HIGH);
}

void loop() {
  // Trigger playback
  digitalWrite(PLAYE_PIN, LOW); // Active low signal
  delay(500);                  // Wait for 500ms
  digitalWrite(PLAYE_PIN, HIGH); // Deactivate trigger

  delay(2000); // Wait for 2 seconds before the next action

  // Skip to the next track
  digitalWrite(NEXT_PIN, LOW); // Active low signal
  delay(500);                  // Wait for 500ms
  digitalWrite(NEXT_PIN, HIGH); // Deactivate trigger

  delay(2000); // Wait for 2 seconds before the next action

  // Increase volume
  digitalWrite(VOL_UP_PIN, LOW); // Active low signal
  delay(500);                    // Wait for 500ms
  digitalWrite(VOL_UP_PIN, HIGH); // Deactivate trigger

  delay(5000); // Wait for 5 seconds before repeating the loop
}
Troubleshooting and FAQs
Common Issues and Solutions
No Sound Output
- Cause: Incorrect speaker connection or incompatible speaker impedance.
- Solution: Verify the speaker is connected to SPK+ and SPK- and matches the recommended impedance (8Ω).
Distorted Audio
- Cause: Insufficient power supply or overdriven speaker.
- Solution: Use a stable power source and ensure the volume is not set too high.
Playback Not Triggering
- Cause: Incorrect wiring or signal levels.
- Solution: Check the connections to the PLAYE pin and ensure the trigger signal is active low.
UART Communication Fails
- Cause: Mismatched baud rate or incorrect wiring.
- Solution: Verify the baud rate is set to 9600 bps and check the TX/RX connections.
FAQs
Q: Can I use headphones instead of a speaker?
A: Yes, but ensure the headphones are compatible with the module's output specifications.Q: How many audio files can the module store?
A: The number of files depends on the total storage capacity (up to 8MB) and the size of each file.Q: Can I control the module without a microcontroller?
A: Yes, you can use mechanical switches connected to the control pins for basic functionality.Q: What is the maximum playback duration?
A: The duration depends on the size of the audio files and the available storage capacity.
This documentation provides a comprehensive guide to using the PEMENOL Voice Playback Module effectively. For further assistance, refer to the manufacturer's datasheet or contact technical support.